【Java Spring Cloud 實戰之路】- 使用Nacos和閘道器中心的建立
阿新 • • 發佈:2020-06-04
# 0. 前言
在上一節中,我們建立了一個專案架構,後續的專案都會在那個架構上做補充。
# 1. Nacos
## 1.1 簡介
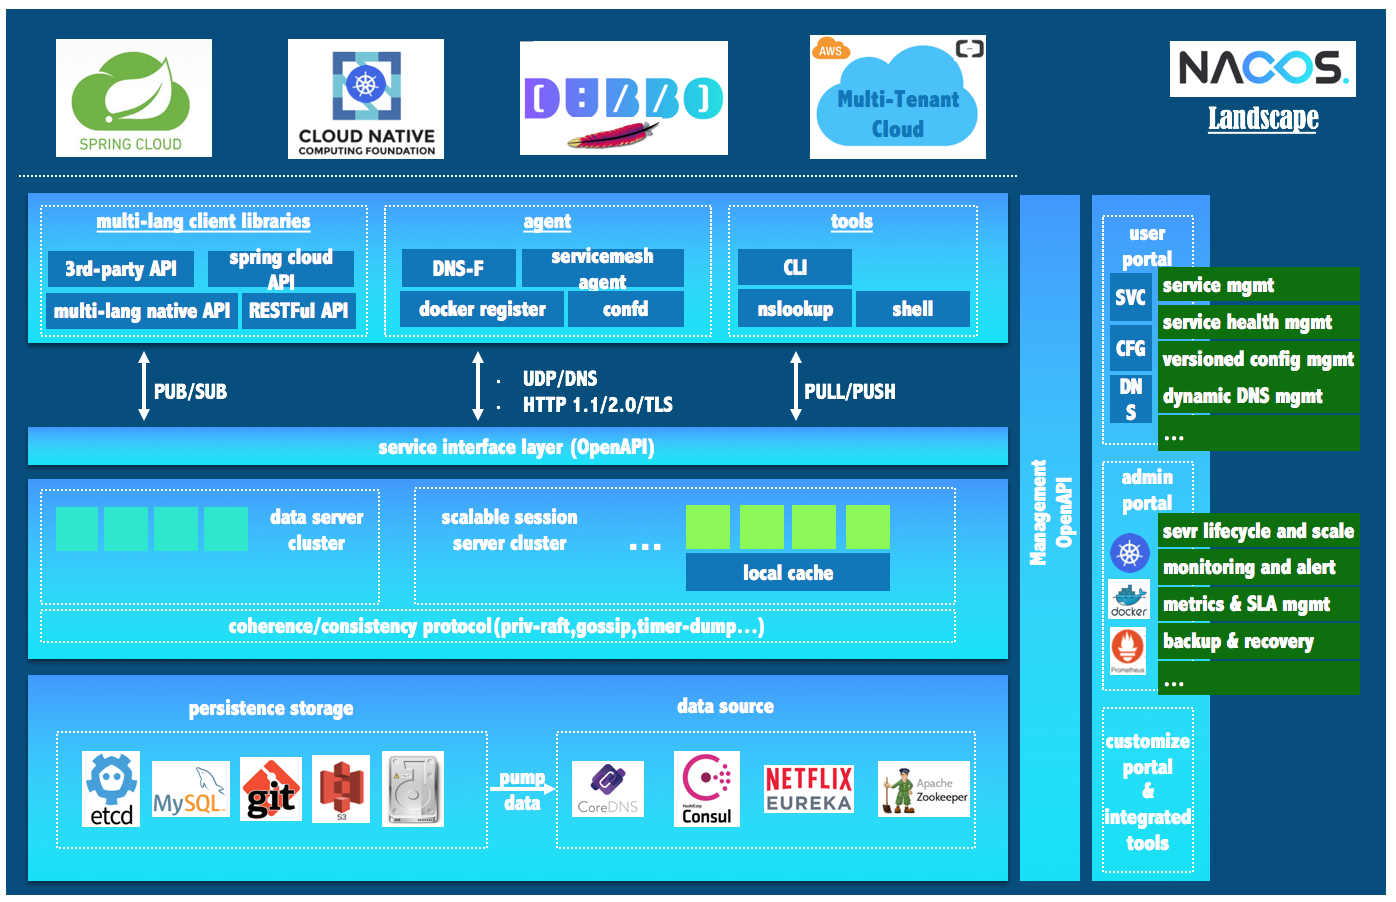
Nacos可以用來發現、配置和管理微服務。提供了一組簡單易用的特性集,可以快速實現動態服務發現、服務配置、服務元資料及流量管理。
Nacos用來更敏捷和容易地構建、交付和管理微服務平臺。Nacos是構建以”服務“為中心的現代應用構架(例如微服務正規化、雲原生正規化)的服務基礎設定。
也就是通常我們所說的配置中心和服務發現中心。
## 1.2 搭建和啟動
Nacos目前版本不支援以Spring boot的形式建立服務,必須以一個Java包的形式單獨執行或者以Docker服務的形式執行,我們大概講解一下本地執行。
下載安裝包:
```
curl https://github.com/alibaba/nacos/releases/download/1.2.1/nacos-server-1.2.1.zip
unzip nacos-server-$version.zip 或者 tar -xvf nacos-server-$version.tar.gz
cd nacos/bin
```
使用原始碼安裝:
```bash
git clone https://github.com/alibaba/nacos.git
cd nacos/
mvn -Prelease-nacos -Dmaven.test.skip=true clean install -U
ls -al distribution/target/
// change the $version to your actual path
cd distribution/target/nacos-server-$version/nacos/bin
```
**啟動:**
**Linux/Unix/Mac**
啟動命令(standalone代表著單機模式執行,非叢集模式):
```
sh startup.sh -m standalone
```
如果您使用的是ubuntu系統,或者執行指令碼報錯提示[[符號找不到,可嘗試如下執行:
```
bash startup.sh -m standalone
```
**Windows**
啟動命令:
```
cmd startup.cmd
```
或者雙擊startup.cmd執行檔案。
# 2. Spring Cloud Gateway
整個的閘道器服務,我們採用的Spring Cloud Gateway。在Spring Cloud微服務裡,整個系統只對外公開了閘道器,其他的服務是對外不可見的。所以需要設定一個讓我們可以用的閘道器服務。
在 nature/manager下建立一個gateway目錄,並新增pom.xml:
```xml
```
在manager下注冊該模組:
```xml
```
## 2.1 新增 Gateway
建立完成專案後,需要新增依賴包:
```xml
```
在gateway專案中,建立如下目錄:
```
├── pom.xml
└── src
└── main
├── java
│ └── club
│ └── attachie
│ └── gateway
│ └── SpringGatewayApplication.java
└── resources
└── bootstrap.yml
```
建立 SpringGateAppliction.java檔案,程式碼如下:
```java
package club.attachie.gateway;
import org.springframework.boot.SpringApplication;
import org.springframework.boot.autoconfigure.SpringBootApplication;
import org.springframework.cloud.client.discovery.EnableDiscoveryClient;
import org.springframework.cloud.context.config.annotation.RefreshScope;
/**
* @author attaching
*/
@SpringBootApplication
@EnableDiscoveryClient
@RefreshScope
public class SpringGatewayApplication {
public static void main(String[] args) {
SpringApplication.run(SpringGatewayApplication.class, args);
}
}
```
在resource目錄下建立 bootstrap.yml:
```yaml
spring:
application:
name: gateway
```
yml 是Spring 的一種配置檔案格式,其中名稱有application和bootstrap,bootstrap比application先載入。
## 2.2 新增 nacos
先在 nature/pom.xml 新增 nacos 版本號:
```xml
```
然後在dependencyManagement > dependencies 下新增 nacos相關依賴管理:
```xml
```
在Gateway專案中pom.xml 新增:
```xml
```
然後回過頭來,在bootstrap裡設定:
```yaml
spring:
application:
name: gateway
cloud:
nacos:
config:
server-addr: 127.0.0.1:8848
```
# 3 總結
nacos的配置和Gateway應用的介紹就到這裡為止了,因為個人並未對相關技術進行過多深入的研究,所以目前只能做到這些。後續研究深入了,會在這個系列中補齊的。
> 更多內容煩請關注[我的部落格《高先生小屋》](https://www.attachie.club)