
Docker Compose部署 EFK(Elasticsearch + Fluentd + Kibana)收集日誌
阿新 • • 發佈:2020-07-07
## 簡述
最近需要用到容器日誌收集,目前比較流行的應該是EL(Logstash)K,EF(Fluentd)K,相比之下Fluentd要比Logstash輕量級,所以決定採用Fluentd。
本文用於記錄如何使用Docker Compose部署 EFK(Elasticsearch + Fluentd + Kibana) 收集Docker容器日誌,使用EFK,可以獲得靈活,易用的日誌收集和分析。
fluentd映象構建相關檔案、docker-compose.yml檔案都放在 https://github.com/LXD24/EFK 倉庫裡。
## 1、首先弄個fluentd映象
因為Fluentd需要fluent-plugin-elasticsearch外掛才能將日誌傳輸到Elasticsearch,所以需要根據fluentd基礎映象構建一個整合fluent-plugin-elasticsearch外掛的映象,當然也可以在網上找一個已經整合的映象,這裡懶得找就自己構建了。
按照 https://github.com/fluent/fluentd-docker-image/blob/master/README.md 上的說明建立個Dockerfile檔案,看了說明需要先下載兩個檔案(`fluent.conf` 和 `entrypoint.sh`),上面都有下載地址。
Dockerfile內容如下,因為我想著到時掛載`fluent.conf`配置檔案,所以刪掉了 `COPY fluent.conf /fluentd/etc/` 這句複製配置檔案的命令。
```
FROM fluent/fluentd:v1.11-1
# Use root account to use apk
USER root
# below RUN includes plugin as examples elasticsearch is not required
# you may customize including plugins as you wish
RUN apk add --no-cache --update --virtual .build-deps \
sudo build-base ruby-dev \
&& sudo gem install fluent-plugin-elasticsearch \
&& sudo gem sources --clear-all \
&& apk del .build-deps \
&& rm -rf /tmp/* /var/tmp/* /usr/lib/ruby/gems/*/cache/*.gem
#COPY fluent.conf /fluentd/etc/
COPY entrypoint.sh /bin/
USER fluent
```
然後就是`docker build -t custom-fluentd:latest ./` 看著一頓下載構建映象。
## 2、準備一個會輸出日誌的映象
這裡我隨便弄了個.net core web服務,輸出下訪問介面的日誌到控制檯。
## 3、編寫docker-compose.yml
內容如下:
```
version: '2'
services:
webapplication1:
image: webapplication1
container_name: webapplication1
ports:
- '8001:80'
links:
- fluentd
logging:
driver: 'fluentd'
options:
fluentd-address: localhost:24224
tag: httpd.access
fluentd:
image: custom-fluentd
container_name: fluentd
volumes:
- ./fluentd/conf:/fluentd/etc
links:
- 'elasticsearch'
ports:
- '24224:24224'
- '24224:24224/udp'
elasticsearch:
image: elasticsearch:6.6.2
container_name: elasticsearch
ports:
- '9200:9200'
environment:
- 'discovery.type=single-node'
- 'cluster.name=docker-cluster'
- 'bootstrap.memory_lock=true'
- 'ES_JAVA_OPTS=-Xms512m -Xmx512m'
ulimits:
memlock:
soft: -1
hard: -1
volumes:
- ./data:/usr/share/elasticsearch/data
kibana:
image: kibana:6.6.2
container_name: kibana
links:
- 'elasticsearch'
ports:
- '5601:5601'
```
webapplication1是我建立的web服務,需要配置日誌驅動為fluentd
fluentd需要掛載`fluent.conf`配置檔案,`fluent.conf`內容如下:
```
@type forward
port 24224
bind 0.0.0.0
@type copy
@type elasticsearch
host elasticsearch
port 9200
logstash_format true
logstash_prefix fluentd
logstash_dateformat %Y%m%d
include_tag_key true
type_name access_log
tag_key @log_name
flush_interval 1s
@type stdout
```
## 4、啟動
到yml資料夾目錄下敲 `docker-compose up` 啟動。
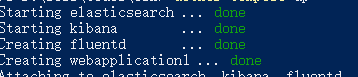
看到四個服務都是done的就可以了。
先訪問下webapplication1造點日誌,然後訪問 http://localhost:5601 ,為Kibana設定匹配的索引名
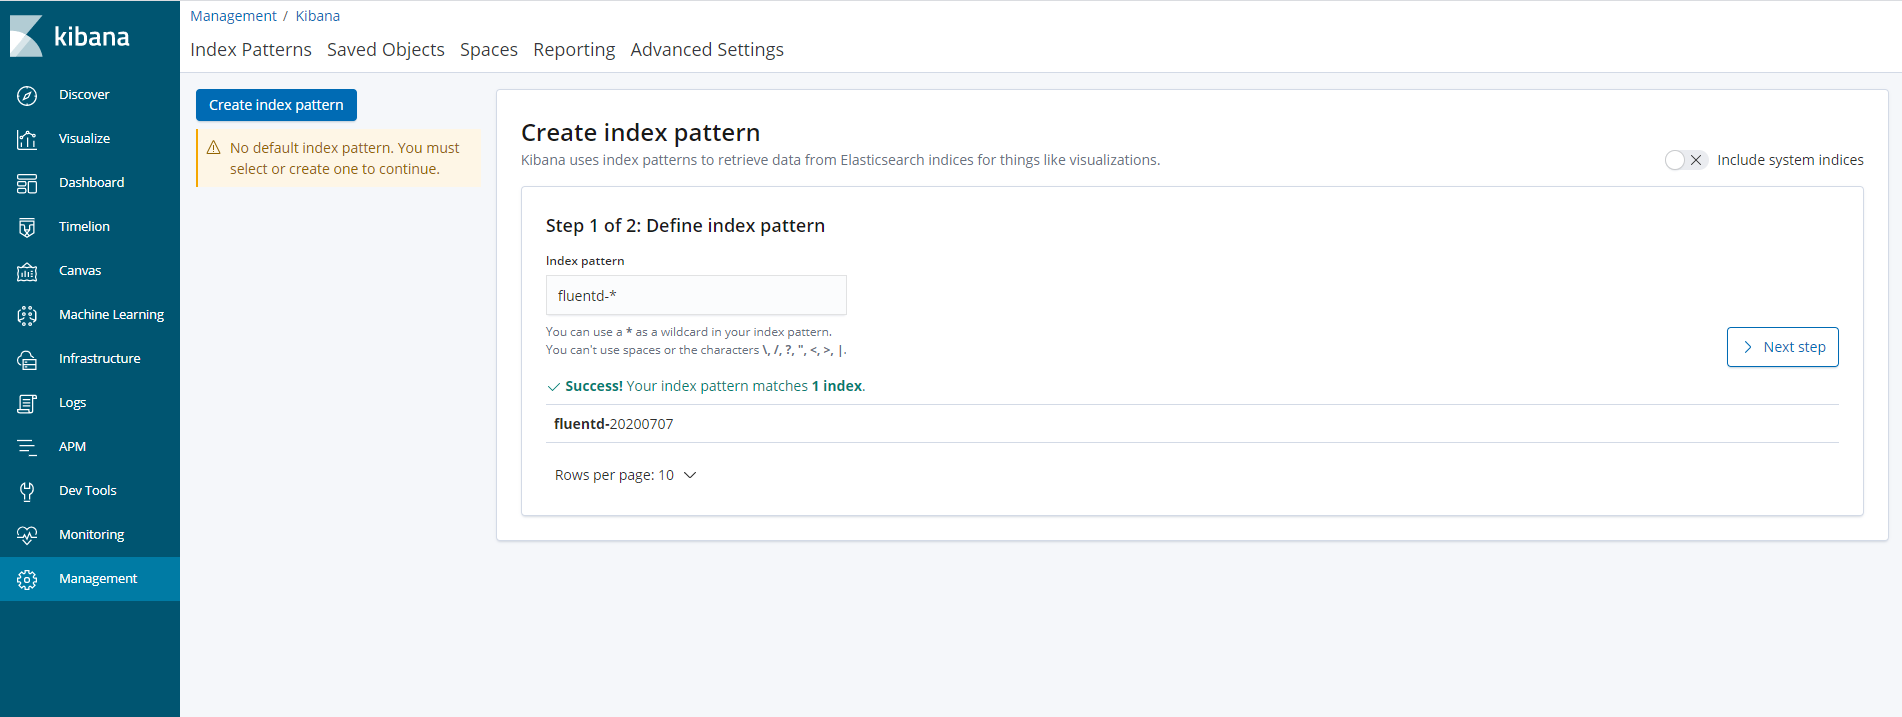
然後就能看到收集的日誌了。
![](https://img2020.cnblogs.com/blog/1624324/202007/1624324-20200707114012637-19514403