
python flask框架詳解
Enter Name:
我是模板
{{ my_int }}{{ my_str }}
{{ my_list }}
{{ my_dict }}
模板的list資料獲取
{{ my_list[0] }}
{{ my_list.1 }}
字典資料獲取
{{ my_dict['name'] }}
{{ my_dict.age }}
算術運算
{{ my_list.0 + 10 }}
{{ my_list[0] + my_list.1 }} ``` 執行效果: 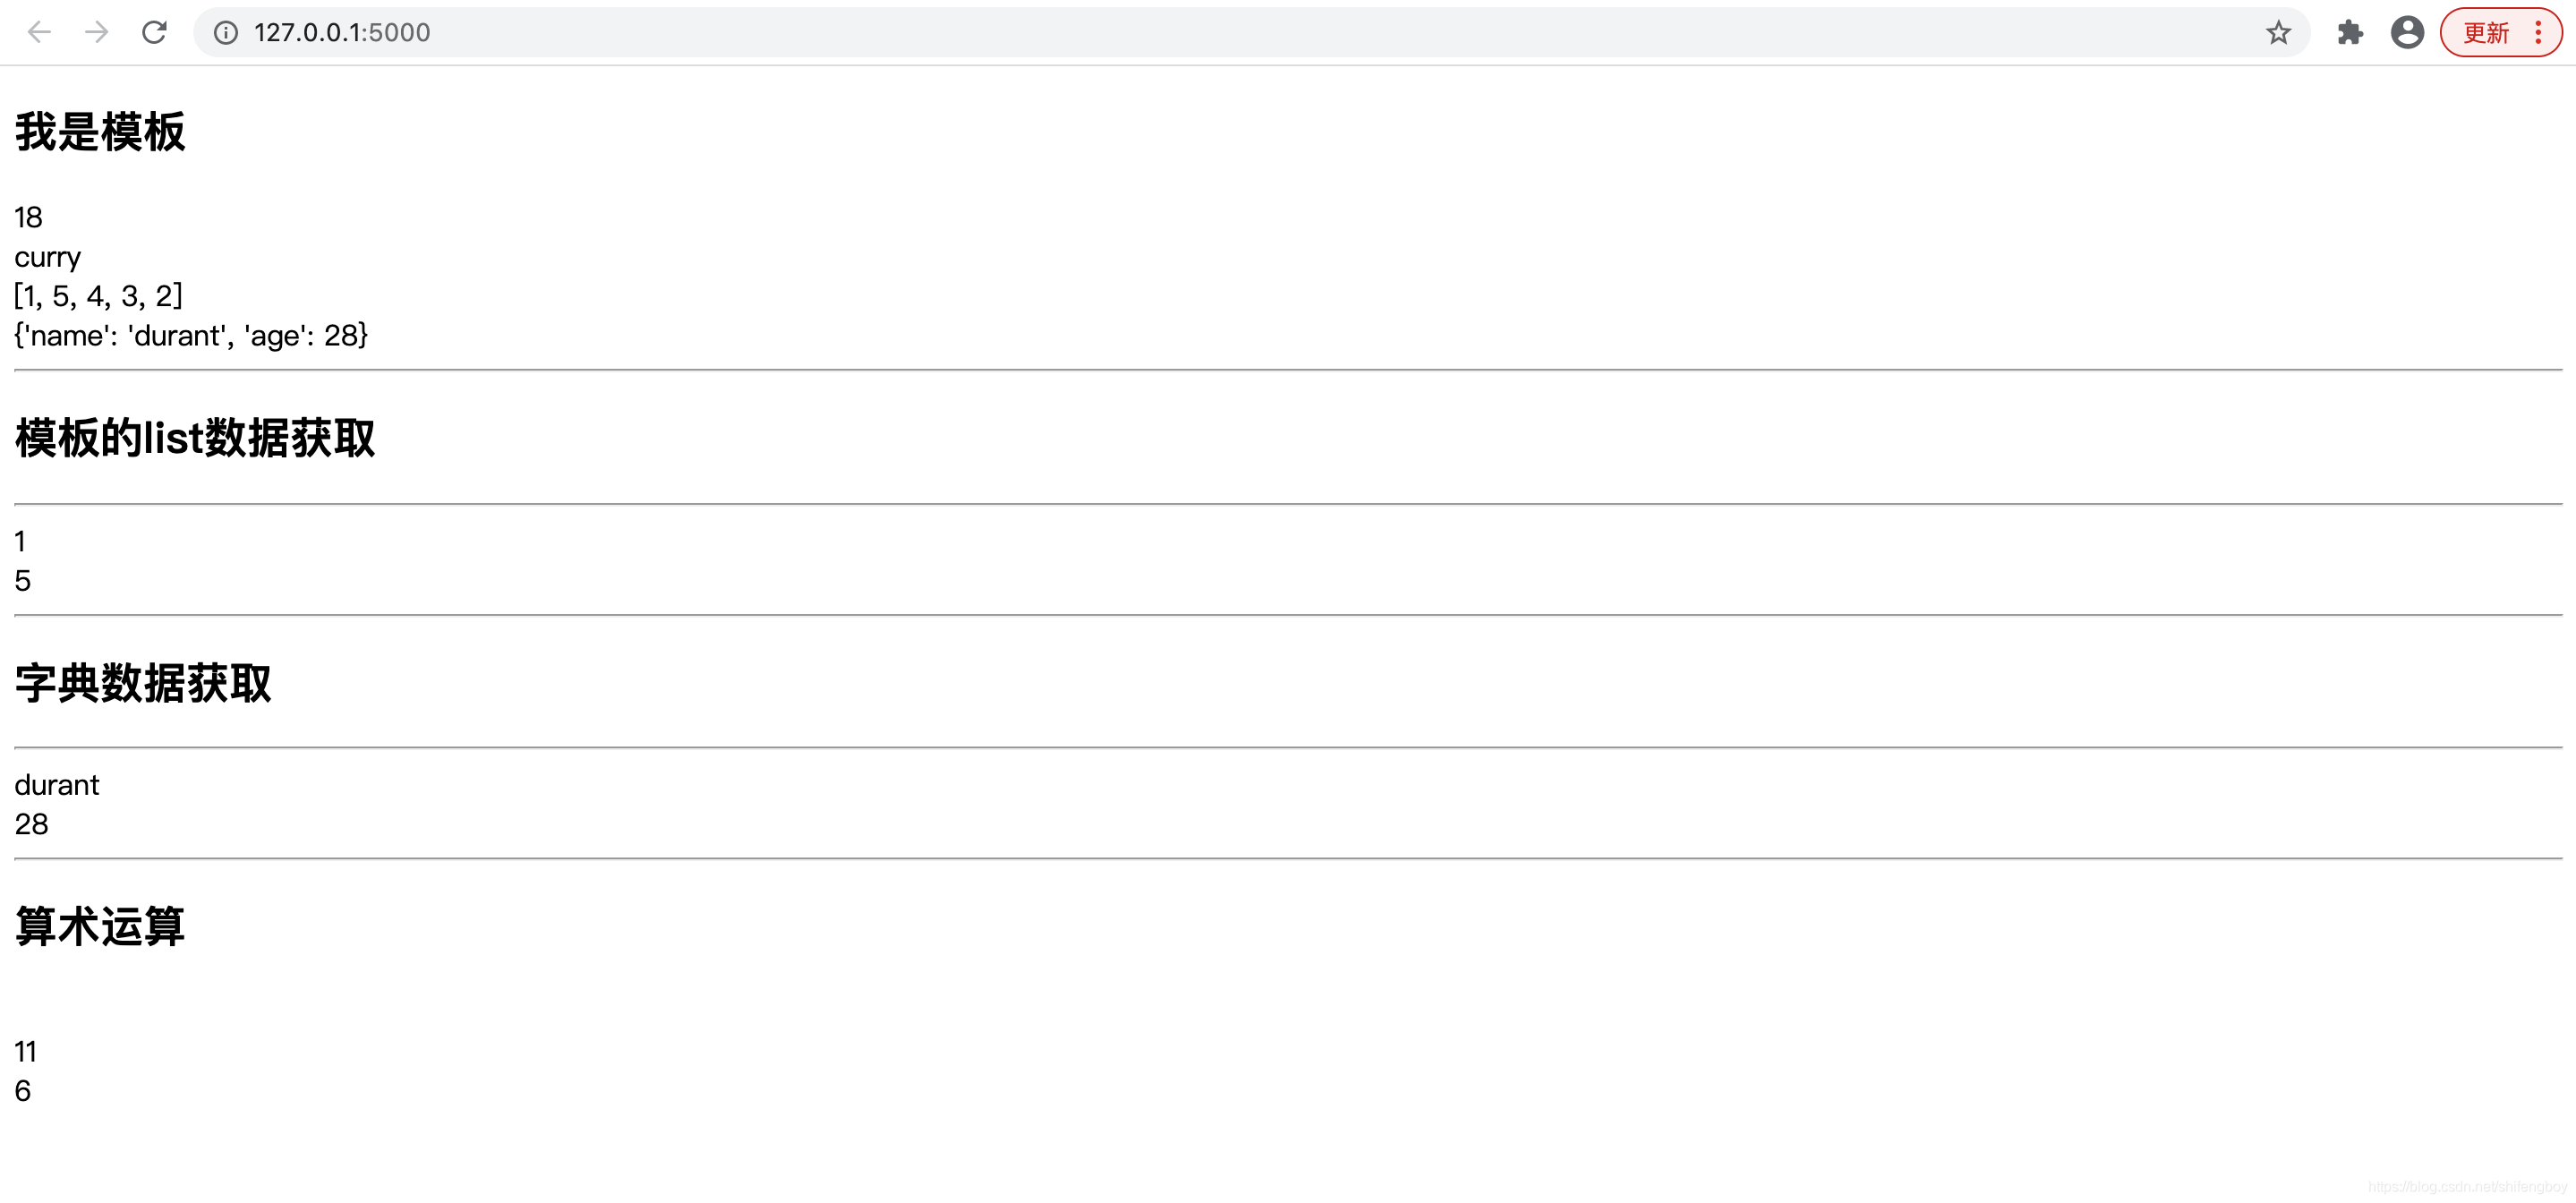 # 8.Flask 靜態檔案 動態的 web 應用也需要靜態檔案,一般是 CSS 和 JavaScript 檔案。理想情況下你的 伺服器已經配置好了為你的提供靜態檔案的服務。但是在開發過程中, Flask 也能做好 這項工作。只要在你的包或模組旁邊建立一個名為 static 的資料夾就行了。 靜態檔案位於應用的 /static 中。 使用特定的 'static' 端點就可以生成相應的 URL ```python url_for('static', filename='style.css') ``` >
Name
Physics
Chemistry
Maths
``` 下面給出了模板( result.html )的程式碼: ```html| {{ key }} | {{ value }} |
|---|
' + \ "點選這裡登出" return "您暫未登入,
" + \ "點選這裡登入" @app.route('/login', methods=['GET', 'POST']) def login(): if request.method == 'POST': session['username'] = request.form['username'] return redirect(url_for('index')) return ''' ''' @app.route('/logout') def logout(): # remove the username from the session if it is there session.pop('username', None) return redirect(url_for('index')) if __name__ == '__main__': app.run(debug=True) ``` >如何生成一個好的金鑰 生成隨機數的關鍵在於一個好的隨機種子,因此一個好的金鑰應當有足夠的隨機性。 作業系統可以有多種方式基於密碼隨機生成器來生成隨機資料。使用下面的命令 可以快捷的為 Flask.secret_key ( 或者 SECRET_KEY )生成值: $ python -c 'import os; print(os.urandom(16))' b'_5#y2L"F4Q8z\n\xec]/' 訪問http://127.0.0.1:5000/,只是提示使用者登入,因為未設定會話變數'username'。  當用戶點選登入,瀏覽到“/login”login()檢視函式時,因為它是通過GET方法呼叫的,所以將開啟一個登入表單。  點選登入,通過POST方法將表單傳送回'/login',現在會話變數已設定。應用程式重定向到'/'。此時會話變數'username'被找到。  應用程式還包含一個logout()檢視函式,它會彈出'username'會話變數。因此,'/' URL再次顯示開始頁面。  # 11.Flask 重定向和錯誤 Flask類有一個redirect()函式。呼叫時,它返回一個響應物件,並將使用者重定向到具有指定狀態程式碼的另一個目標位置。 redirect()函式的原型如下: ```python Flask.redirect(location, statuscode, response) ``` 在上述函式中: - location引數是應該重定向響應的URL。 - statuscode傳送到瀏覽器標頭,預設為302。 - response引數用於例項化響應。 以下狀態程式碼已標準化: - HTTP_300_MULTIPLE_CHOICES - HTTP_301_MOVED_PERMANENTLY - HTTP_302_FOUND - HTTP_303_SEE_OTHER - HTTP_304_NOT_MODIFIED - HTTP_305_USE_PROXY - HTTP_306_RESERVED - HTTP_307_TEMPORARY_REDIRECT 預設狀態程式碼為302,表示'found'。 在以下示例中,redirect()函式用於在登入嘗試失敗時再次顯示登入頁面。 ```python from flask import Flask, redirect, url_for, render_template, request # Initialize the Flask application app = Flask(__name__) @app.route('/') def index(): return render_template('log_in.html') @app.route('/login', methods=['POST', 'GET']) def login(): if request.method == 'POST' and request.form['username'] == 'admin': return redirect(url_for('success')) return redirect(url_for('index')) @app.route('/success') def success(): return 'logged in successfully' if __name__ == '__main__': app.run(debug=True) ``` 下面給出的是 log_in.html的 HTML 指令碼。 ```html
Enter Name:
``` Flask類具有帶有錯誤程式碼的abort()函式。 ```python Flask.abort(code) ``` Code引數採用以下值之一: - 400 - 用於錯誤請求 - 401 - 用於未身份驗證的 - 403 - Forbidden - 404 - 未找到 - 406 - 表示不接受 - 415 - 用於不支援的媒體型別 - 429 - 請求過多 讓我們對上述程式碼中的login()函式稍作更改。如果要顯示'Unauthurized'頁面,請將其替換為呼叫abort(401),而不是重新顯示登入頁面。 ```python from flask import Flask, redirect, url_for, render_template, request, abort app = Flask(__name__) @app.route('/') def index(): return render_template('log_in.html') @app.route('/login', methods=['POST', 'GET']) def login(): if request.method == 'POST': if request.form['username'] == 'admin': return redirect(url_for('success')) else: abort(401) else: return redirect(url_for('index')) @app.route('/success') def success(): return 'logged in successfully' if __name__ == '__main__': app.run(debug=True) ``` 執行,輸入非admin的使用者名稱,點選提交  # 12. Flask 訊息閃現 一個好的基於 GUI 的應用程式會向用戶提供有關互動的反饋。例如,桌面應用程式使用對話方塊或訊息框,JavaScript 使用警報用於類似目的。 在 Flask Web 應用程式中生成這樣的資訊性訊息很容易。Flask 框架的閃現系統可以在一個檢視中建立訊息,並在名為 next 的檢視函式中呈現它。 Flask 模組包含 flash() 方法。它將訊息傳遞給下一個請求,該請求通常是一個模板。 ```python flash(message, category) ``` 其中, - message 引數是要閃現的實際訊息。 - category 引數是可選的。它可以是“error”,“info”或“warning”。 為了從會話中獲取訊息,模板呼叫 get_flashed_messages()。 以下是一個完整的示例: ```python from flask import Flask, flash, redirect, render_template, \ request, url_for app = Flask(__name__) app.secret_key = b'_5#y2L"F4Q8z\n\xec]/' @app.route('/') def index(): return render_template('index.html') @app.route('/login', methods=['GET', 'POST']) def login(): error = None if request.method == 'POST': if request.form['username'] != 'admin' or \ request.form['password'] != 'secret': error = 'Invalid credentials' else: flash('You were successfully logged in') return redirect(url_for('index')) return render_template('login.html', error=error) if __name__ == '__main__': app.run(debug=True) ``` 以下是實現閃現的 layout.html 模板: ```html-
{% for message in messages %}
- {{ message }} {% endfor %}
Overview
Do you want to log in? {% endblock %} ``` 以下是同樣繼承自 layout.html 的 login.html 模板: ```html {% extends "layout.html" %} {% block body %}
Login
{% if error %}Error: {{ error }} {% endif %}
- Username:
- Password:
{% endblock %} ``` 執行 首頁  登入報錯頁 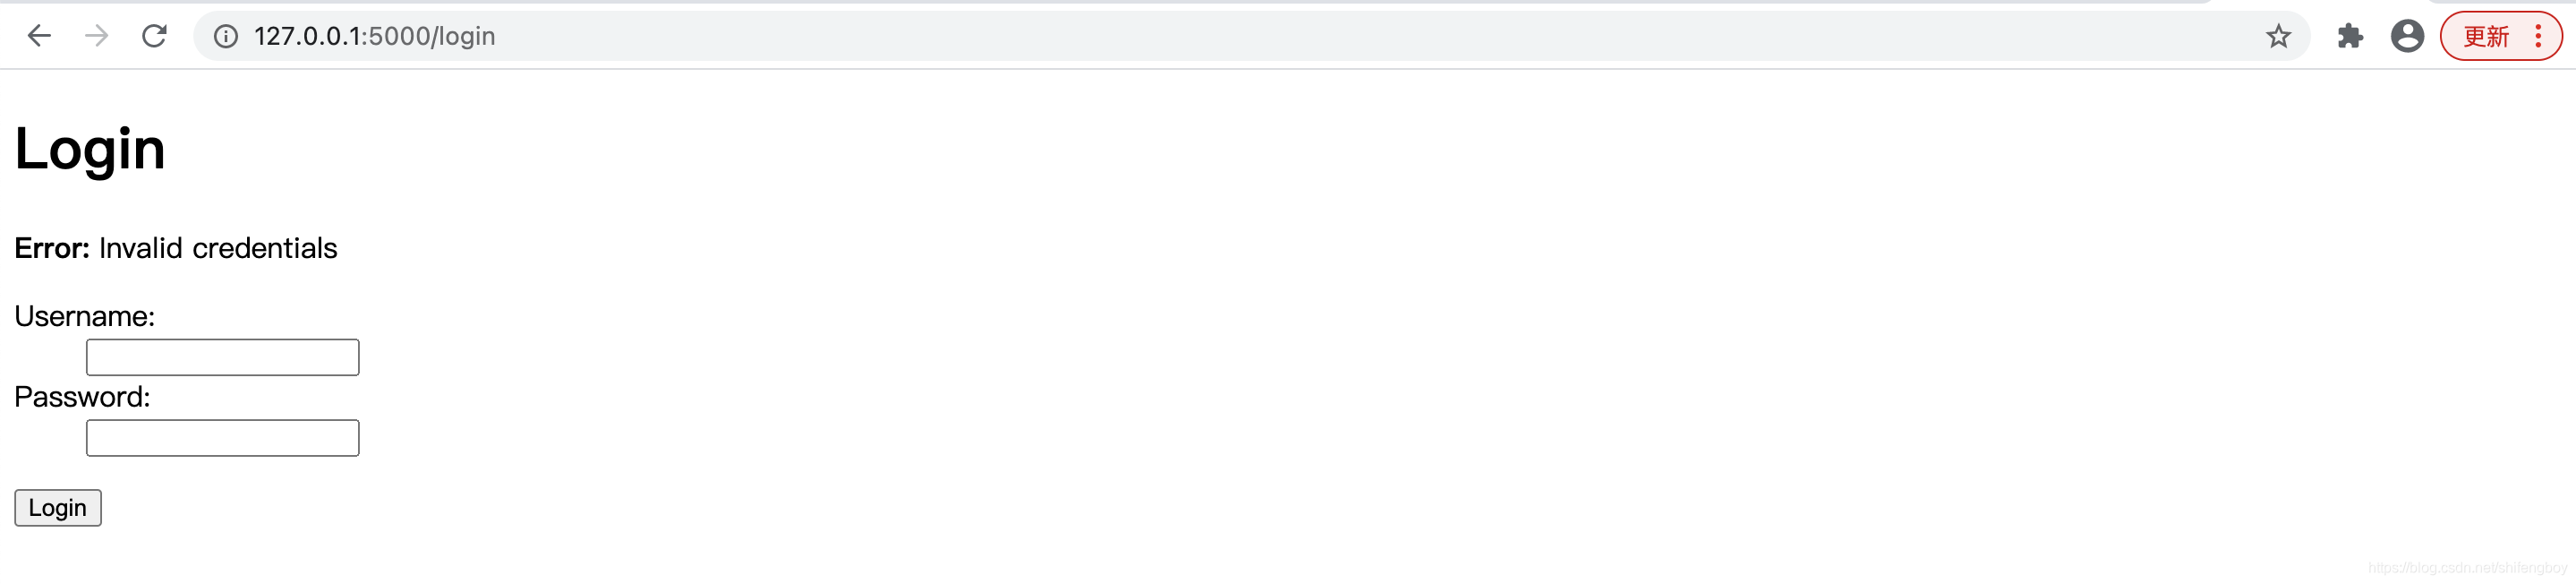 登入成功頁  # 13. Flask 檔案上傳 在 Flask 中處理檔案上傳非常簡單。它需要一個 HTML 表單,其 `enctype `屬性設定為`'multipart/form-data'`,將檔案釋出到 URL。URL 處理程式從 `request.files[] `物件中提取檔案,並將其儲存到所需的位置。 每個上傳的檔案首先會儲存在伺服器上的臨時位置,然後將其實際儲存到它的最終位置。目標檔案的名稱可以是硬編碼的,也可以從 `request.files[file] `物件的` filename `屬性中獲取。但是,建議使用 `secure_filename() `函式獲取它的安全版本。 可以在 Flask 物件的配置設定中定義預設上傳資料夾的路徑和上傳檔案的最大大小。 >app.config[‘UPLOAD_FOLDER’] 定義上傳資料夾的路徑 app.config[‘MAX_CONTENT_LENGTH’] 指定要上傳的檔案的最大大小(以位元組為單位) 以下程式碼具有 `'/upload'` URL 規則,該規則在 templates 資料夾中顯示 `'upload.html'`,以及 `'/ upload-file' `URL 規則,用於呼叫 `uploader() `函式處理上傳過程。 `'upload.html'` 有一個檔案選擇器按鈕和一個提交按鈕。 ```html
Comments - Flask SQLAlchemy example
{%- for message in get_flashed_messages() %} {{ message }} {%- endfor %}
Students (Add Student )
| Name | City | Address | Pin |
|---|---|---|---|
| {{ student.name }} | {{ student.city }} | {{ student.addr }} | {{ student.pin }} |
Students - Flask SQLAlchemy example
{%- for category, message in get_flashed_messages(with_categories = true) %} {{ message }} {%- endfor %}
``` 當http方法被檢測為POST時,表單資料被新增到學生表中,並且應用返回到顯示新增資料的主頁。 ```python @app.route('/new', methods = ['GET', 'POST']) def new(): if request.method == 'POST': if not request.form['name'] or not request.form['city'] or not request.form['addr']: flash('Please enter all the fields', 'error') else: student = students(request.form['name'], request.form['city'], request.form['addr'], request.form['pin']) db.session.add(student) db.session.commit() flash('Record was successfully added') return redirect(url_for('show_all')) return render_template('new.html') ``` 下面給出了應用程式(app.py)的完整程式碼。 ```python from flask import Flask, request, flash, url_for, redirect, render_template from flask_sqlalchemy import SQLAlchemy app = Flask(__name__) app.config['SQLALCHEMY_DATABASE_URI'] = 'sqlite:///students.sqlite3' app.config['SECRET_KEY'] = "random string" db = SQLAlchemy(app) class students(db.Model): id = db.Column('student_id', db.Integer, primary_key=True) name = db.Column(db.String(100)) city = db.Column(db.String(50)) addr = db.Column(db.String(200)) pin = db.Column(db.String(10)) def __init__(self, name, city, addr, pin): self.name = name self.city = city self.addr = addr self.pin = pin @app.route('/') def show_all(): return render_template('show_all.html', students=students.query.all()) @app.route('/new', methods=['GET', 'POST']) def new(): if request.method == 'POST': if not request.form['name'] or not request.form['city'] or not request.form['addr']: flash('Please enter all the fields', 'error') else: student = students(request.form['name'], request.form['city'], request.form['addr'], request.form['pin']) db.session.add(student) db.session.commit() flash('Record was successfully added') return redirect(url_for('show_all')) return render_template('new.html') if __name__ == '__main__': db.create_all() app.run(debug=True) ``` 首頁  錯誤頁: 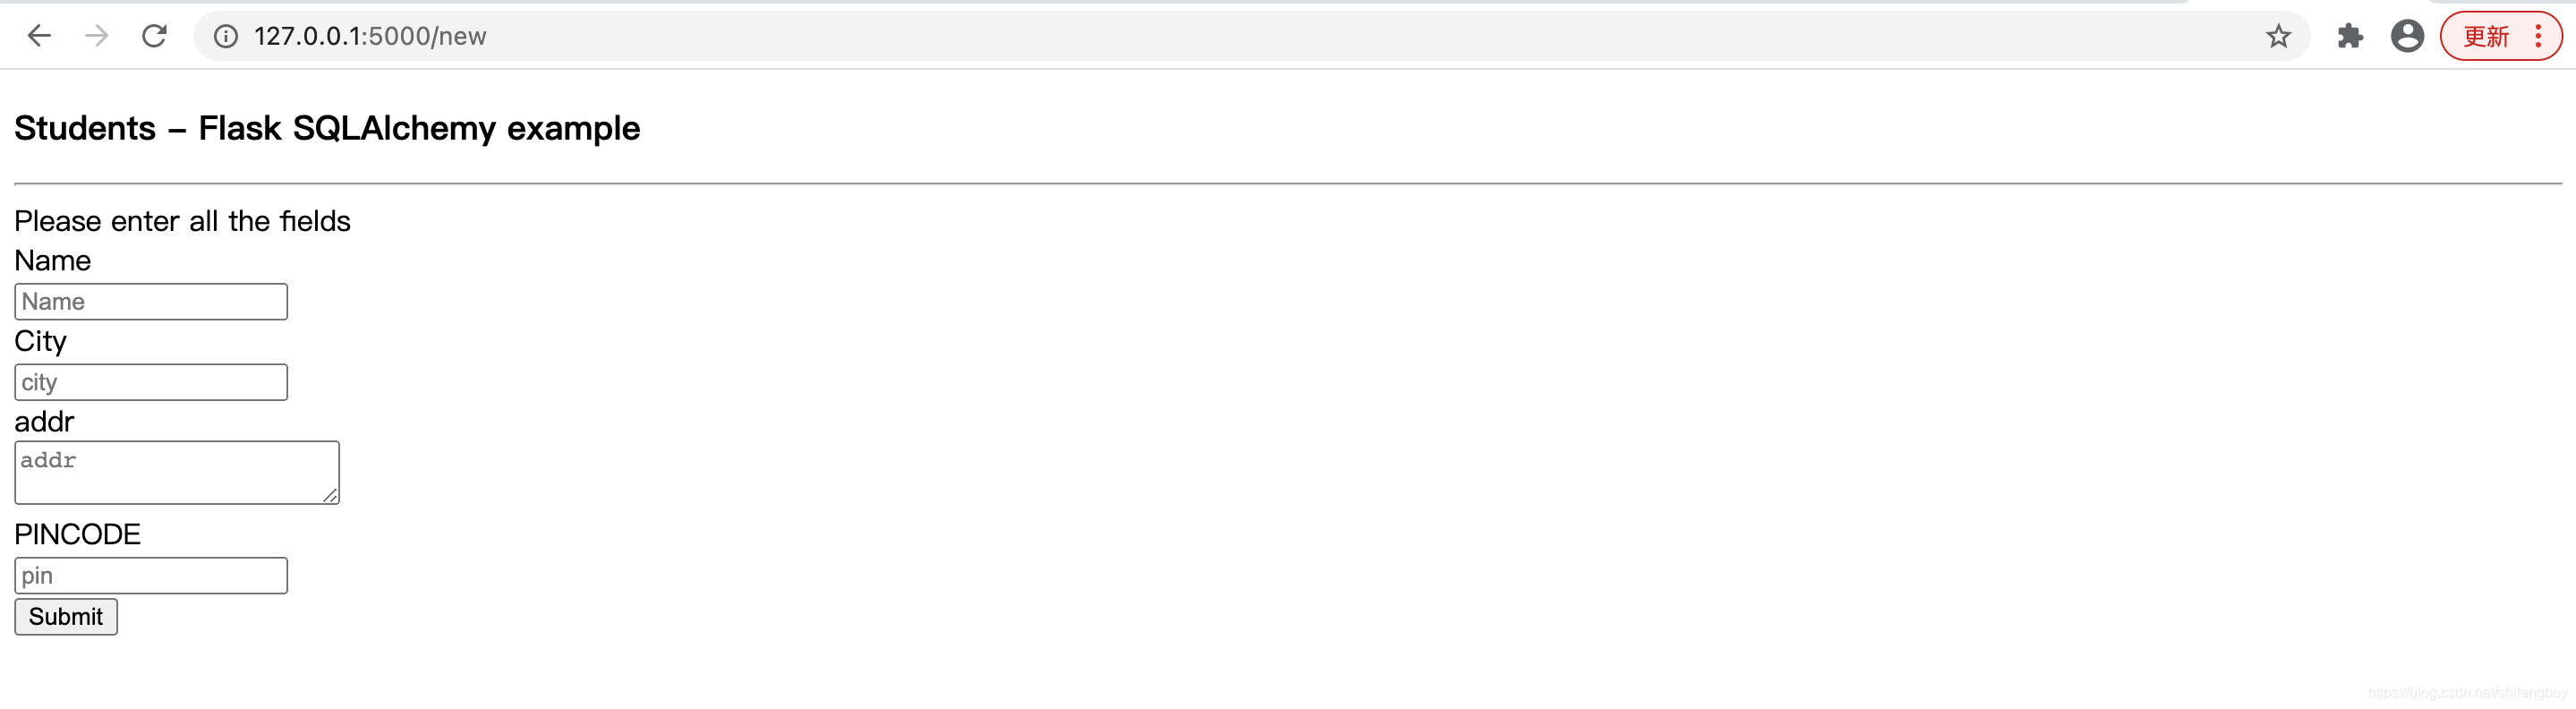 提交成功頁: 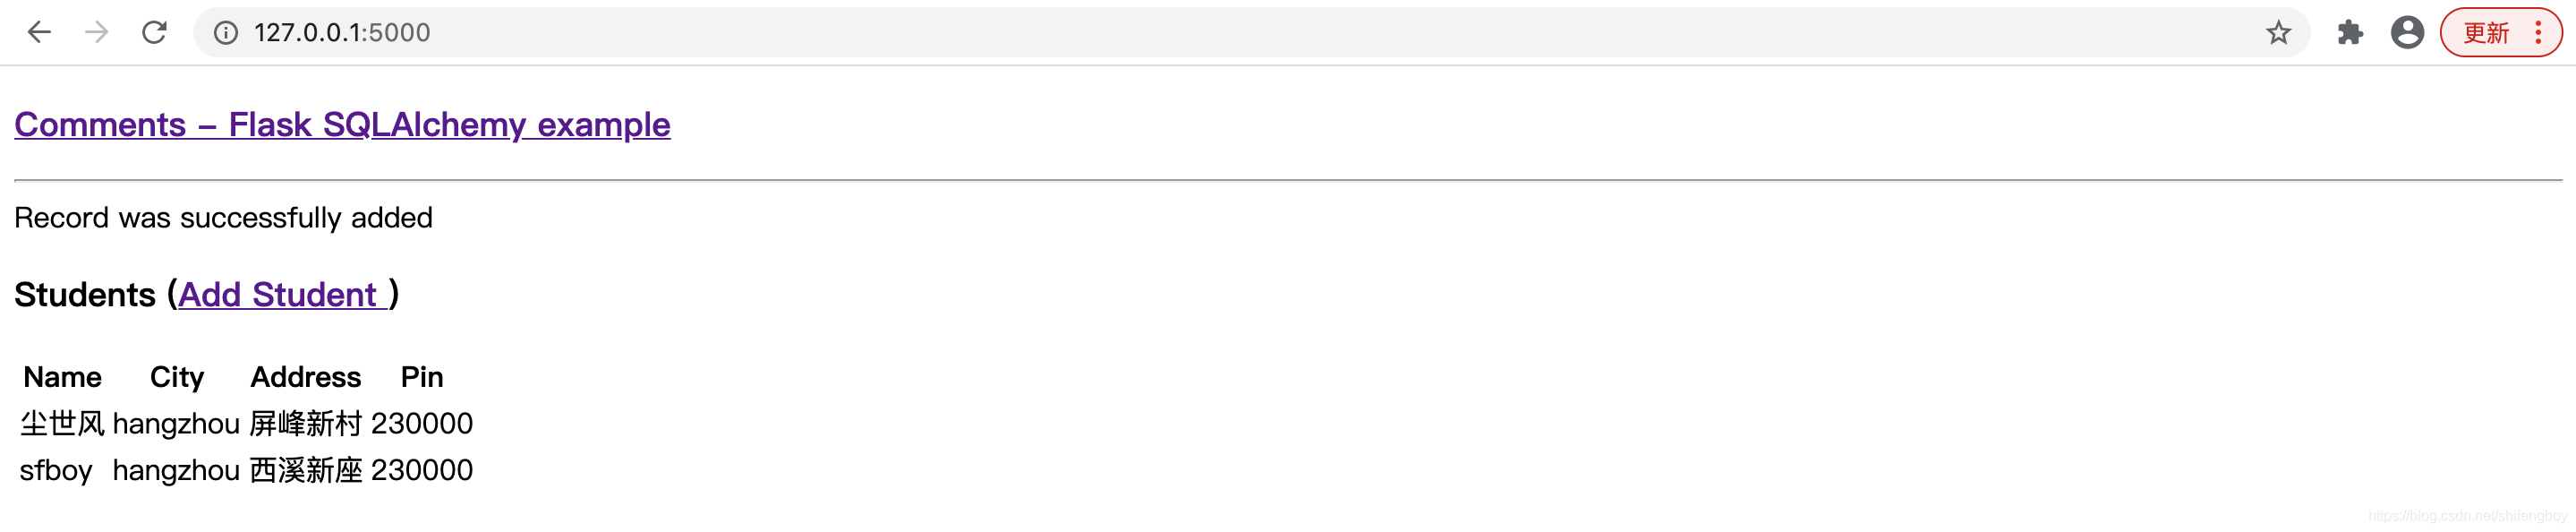 本文參考:https://www.w3cschool.cn