
maven第二天——大綱待更新
阿新 • • 發佈:2017-06-02
public lose uil org 麻煩 ins port pack 我們 
一、在eclipse中建立工程
在day01中我們搭建了eclipse的maven環境,接下來我們開始建立maven項目
1.在eclipse中建立JAVA工程
file->new->maven project,勾選 create a simple project->next
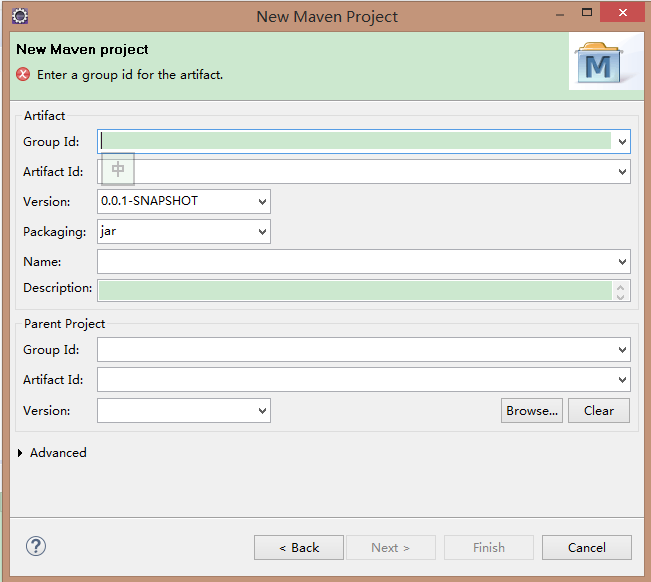
在上述對話框中填入坐標信息和打包方式(這裏選擇jar),將以下信息填入,建立工程
      groupId:com.atguigu.maven
        ArtifactId:MakeFriends
        Package:com.atguigu.maven
在src/main/java中新建類com.atguigu.maven.MakeFriends (註意包與類名)

public String makeFriends(String name){
            HelloFriend friend = new HelloFriend();
            friend.sayHelloToFriend("litingwei");
            String str = "Hey,"+friend.getMyName()+" make a friend please.";
            System.out.println(str);
            return str;
        }
View Code
在src/test/java中新建類com.atguigu.maven.MakeFriendsTest
package com.atguigu.maven; import static junit.framework.Assert.assertEquals; import org.junit.Test; public class MakeFriendsTest { @Test public void testMakeFriends() { MakeFriends makeFriend = new MakeFriends(); String strView Code= makeFriend.makeFriends("litingwei"); assertEquals("Hey,John make a friend please.", str); } }
//不要自己去以IDE的方式導入jUnit的包
添加依賴信息(pom.xml)
<dependency>
            <groupId>junit</groupId>
            <artifactId>junit</artifactId>
            <version>4.9</version>
            <scope>test</scope>
        </dependency>
        <dependency>
            <groupId>com.atguigu.maven</groupId>
            <artifactId>HelloFriend</artifactId>
            <version>0.0.1-SNAPSHOT</version>
            <type>jar</type>
            <scope>compile</scope>
        </dependency>
View Code
//自己建一個dependcies父標簽
//執行此操作時請將之前建的maven工程進行導入
此時maven工程會生成一個maven的依賴:

當然,我們的工程依賴HelloFriend,但是倉庫中並沒有這個依賴,直接編譯將報錯,我們必須先進行安裝(關於安裝的概念請參見day01):
在HelloFriend的 pom.xml上右擊->run as->maven install (控制臺輸出 BUILD SUCCESS即OK)
接下來我們可以對MakeFriends進行編譯了,在pom.xml上右擊->run as->maven build...(第二個),goals中填編譯命令 compile
//當然,這樣一直安裝到倉庫也是比較麻煩的,一般而言我們都是項目開發完了,最後需要打包測試了,再把需要安裝的都安裝一下即可。
2.在eclipse中建立WEB工程
maven第二天——大綱待更新