gitlab安裝
說明:本來沒計劃寫這篇安裝部署文章的,今天部署GitLab時,卻發現與以往的版本不太一樣,所以記錄下,備忘(其實官網的手冊寫的已經蠻詳細了)。
1、安裝依賴關系
yum -y install curl policycoreutils openssh-server openssh-clients postfix
2、添加GitLab包並安裝
curl -s https://packages.gitlab.com/install/repositories/gitlab/gitlab-ce/script.rpm.sh | sudo bash
3、配置並開始GitLab
sudo gitlab-ctl reconfigure
4、使用用戶名和密碼登錄
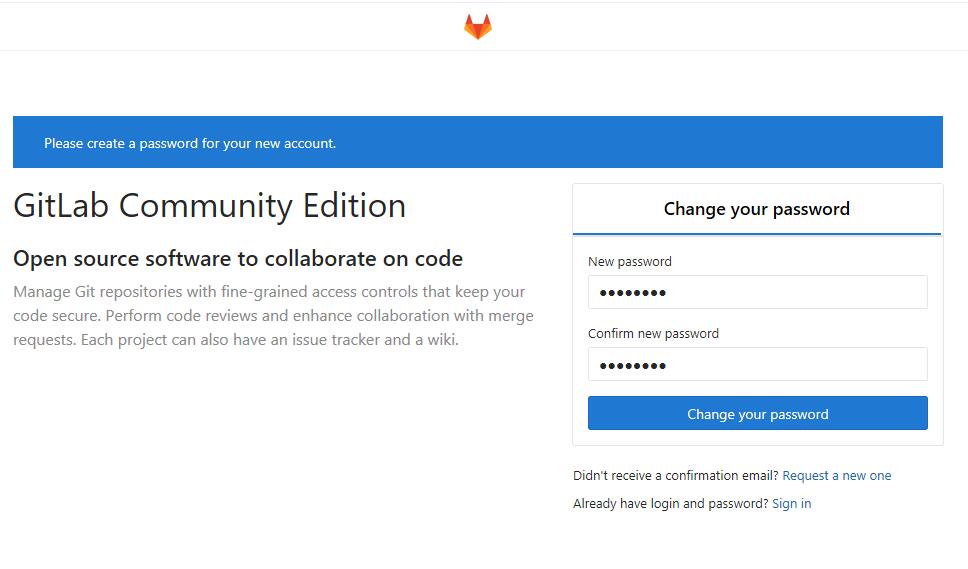
a)在瀏覽器裏直接輸入本地GitLab的IP,首次登錄會提示要更改默認的密碼

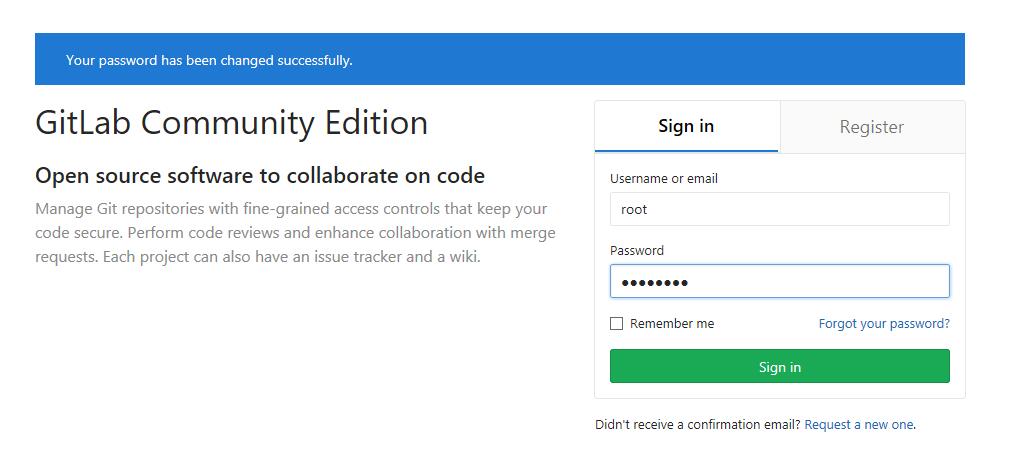
b)使用默認用戶名root以及密碼登錄到GitLab
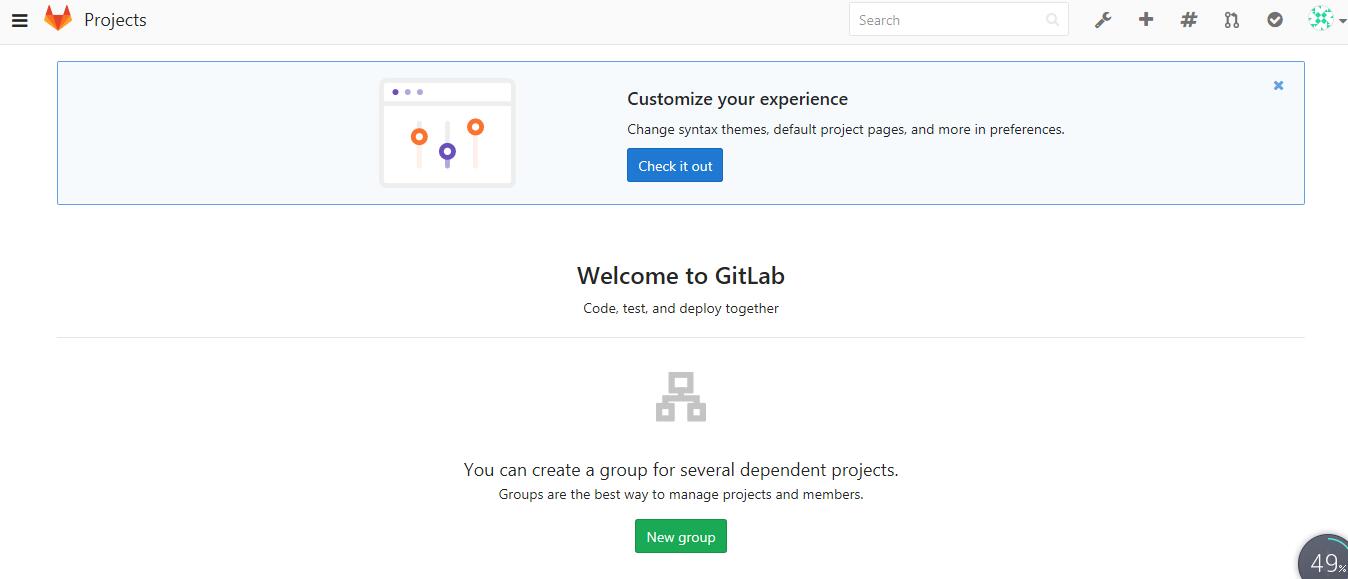
c)進入到GitLab界面

本文出自 “冰凍vs西瓜” 博客,請務必保留此出處http://molewan.blog.51cto.com/287340/1940011
gitlab安裝
相關推薦
gitlab安裝與簡單配置
gitlab1、官網安裝文檔:https://about.gitlab.com/downloads/#centos7 sudo yum install curl policycoreutils openssh-server openssh-clients sudo systemctl enable sshd
gitlab安裝教程
ont about con ica url localhost install cmd nts gitlab安裝教程 安裝教程 官網安裝方法 https://about.gitlab.com/downloads/#centos7 1.準備 sudo yu
gitlab安裝
gitlab說明:本來沒計劃寫這篇安裝部署文章的,今天部署GitLab時,卻發現與以往的版本不太一樣,所以記錄下,備忘(其實官網的手冊寫的已經蠻詳細了)。1、安裝依賴關系 yum -y install curl policycoreutils openssh-server openssh-clients po
gitlab安裝與配置
git github gitlab 1、基礎環境準備yum install curl policycoreutils openssh-server openssh-clients postfix -y systemctl start postfix2、安裝gitlab-cecurl -sS htt
GitLab安裝說明
load 而後 variables 過程 start sqlite reverse upd 統一管理 http://blog.csdn.net/huangzhijie3918/article/details/51330425 GitLab,是一個使用 Ruby
CentOS服務器上搭建Gitlab安裝步驟、中文漢化詳細步驟、日常管理以及異常故障排查
機器 start 自己的 sta sendmai 內網 eight 故障 /tmp 一, 服務器快速搭建gitlab方法 可以參考gitlab中文社區 的教程centos7安裝gitlab:https://www.gitlab.cc/downloads/#centos7ce
gitlab安裝手記
log gitlab postgres ins etc body update altered class [root@linux ~]# rpm -i gitlab-ce-7.10.4~omnibus-1.x86_64.rpm gitlab: Thank you for
gitlab安裝,使用,備份,恢復
git gitlab gitlab安裝,使用,備份,恢復 git是一個版本控制器在分布式版本控制系統裏,客戶端並不只提取最新版本的文件快照,而是把代碼倉庫完整地鏡像下來。 這麽一來,任何一處協同工作用的服務器發生故障,事後都可以用任何一個鏡像出來的本地倉庫恢復。因為每一次的提取操作,實際上都是一次對代
DevOps實踐之Gitlab安裝部署
dha 定義 設置 oca color chkconfig smt 接下來 .sh All GitLab packages are posted to our package server and can be downloaded. We maintain five re
gitlab 安裝
gitlab gitlab install gitlab 安裝. git 版本控制 gitlab下載地址:http://mirrors.zju.edu.cn/gitlab-ce/yum/el6/#我下載的包為gitlab-ce-9.5.3-ce.0.el6.x86_64.rpm # git
CentOS7環境下GitLab安裝及基本配置
tro 用戶 etc 進入 註意 AD centos systemctl rpm -ivh 新實驗室要求重新建設GitLab,對於我來講,是第一次有機會當元老參與實驗室的建設。下面分享我自己的實測經驗: 1. 安裝依賴軟件並設置開機啟動 yum install curl
GitLab安裝,導入,備份
fir rake mov IE utils tar mkdir -p too follow GitLab的安****裝 2.1.在CentOS系統上,下面的命令將會打開系統防火墻HTTP和SSH訪問。 yum install curl policycoreutils ope
GitLab安裝部署
團隊 mir span rpm -ivh font wal ble 部署 組件 Gitlab介紹 GitLab是一個利用 Ruby on Rails 開發的開源應用程序,實現一個自托管的Git項目倉庫,可通過Web界面進行訪問公開的或者私人項目。 GitLab擁有與G
gitlab 安裝和基本介紹
per cto 依賴 配置yum 代理服 create 客戶 靈活 nfs 一 安裝gitlab 1 環境簡介 官方相關介紹: 硬件要求. 存儲必要的硬盤空間在很大程度上取決於您想要存儲在GitLab中的存儲庫的大小,但根據經驗,您應該至少擁有與您的所有存儲庫合並占用
『中級篇』docker之CI/CD持續集成-gitlab安裝(70)
num png work 保存 pat scrip systemctl memory lan >原創文章,歡迎轉載。轉載請註明:轉載自IT人故事會,謝謝!>原文鏈接地址:『中級篇』docker之CI/CD持續集成-gitlab安裝(70) gitlab在持續化集
Linux GitLab安裝過程記錄以及簡單使用
今天給各位同學帶來的是GitLab安裝過程的記錄以及使用,因為gitlab安裝十分容易,所以我在這裡也不去做過多的說明,這篇部落格的主要目的是用於記錄,方便後期自己使用,好了,廢話不多說了。直接按照步驟來進行安裝了,本人這裡使用的是CentOS7,但是6和7的安裝步驟沒有什麼區別
centOS 7 gitlab安裝
https://www.cnblogs.com/chenfool/p/7689438.html 配置阿里巴巴 yum 源 wget -O /etc/yum.repos.d/CentOS-Base.repo http://mirrors.aliyun.com/repo/Centos-7.repo 重建
gitlab安裝方式一
轉自 https://www.cnblogs.com/kevingrace/p/5985918.html 映象下載地址 https://mirrors.tuna.tsinghua.edu.cn/gitlab-ce/yum/el6/ Gitlab環境快速部署(RPM包方式安裝) 之前梳
gitlab安裝方式二
轉自 https://www.cnblogs.com/wenwei-blog/p/5861450.html 配置安裝、報錯解決按照這個 轉自 https://www.linuxidc.com/Linux/2017-11/148223.htm 安裝按照這個
Jenkins持續整合 之 GitLab安裝
一、安裝相應所需依賴包 yum install lokkit yum install curl openssh-server openssh-clients postfix cronie -y service postfix start chkconfig postfix on lokkit -s http
