
gitlab安裝,使用,備份,恢復
git是一個版本控制器
在分布式版本控制系統裏,客戶端並不只提取最新版本的文件快照,而是把代碼倉庫完整地鏡像下來。
這麽一來,任何一處協同工作用的服務器發生故障,事後都可以用任何一個鏡像出來的本地倉庫恢復。因為每一次的提取操作,實際上都是一次對代碼倉庫的完整備份。
1.gitlab介紹
GitLab 是一個用於倉庫管理系統的開源項目,使用Git作為代碼管理工具,並在此基礎上搭建起來的web服務,操作起來特別方便。
2.Gitlab安裝與配置
2.1yum安裝軟件包yum install curl openssh-server openssh-clients postfix cronie -y
2.2開啟postfix服務
service postfix start
chkconfig postfix on
2.3關閉防火墻
service iptables stop
setenforce 02.4上傳軟件包rpm -ivh gitlab-ce-8.9.9-ce.0.el6.x86_64.rpm
2.5Gitlab命令
gitlab-ctl reconfigure  #啟動github
gitlab-ctl status #查看狀態
gitlab-ctl start #啟動
gitlab-ctl restart #重啟
gitlab-ctl stop #停止
2.6Gitlab修改密碼]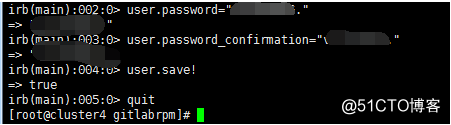
gitlab-rails console production
#修改普通用戶
#user=User.where(name: "chenhao").first
user.password="密碼"
=> "密碼"
irb(main):004:0> user.save!
=> true
irb(main):005:0> quit
#修改root用戶
irb(main):001:0> user = User.where(id: 1).first
=> #<User id: 1, email: "[email protected]"。。。。。
irb(main):002:0> user.password="密碼"
=> "密碼"
irb(main):003:0> user.password_confirmation="密碼"
=> "密碼"
irb(main):004:0> user.save!
=> true
irb(main):005:0> quit
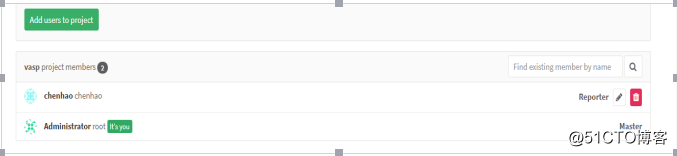
2.8Gitlab修改成員權限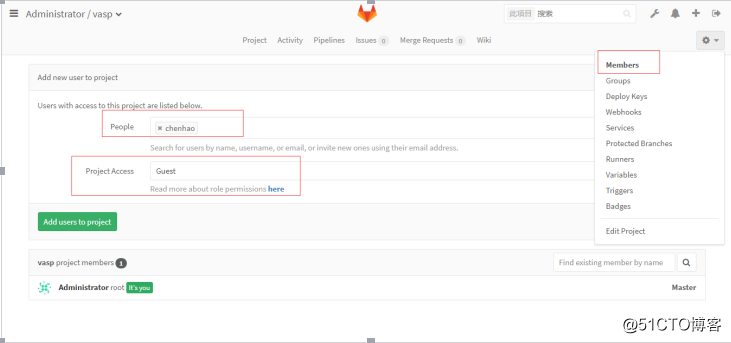
2.9Gitlab 添加ssh
ssh-keygen -t rsa -C "[email protected]"
cat id_rsa.pub
ssh-rsa AAAAB3NzaC1yc2EAAAABIwAAAQEAu0ysR63bNLLla2X2AvAC8egFCeGR7PgZZsYwg8a7SrZ4lTHN+AxPzTuRtvGOEPIsLpRiY2fpGe3zIc047uxMM5aqSD8+JzNhZCBtR7YJEuypbn7lSlM9dCHwpc2OtT+crp5Jz20oL+T5mWqZG17ERzDTsqCm/PLSekmIFJfKmCmY70JzRajqzAirOtSAdfQjXyVoJUJ0u4LHixQtafIoq3jNSIUWvWuYnNHo/xDfP8KVja4ihKXsjAjBDZrIPpJ7I3WjgsZvOO06Q/eDxNKKYYF1E71rN/qbe6am1HVfeFyAlVRZsd3GaUaqgLQXCn+6MyKetLSHHtOJ2+nPLhBMhQ== root@cluster4
#把上面的內容復制到web的ssh keys裏面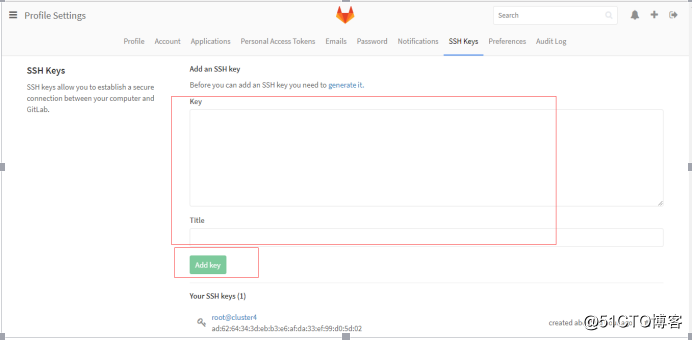
2.10Gitlab linux clone項目
#Git global setup
git config --global user.name "chenhao"
git config --global user.email "[email protected]"

Create a new repository
git clone git@cluster4:chenhao/vasp.git
cd vasp
touch README.md
git add README.md
git commit -m "add README"
git push -u origin master

Existing folder or Git repository
cd existing_folder
git init
git remote add origin git@cluster4:chenhao/vasp.git
git add .
git commit
git push -u origin master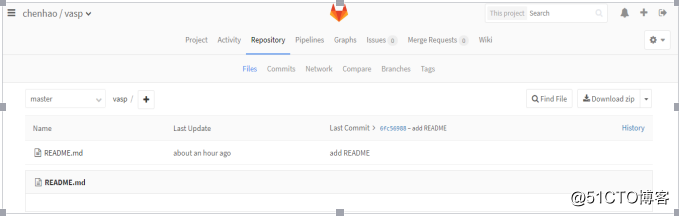
已經同步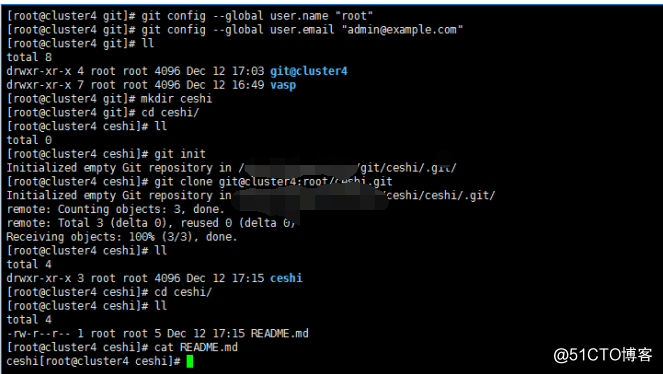
2.11Gitlab window clone項目
把下面的keys內容復制到web的ssh keys裏面
下載https://git-scm.com/download/win/git-bash
打開git-bash
key 目錄C:\Users\Administrator\.ssh\id_rsa.pub
$ cd E:
$ ssh-keygen -t rsa -C "[email protected]"
The key fingerprint is:
SHA256:sQ+BeFwWzi5EuwzmPHM6e2sw5YDMNeMRY0blCDuGseA [email protected]
The key‘s randomart image is:
+---[RSA 2048]----+
|o ..*oo +.       |
|o+ ==B B         |
|oE++=+B =        |
| .+=o=.o +       |
|    =+= S        |
|    o=.. o       |
|    oo    .      |
|     oo          |
|    .o..         |
+----[SHA256]-----+

Administrator@hh-PC MINGW64 /e/ceshi
$ git init
Initialized empty Git repository in E:/ceshi/.git/
$ git remote add origin git@cluster4:root/ceshi.git
$ git add .
$ git clone git@cluster4:root/ceshi.git
Cloning into ‘ceshi‘
The authenticity of host ‘cluster4 (61.147.124.76)‘ can‘t be established.
RSA key fingerprint is SHA256:AHmI2s+c2ShCK6dG4oTGoiBlY/qmCLlwzgtR01CDVm0.
Are you sure you want to continue connecting (yes/no)? yes
Warning: Permanently added ‘cluster4,61.147.124.76‘ (RSA) to the list of known
osts.
remote: Counting objects: 3, done.
remote: Total 3 (delta 0), reused 0 (delta 0)
Receiving objects: 100% (3/3), done.
Administrator@hh-PC MINGW64 /e/ceshi (master)
3.Gitlab 備份與恢復
備份:# gitlab-rake gitlab:backup:create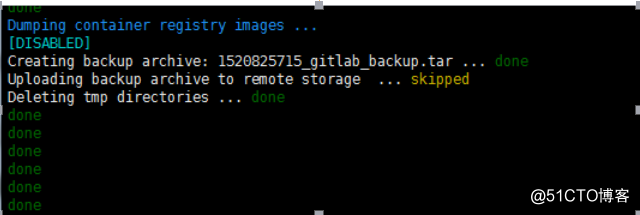
/var/opt/gitlab/backups/1520825715_gitlab_backup.tar
恢復測試:
cp 1520825715_gitlab_backup.tar /var/opt/gitlab/backups/
cd /var/opt/gitlab/backups/
gitlab-rake gitlab:backup:restore BACKUP=1520825715
確認yes
”在恢復數據庫之前,我們建議刪除所有現有的數據庫。“
98/5000
這將重建authorized_keys文件。
您將丟失存儲在authorized_keys文件中的任何數據。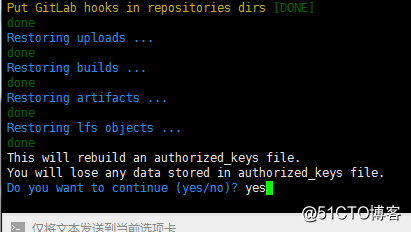
gitlab-ctl restart #重啟
完成備份數據
4.問題:
4.1瀏覽器訪問的時候,時不時的會報502錯誤,需要增加服務器虛擬內存
dd if=/dev/zero of=/var/swap bs=1024 count=2048000
2048000+0 records in
2048000+0 records out
2097152000 bytes (2.1 GB) copied, 37.1219 s, 56.5 MB/s
#增加2G左右SWAP
mkswap /var/swap
#設置交換文件
swapon /var/swap
#激活啟用交換分區

vim /etc/fstab
#在最後一行添加
/var/swap swap swap defaults 0 0
4.2備份還原數據後瀏覽器訪問的時候,時不時的會報500錯誤。
那是因為key值沒有覆蓋(這個問題找了好久)終於解決
並記錄下來。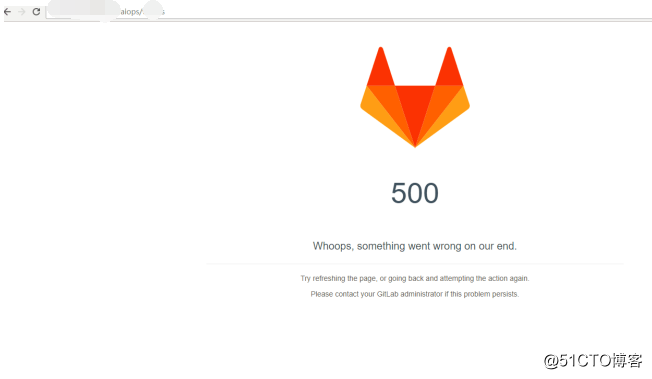
1、覆蓋原來gitlab的 db_key_base 到新的gitlab?
db_key_base 位置在 /etc/gitlab/gitlab-secrets.json
2、
EE版本執行?
sudo gitlab-rails runner "Project.where(mirror: false).where.not(import_url: nil).each { |p| p.import_data.destroy if p.import_data }"
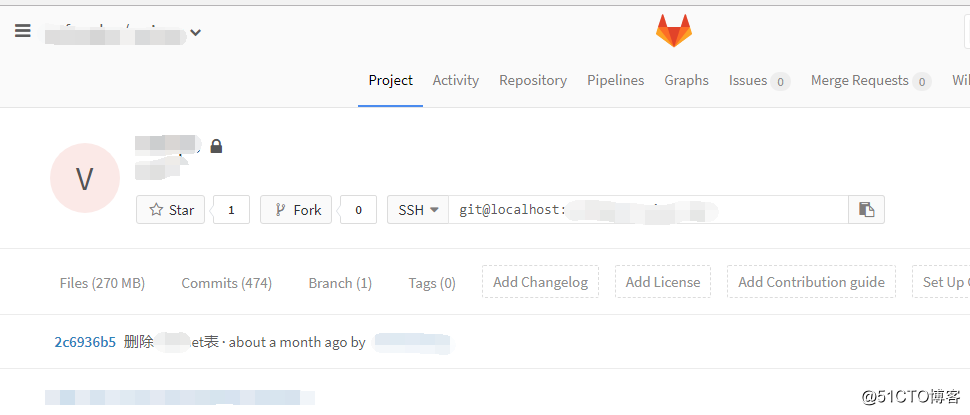
CE版本執行?
sudo gitlab-rails runner "Project.where.not(import_url: nil).each { |p| p.import_data.destroy if p.import_data }"因為我是CE版本執行成功,後重啟服務,可以正常訪問web頁面。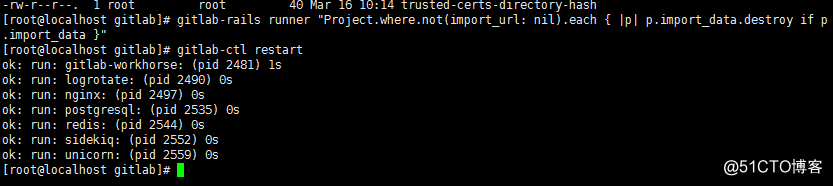
gitlab安裝,使用,備份,恢復