View 的滑動
View 的滑動
學習自
《Android開發藝術探索》
滑動漫談
因為Android手機屏幕大小的原因,所以為了顯式更多的信息,我們必須采用滾動的方式來處理,因為滾動就涉及到了滑動,有的滑動十分生硬,而有的滑動卻是圓潤並且絢麗的,View的滑動就是我們本章要學習的內容。
使用scrollTo/scrollBy
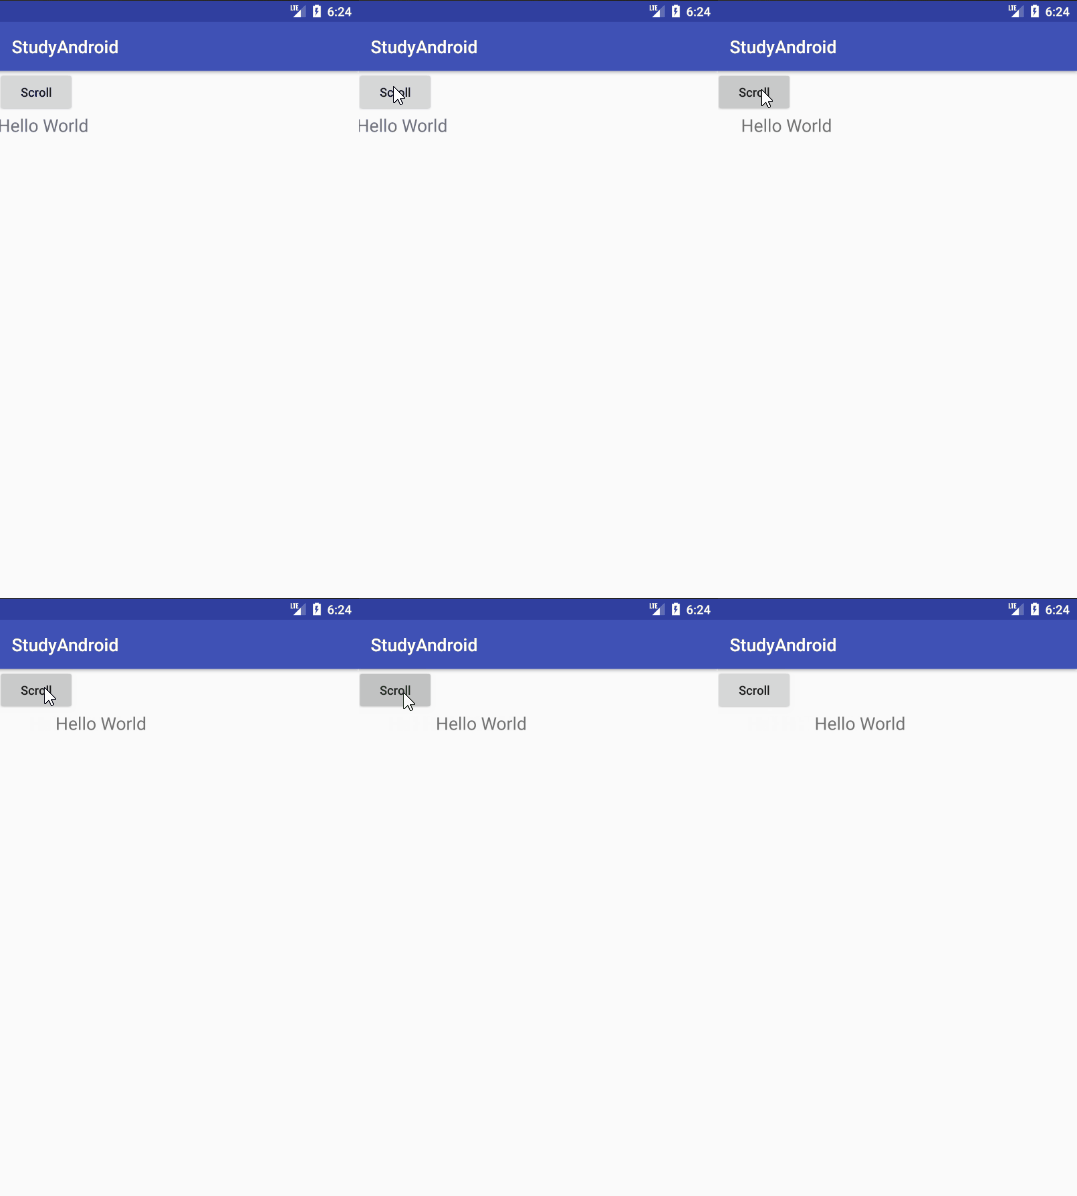
註意,這種方式只是改變了View內容的位置,並沒有改變View的位置,以Button為例,那就是僅僅改變了Button中的文本的位置,而沒有改變Button的位置。
scrollTo 實現了指定位置的絕對滑動
/**
* Set the scrolled position of your view. This will cause a call to scrollBy 實現了基於當前位置的相對滑動
/** 代碼分析,通過查看scrollBy的代碼,我麽發現scrollBy的實現也是基於scrollTo的,所以我們需要分析scrollTo的代碼,在scrollTo的代碼中,有 mScrollX 和 mScrollY 這兩個值需要我們多註意一下,其中,mScrollX 值代表的是view的內容和View左邊緣的距離,mScrollY帶邊的view的內容與view上邊緣的值。
通過動畫
通過補間動畫來完成移動
這裏省略的補間動畫實現的介紹,因為補間動畫並不會真正的改變View的位置,而只是改變的View的影像。這裏就不說,因為已經有了屬相動畫來替代補間動畫。
通過屬性動畫倆完成移動
scrollBtn.setOnClickListener {
    ObjectAnimator
            .ofFloat(scrollBtn, "translationX", 0.0F, 100.0F)
            .setDuration(1000L)
            .start()
}
改變布局參數
通過改變ViewLayoutParams的值,我們也可以實現View的移動。方式如下
scrollBtn.setOnClickListener {
    var params = scrollBtn.layoutParams as ViewGroup.MarginLayoutParams
    params.leftMargin = 100
    scrollBtn.requestLayout()
}
總結
上面的三種方法都可以實現View的滑動。我們來總結一下
- scrollTo/scrollBy,僅僅改變的是View內容的位置,而不嫩改變View自身的位置
- 使用動畫,如果是Android3.0及以上的版本使用動畫實現滑動是一個非常好的方式,如果在3.0已下就需要處理View的移動的問題了,推薦使用在沒有交互的View上,如果使用的3.0以上則另當別論。
- 是真正的改變了View的位置,推薦使用在有交互性的View上。
平滑的滑動
通過上面的集中方法我們已經可以實現View的滑動,但是上面的方法除了通過動畫的方式外,實現的效果都比較生硬,所以現在我們來學習一下,如何平滑地實現滑動。
Scroller
Scroller類並能幫助我們進行滑動操作,它僅僅是為我們完成滑動過程中的計算,實際的滑動的功能還需要我們自己實現,ViewPager中就中就采用了Scroller來實現,下面我們以一個Dome(將一個TextView向右滑動)的形式來學習Scroller。

class MyTextView(context: Context, attrs: AttributeSet) : TextView(context, attrs) {
    var mScroller = Scroller(context)

    fun smoothScroll(destX: Int, destY: Int) {
        var deltaX = destX - x
        L.e(deltaX.toString())
        this.mScroller.startScroll(x.toInt(), 0, deltaX.toInt(), 0, 1000)
        invalidate()
    }

    override fun computeScroll() {
        if (mScroller.computeScrollOffset()) {
            this.x = mScroller.currX.toFloat()
            postInvalidate()
        }
    }
}
//調用
scrollBtn.setOnClickListener {
    helloTV.smoothScroll(this.helloTV.x.toInt() + 100, 0)
}
Scroller原理淺析
首先我們調用的是Scroller的 startScroll 方法,下面是此方法的源碼,其中沒有任何和滑動相關的代碼,僅僅是將我麽傳遞的參數存儲了起來。參數解釋:
- startX 開始X軸的坐標
- startY 開始Y的坐標
- dx X軸前進的距離
dy Y軸前進的距離
public void startScroll(int startX, int startY, int dx, int dy, int duration) {
mMode = SCROLL_MODE;
mFinished = false;
mDuration = duration;
mStartTime = AnimationUtils.currentAnimationTimeMillis();
mStartX = startX;
mStartY = startY;
mFinalX = startX + dx;
mFinalY = startY + dy;
mDeltaX = dx;
mDeltaY = dy;
mDurationReciprocal = 1.0f / (float) mDuration;
}
從 startScroll 方法中我們發現,滾動並沒有在這個方法中,那滑動的效果是怎麽實現的,答案是通過利用View的重繪機制實現的。請註意我們調用了 invalidate() 方法,此方法會導致View重繪,View重繪時會調用View的 draw 的方法,此方法會調用我們 computeScroll 方法,因為我們已經重寫此方法,所以會調用我們重寫的方法,在我們重寫的 computeScroll方法中,我們移動了View後,調用 postInvalidate 方法再次引發重繪,如此循環直到結束。
上面我們提到了computeScroll,接下來看看此方法:
override fun computeScroll() {
    //判斷是否需要繼續滑動
    //true 表示滑動還未結束,需要繼續滑動
    //false 表示滑動已經完成
    if (mScroller.computeScrollOffset()) {
        //改變View的位置
        this.x = mScroller.currX.toFloat()
        //引發重繪
        postInvalidate()
    }
}
如果你查看了 computeScrollOffset 的源碼的話,就會發現其中是計算偏移的長度的,並且返回值表示的是,是否需要繼續滑動。到此我們已經對Scroller的工作方式有一個大概的了解了。
利用屬性動畫
scrollBtn.setOnClickListener {
    var animator = ValueAnimator.ofInt(0, 1).setDuration(1000)
    animator.addUpdateListener {
        var faction = it.animatedFraction
        scrollBtn.scrollTo(startX + (dalteX * faction).toInt(), 0)
    }
    animator.start()
}
使用延時策略
通過Handler或者View的Handler或者View的 postDelayed 方法或者利用線程睡眠的方式,我們也可以實現滑動的效果。
var end = 200
var distance = 0
var offset = 10

private fun scroll() {
    Handler().postDelayed({
        var temp = offset
        distance += offset
        if (distance > end) {
            temp = distance - end
        }
        if (distance < end) {
            scrollBtn.scrollBy(temp, 0)
            scroll()
        }
    }, 100)
}
View 的滑動
