
OracleLinux6.5下Oracle11.2.0.4的安裝
阿新 • • 發佈:2018-10-29
following 升級 打開終端 alt min oinstall 路徑 product 設置環境變量 接http://blog.51cto.com/12784425/2310379此文
1、準備工作
Oracle11.2.0.4的安裝包;
VNC客戶端vnc Viewer;
1、準備工作
Oracle11.2.0.4的安裝包;
VNC客戶端vnc Viewer;
2、將Oracle11.2.0.4的安裝包用vsftp上傳到服務器/soft目錄下
更改/soft目錄的訪問權限
[root@oracle-learn ~]# chmod -R 777 /soft進入到/soft目錄下
[oracle@oracle-learn ~]$ cd /soft
[oracle@oracle-learn soft]$ ll
總用量 2487224
-rwxrwxrwx. 1 root root 1395582860 10月 29 18:50 linux11.2.0.4-1_Linux-x86-64.zip
-rwxrwxrwx. 1 root root 1151304589 10月 29 18:50 linux11.2.0.4-2_Linux-x86-64.zip
drwxrwxrwx. 2 root root      16384 10月 29 2018 lost+found
[oracle@oracle-learn soft]$
解壓oracle軟件包unzip linux11.2.0.4-1_Linux-x86-64.zipunzip linux11.2.0.4-2_Linux-x86-64.zip
這時會得到一個database的文件夾
[oracle@oracle-learn soft]$ ll
總用量 2487228
drwxr-xr-x. 7 oracle oinstall       4096 8月  27 2013 database
-rwxrwxrwx. 1 root   root     1395582860 10月 29 18:50 linux11.2.0.4-1_Linux-x86-64.zip
-rwxrwxrwx. 1 root   root     1151304589 10月 29 18:50 linux11.2.0.4-2_Linux-x86-64.zip
drwxrwxrwx. 2 root   root          16384 10月 29 2018 lost+found
[oracle@oracle-learn soft]$
3、安裝VNC服務器:
[root@oracle-learn ~]# yum install tigervnc-server -y切換到oracle用戶下,啟動vnc服務並設置密碼oracle。
[root@oracle-learn ~]# su - oracle
[oracle@oracle-learn ~]$ vncserver

You will require a password to access your desktops.

Password:
Verify:
xauth:  creating new authority file /home/oracle/.Xauthority

New ‘oracle-learn:1 (oracle)‘ desktop is oracle-learn:1

Creating default startup script /home/oracle/.vnc/xstartup
Starting applications specified in /home/oracle/.vnc/xstartup
Log file is /home/oracle/.vnc/oracle-learn:1.log

[oracle@oracle-learn ~]$
New ‘oracle-learn:1 (oracle)‘ desktop is oracle-learn:1
啟動本地VNC Viewer鏈接服務器192.168.8.120:1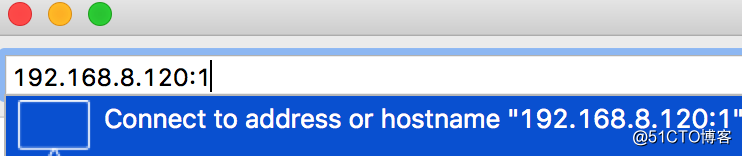
輸入密碼oracle
登錄之後會讓你輸入root的密碼
好了,現在登錄到oracle用戶的遠程桌面了
打開終端設置環境變量
[oracle@oracle-learn ~]$ export LANG=en_US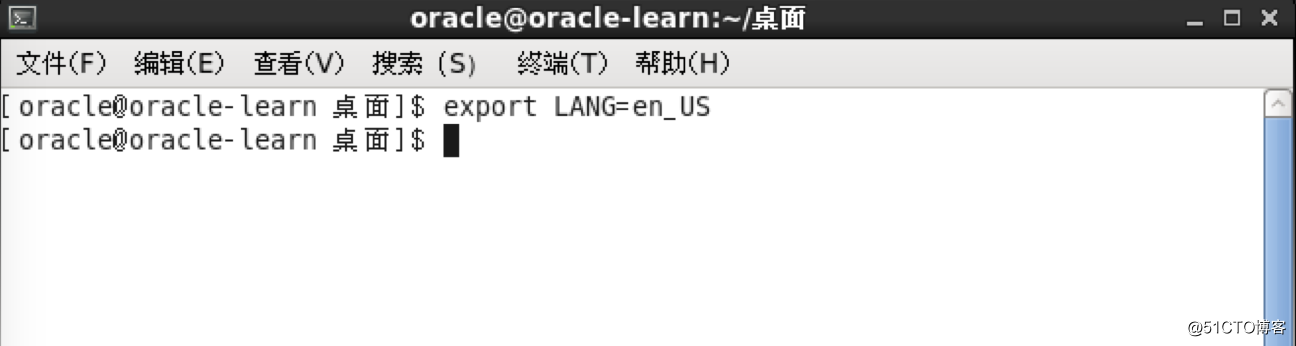
進入/soft/database目錄下
[oracle@oracle-learn ~]$ cd /soft/database/
[oracle@oracle-learn database]$ ll
總用量 60
drwxr-xr-x.  4 oracle oinstall  4096 8月  27 2013 install
-rw-r--r--.  1 oracle oinstall 30016 8月  27 2013 readme.html
drwxr-xr-x.  2 oracle oinstall  4096 8月  27 2013 response
drwxr-xr-x.  2 oracle oinstall  4096 8月  27 2013 rpm
-rwxr-xr-x.  1 oracle oinstall  3267 8月  27 2013 runInstaller
drwxr-xr-x.  2 oracle oinstall  4096 8月  27 2013 sshsetup
drwxr-xr-x. 14 oracle oinstall  4096 8月  27 2013 stage
-rw-r--r--.  1 oracle oinstall   500 8月  27 2013 welcome.html
運行安裝程序
[oracle@oracle-learn database]$ ./runInstaller 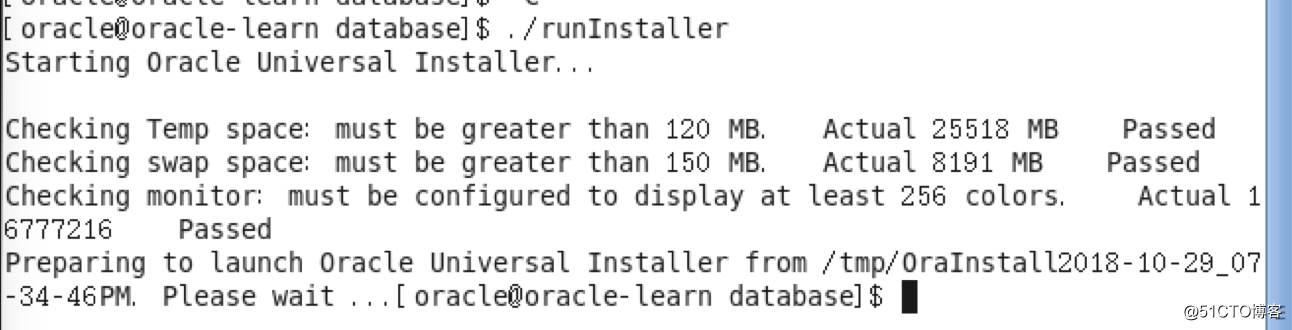
Oracle安裝界面啟動成功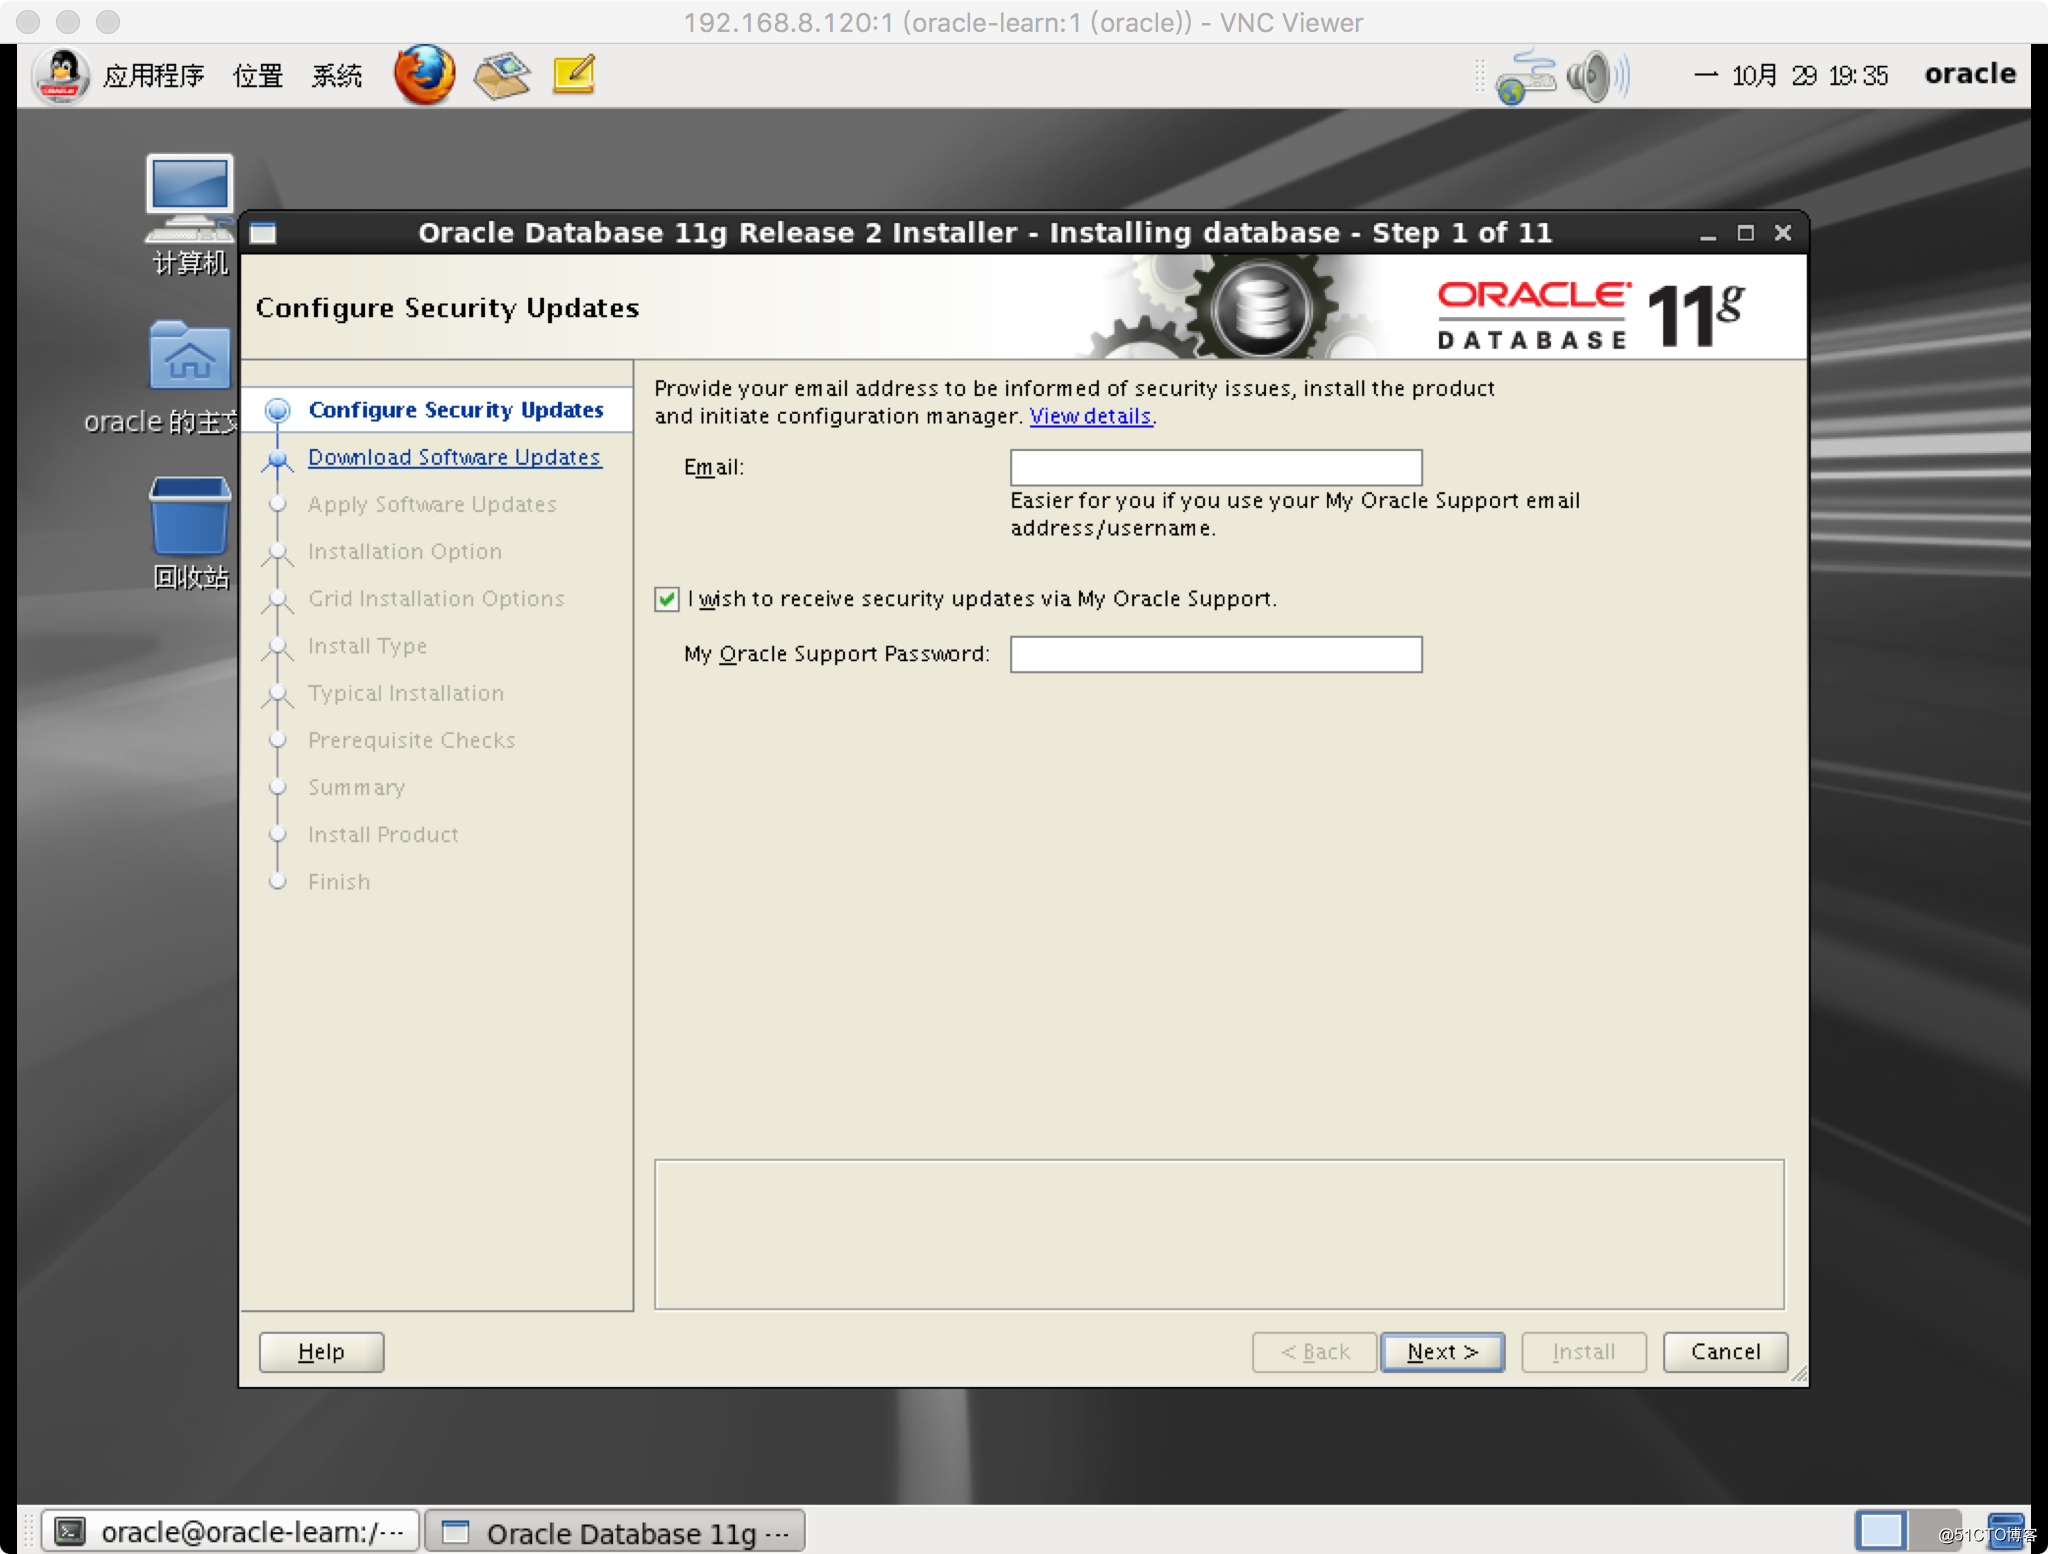
安裝步驟
1、如圖取消訂閱,接下來會有提示框,點yes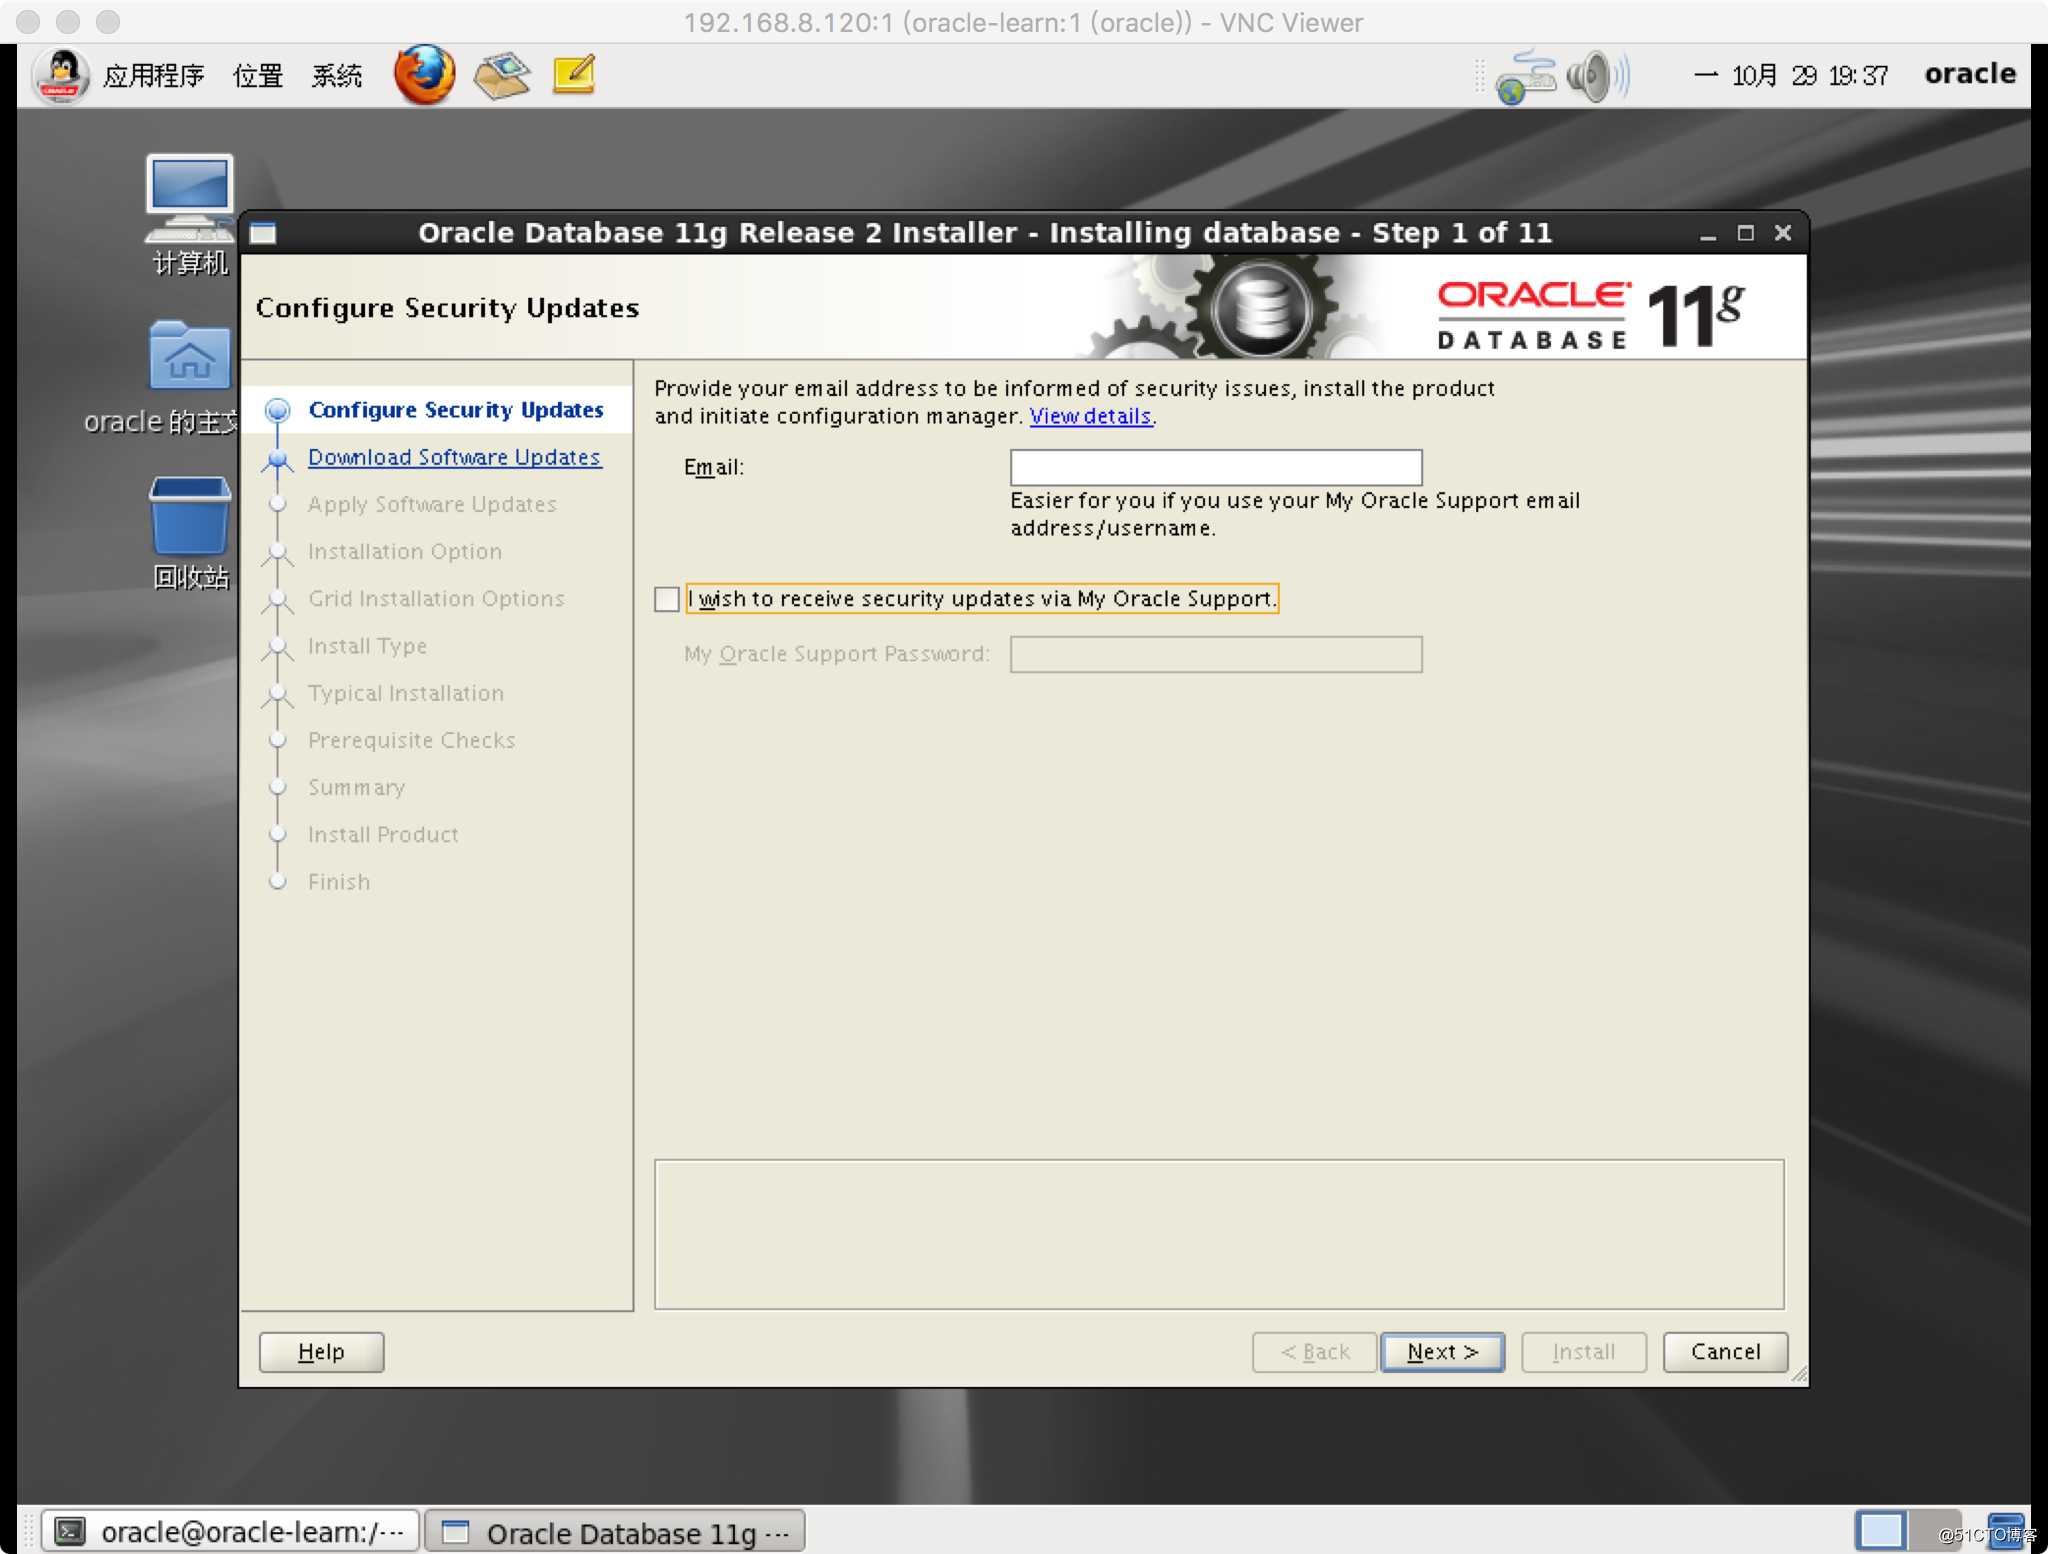
2、取消升級,下一步
3、選擇只安裝database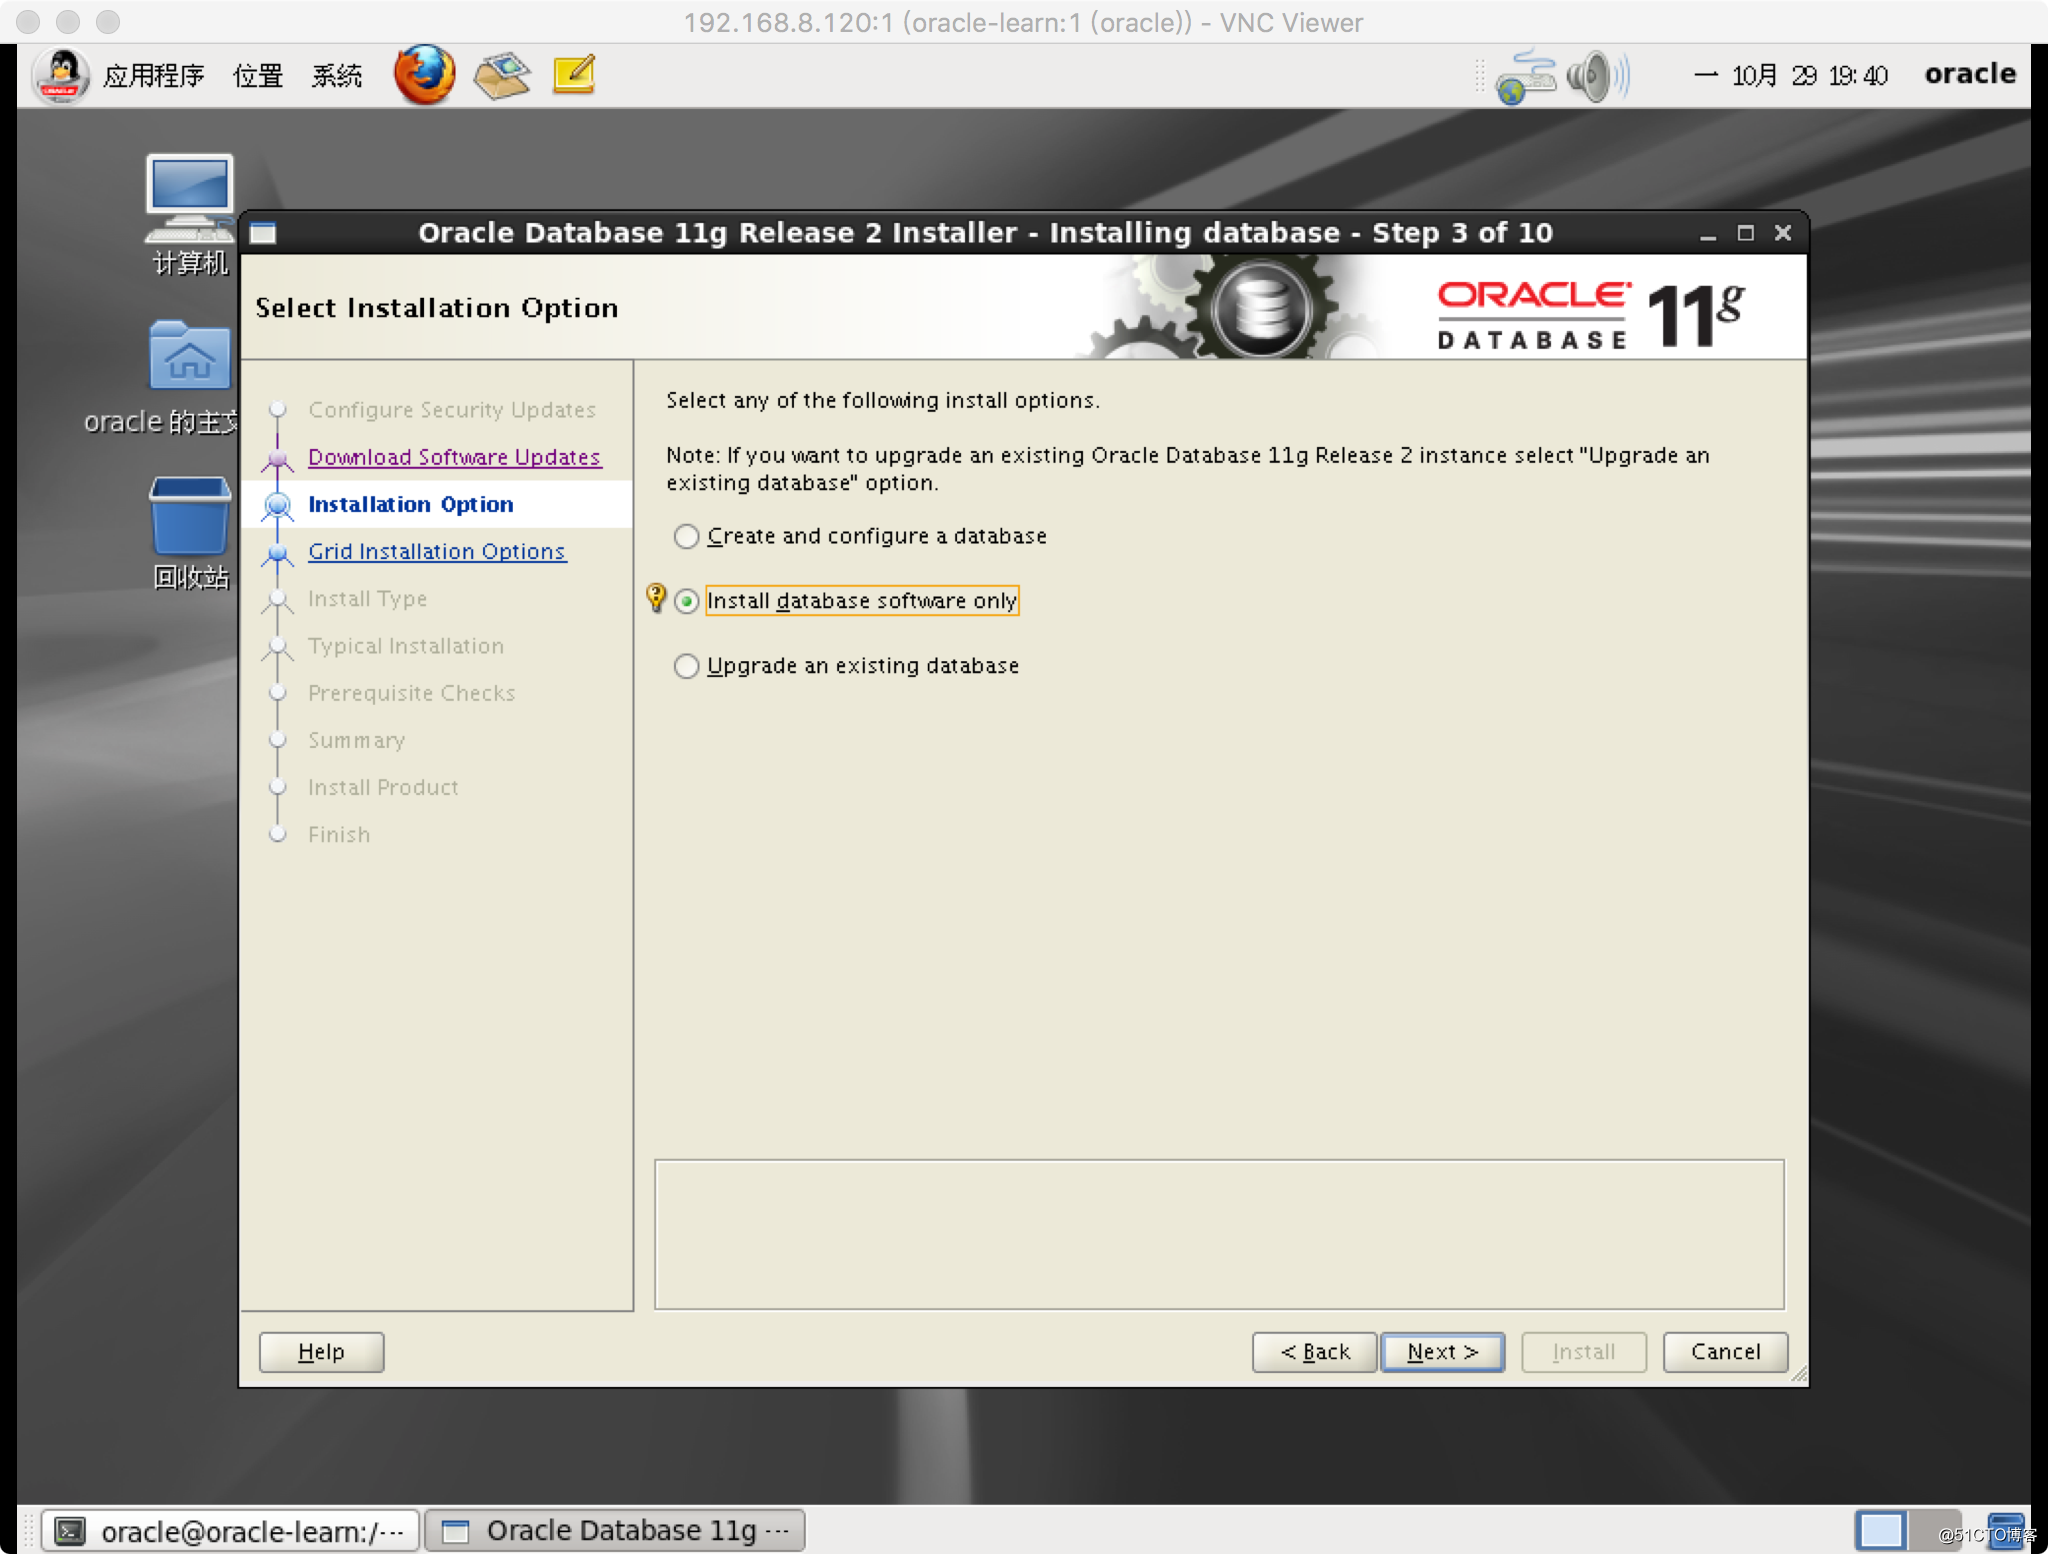
4、下一步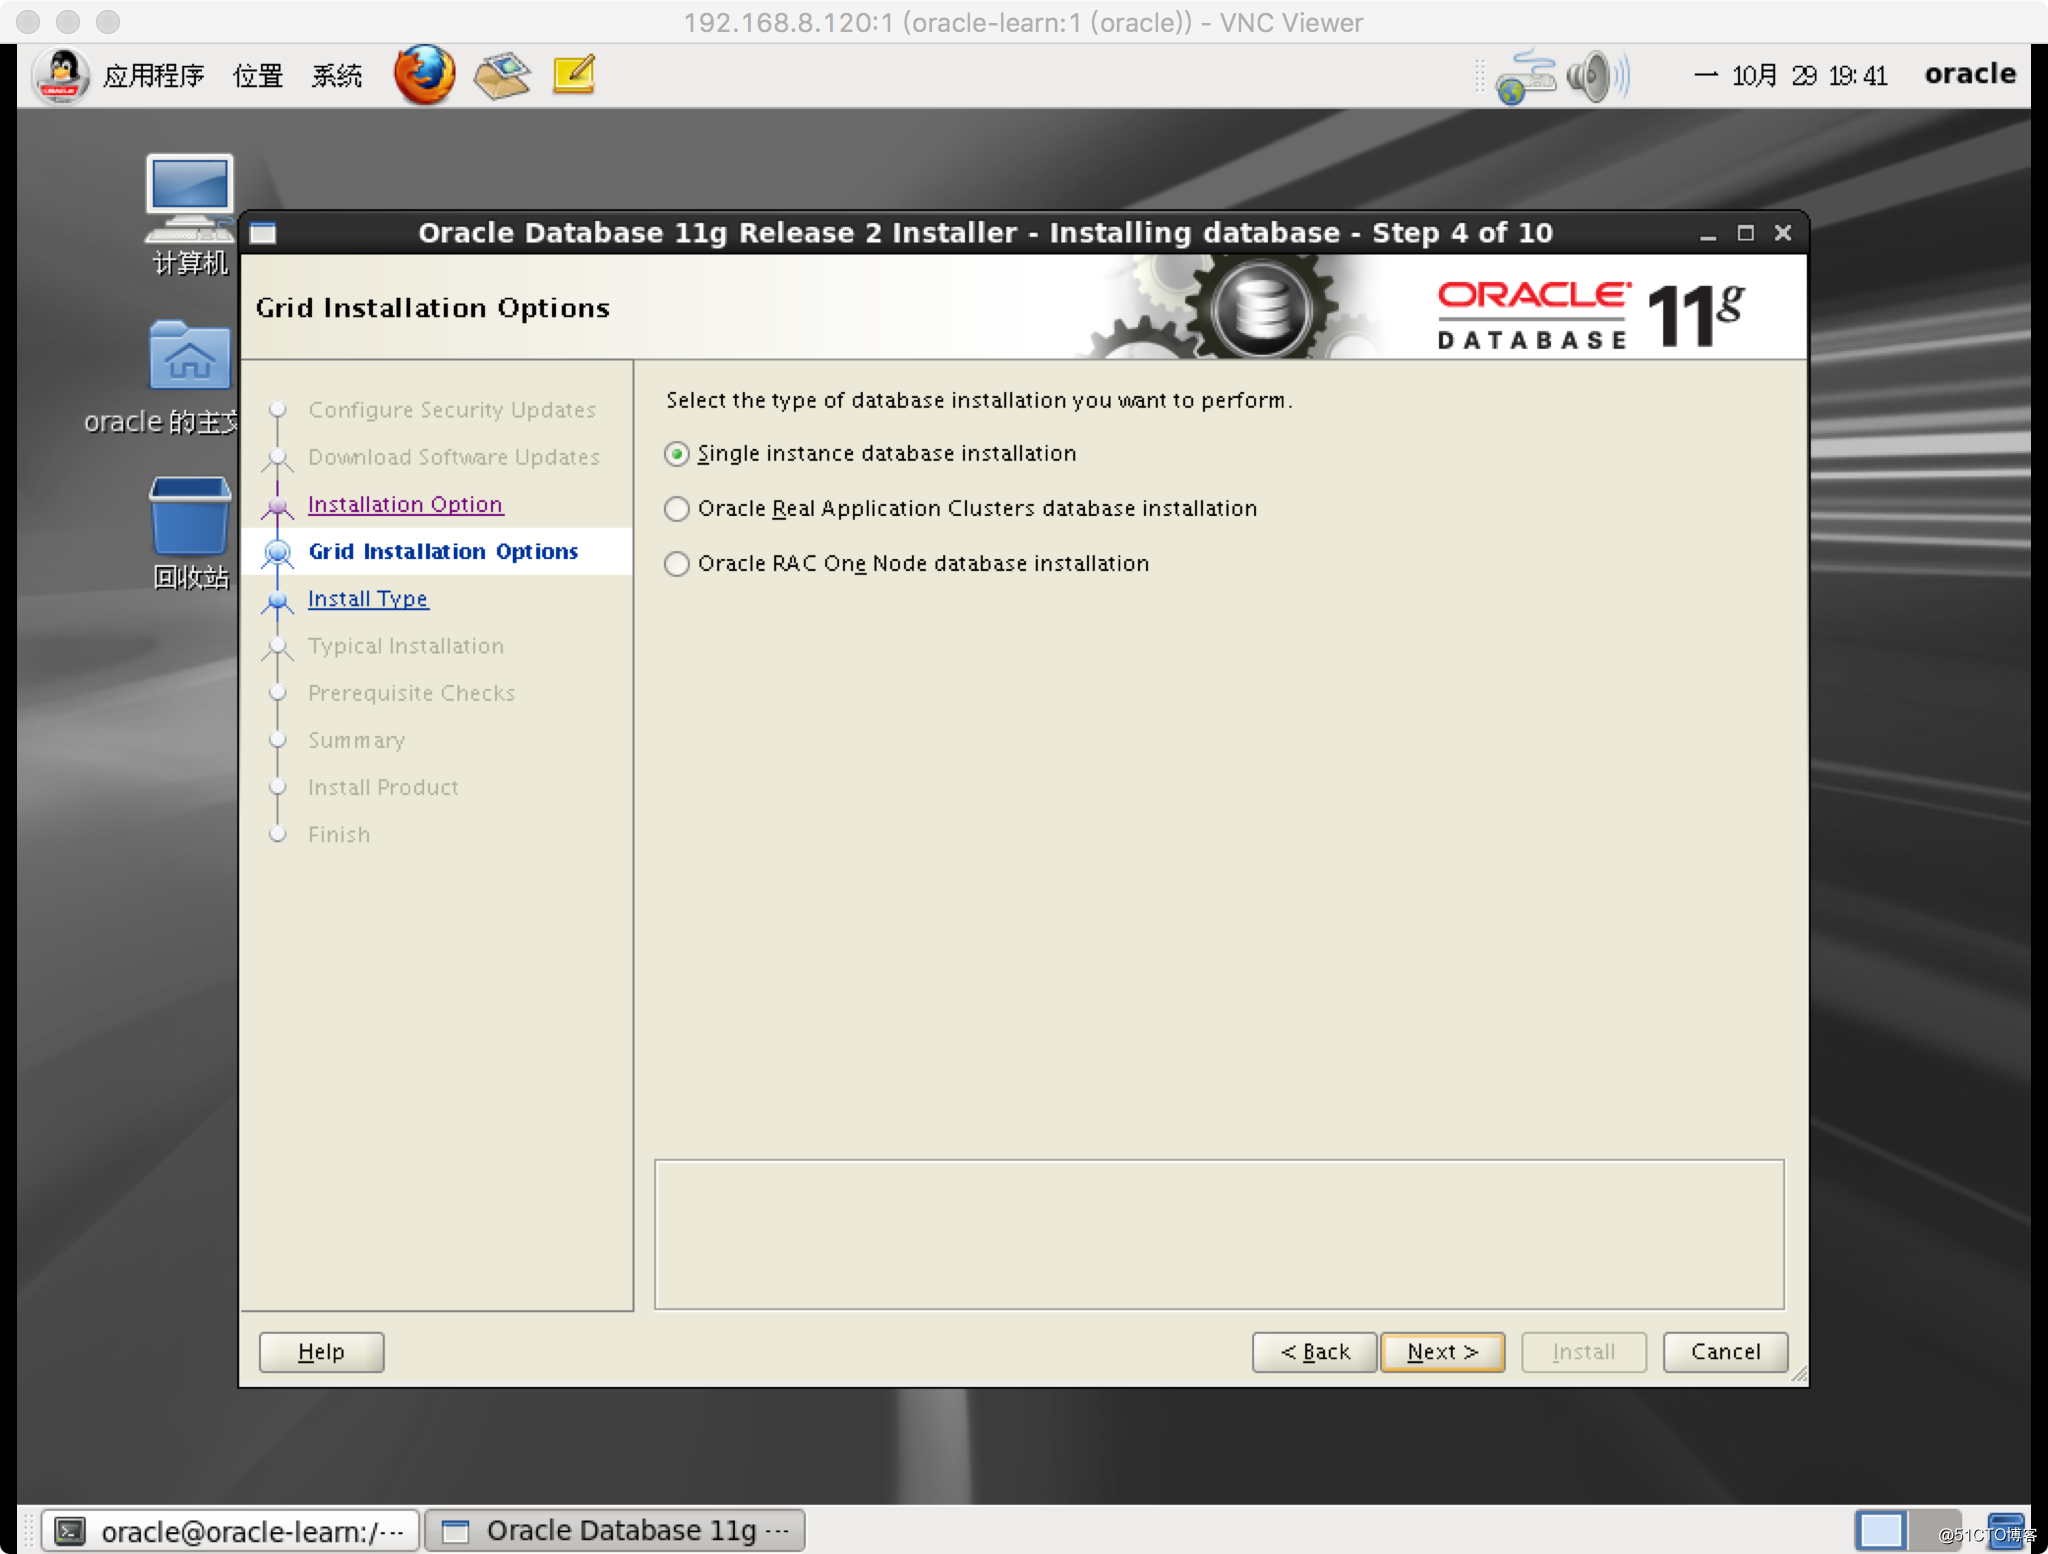
5、選擇中文簡體,英文過關的可以無視,下一步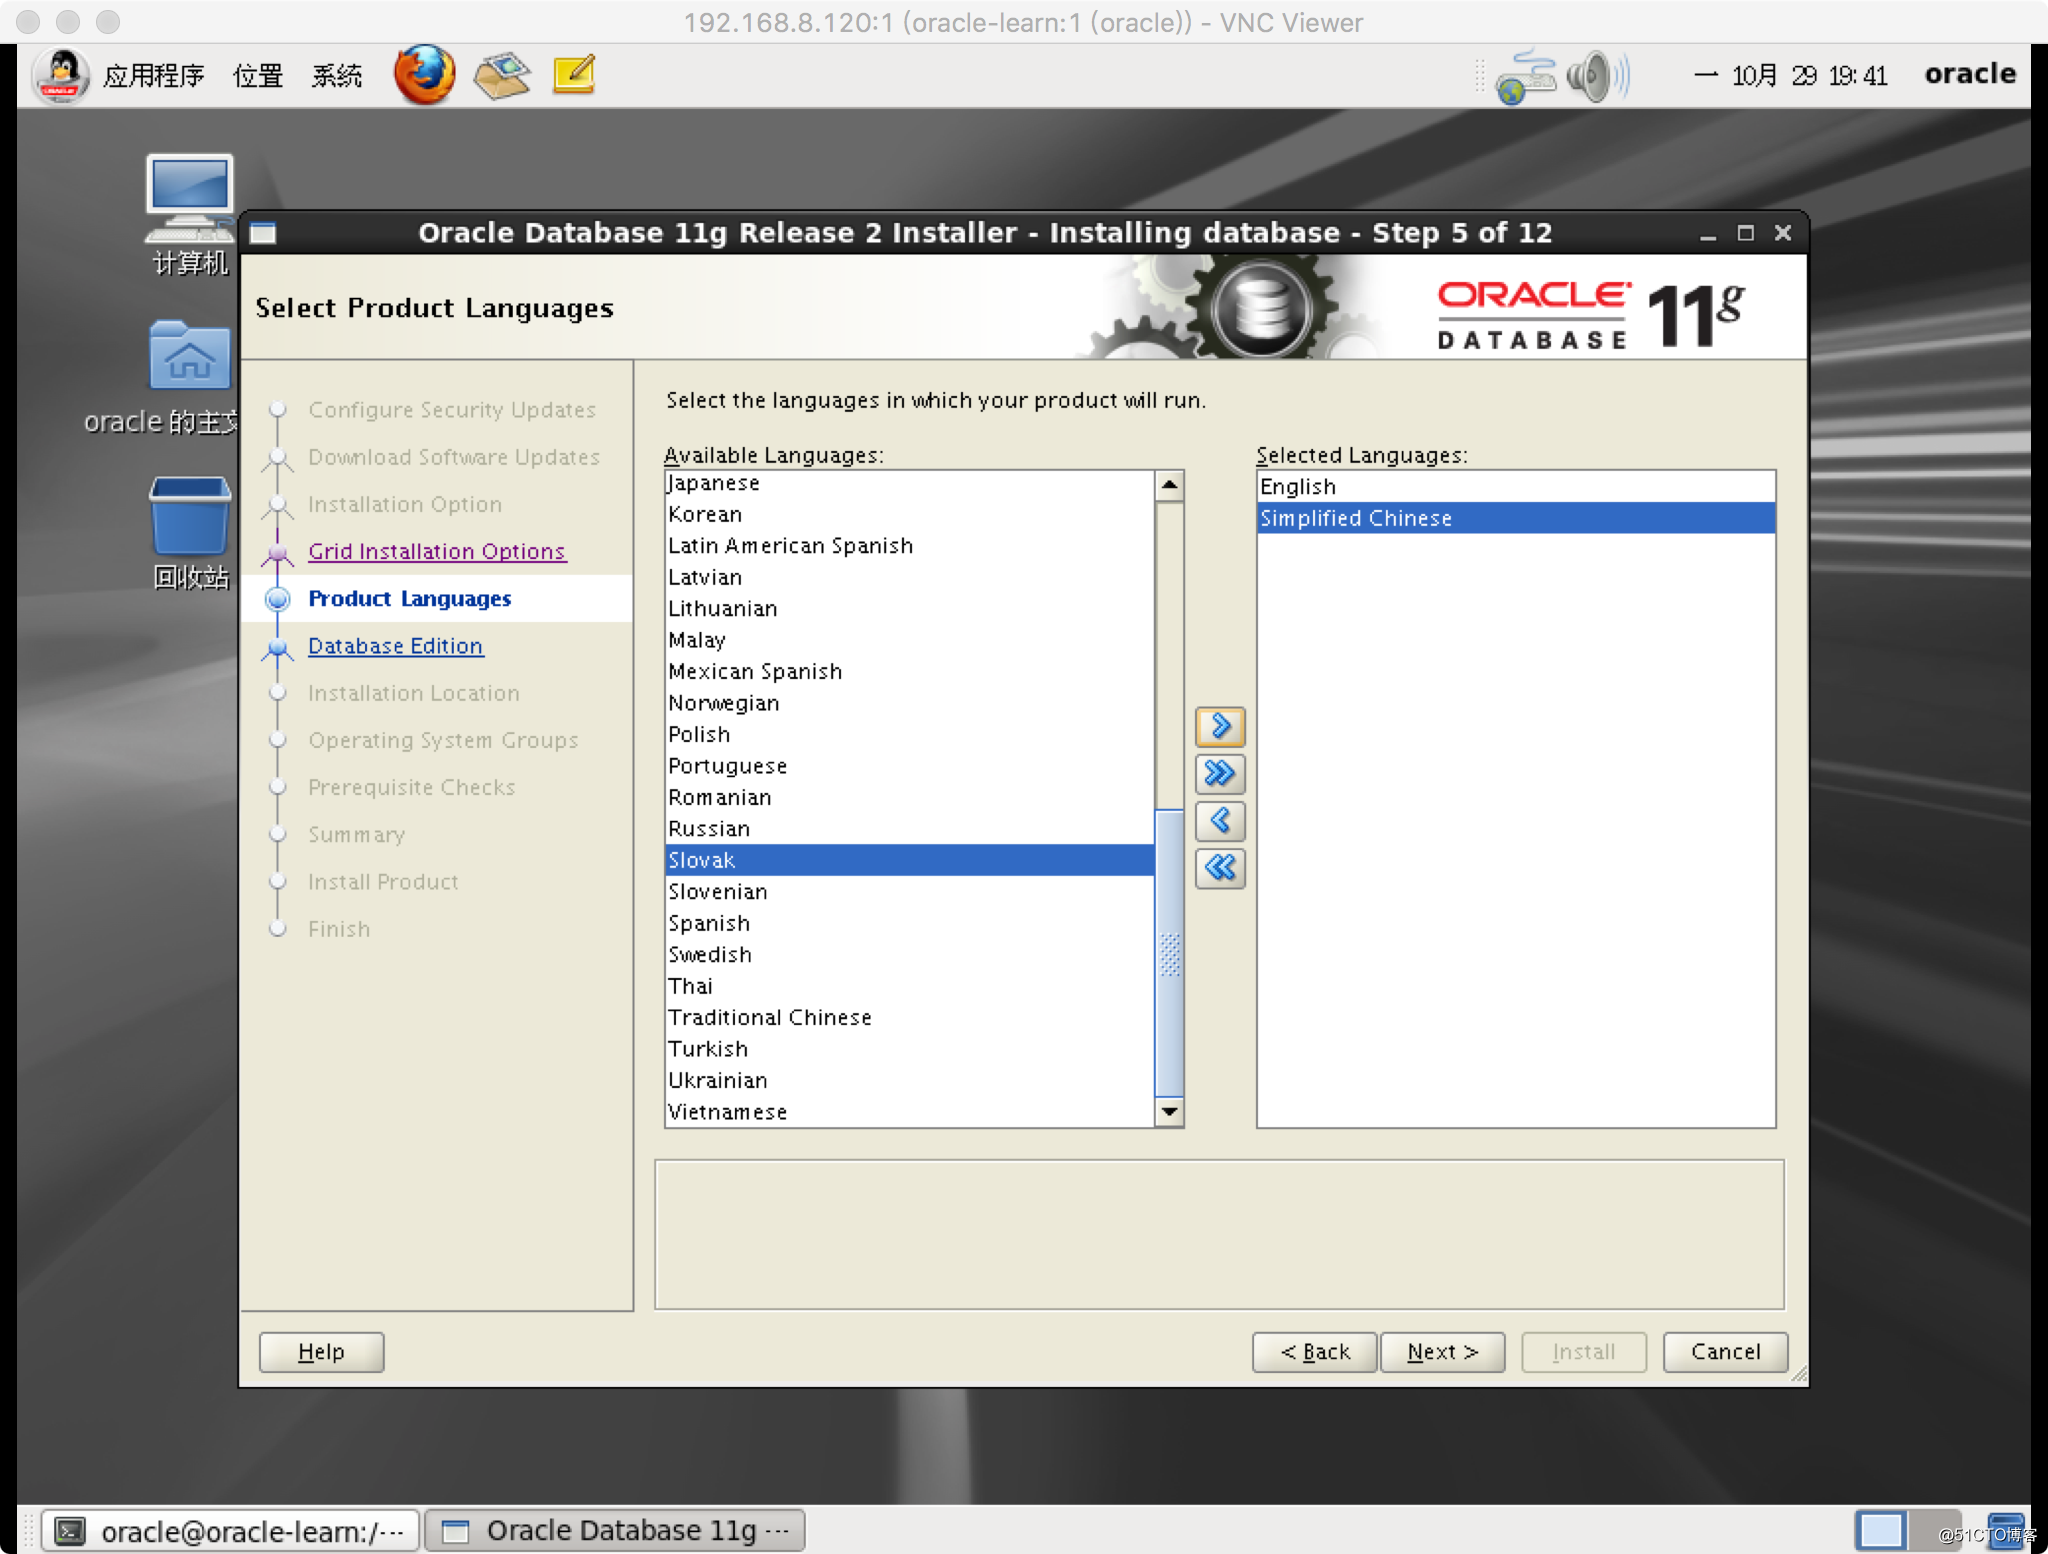
6、第一個企業版安裝,下一步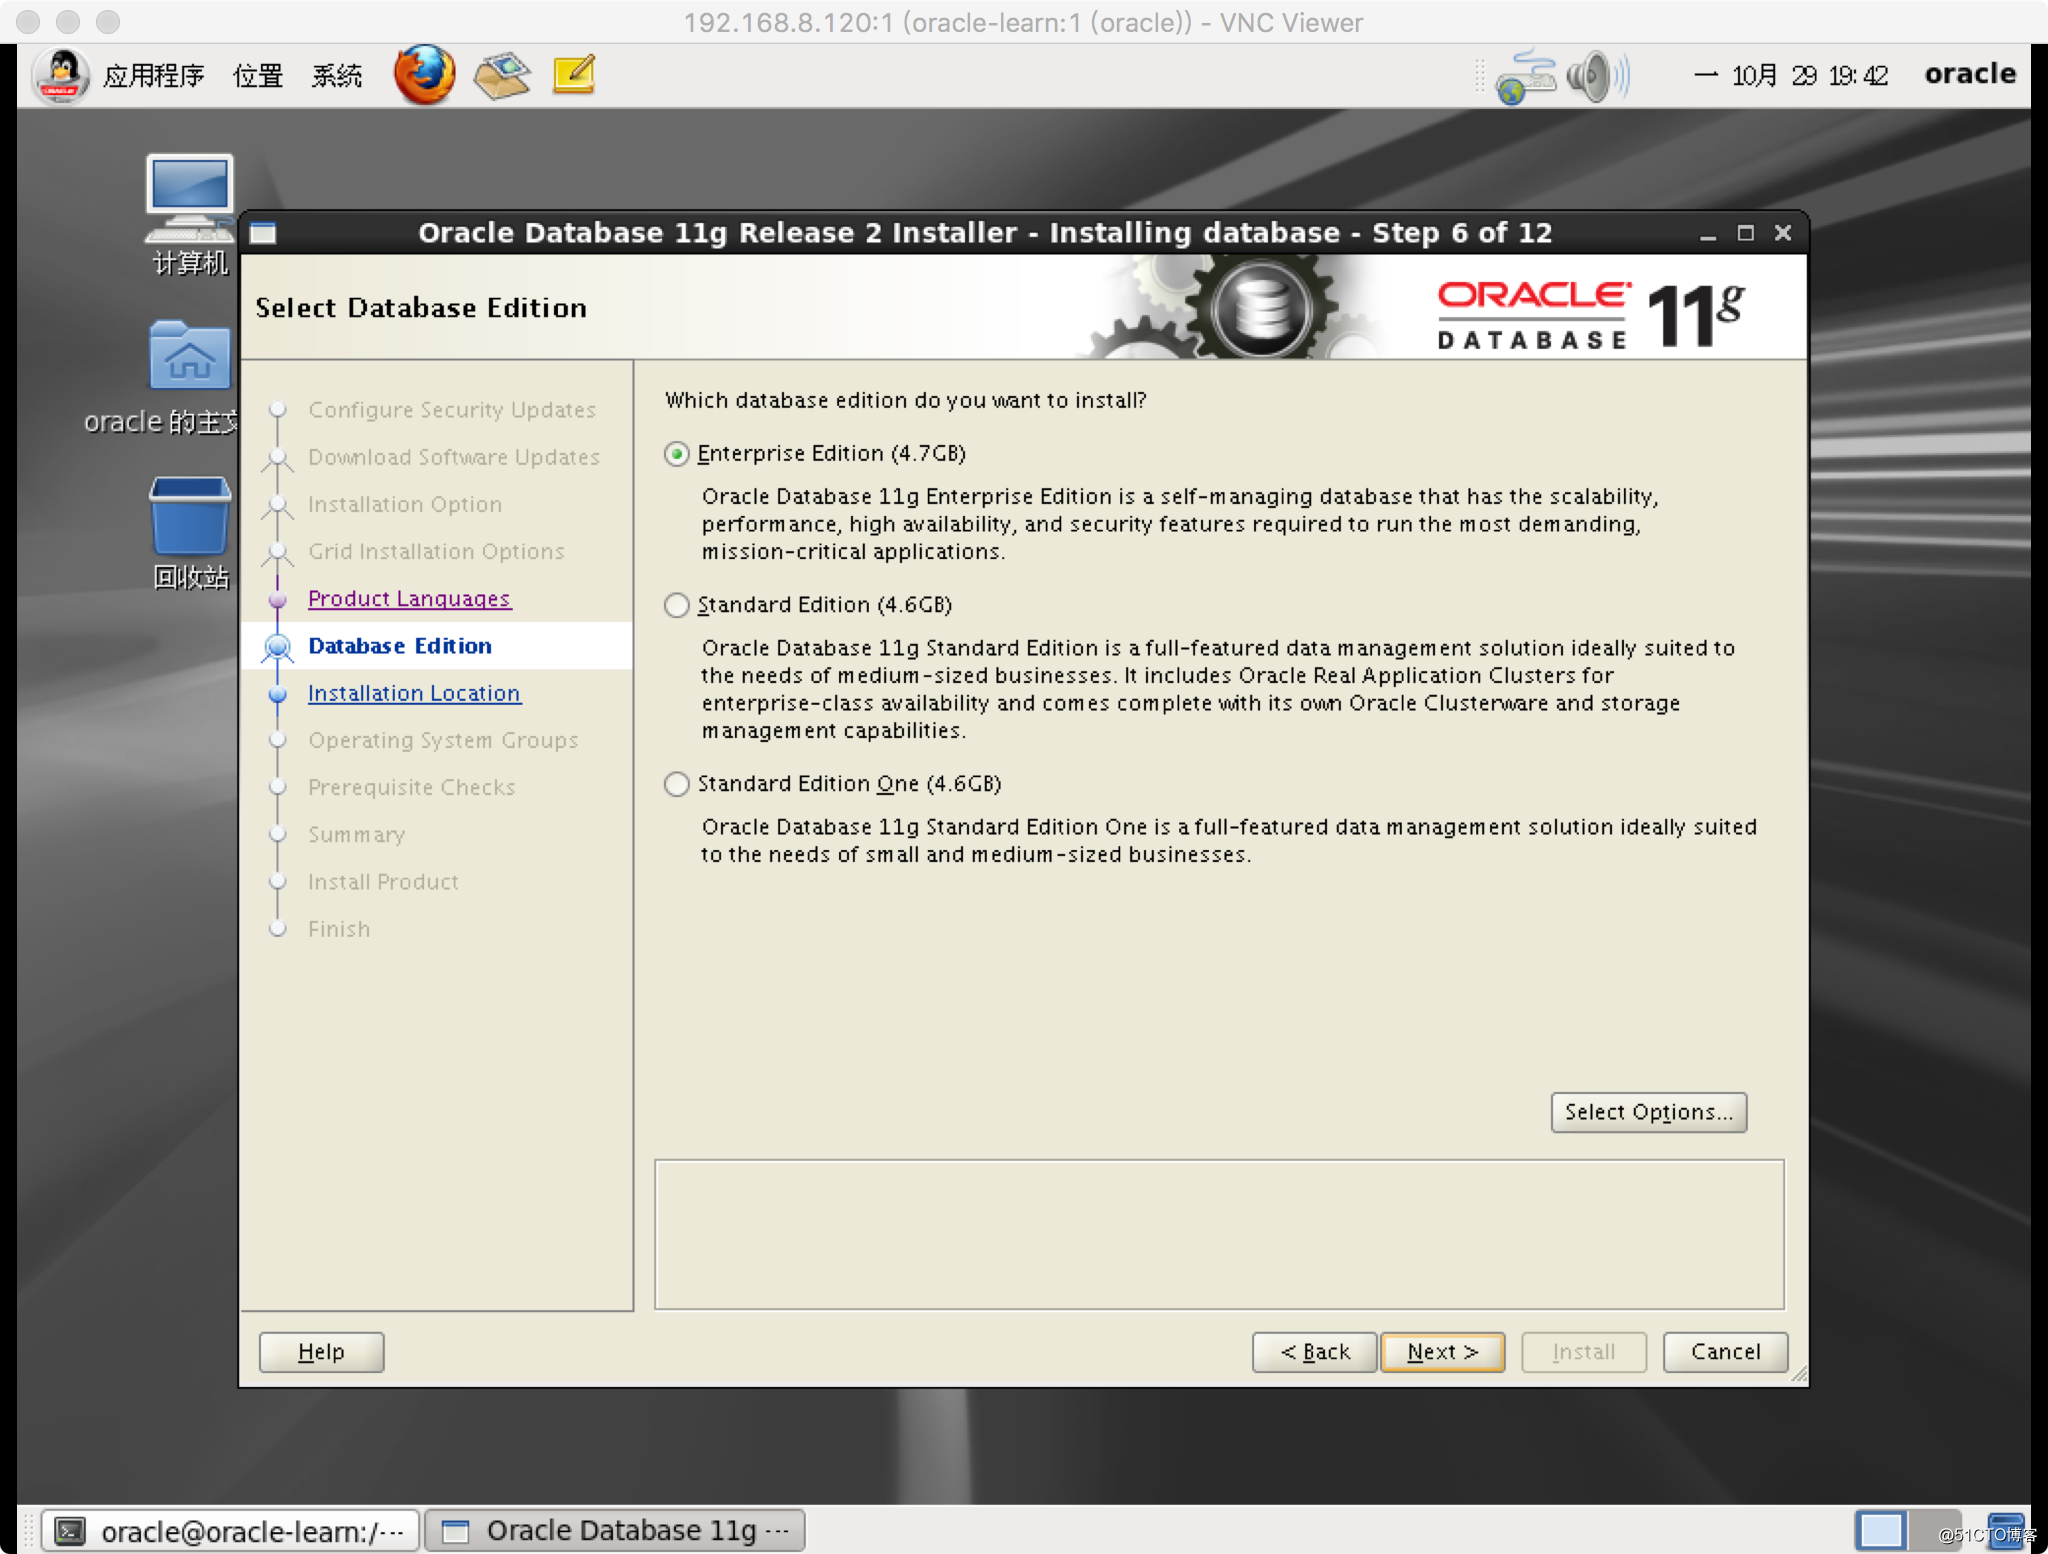
7、顯示的路徑應該與配置好的環境變量一樣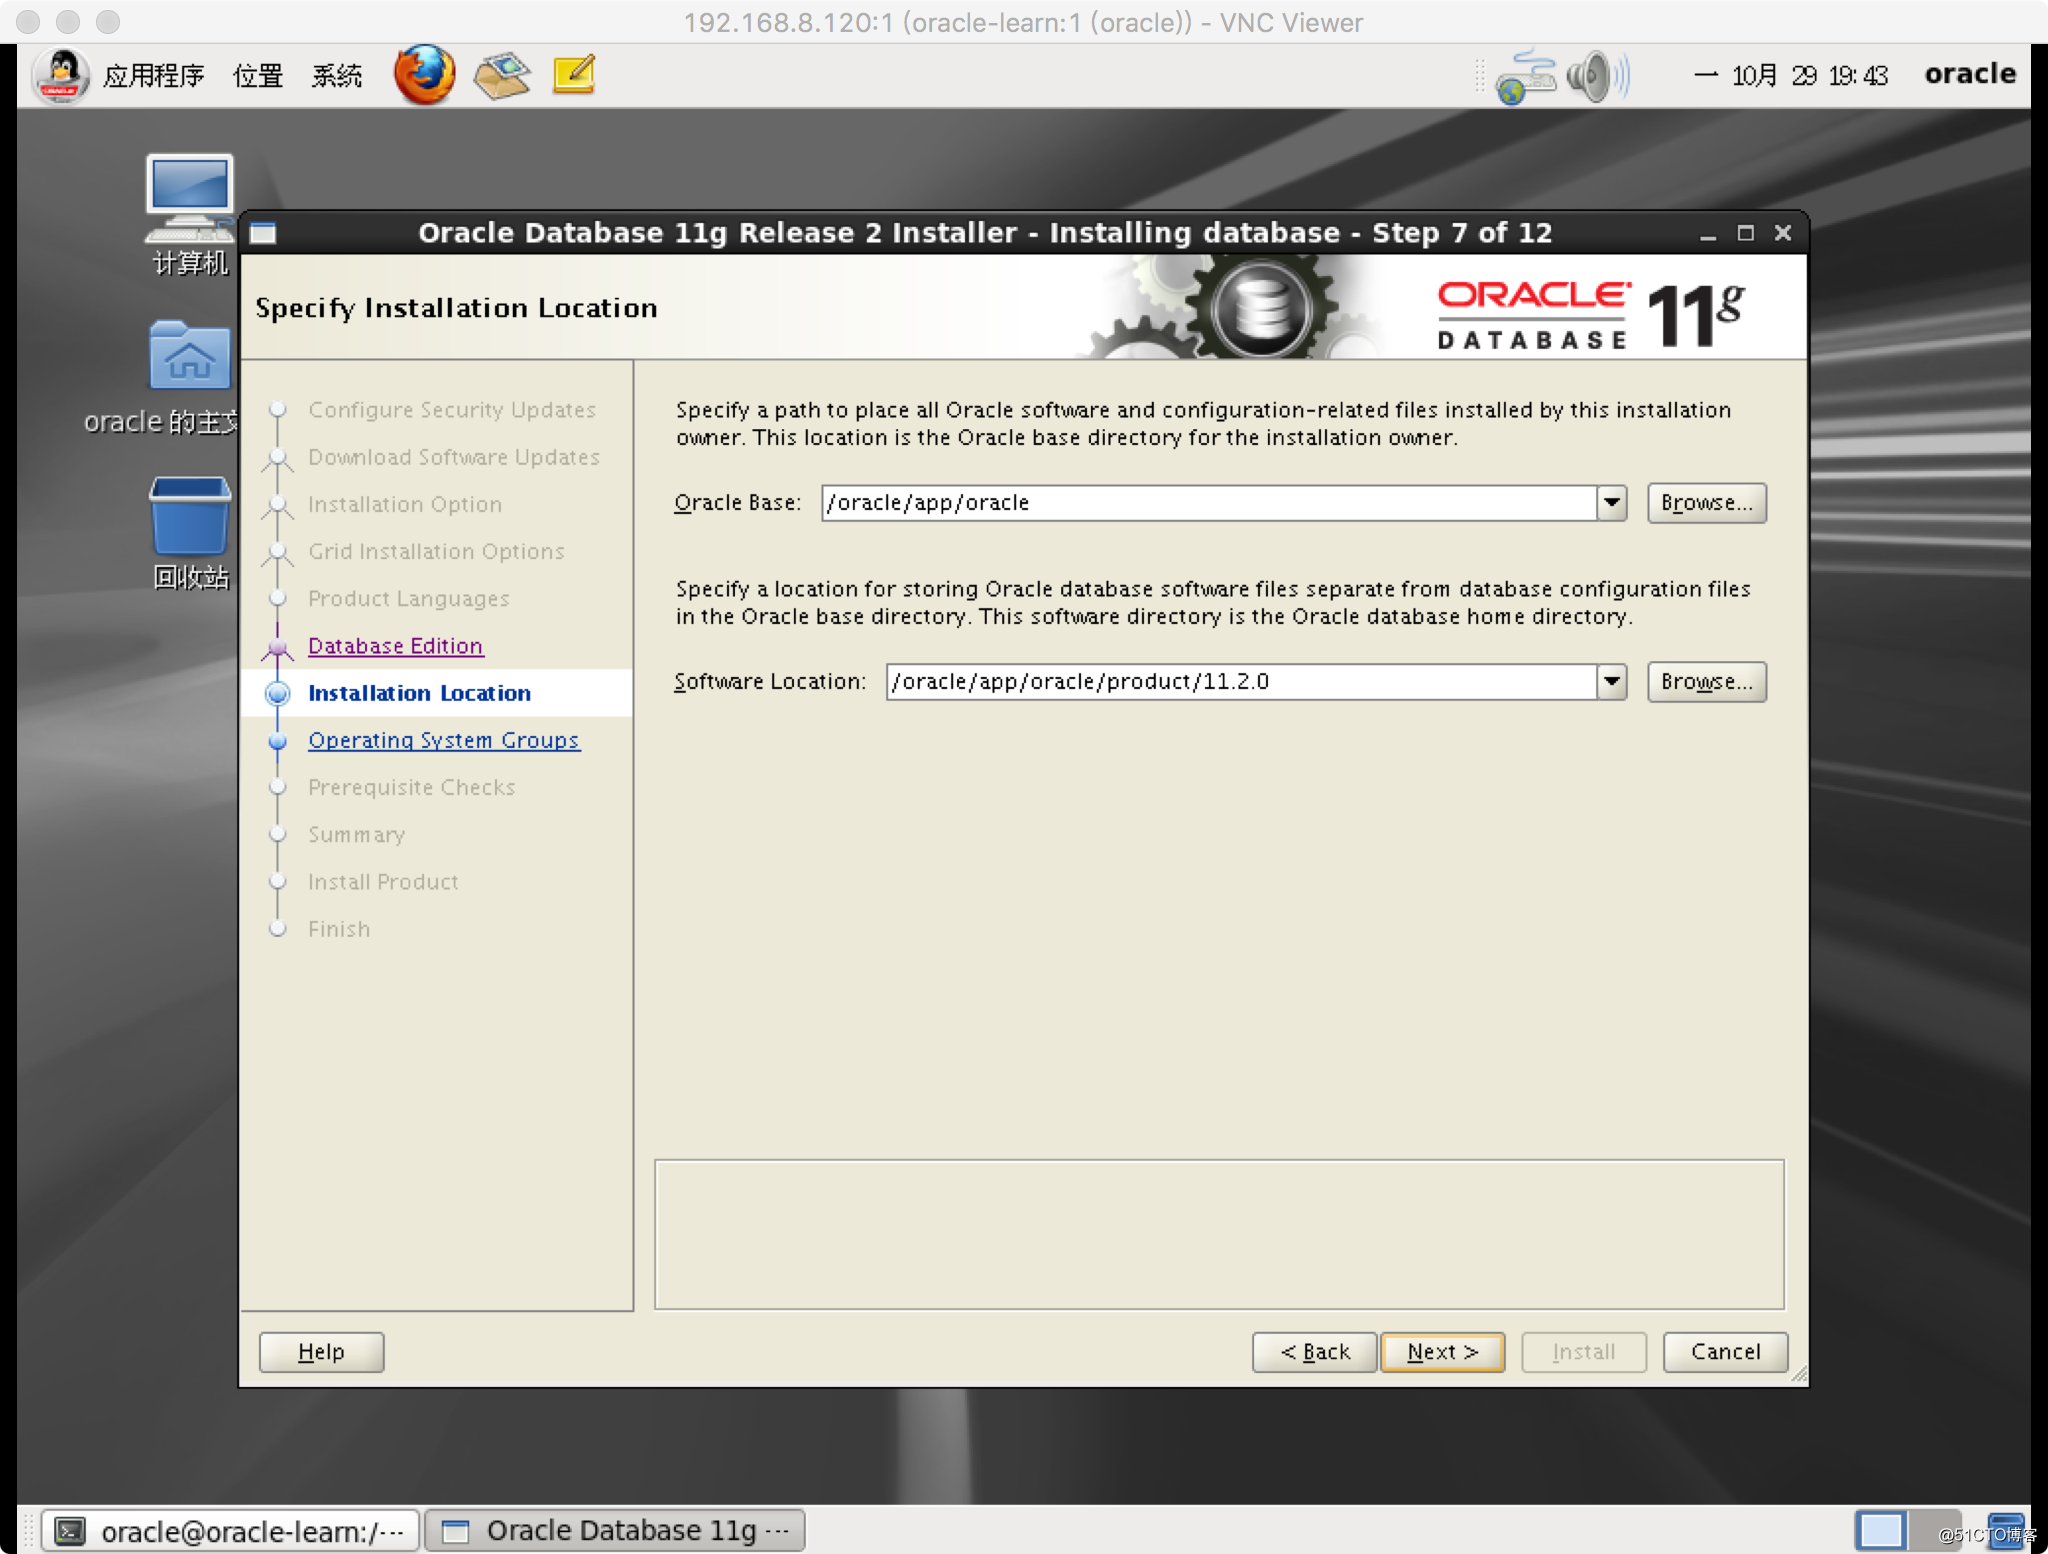
然後會有一個提示,直接點yes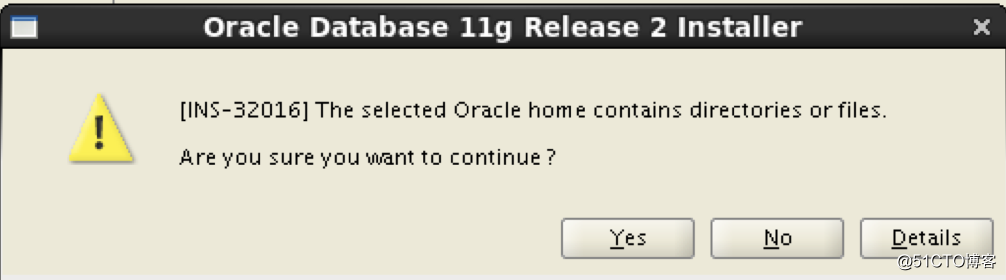
8、默認,下一步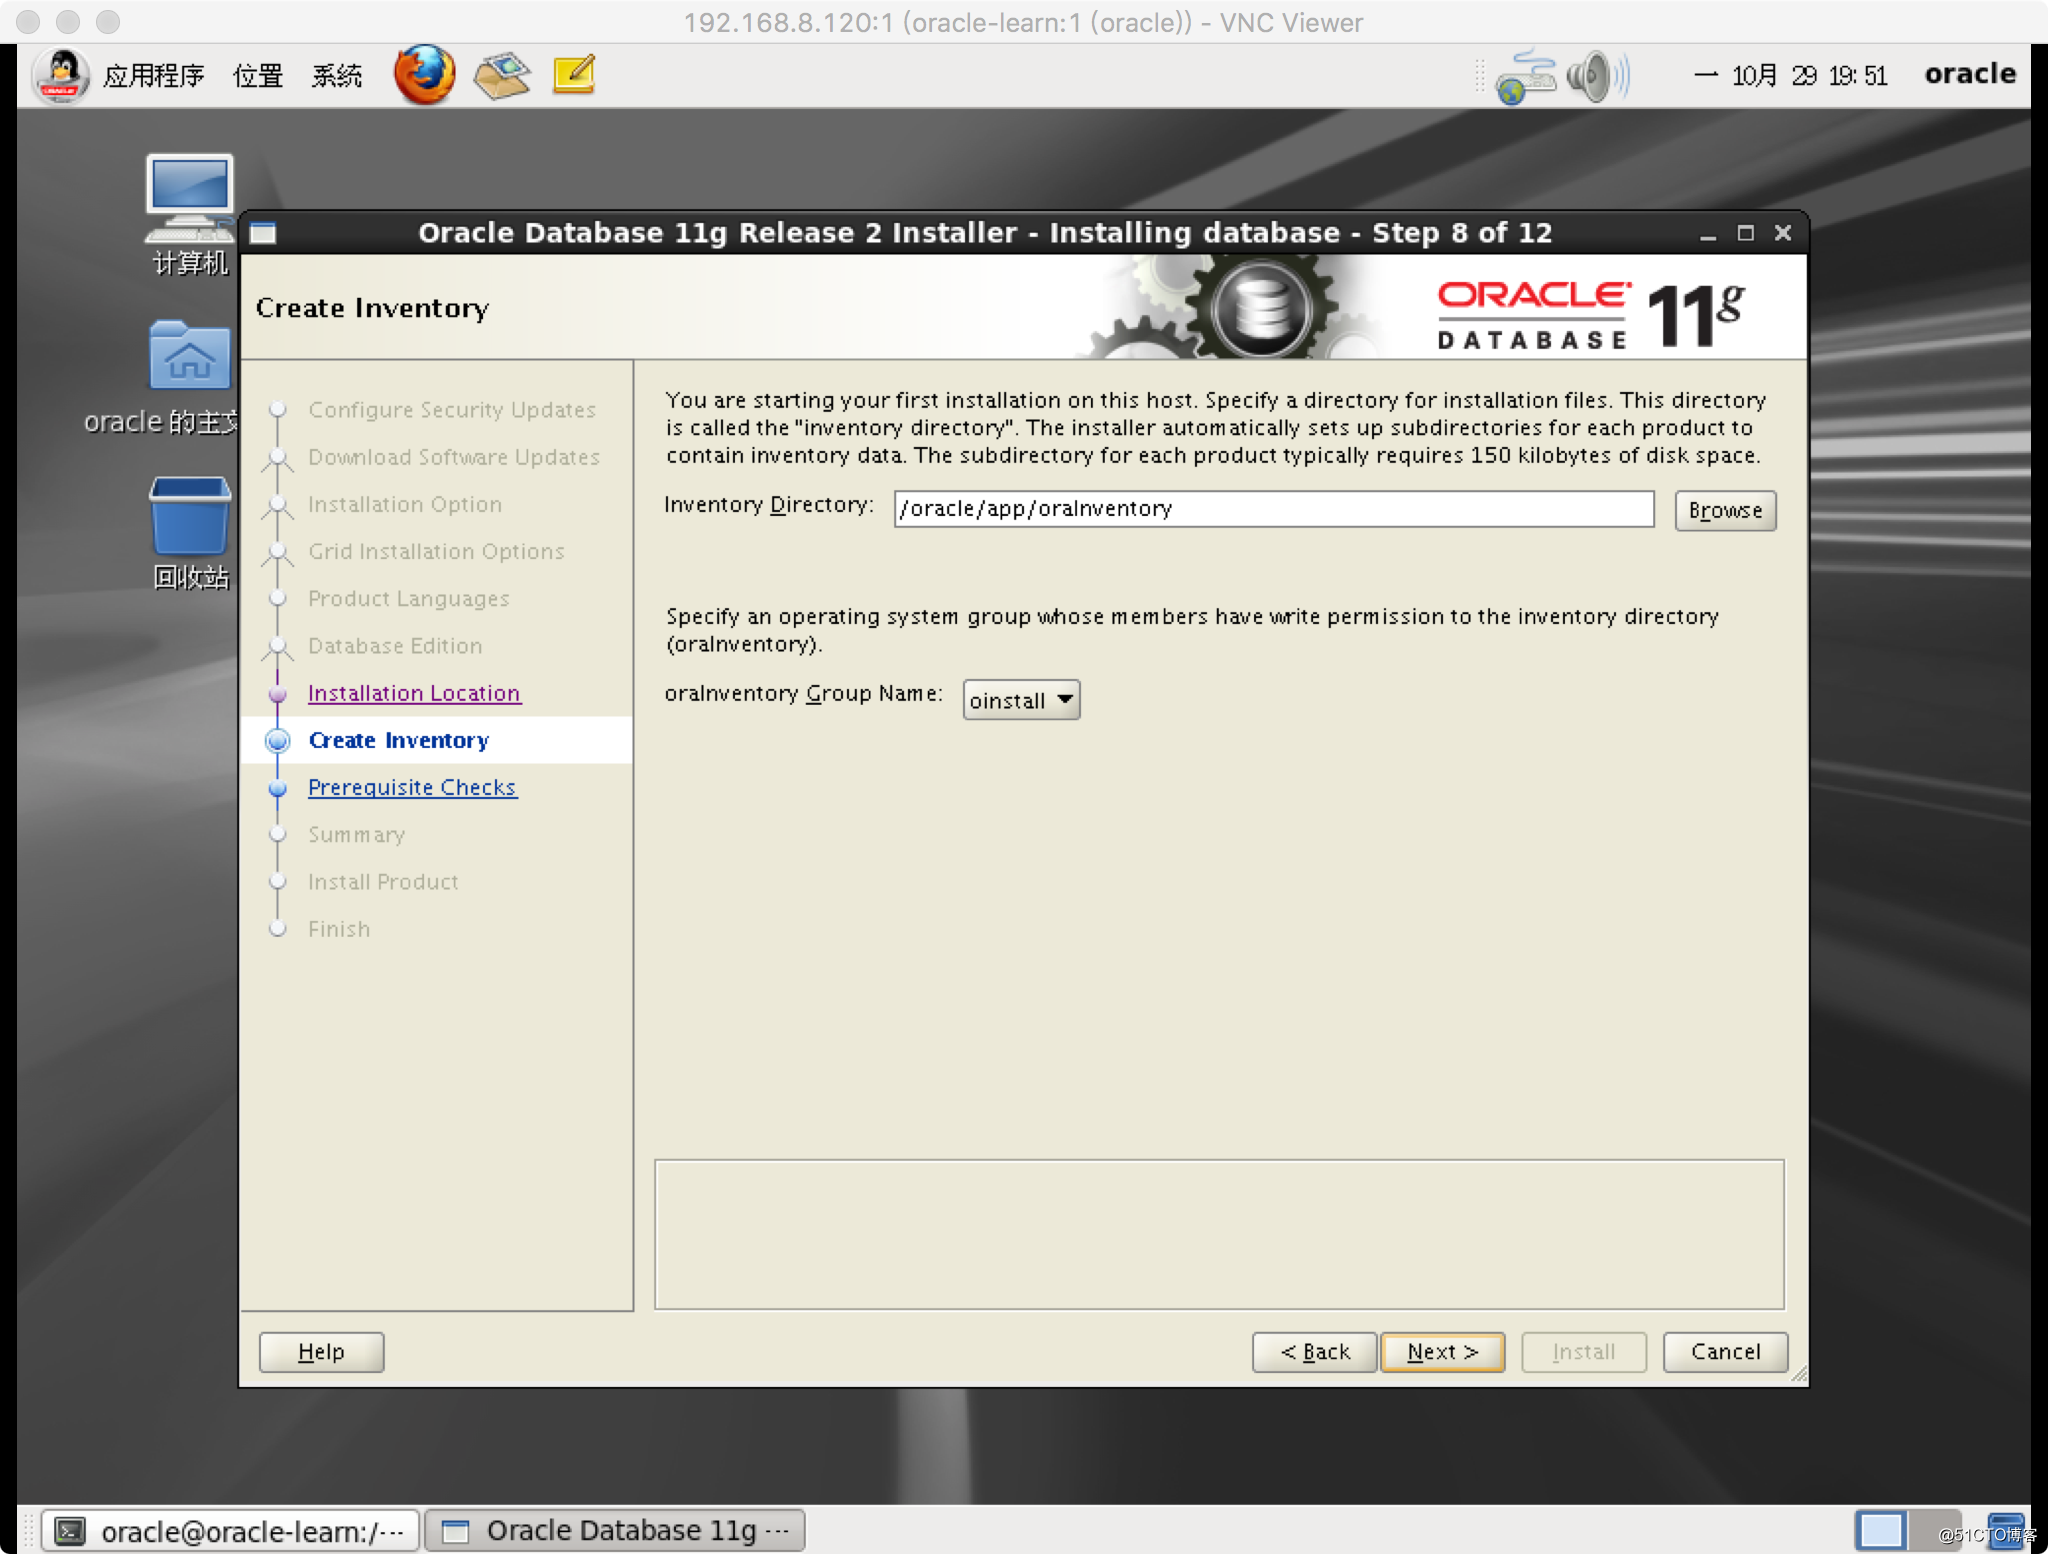
9、默認,下一步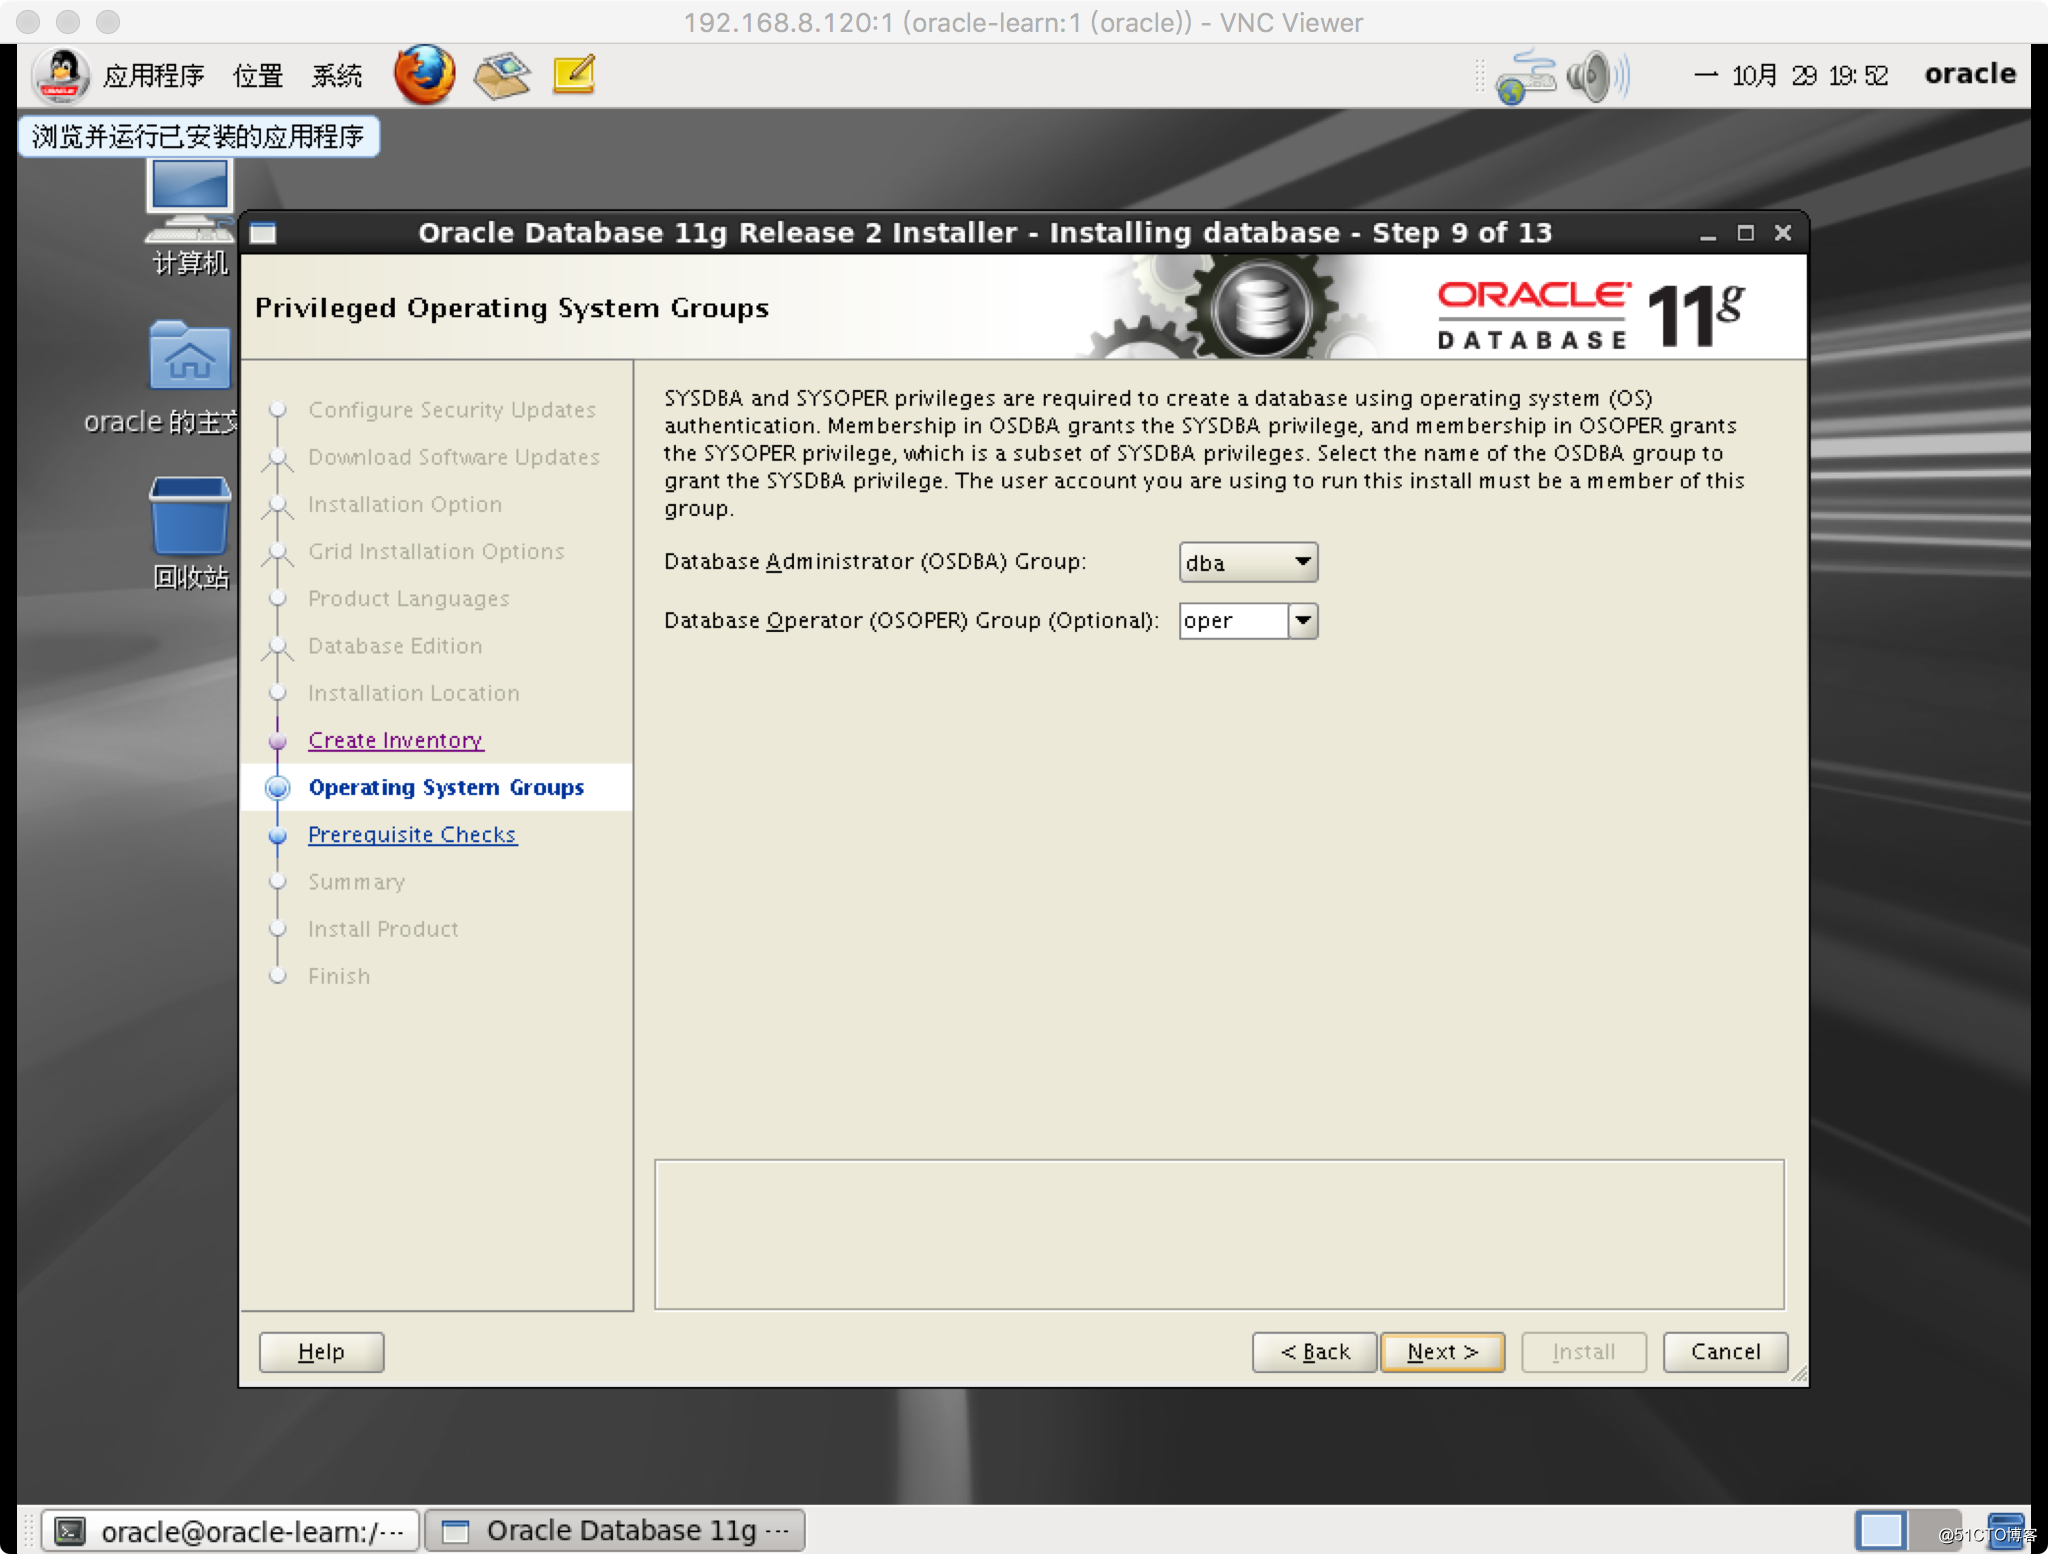
10、這裏會有一個配置的檢測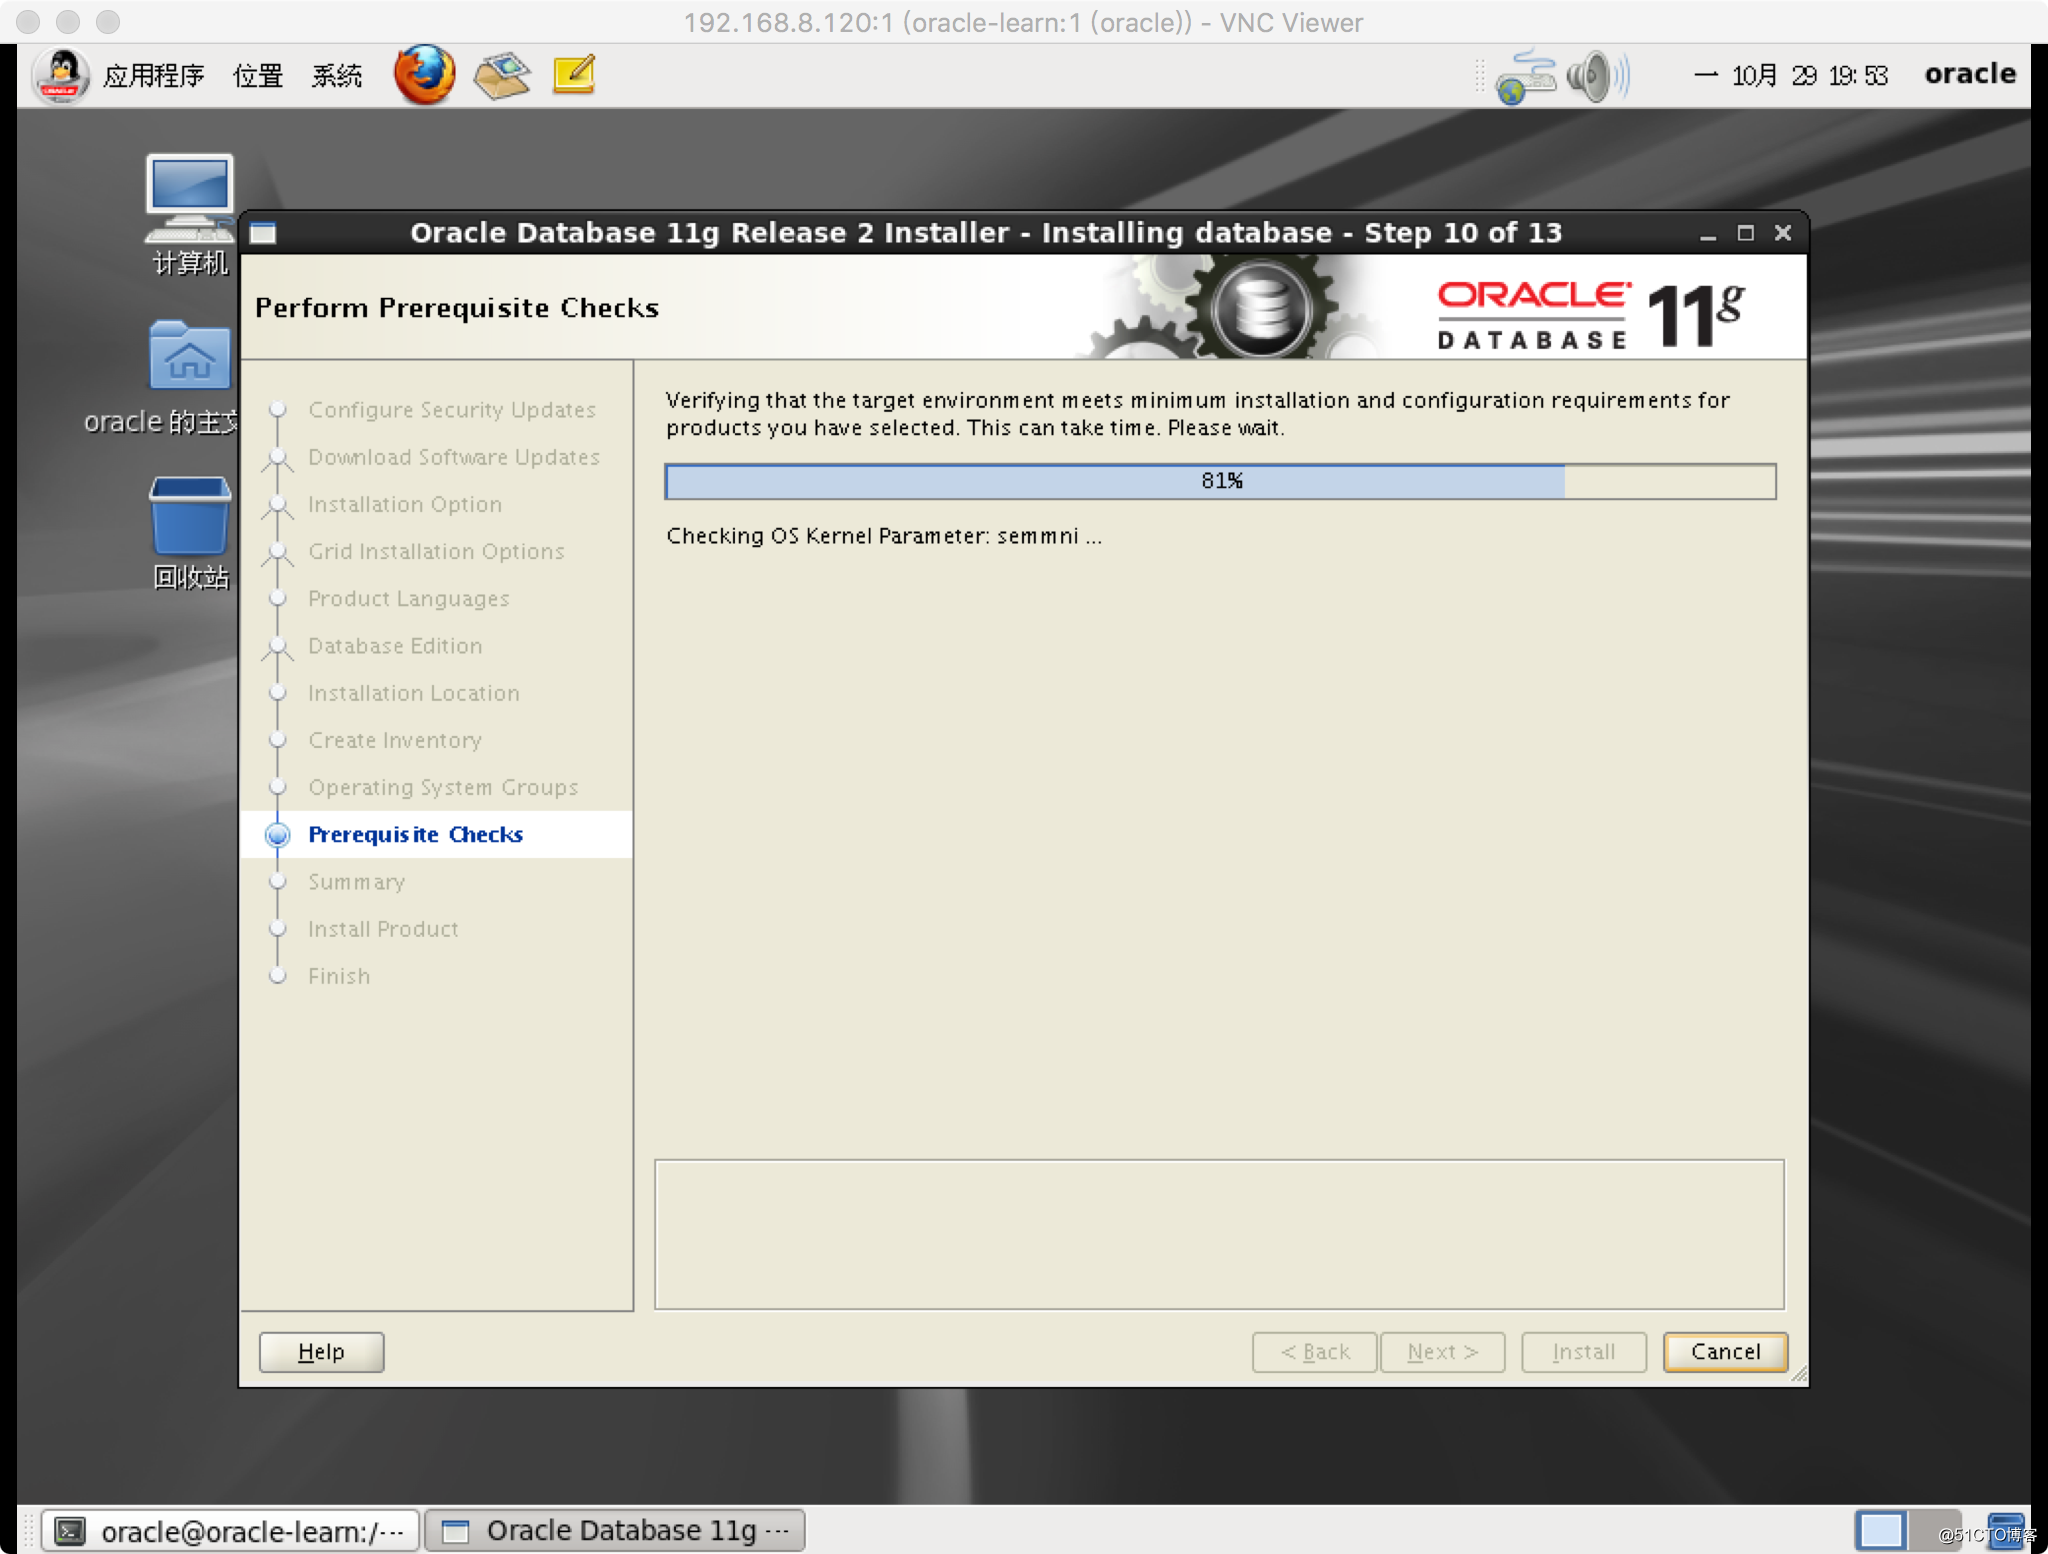
11、點擊install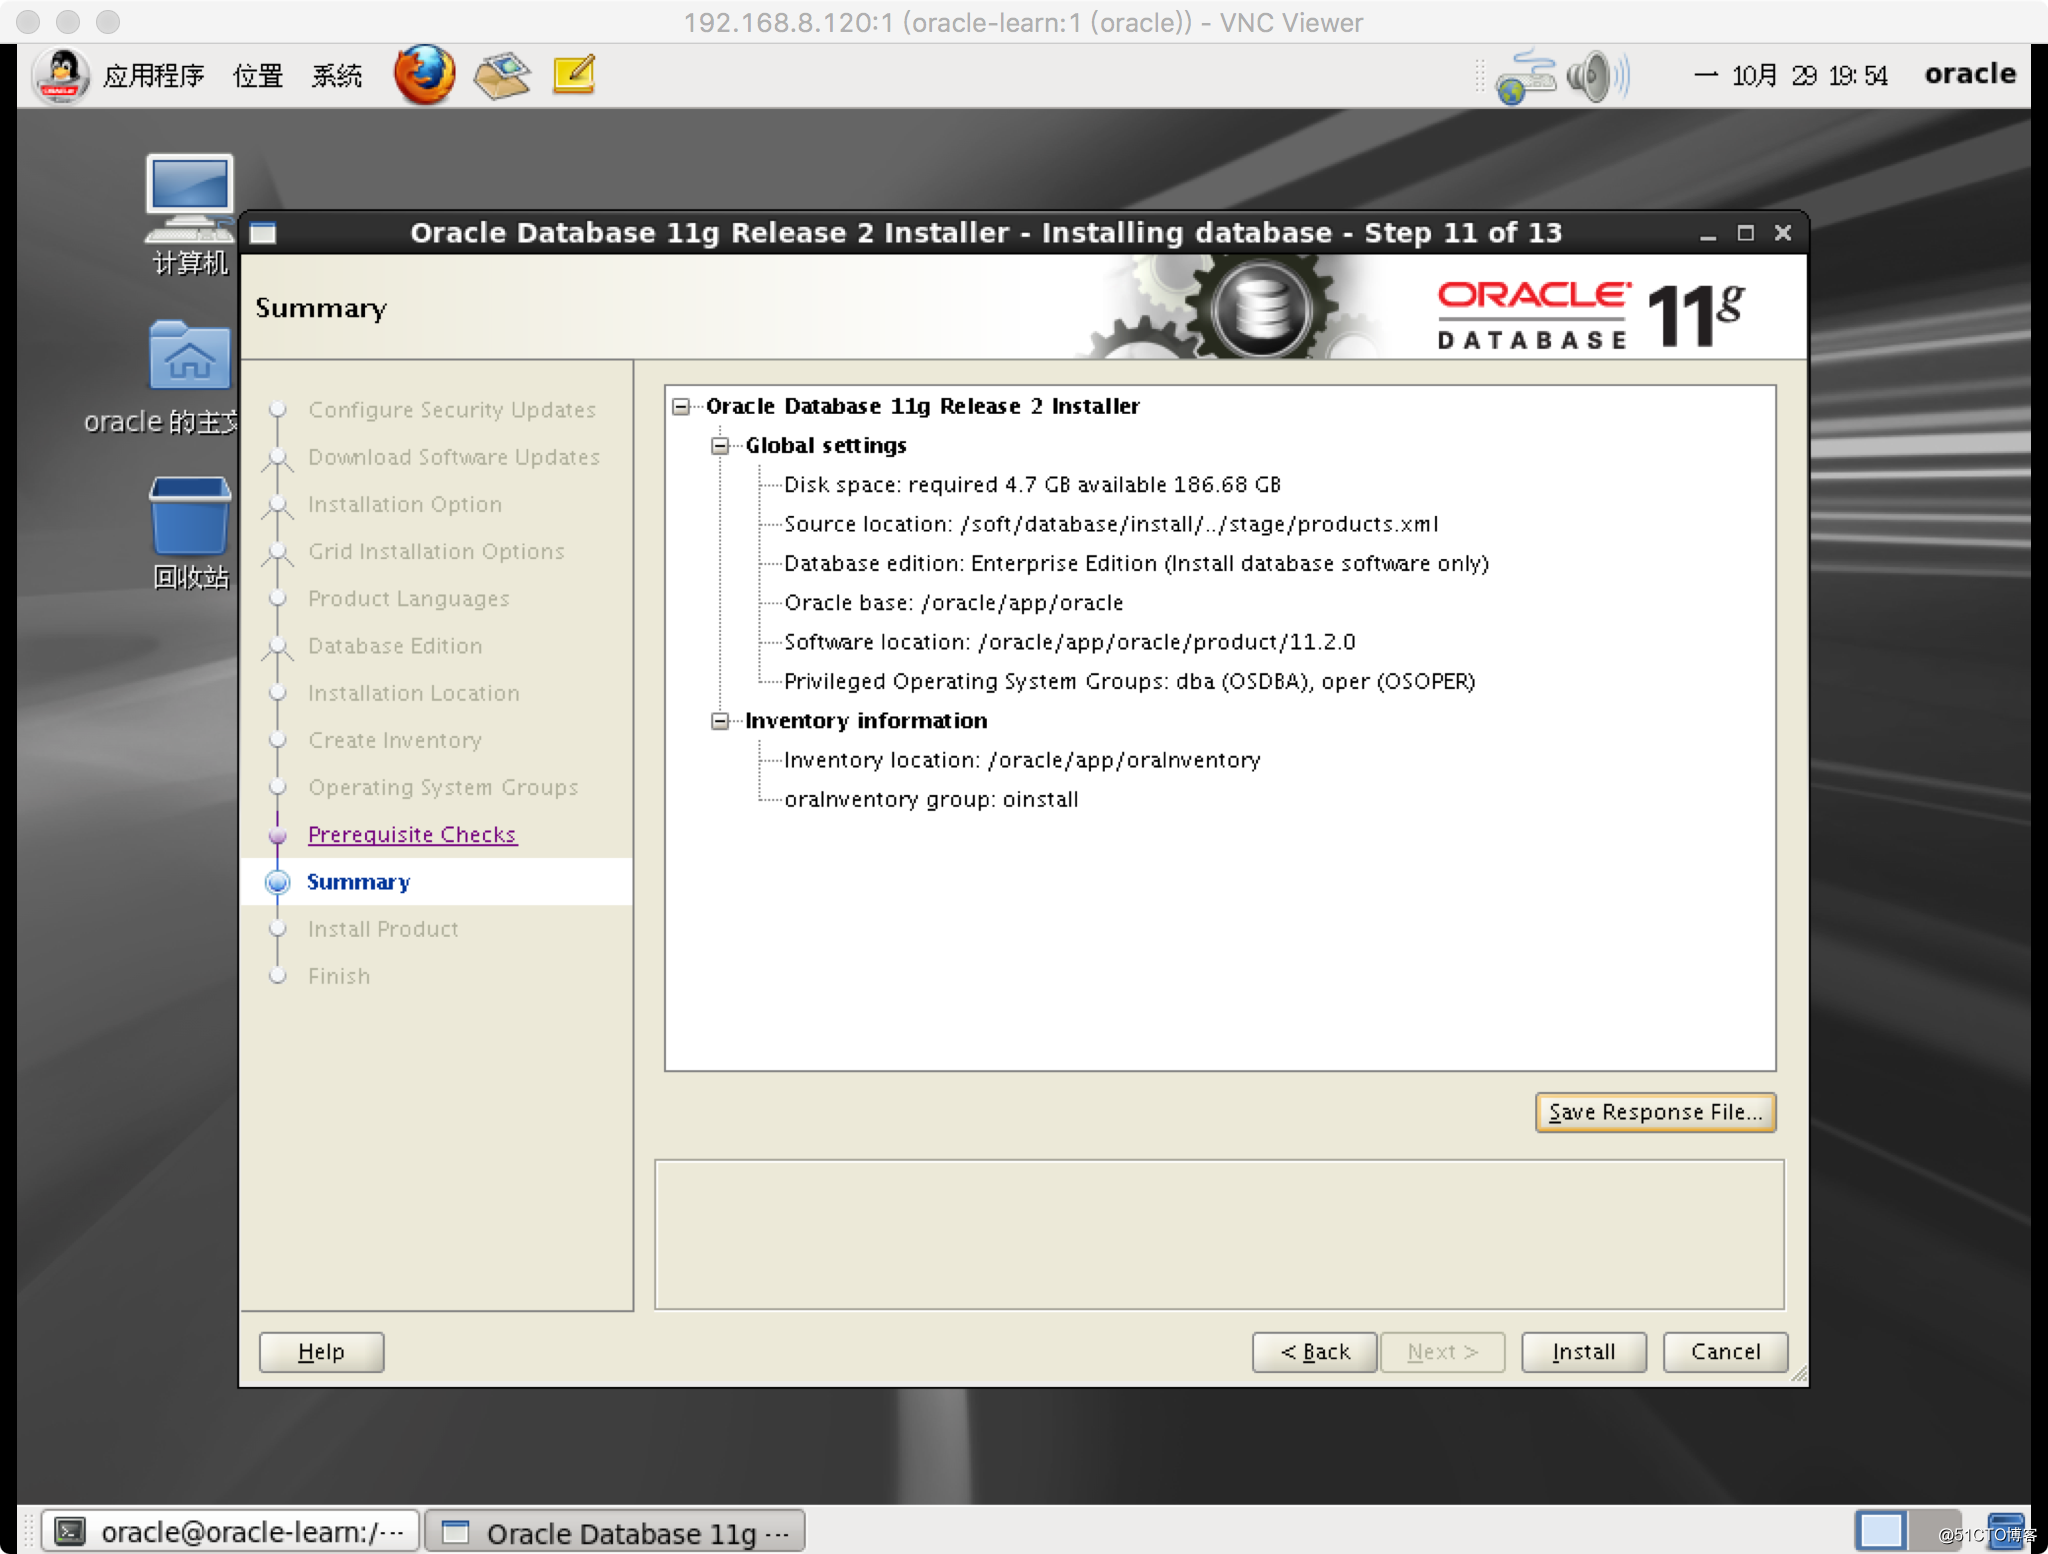
開始安裝。
安裝過程中會有提示要運行的腳本如圖: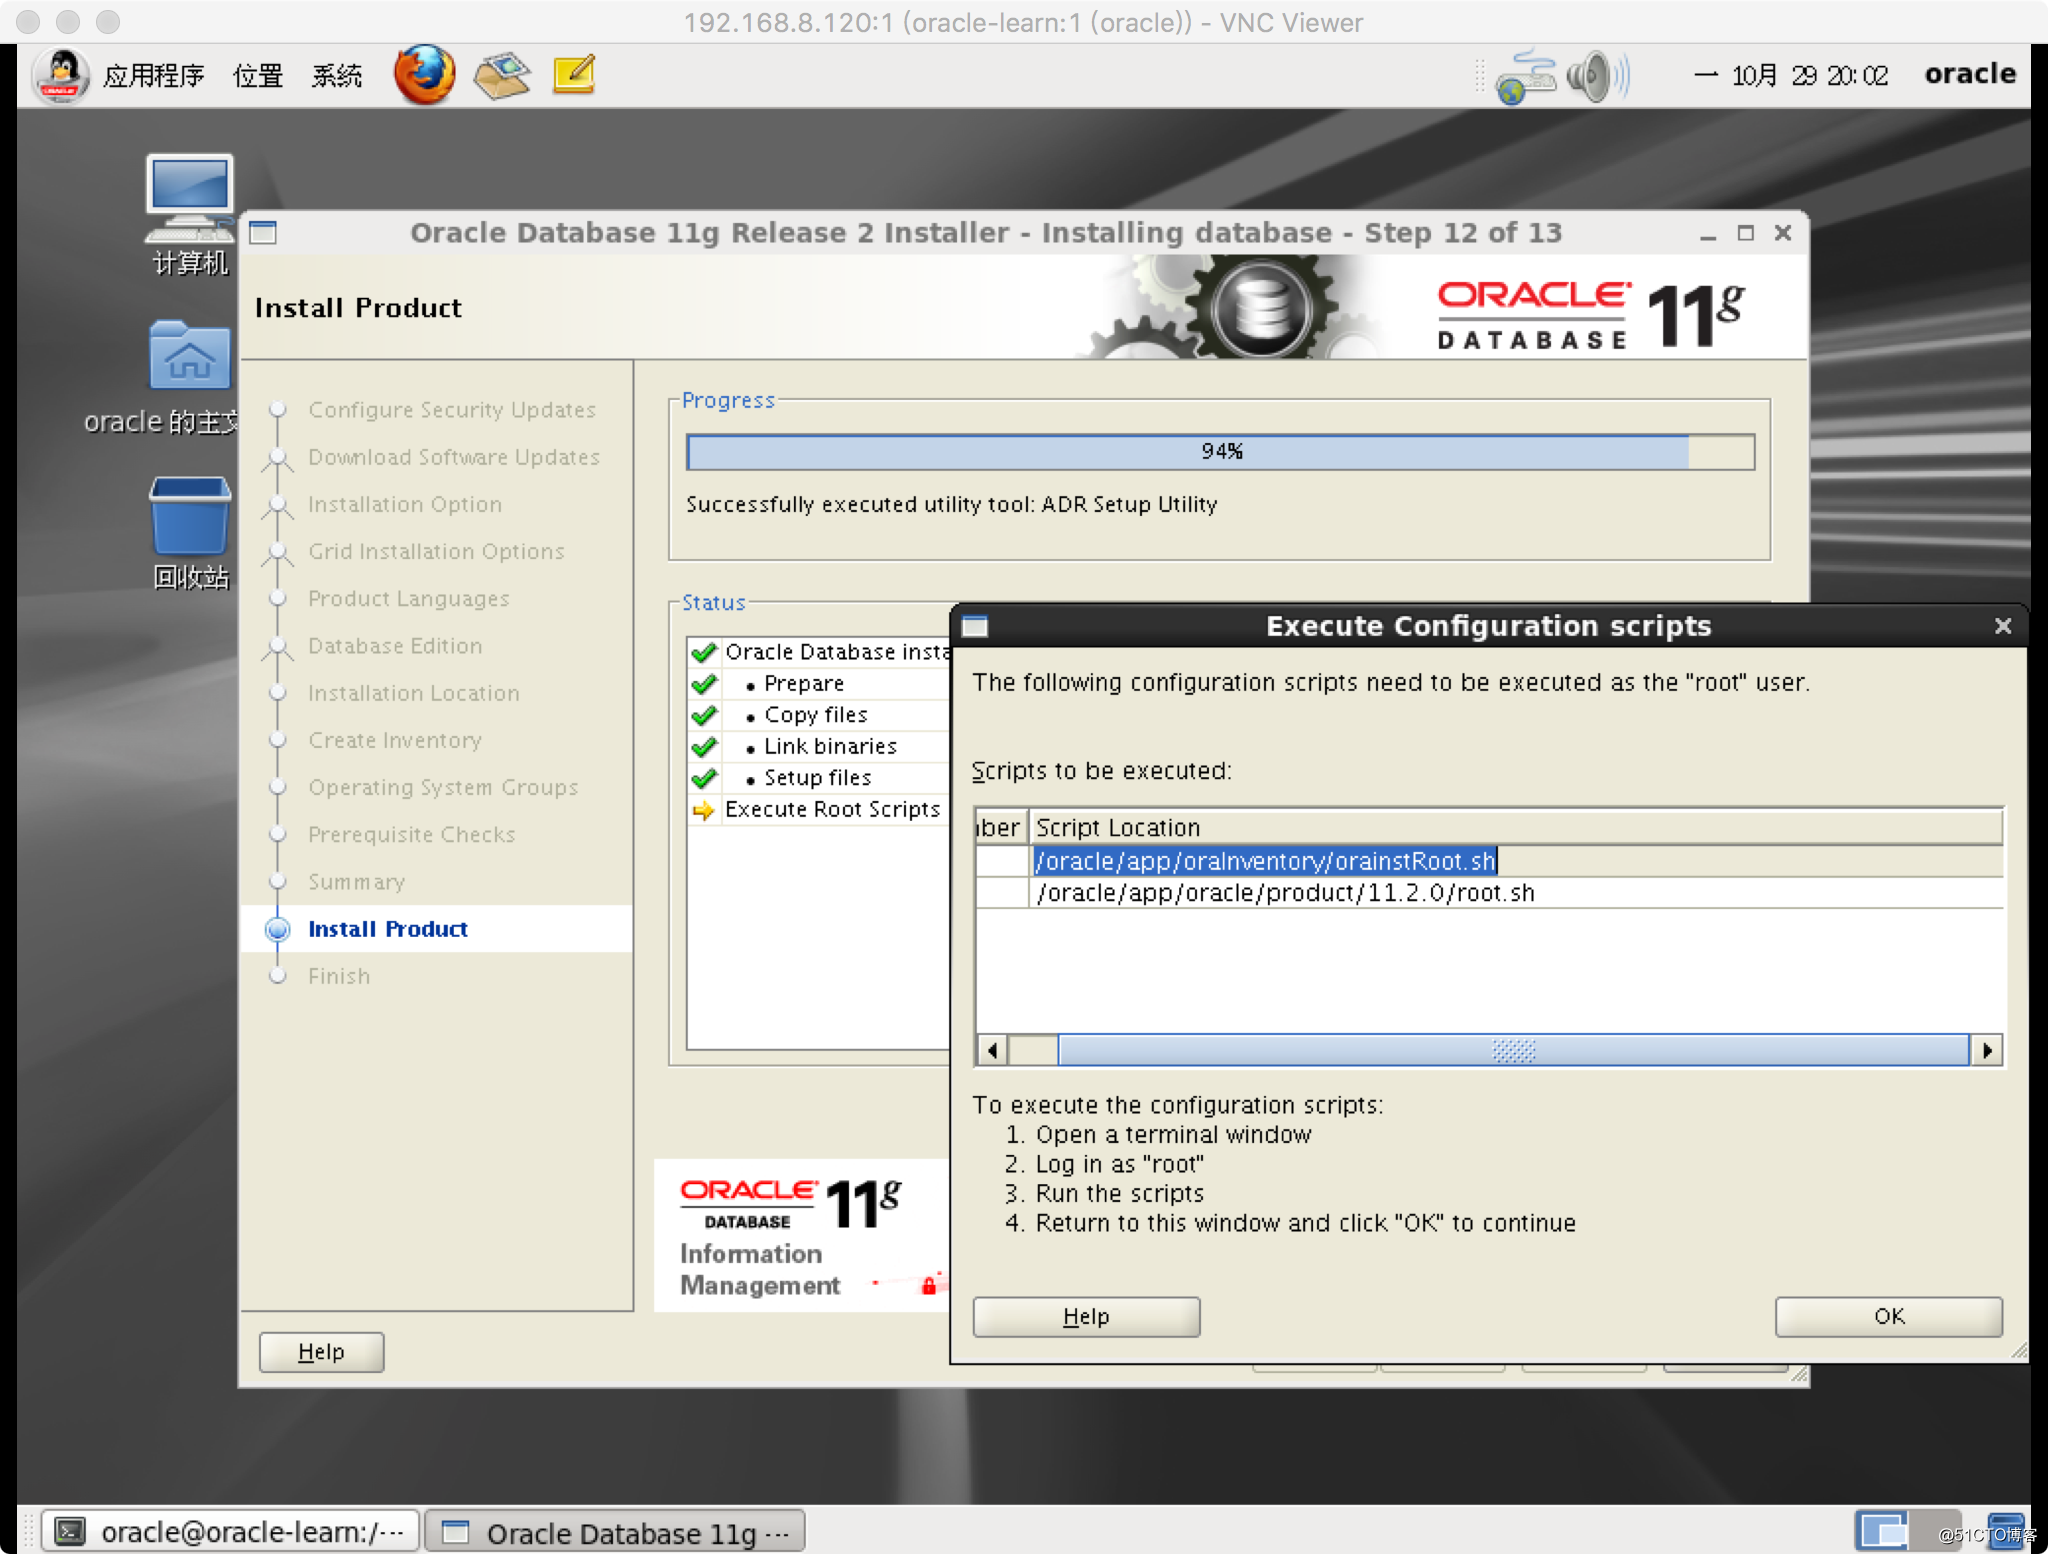
在root用戶下按順序運行這兩個命令,第二個命令運行後會有一個按enter建的命令。
[root@oracle-learn ~]# /oracle/app/oraInventory/orainstRoot.sh
Changing permissions of /oracle/app/oraInventory.
Adding read,write permissions for group.
Removing read,write,execute permissions for world.

Changing groupname of /oracle/app/oraInventory to oinstall.
The execution of the script is complete.
[root@oracle-learn ~]# /oracle/app/oracle/product/11.2.0/root.sh
Performing root user operation for Oracle 11g
The following environment variables are set as:
ORACLE_OWNER= oracle
ORACLE_HOME= /oracle/app/oracle/product/11.2.0
Enter the full pathname of the local bin directory: [/usr/local/bin]:
Copying dbhome to /usr/local/bin ...
Copying oraenv to /usr/local/bin ...
Copying coraenv to /usr/local/bin ...
Creating /etc/oratab file...
Entries will be added to the /etc/oratab file as needed by
Database Configuration Assistant when a database is created
Finished running generic part of root script.
Now product-specific root actions will be performed.
Finished product-specific root actions.然後回到遠程桌面點擊ok
未完待續!!!
OracleLinux6.5下Oracle11.2.0.4的安裝