
使用Springboot+Feign Clients快速搭建REST客戶端應用
本文翻譯:吳嘉俊,叩丁狼高階講師。
在本文中,我們會快速的使用Springboot,配合Feign搭建一個簡單的REST客戶端應用。通過本示例,讓大家對這兩個框架的配合有一個基本的瞭解。
Spring Boot 是一個Java的快速開發框架,用於簡化web和企業級應用開發。Spring boot內建tomcat伺服器,提供了大量的starter配置,實現多種元件的自動裝配。
Feign 是Netflix提供的一個實現了REST API 客戶端的宣告式開發框架。Feign允許使用標籤註解介面達到宣告式的建立REST客戶端,具體的實現在執行時提供。
專案環境
準備好以下的工具:
- JDK 1.8.81
- IntelliJ 2018.2.2
- Spring Boot 2.0.4
- Gradle 4.10
- Spring Cloud Finchley.SR1
建立一個Springboot應用
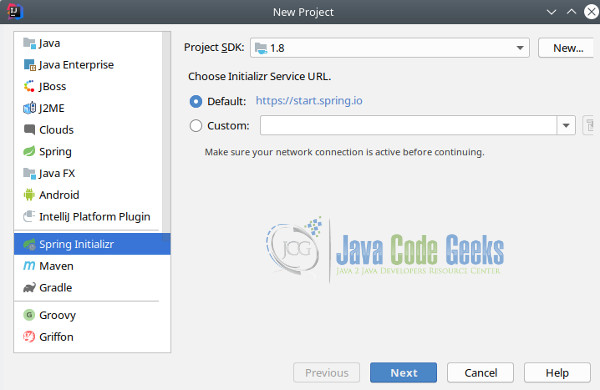
在IDEA中File->new->Project:

選擇Spring Initializr,並選擇一個合適的JDK版本:
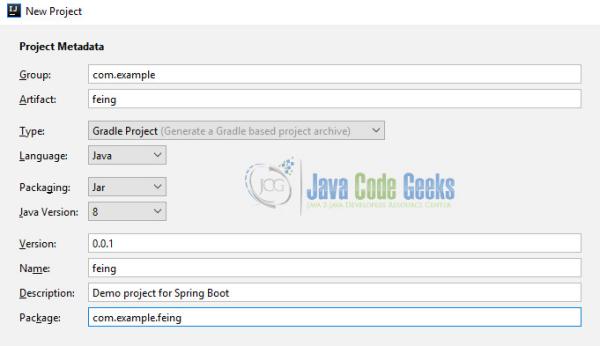
指定一個Group和Artiface名字。選擇Gradle Project並且輸入一個專案的版本。
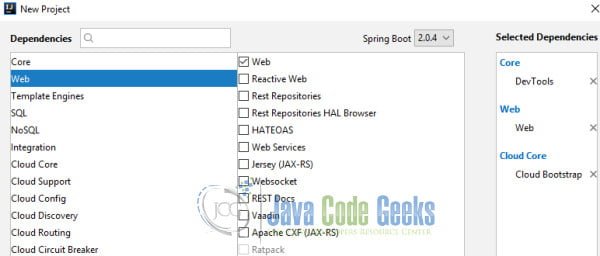
在接下來的視窗中選擇:
- Core -> DevTools
- Web -> Web
- Cloud -> Cloud Bootstrap
最後一步中,為專案選擇一個儲存地址:
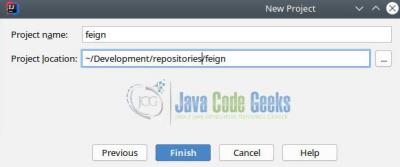
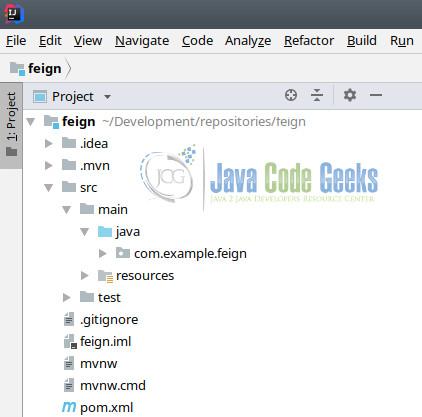
到此為止,我們已經成功建立了一個springboot的基礎專案。
編寫Controller
建立一個名叫FeignController的類。將類標記為Controller,並且實現一個返回ResponseEntity的方法,方法標記為接受Get請求。在這個版本中,我們的IWeatherClient返回一個虛擬的資料。
package com.example.feign.controller;

@RestController
public class FeignController {

    private final IWeatherClient weatherClient;

    @Autowired
    public FeignController(IWeatherClient weatherClient) {
        this.weatherClient = weatherClient;
    }

    @GetMapping(path = "/weather")
    ResponseEntity<Map> getWeather() {
        return ResponseEntity.ok(weatherClient.getWeather().getBody());
    }
}
在應用的配置檔案(application.properties)中,新增服務埠:
server.port=9090
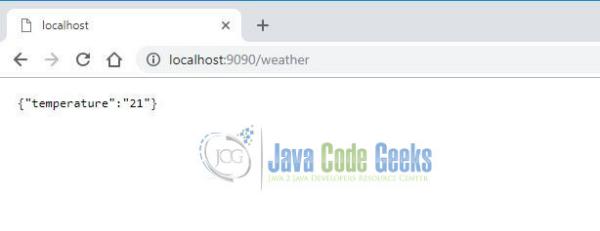
啟動應用,訪問請求地址:
建立Feign客戶端實現
接下來,我們將上文中虛假的IWeatherClient替換為真實的服務內容。
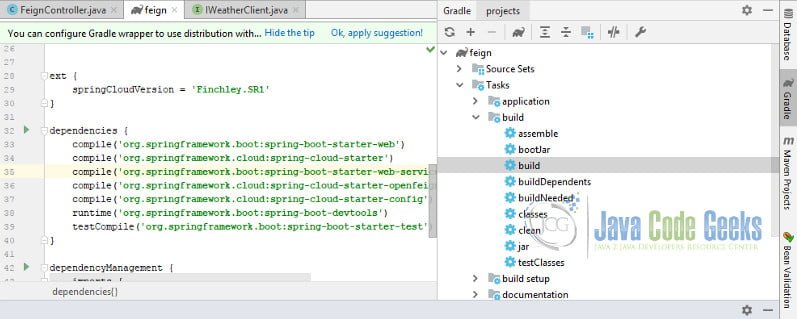
在build.gradle檔案中新增如下配置:
compile('org.springframework.boot:spring-boot-starter-web-services')
compile('org.springframework.cloud:spring-cloud-starter-openfeign')
compile('org.springframework.cloud:spring-cloud-starter-config')
執行Gradle的build任務;
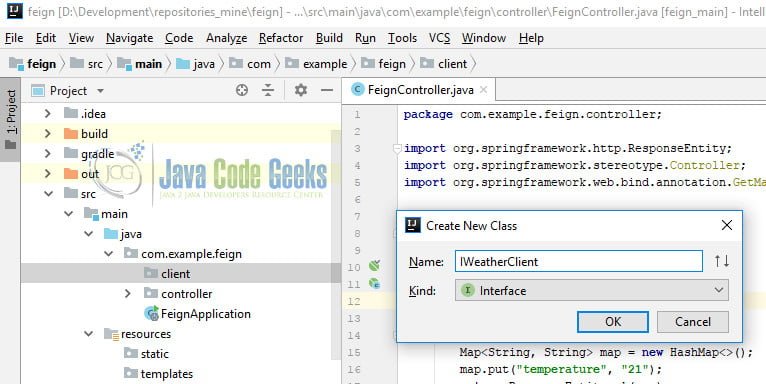
建立一個Feign Client介面,我們命名為IWeatherClient:
在我們的介面中新增一個獲取天氣的方法,並使用@FeignClient註解將我們的介面建立為一個FeignClient。@FeignClient註解需要目標服務的名字和URL。在這裡,我選擇data這個名字,並且通過引數傳入對應的URL。
package com.example.feign.feign;

@FeignClient(name = "data", url = "${feign.client.url}")
public interface IWeatherClient {

    @RequestMapping(method = RequestMethod.GET)
    ResponseEntity<Map> getWeather();

}
新增一個介面的實現。如果在執行該服務的時候出現錯誤,我們需要回退(fallback),在示例中,我們不處理任何異常,所以返回一個null。
package com.example.feign.feign.imp;

@Component
public class WeatherFallback implements IWeatherClient {

    @Override
    public ResponseEntity<Map> getWeather() {
        return null;
    }

}
在application.properties檔案中新增具體的遠端服務地址:
feign.client.url = https://samples.openweathermap.org/data/2.5/weather?lat=35&lon=139&appid=b6907d289e10d714a6e88b30761fae22
我們訪問一下這個url地址,以下就是這個服務返回的響應:
{"coord":{"lon":139.01,"lat":35.02},"weather":[{"id":800,"main":"Clear","description":"clear sky","icon":"01n"}],"base":"stations","main":{"temp":285.514,"pressure":1013.75,"humidity":100,"temp_min":285.514,"temp_max":285.514,"sea_level":1023.22,"grnd_level":1013.75},"wind":{"speed":5.52,"deg":311},"clouds":{"all":0},"dt":1485792967,"sys":{"message":0.0025,"country":"JP","sunrise":1485726240,"sunset":1485763863},"id":1907296,"name":"Tawarano","cod":200}
接下來,修改我們的FeignApplication類。在FeignApplication類上新增@EnableFeignClients註解,要求FeignClient掃描指定的包含FeignClient服務的包:
package com.example.feign;

import org.springframework.boot.SpringApplication;
import org.springframework.boot.autoconfigure.SpringBootApplication;
import org.springframework.cloud.openfeign.EnableFeignClients;

@SpringBootApplication
@EnableFeignClients(basePackages = {"com.example.feign.feign",
        "com.example.feign.controller"})
public class FeignApplication {

    public static void main(String[] args) {
        SpringApplication.run(FeignApplication.class, args);
    }
}
再次啟動應用,請求/weather,我們就能得到遠端服務的內容了:

這個小例子清楚的展示瞭如何通過Feign建立一個Weather API的HTTP客戶端。Feign的核心在於降低基於RESTful 的HTTP API客戶端的開發複雜度。
原文:https://www.javacodegeeks.com/2018/10/making-rest-communication-easy-with-feign-clients.html
