
elementUI+koa實現圖片上傳功能
阿新 • • 發佈:2018-11-05
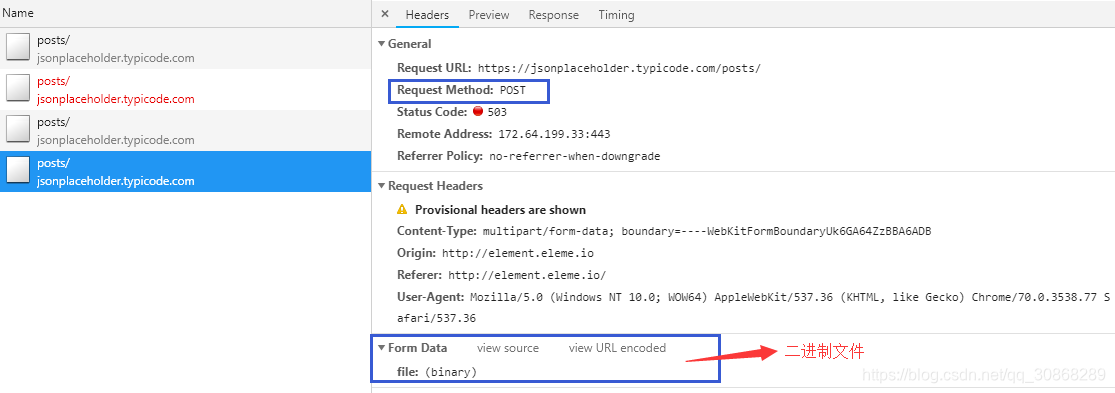
elementUI中的上傳元件為:
大家可以先在自己的專案中執行一下餓了麼上傳元件
<el-upload
action="https://jsonplaceholder.typicode.com/posts/"
list-type="picture-card"
:on-preview="handlePictureCardPreview"
:on-remove="handleRemove">
<i class="el-icon-plus"></i>
</el-upload>
<el-dialog :visible.sync= | 引數 | 說明 | 型別 |
|---|---|---|
| action | 必選引數,上傳的地址 | |
| list-type | 檔案列表的型別 | |
| on-preview | 點選檔案列表中已上傳的檔案時的鉤子 | function(file) |
| on-remove | 檔案列表移除檔案時的鉤子 | function(file, fileList) |
下面看一下服務端(koa)的配置:
這裡使用了koa-multer外掛
關於這該外掛的使用課參考這兩篇部落格:
利用中介軟體Multer實現上傳功能
nodejs - multer模組教程,使用multer進行附件上傳
1、首先建立Multer物件,並通過storage對物件進行設定
//getpath.js
const multer = require('koa-multer')
const path = require('path')

//配置
var storage = multer.diskStorage({
    //檔案儲存路徑
    destination: function (req, file, cb) {
        cb(null, 'public/phoneManageSystem/')//path.resolve('public/phoneManageSystem')
    },
    //修改檔名稱
    filename: function (req, file, cb) {
        var fileFormat = (file.originalname).split(".");  //以點分割成陣列,陣列的最後一項就是字尾名
        cb(null, Date.now() + "." + fileFormat[fileFormat.length - 1]);
    }
})
//載入配置
var upload = multer({
     storage: storage,
     limits: {
        fileSize: 1024*1024/2 // 限制512KB
      }
});

export default upload
2、配置路由
//upload.js
import upload from '../api/getpath.js'
import koaRouter from 'koa-router'
const router = koaRouter()

router.post('/uploadImg', upload.single('file'), async (ctx, next) => {
    ctx.body = {
        filename: ctx.req.file.filename//返回檔名
    }
})

export default router
3、配置路由中介軟體
import koaRouter from 'koa-router'
import upload from './upload.js'
const router = koaRouter()

router.use('/phoneManageSystem/upload', upload.routes())

export default router