小程式短視訊專案———視訊詳情頁面開發(二)
阿新 • • 發佈:2018-11-08
一、上傳視訊功能複用與測試
新建與pages同級資料夾utils,新建videoUtil.js檔案
function uploadVideo() { var me = this; wx.chooseVideo({ sourceType: ['album'], success(res) { console.log(res); var duration = res.duration; var tmpheight = res.height; var tmpwidth = res.width; var tmpVideoUrl = res.tempFilePath;var tmpCoverUrl = res.thumbTempFilePath; if (duration > 11) { wx.showToast({ title: '視訊長度不能超過10秒...', icon: "none", duration: 2500 }) } else if (duration < 1) { wx.showToast({ title: '視訊長度不能小於1秒...', icon: "none", duration:2500 }) } else { //開啟選擇bgm的頁面 wx.navigateTo({ url: '../chooseBgm/chooseBgm?duration=' + duration + "&tmpHeight=" + tmpheight + "&tmpWidth=" + tmpwidth + "&tmpVideoUrl=" + tmpVideoUrl + "&tmpCoverUrl=" + tmpCoverUrl, }) } } }) } module.exports= { uploadVideo: uploadVideo }
然後在其他檔案引用
1、
![]()
2、

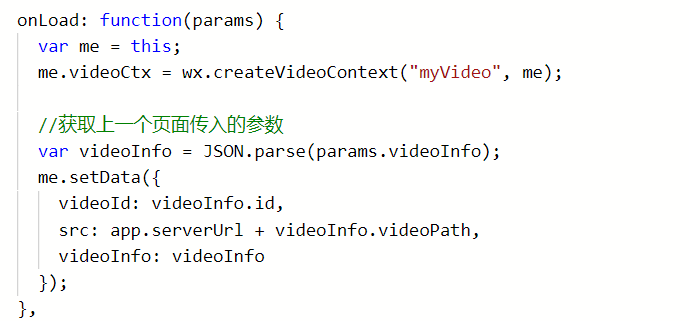
二、首頁進入視訊展示頁


三、橫向視訊的展示

四、小程式的頁面攔截

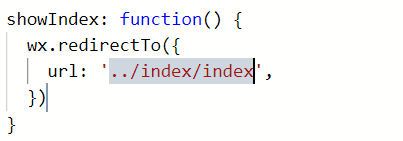
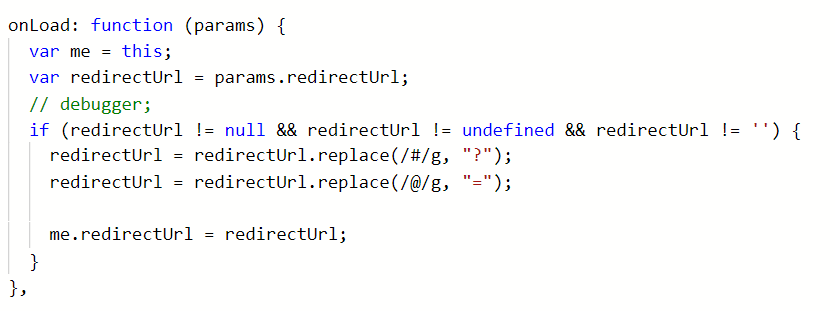
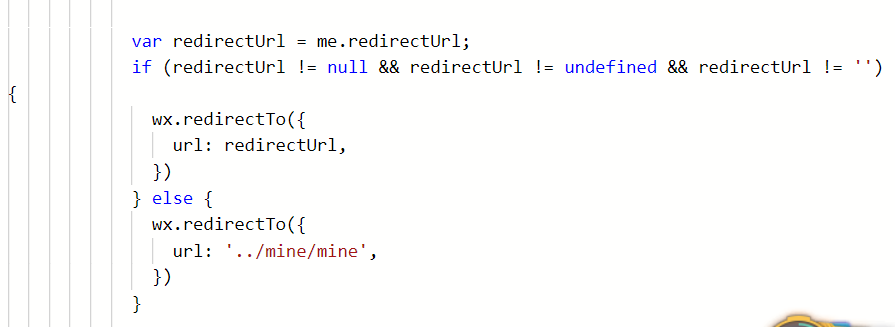
五、頁面重定向
1、當用戶未登陸時,不能上傳視訊,所以此時如果點選上傳視訊按鍵,應該做一層攔截。

2、問題又來了,當登陸成功後,就會跳轉到個人資訊頁面,應該讓他返回到登陸之前的頁面,即視訊詳情頁,重新上傳視訊。


六、攔截器配置與註冊
package com.imooc;

import org.springframework.context.annotation.Bean;
import org.springframework.context.annotation.Configuration;
import org.springframework.web.servlet.config.annotation.InterceptorRegistry;
import org.springframework.web.servlet.config.annotation.ResourceHandlerRegistry;
import org.springframework.web.servlet.config.annotation.WebMvcConfigurerAdapter;

import com.imooc.controller.interceptor.MiniInterceptor;

@Configuration
public class WebMvcConfig extends WebMvcConfigurerAdapter {

    @Override
    public void addResourceHandlers(ResourceHandlerRegistry registry) {
        registry.addResourceHandler("/**")
        .addResourceLocations("classpath:/META-INF/resources/")
                .addResourceLocations("file:D:/imooc_videos_dev/");
    }


    /*
     * 在spring中註冊
     */
    @Bean
    public MiniInterceptor miniInterceptor() {
        return new MiniInterceptor();
    }


    /*
     *攔截器註冊
     */
    @Override
    public void addInterceptors(InterceptorRegistry registry) {
        registry.addInterceptor(miniInterceptor()).addPathPatterns("/user/**");
        super.addInterceptors(registry);
    }

}
七、攔截器編寫
package com.imooc.controller.interceptor;

import java.io.IOException;
import java.io.OutputStream;
import java.io.UnsupportedEncodingException;

import javax.servlet.http.HttpServletRequest;
import javax.servlet.http.HttpServletResponse;

import org.apache.commons.lang3.StringUtils;
import org.springframework.beans.factory.annotation.Autowired;
import org.springframework.web.servlet.HandlerInterceptor;
import org.springframework.web.servlet.ModelAndView;

import com.imooc.utils.IMoocJSONResult;
import com.imooc.utils.JsonUtils;
import com.imooc.utils.RedisOperator;

public class MiniInterceptor implements HandlerInterceptor {


    @Autowired
    public RedisOperator redis;

    public static final String USER_REDIS_SESSION = "user-redis-session";


    /**
     * 攔截請求,在controller呼叫之前
     */
    @Override
    public boolean preHandle(HttpServletRequest request, HttpServletResponse response,
                        Object arg2) throws Exception {

        System.out.println("已進入攔截器");

        String userId = request.getHeader("userId");
        String userToken = request.getHeader("userToken");

        if(StringUtils.isNotBlank(userId) && StringUtils.isNoneBlank(userToken)) {
            String uniqueToken = redis.get(USER_REDIS_SESSION + ":" + userId);
            if(StringUtils.isEmpty(uniqueToken) && StringUtils.isBlank(uniqueToken)) {
                System.out.println("請登入...");
                returnErrorResponse(response, new IMoocJSONResult().errorTokenMsg("請登入..."));
                return false;
            }else {
                //如果業務要求限制一臺手機上登陸,就要進行以下驗證
                //當賬號已經在登入狀態時,uniqueToken已經被重新設定了,別的手機端登入uniqueToken和userToken就會不一樣。
                if(!uniqueToken.equals(userToken)) {
                    System.out.println("賬號被擠出");
                    returnErrorResponse(response, new IMoocJSONResult().errorTokenMsg("賬號被擠出"));
                    return false;
                }

            }


        }else {
            System.out.println("請登入...");
            returnErrorResponse(response, new IMoocJSONResult().errorTokenMsg("請登入..."));
            return false;
        }
        /**
         * 返回 false:請求被攔截,返回
         * 返回 true :請求OK,可以繼續執行,放行
         */
        return true;
    }


    public void returnErrorResponse(HttpServletResponse response, IMoocJSONResult result)
            throws IOException, UnsupportedEncodingException {
        OutputStream out=null;
        try{
            response.setCharacterEncoding("utf-8");
            response.setContentType("text/json");
            out = response.getOutputStream();
            out.write(JsonUtils.objectToJson(result).getBytes("utf-8"));
            out.flush();
        } finally{
            if(out!=null){
                out.close();
            }
        }
    }


    /**
     * 請求controller之後,渲染檢視之前
     */
    @Override
    public void postHandle(HttpServletRequest arg0, HttpServletResponse arg1, Object arg2, ModelAndView arg3)
            throws Exception {
        // TODO Auto-generated method stub

    }


    /**
     * 請求controller之後,檢視渲染之後
     */
    @Override
    public void afterCompletion(HttpServletRequest arg0, HttpServletResponse arg1, Object arg2, Exception arg3)
            throws Exception {
        // TODO Auto-generated method stub

    }


}

在往後臺傳送request請求時,在請求頭上增加user.id和userToken兩個引數。

