
Cocos Creator 日記專案實戰FlyBird
阿新 • • 發佈:2018-11-11
Cocos 筆記 專案實戰(FlyBird)
學習知識點:
提供github下載地址: https://github.com/Noying/FlayBird
素材百度網盤:https://pan.baidu.com/s/1uU5daqfghqvjD_ADHIdKzw
碰撞元件及碰撞事件
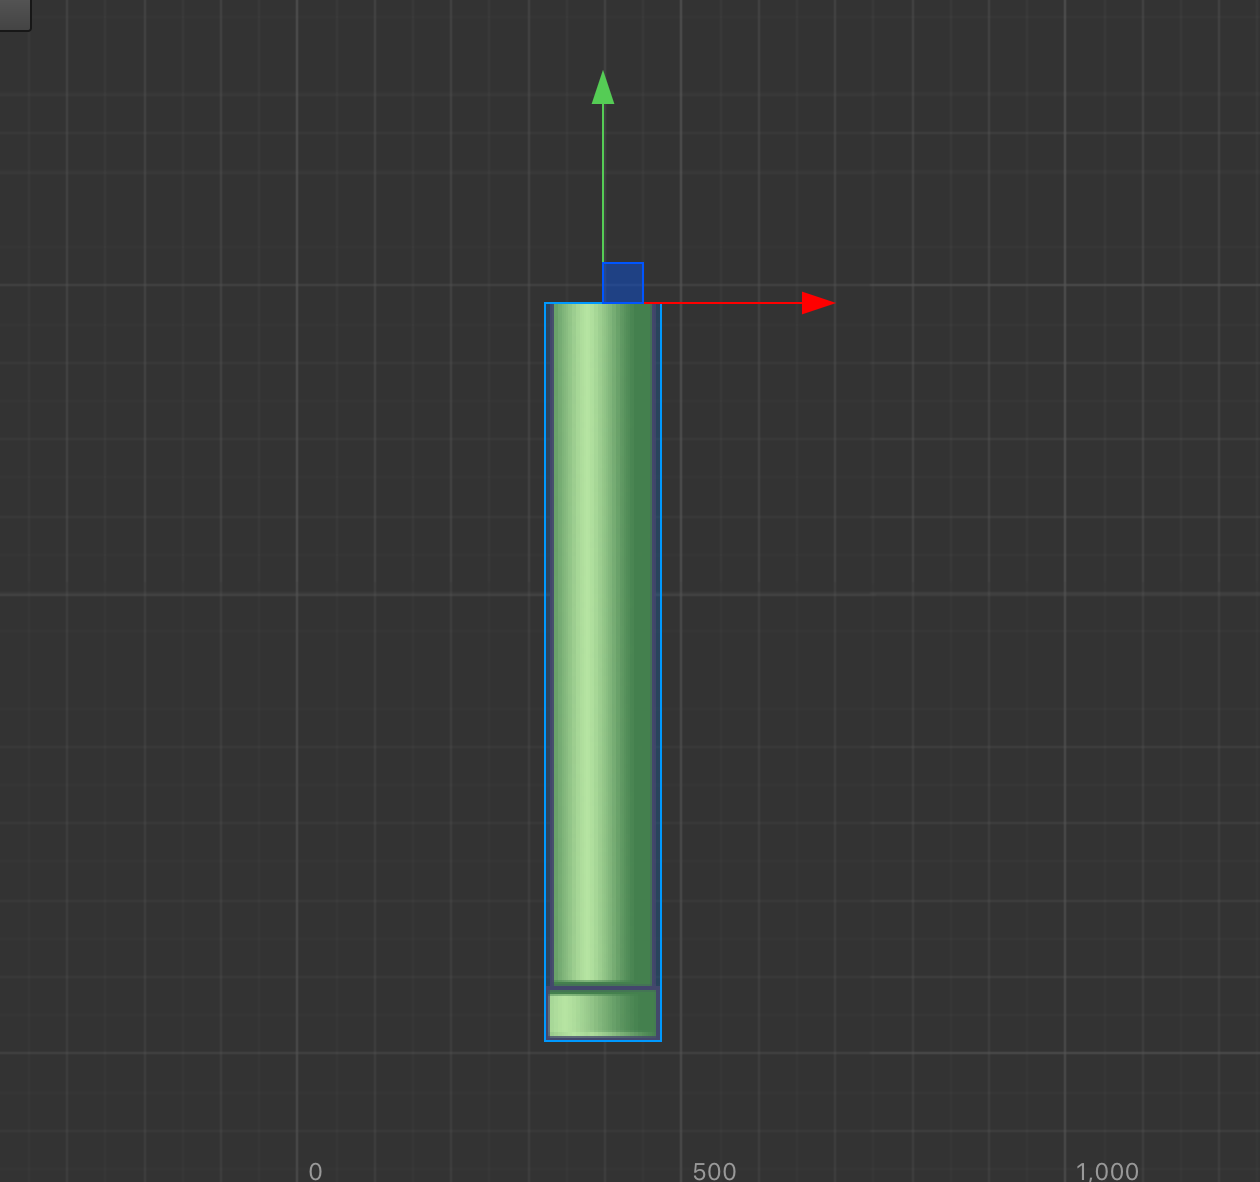
例如,水管的碰撞元件,只需要先將水管大小設定好,然後新增元件,選擇

就可以了,會自動的佈滿精靈。
事件處理,如我得飛鳥,如下:
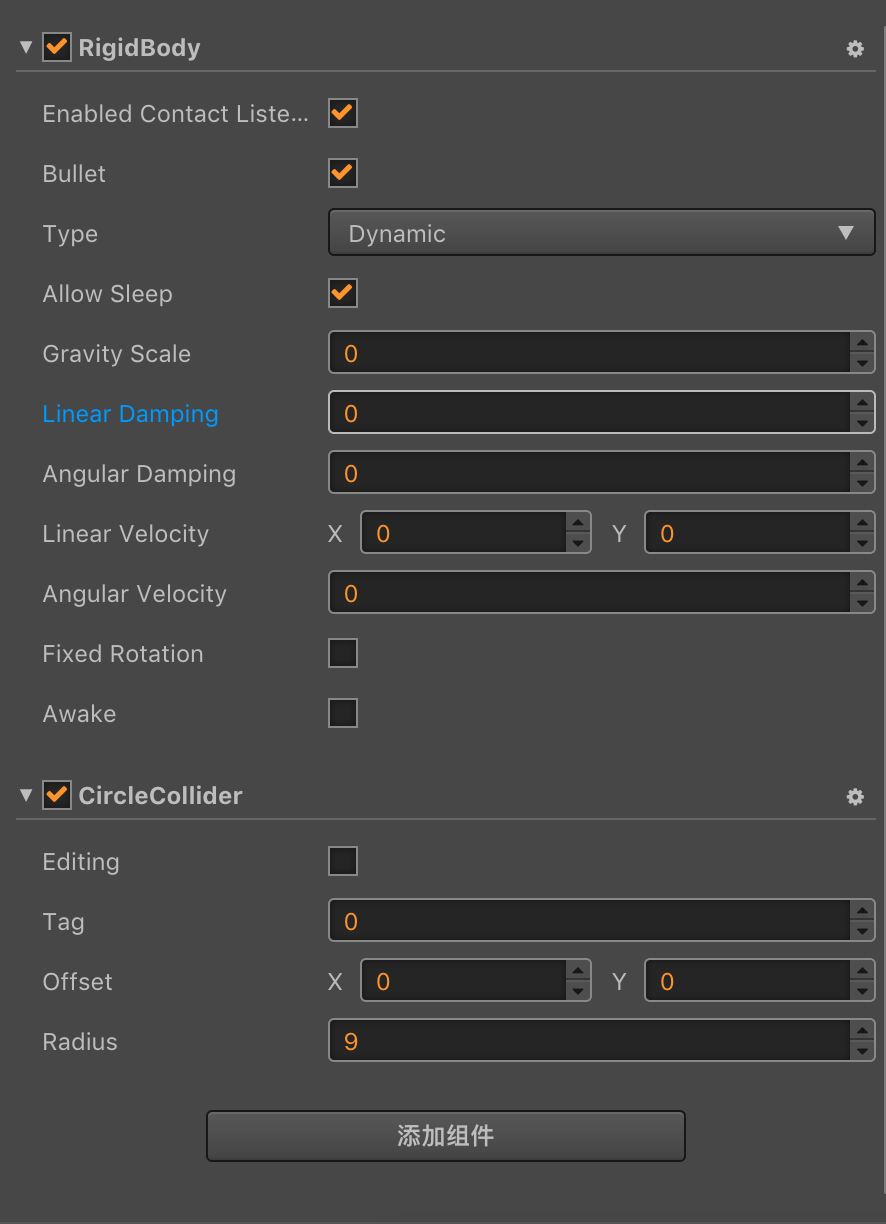
主要是勾好 第一個選項Enabled Contact Listened,獲得碰撞事件,然後再飛鳥上的腳步Player.js 上新增函式:
    onCollisionEnter: function (other, self) {
        switch(other.tag){
            case 1:
                this.game.gameOver();
                break;
            case 2:
                 this.score++;
                 cc.log("score is "+this.score);
                 this.game.setScoreText(this.score);
                 break;
            default:
                 break;
        }

    },
官網資料:碰撞元件及碰撞回撥
資料儲存
我這個遊戲主要是儲存,鳥飛過獲得最高分,因此我只有一個儲存
    saveScore:function(){ //儲存資料
        var maxScore = JSON.parse(cc.sys.localStorage.getItem('Score'));
        if(!maxScore)maxScore=0;
        if(this.score>=maxScore){
            cc.sys.localStorage.setItem('Score', this.score);
        }
    }
 onLoad () { //本來這裡還想做個列表,然後排序,最高分和最低分之類的
        cc.director.preloadScene("menuSence");
        var maxScore = JSON.parse(cc.sys.localStorage.getItem('Score'));
        if(!maxScore)maxScore=0;
         this.score.getComponent(cc.Label).string = "Score: "+maxScore; //這裡也必須熟悉
         this.backBtn.getComponent(cc.Button).node.on(cc.Node.EventType.TOUCH_END,this.GoBack,this);
     }
官網資料: 資料儲存和資料讀取
控制元件動畫
我得動畫主要是用在兩個背景之間的切換了,程式碼如下:
  setMoveAction:function(){
        var fristAction = cc.moveBy(15,-640,0);
        var secondAction = cc.moveBy(0.1,1280,0);
        var retAction = cc.repeatForever(cc.sequence(fristAction,secondAction,fristAction));
        if(this.node.x==0){
            retAction = cc.repeatForever(cc.sequence(fristAction,secondAction,fristAction));
        }else if(this.node.x==640){
            retAction = cc.repeatForever(cc.sequence(fristAction,fristAction,secondAction));
        }
        return retAction;
    }
背景滾動處理
為了使背景顯得在滾動,可以在背後,我認為可以使你得攝像頭跟著走,或者你得背景自己移動,我這裡是兩個背景進行銜接,不停的運動,如圖:
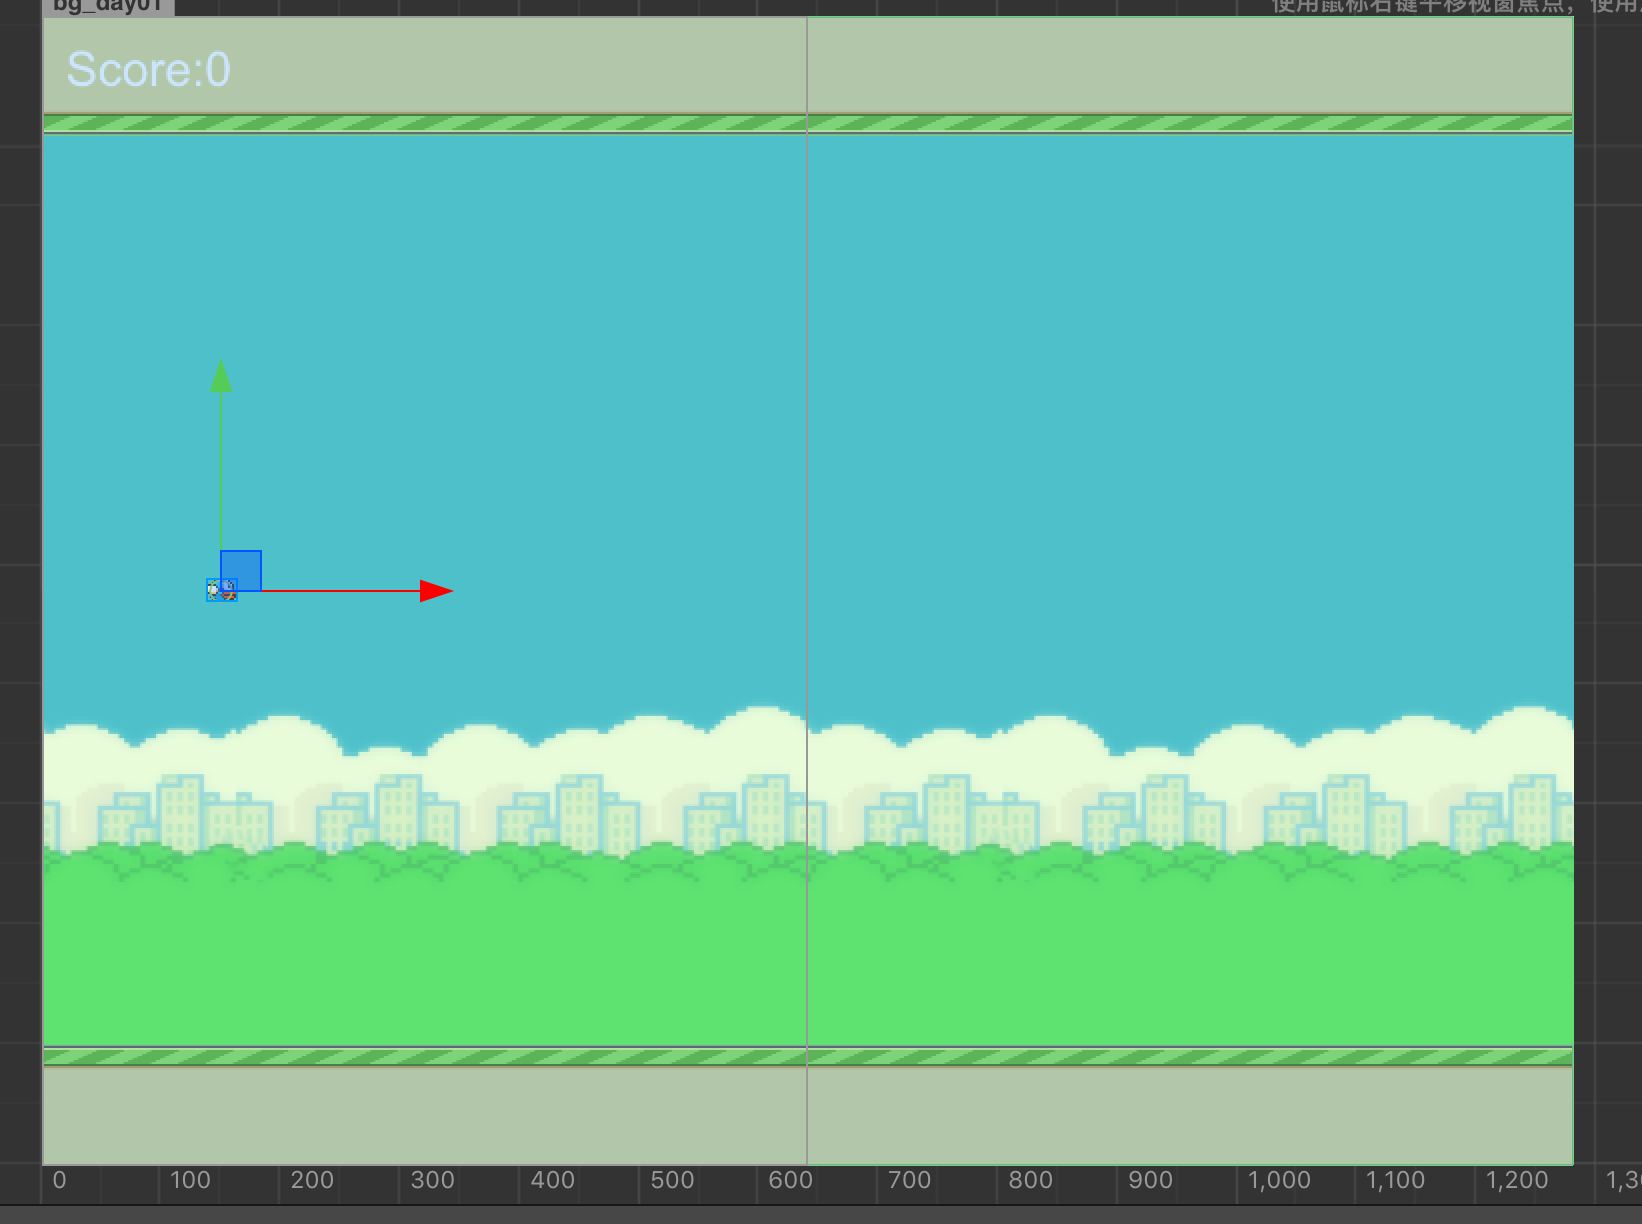
兩塊,可以銜接的圖片不停的運動,當然這樣的圖片如何製作,我將在我得PS心得中分享
得分處理
因為,FlyBird是通過水管而計分的,我這裡不想使用程式碼去判斷座標而去計分,所以我用了一個透明的,跨越了整個豎著的螢幕的,寬為1,長為螢幕長度的透明碰撞元件放置在水管的後方,這樣,只要飛鳥經過了這個碰撞元件就可以計分。
如何label控制元件顯示字
這個也是從網上查到,不管是Prefab還是指令碼自己的屬性控制元件,要想修改上面的字串都得如下處理
this.score.getComponent(cc.Label).string = "Score: "+maxScore; //這裡也必須熟悉 var label = cc.instantiate(this.startLabel);
this.node.addChild(label);
label.getComponent(cc.Label).string = time; //這個是個需要記住的地方聲音播放
cc.audioEngine.playEffect(this.hitAudio, false);官方資料: 音訊播放