
攝像頭拍照上傳
今天研究UIImagePickerControlle這個類,用它來打開攝像頭和本地照片庫。找到一個好的辦法也是比較簡單的方法來將選擇好的圖片顯示我們想要的UIImageView上,以下通過代碼來具體解說.
這是我的ActionSheet 協議事件
#pragma mark - ActionSheetDelegate
- (void)actionSheet:(UIActionSheet *)actionSheet clickedButtonAtIndex:(NSInteger)buttonIndex
{
photoPicker = [[PhotoPickerControlleralloc]initWithDelegate:self];
photoPicker.useCameraName = actionSheet.title;
if(buttonIndex == 0)
{
/*選擇已有照片*/
[selfLocalPhoto];
}
else if(buttonIndex ==1)
{
/*拍照從相機獲取*/
[selftakePhoto];
}
}
圖片:
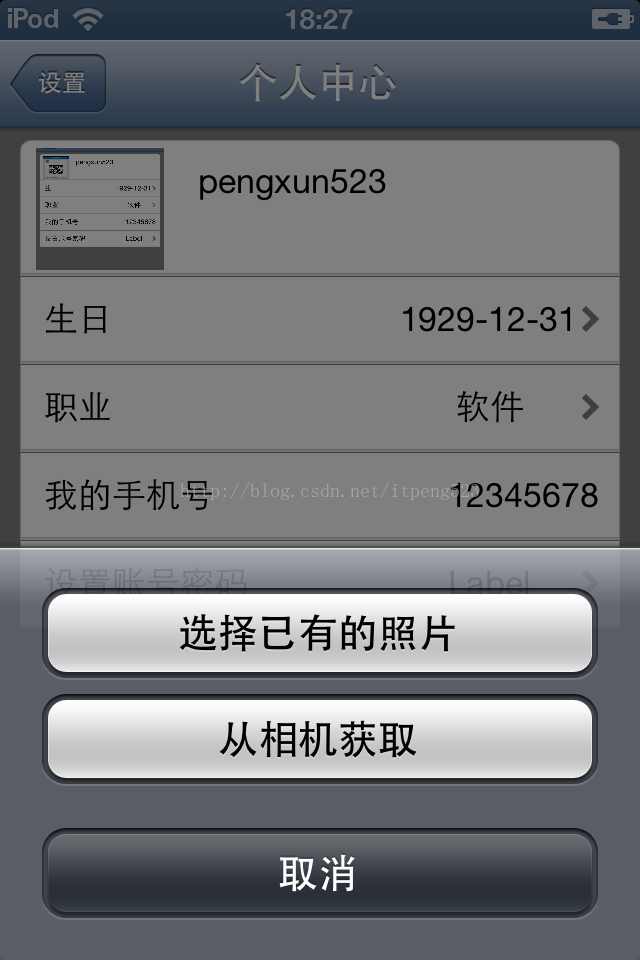
當點擊第一項時調用:
#pragma mark - 本地照片庫
-(void)LocalPhoto
{
UIImagePickerController *picker = [[UIImagePickerControlleralloc]init];
picker.sourceType =UIImagePickerControllerSourceTypePhotoLibrary; //類型
picker.delegate =self; //協議
picker.allowsEditing =YES;
[selfpresentViewController:picker animated:
}
當點擊第二項時調用:
#pragma mark - 從相機獲取
-(void)takePhoto
{
if ([UIImagePickerControllerisSourceTypeAvailable: UIImagePickerControllerSourceTypeCamera])
{
UIImagePickerController *picker = [[UIImagePickerControlleralloc] init];
picker.delegate =self;
picker.allowsEditing =YES;
picker.sourceType =UIImagePickerControllerSourceTypeCamera;
[selfpresentViewController:picker animated:YEScompletion:nil];
}
else
{
UIAlertView *alerView = [[UIAlertViewalloc]initWithTitle:@"無法拍照" message:@"此設備拍照功能不可用" delegate:selfcancelButtonTitle:@"確定"otherButtonTitles:nil];
[alerViewshow];
}
}
以下是你選擇照片調用的協議方法:
#pragma mark - UIImagePickerCont≥rollerDelegate
/*當選擇一張圖片後進入*/
- (void)imagePickerController:(UIImagePickerController *)picker didFinishPickingMediaWithInfo:(NSDictionary *)info
{
NSString *type = [infoobjectForKey:UIImagePickerControllerMediaType]; //得到類型
if([typeisEqualToString:(NSString *)kUTTypeImage])
{
UIImage *image = [infoobjectForKey:UIImagePickerControllerEditedImage]; //得到相機圖片
if (!image)
{
image = [info objectForKey:UIImagePickerControllerOriginalImage];
}
[selfperformSelector:@selector(uploadUserHeadPicture:)withObject:image afterDelay:0.01];
[picker dismissViewControllerAnimated:YEScompletion:nil];
}
}
- (void)imagePickerControllerDidCancel:(UIImagePickerController *)picker
{
[picker dismissViewControllerAnimated:YEScompletion:nil];
}
/*上傳圖片*/
- (void)uploadUserHeadPicture:(UIImage *)image
{
NSArray *dirPaths =NSSearchPathForDirectoriesInDomains(NSDocumentDirectory,NSUserDomainMask, YES);
NSString * docsDir = [dirPaths objectAtIndex:0]; //得到documen文件夾下
NSData *imageData = UIImagePNGRepresentation(image); //將圖片轉化為png
databasePath = [NSStringstringWithFormat:@"%@/%@",docsDir,HeadImgName];//圖片文件完整的路徑
[imageDatawriteToFile:databasePathatomically:YES];//將圖片寫入到文件裏去
UIAlertView *alert = [[UIAlertViewalloc]initWithTitle:@"提示"message:@"上傳成功" delegate:nilcancelButtonTitle:@"確定"otherButtonTitles:nil,nil];
[alertshow];
[self.mTableViewreloadData];
}
//此時主要代碼已經完畢假設你要顯示你選擇的圖片僅僅需通過[UIImageimageWithContentsOfFile:databasePath];載入就是了。
HeadImgName 是個宏定義
#define HeadImgName @"head.png"
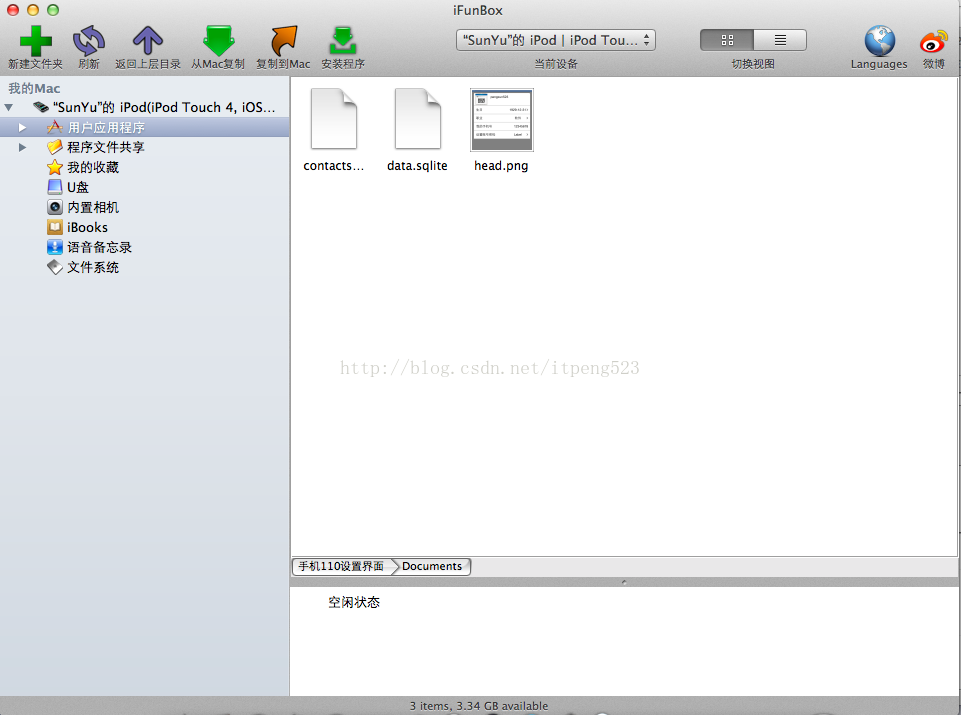
做完這些後能夠通過iFunBox軟件查看你的應用程序document文件夾以下是否保存有你剛剛上傳的圖片。
當然往往項目裏面還是會把它保存到server中去。
攝像頭拍照上傳