
postGIS+GeoServer+Openlayer實現路徑分析
postGIS+GeoServer+Openlayer實現路徑分析
一、軟體安裝
1、GeoServer安裝(略)
2、postgres+postGIS(外掛)+pgRouting(外掛)安裝(略)
二、建立資料庫
可以新建,也可以在安裝時就建立,安裝時建立如圖:

三、把shp資料匯入空間資料庫
1、開啟postgis工具
postgis安裝目錄下的PostGISShapefile Import/Export Manager

會彈出對話方塊

2、設定資料庫連線
單擊view connection details,設定資料庫的連線

3、新增shp資料
新增需要匯入的shp檔案
單擊Add File ,會彈出檔案選中對話方塊

選擇需要匯入是shp檔案,注意此處路徑一定要是英文,否則會匯入失敗

4、編碼設定
單擊options,裝置編碼格式為GBK,選中generate simple geometries instead of multi geometries。

此處匯入的shp資料一定要是單線的,否則無法完成路徑計算。
5、檢視匯入資料
成功匯入資料之後就能在postgresql中看到匯入的資料表

四、建立路網拓撲結構
1、新增欄位
對匯入資料新增source、target和length(cost)欄位
ALTER TABLE beijing_line ADD COLUMN source integer;
ALTER TABLE beijing_line ADD COLUMN target integer;
ALTER TABLE beijing_line ADD COLUMN length double precision;
UPDATE beijing_line SET length = ST_Length(the_geom);

ps
CREATE EXTENSION postgis;
CREATE EXTENSION postgis_topology;
CREATE EXTENSION fuzzystrmatch;
2、放大容差
把容差值設定的大一點,可能結果會好點
select pgr_createTopology('beijing_line',0.001,source:='source',id:='gid',target:='target',the_geom:='the_geom');
select pgr_createTopology('beijing_line',0.1,source:='source',id:='gid',target:='target',the_geom:='the_geom’);
把容差值設定的大一點,可能結果會好點
3、測試路網拓撲
1、查詢路徑:
SELECT * FROM pgr_dijkstra('
SELECT gid as id,
source::integer,
target::integer,
length::double precision as cost
FROM beijing_line',
30, 60, false, false);
無查詢結果就執行下面這幾個試一試,也可能是兩點之間就沒有路徑
select source from beijing_line;
select target from beijing_line;
select length from beijing_line;
2、查詢所經過的所有點:
SELECT st_astext(the_geom) FROM pgr_dijkstra('
SELECT gid AS id,
source::integer,
target::integer,
length::double precision AS cost
FROM beijing_line',
30, 60, false, false) as di
join beijing_line pt
on di.id2 = pt.gid;
3、將路徑寫入一個幾何檔案內:
SELECT seq, id1 AS node, id2 AS edge, cost,the_geom into dijkstra_res FROM pgr_dijkstra('
SELECT gid AS id,
source::integer,
target::integer,
length::double precision AS cost
FROM beijing_line',
30, 60, false, false) as di
join beijing_line pt
on di.id2 = pt.gid;
經歷過以上的步驟,如果一切順利,應該能看到結果,這裡不再截圖。這時初步的準備工作已經完成。
五、定義函式名及函式引數
前面文章介紹瞭如何利用postgresql建立空間資料庫,建立空間索引和進行路徑規劃。但是在真實的場景中使用者進行路徑規劃的時候都是基於經緯度資料進行路徑規劃的,因為使用者根本不會知道道路上節點的ID。因此文字講述如何查詢任意兩點間的最短路徑。
DROP FUNCTION pgr_fromAtoB(tbl varchar,startx float, starty float,endx float,endy float);
CREATE OR REPLACE function pgr_fromAtoB(tbl varchar,startx float, starty float,endx float,endy float)
returns geometry as
$body$
declare
v_startLine geometry;--離起點最近的線
v_endLine geometry;--離終點最近的線
v_startTarget integer;--距離起點最近線的終點
v_endSource integer;--距離終點最近線的起點
v_statpoint geometry;--在v_startLine上距離起點最近的點
v_endpoint geometry;--在v_endLine上距離終點最近的點
v_res geometry;--最短路徑分析結果 ST_LineSubstring
v_perStart float;--v_statpoint在v_res上的百分比
v_perEnd float;--v_endpoint在v_res上的百分比
v_shPath geometry;--最終結果
tempnode float;
begin
--查詢離起點最近的線
execute 'select geom ,target from ' ||tbl||
' where
ST_DWithin(geom,ST_Geometryfromtext(''point('|| startx ||' ' || starty||')''),15)
order by ST_Distance(geom,ST_GeometryFromText(''point('|| startx ||' '|| starty ||')'')) limit 1'
into v_startLine ,v_startTarget;
--查詢離終點最近的線
execute 'select geom,source from ' ||tbl||
' where ST_DWithin(geom,ST_Geometryfromtext(''point('|| endx || ' ' || endy ||')''),15)
order by ST_Distance(geom,ST_GeometryFromText(''point('|| endx ||' ' || endy ||')'')) limit 1'
into v_endLine,v_endSource;
--如果沒找到最近的線,就返回null
if (v_startLine is null) or (v_endLine is null) then
return null;
end if ;
select ST_ClosestPoint(v_startLine, ST_Geometryfromtext('point('|| startx ||' ' || starty ||')')) into v_statpoint;
select ST_ClosestPoint(v_endLine, ST_GeometryFromText('point('|| endx ||' ' || endy ||')')) into v_endpoint;
--最短路徑
execute 'SELECT st_linemerge(st_union(b.geom)) ' ||
'FROM pgr_dijkstra(
''SELECT gid as id, source::integer, target::integer, length::double precision AS cost FROM ' || tbl ||''','
||v_startTarget || ', '|| v_endSource||' , false, false
) a, '
|| tbl || ' b
WHERE a.id2=b.gid
GROUP by id1
ORDER by id1' into v_res;
--如果找不到最短路徑,就返回null
--if(v_res is null) then
-- return null;
--end if;
--將v_res,v_startLine,v_endLine進行拼接
select st_linemerge(st_union(array[v_res,v_startLine,v_endLine])) into v_res;
select ST_LineLocatePoint(ST_LineMerge(v_res), v_statpoint) into v_perStart;
select ST_LineLocatePoint(ST_LineMerge(v_res), v_endpoint) into v_perEnd;
if(v_perStart > v_perEnd) then
tempnode = v_perStart;
v_perStart = v_perEnd;
v_perEnd = tempnode;
end if;
--擷取v_res
SELECT ST_LineSubstring(v_res,v_perStart, v_perEnd) into v_shPath;
return v_shPath;
end;
$body$
LANGUAGE plpgsql VOLATILE STRICT
六、建立基於geoserver的wms服務
上面寫了求任意兩點間最短路徑的sql函式,這篇文章講一下如何把上面介紹的子功能整合到系統中去。
1、geoserver登入
待geoserver啟動後,在瀏覽器中輸入,http://localhost:8080/geoserver/web/
2、建立工作區
單擊左側工作區,如下圖所示:
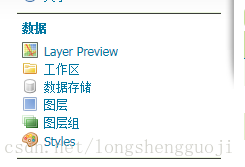
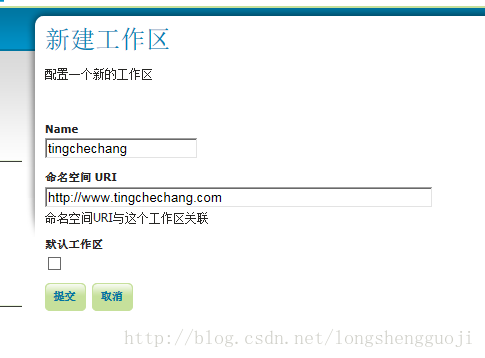
會進入新建工作區頁面,單擊“新增新的工作區”,如下圖所示

在彈出的工作區設定中輸入新工作區的名字和名稱空間
3、釋出shp圖層
單擊左側資料儲存圖示,會進入新建資料來源頁面
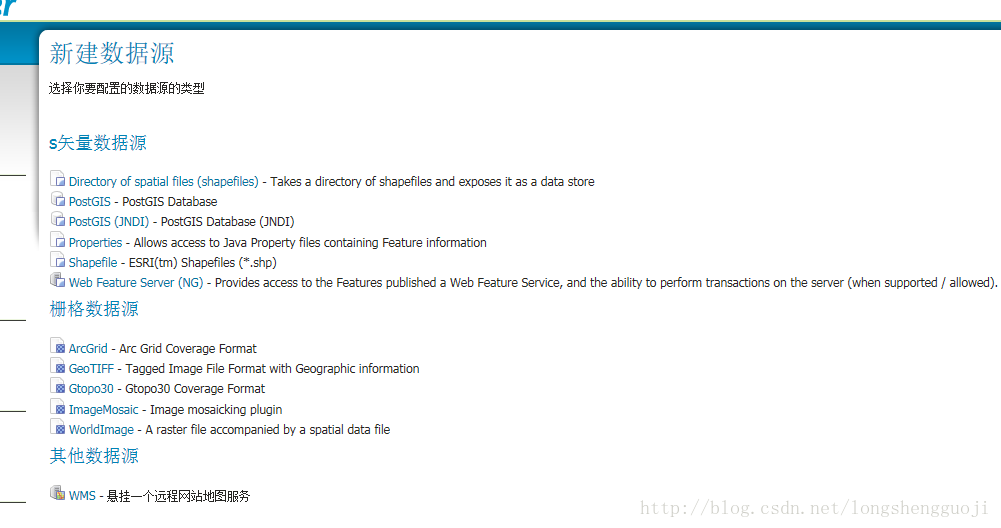
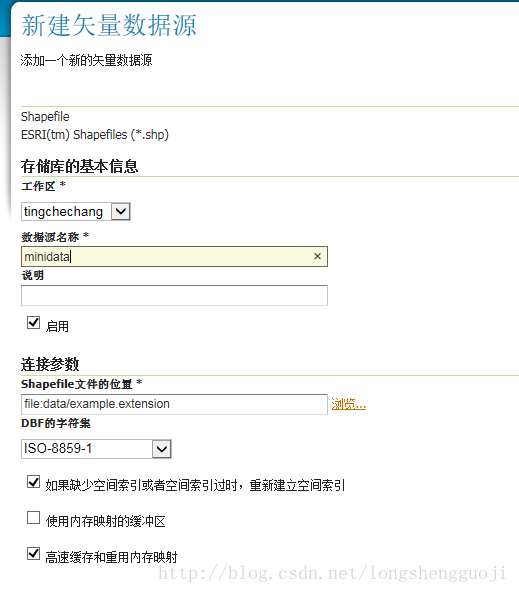
選擇工作區,設定資料來源名稱,選中瀏覽選中所需要的釋出的shp檔案,字符集編碼選擇為GBK。
在定義srs中選擇900913,計算資料邊框

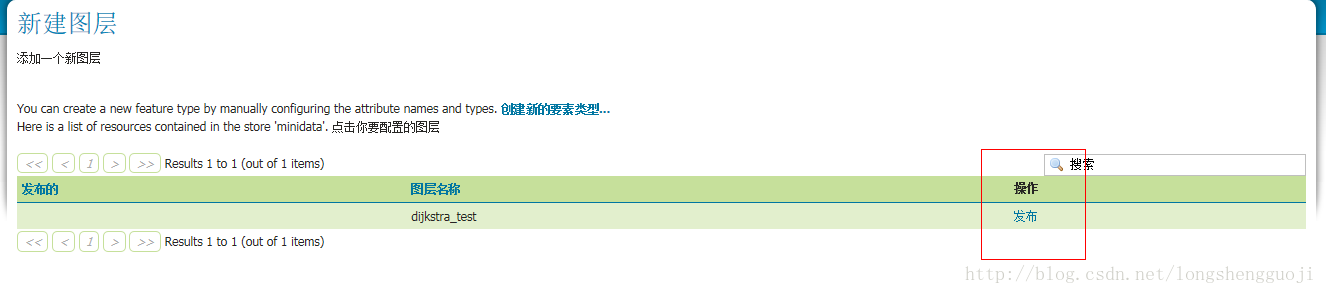
4、建立路徑規劃結果
單擊左側資料儲存圖示,會進入新建資料來源頁面

單擊postgis,會彈出資料庫的訪問設定對話方塊
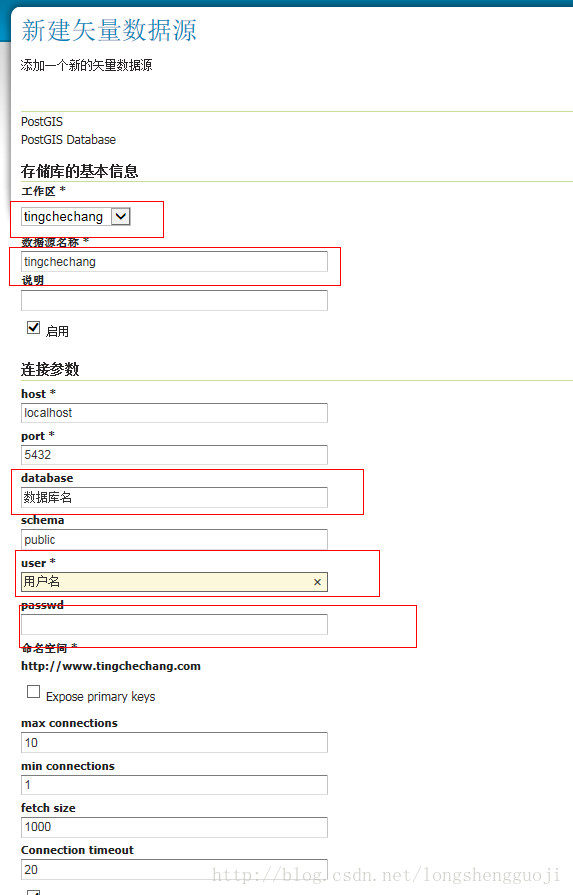
在對話方塊中選擇工作區,填入資料來源名稱、資料庫名以及使用者名稱密碼
在彈出的新頁面中單擊配置新的SQL檢視,

在出現的新頁面中輸入檢視名稱以及最短路徑規劃的查詢sql語句(pgr_fromAtoB為自定義的查詢函式,需要新增到postgresql中),
SELECT ST_MakeLine(route.geom) FROM (
SELECT geom FROM pgr_fromAtoB('ways', %x1%, %y1%, %x2%, %y2%
)ORDER BY seq) AS route
單擊從sql猜想的引數,把x1 y1 x2 y2的預設值都設為0,正則表示式中全部輸入”^-?[\d.]+$” 。最後點重新整理按鈕,在出現的st_makeline結果資料中選擇其型別為linestring,座標系為900913
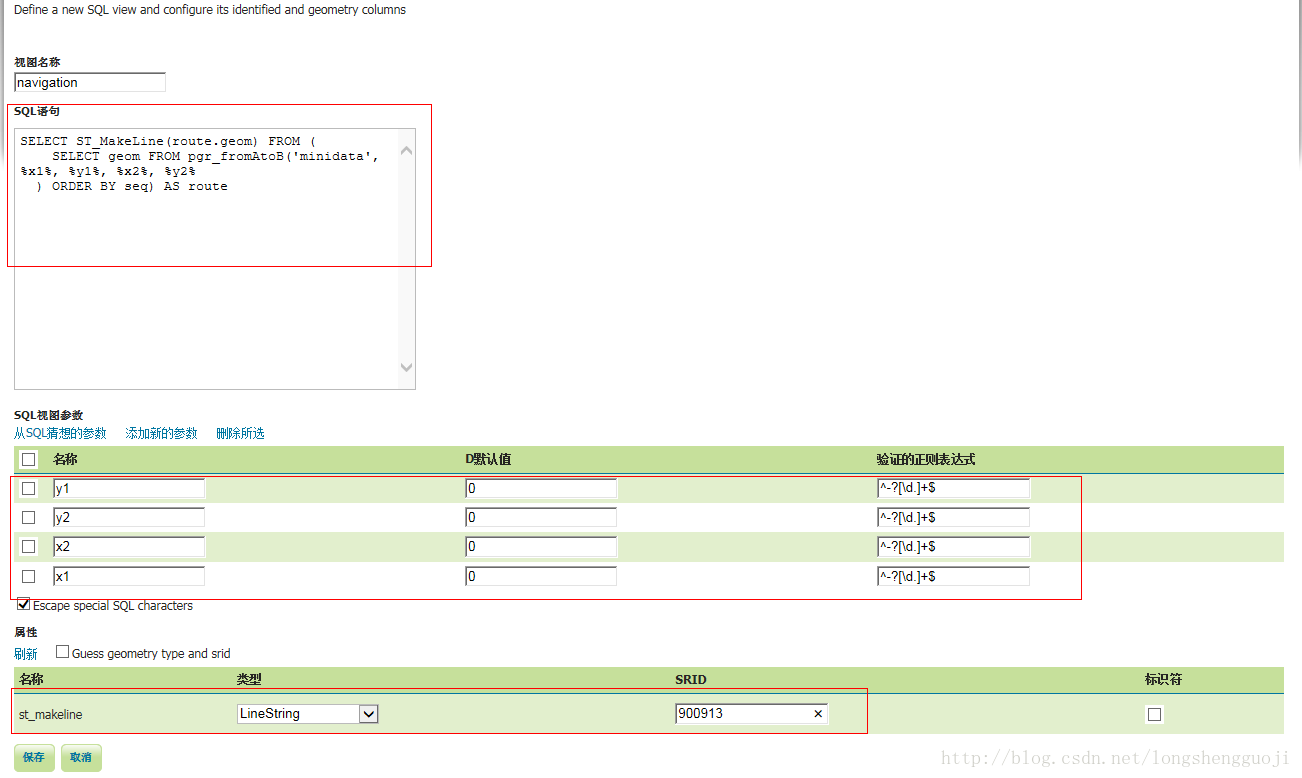
單擊儲存。