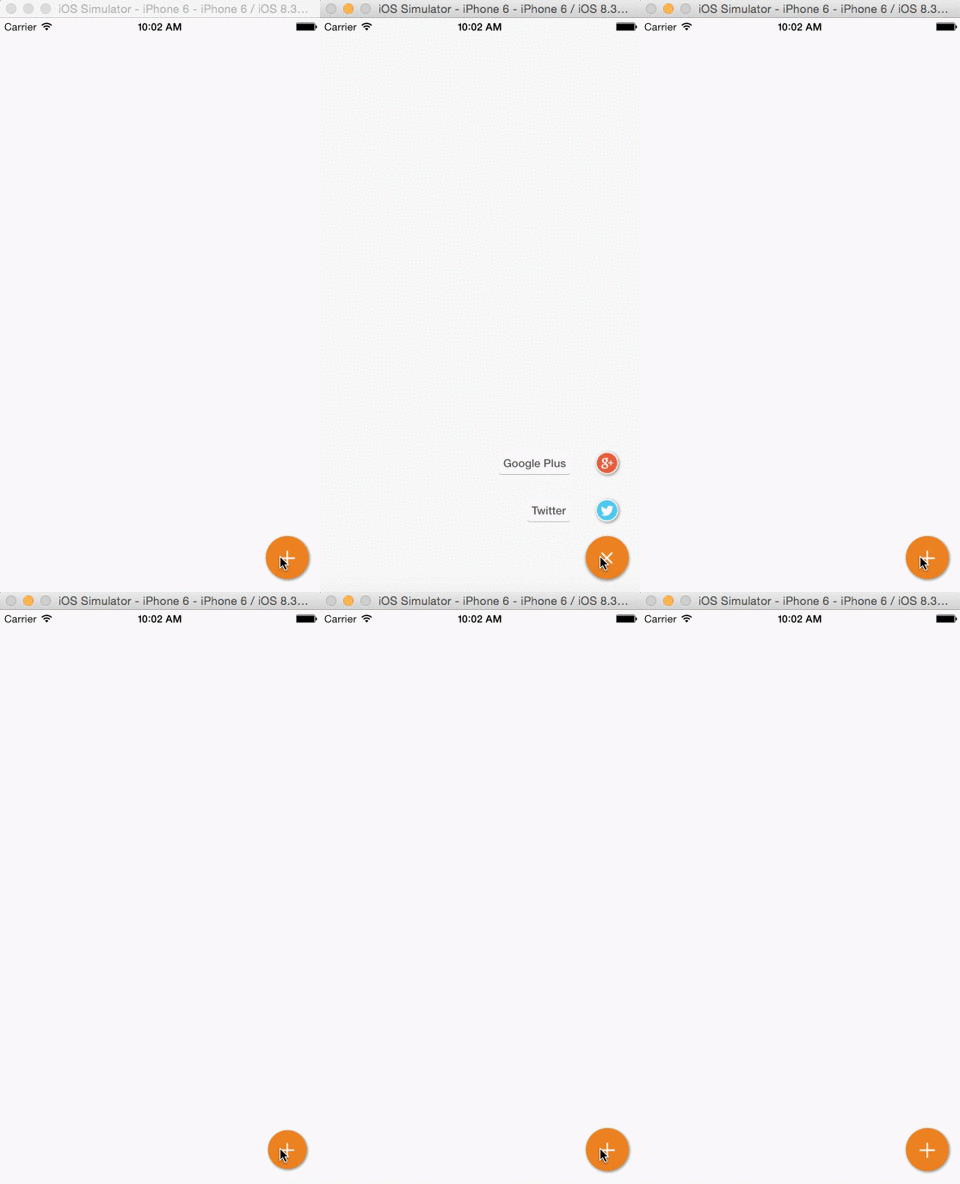
Swift右下角懸浮按鈕簡單實現
阿新 • • 發佈:2018-11-27
最近想在自己的專案中新增一個右下角的懸浮按鈕,這種按鈕最初是在安卓中興起來的,但是再很多iOS App中都能看到它身影,
下面就推薦一個比較適合新手使用的懸浮按鈕例子ActionButton。(在GitHub上翻出來的)
GitHub:https://github.com/lourenco-marinho/ActionButton
使用方法:除了官網提供的使用CocoaPods安裝外,就是直接下載下來,手動新增它的有用檔案。找到這兩個檔案拉到自己的工程目錄下即可。
這個ActionButton.swift檔案中就是gif中的橙色+號按鈕的各種屬性。這是這個按鈕樣式的相關屬性
public init(attachedToView view: UIView, items: [ActionButtonItem]?) {
super.init()
self.parentView = view
self.items = items
let bounds = self.parentView.bounds
self.floatButton = UIButton(type: .Custom)
self.floatButton.layer.cornerRadius = CGFloat(floatButtonRadius / 2 ActionButtonItem.swift中就是彈出按鈕的相關屬性,跟上面類似。
匯入這兩個檔案到自己的工程後,就可以在ViewController.swift中使用了。
var actionButton: ActionButton! // 首先右下角懸浮按鈕宣告

// 檢視建立
override func viewDidLoad() {
    super.viewDidLoad()
    setContentView() // 配置介面
    addActionButton() // 新增右下角懸浮按鈕
}

func addActionButton() -> Void {
        let twitterImage = UIImage(named: "icon_1.png")!
        let plusImage = UIImage(named: "icon_2.png")!

        let google = ActionButtonItem(title: "密碼設定", image: plusImage)
        google.action = { item in print("Google Plus...") }

        let twitter = ActionButtonItem(title: "退 出", image: twitterImage)
        twitter.action = { item in print("Twitter...") }

        actionButton = ActionButton(attachedToView: self.view, items: [twitter, google])
        actionButton.action = { button in button.toggleMenu() }
        // 在這裡設定按鈕的相關屬性,其實就是把剛剛那兩個檔案中的原始屬性給覆蓋了一遍,這裡僅覆蓋了2箇舊屬性
        actionButton.setTitle("=", forState: .Normal)

        actionButton.backgroundColor = UIColor(red: 238.0/255.0, green: 130.0/255.0, blue: 34.0/255.0, alpha:1.0)
    }
這樣執行一下就能得到自己想要的懸浮按鈕了。總的來說這個例子就是簡單實用,效果可能相對其他的例子簡單些,但是功能是一樣的。喜歡的話就嘗試下吧 :)大家加油!


