影象亮度和對比度調整
阿新 • • 發佈:2018-12-02
文章目錄
alpha, beta correction
- 原理:
α:>0,gain parameters ,改變對比度(contrast)
β: bias parameters ,改變亮度(brightness)
- 程式碼
#include <opencv2/opencv.hpp>
#include <iostream>


using namespace cv;
using namespace std;


int main(void)
{

	Mat origin = imread("../res/lena.jpeg");

	if(origin.empty())
	{
		cout << "could not find the image,please confirm the path"<< endl;
		return -1;
	}

	Mat dst=Mat::zeros(origin.size(),origin.type());
	double alpha =2.2;
	int beta = 50;

	uchar* pOrigin;
	uchar* pDst;

	int col=origin.cols*3,row=origin.rows;

	if(origin.isContinuous())
	{
		col=origin.cols*3*origin.rows;
		row =1;
	}


	for(int i=0; i<row; i++)
	{
		pOrigin = origin.ptr<uchar>(i);
		pDst = dst.ptr(i);

		for(uint j=0; j<col; j++)
		{
			pDst[j] =saturate_cast<uchar>(alpha*(pOrigin[j])+beta);
		}

	}

	imshow("Origin_Image",origin);
	imshow("New Image",dst);
	waitKey();
	return 0;
}
結果:alpha=2.2 beta = 50


gamma correction
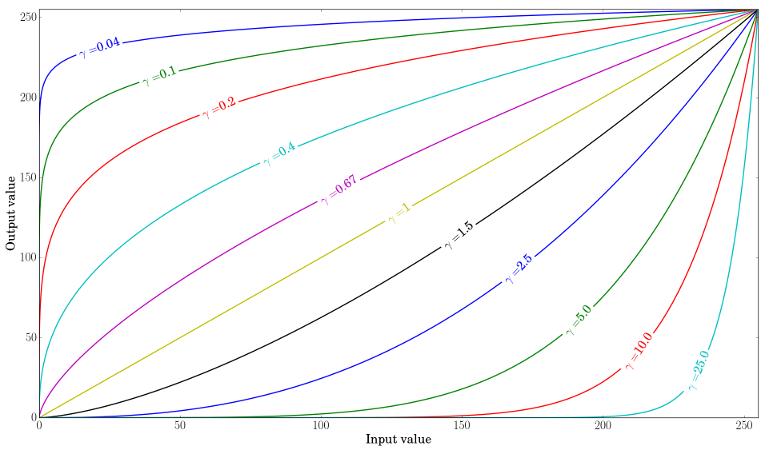
- 原理:將輸入非線性對映到輸出:

- 程式碼:
int main(void)
{
	double gamma=3;
	Mat origin = imread("../res/image.png");

	if(origin.empty())
	{
		cout << "could not find the image,please confirm the path"<< endl;
		return -1;
	}


	Mat LookupTable(1,256,CV_8U);
	uchar*p = LookupTable.data;

	for(int i=0; i<256; i++)
	{
		p[i] = saturate_cast<uchar>(pow(i/255.0,gamma)*255.0);
	}

	Mat dst =origin.clone();
	LUT(origin,LookupTable,dst);


	imshow("Origin_Image",origin);
	imshow("New_Image",dst);
	// imwrite("../res/image_new.png",dst);
	waitKey();

	return 0;

}
- 結果:

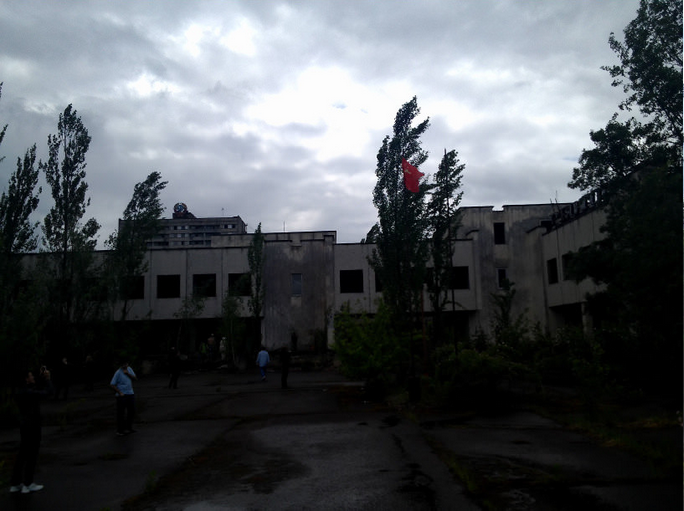
原圖

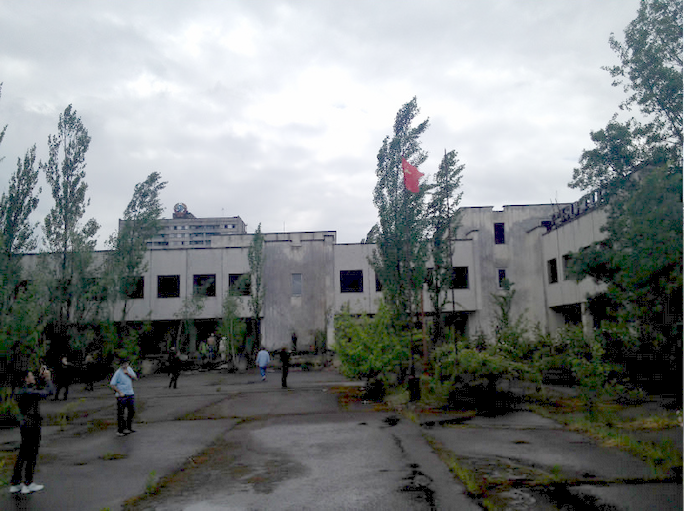
gamma=0.4

alpha=1.3 beta=40
矯正也可以提高對比度,亮度,但是雲的細節消失了。
