搭建harbor倉庫、LDAP認證
ldap: 192.168.199.177
c5game.com
宿主機:192.168.199.224
測試客戶機:192.168.199.223
安裝docker、docker-compose
訪問檢視最新版本https://github.com/goharbor/harbor/releases並下載harbor-offline-installer-vxxx.tgz
[[email protected] ~]# cd /opt/ [[email protected]-registry opt]# wget https://storage.googleapis.com/harbor-releases/release-1.6.0/harbor-offline-installer-v1.6.2.tgz[[email protected] opt]tar zxvf harbor-offline-installer-v1.6.2.tgz && cd !$
修改 harbor.cfg
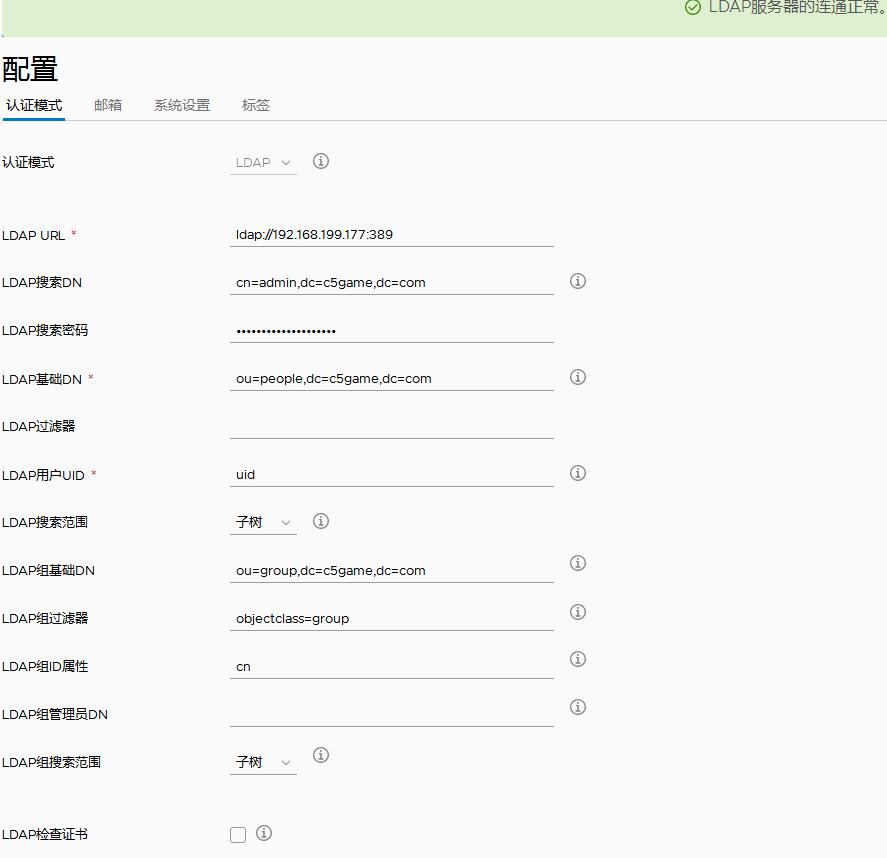
[[email protected] harbor]# cat harbor.cfg |grep -Ev '^$|^#' _version = 1.6.0 hostname = 192.168.199.224 ui_url_protocol = http max_job_workers = 10 customize_crt = on ssl_cert = /data/cert/server.crt ssl_cert_key= /data/cert/server.key secretkey_path = /data admiral_url = NA log_rotate_count = 50 log_rotate_size = 200M http_proxy = https_proxy = no_proxy = 127.0.0.1,localhost,ui,registry email_identity = email_server = smtp.mydomain.com email_server_port = 25 email_username = [email protected] email_password = abc email_from= admin <[email protected]> email_ssl = false email_insecure = false harbor_admin_password = TTdjy911.500 auth_mode = ldap_auth ldap_url = ldap://192.168.199.177:389 ldap_searchdn = cn=admin,dc=c5game,dc=com ldap_search_pwd = TTdjy911.500 ldap_basedn = ou=people,dc=c5game,dc=com ldap_uid = uid ldap_scope = 3 ldap_timeout = 5 ldap_verify_cert = true ldap_group_basedn = ou=group,dc=c5game,dc=com ldap_group_filter = objectclass=group ldap_group_gid = cn ldap_group_scope = 2 self_registration = on token_expiration = 30 project_creation_restriction = everyone db_host = postgresql db_password = root123 db_port = 5432 db_user = postgres redis_host = redis redis_port = 6379 redis_password = redis_db_index = 1,2,3 clair_db_host = postgresql clair_db_password = root123 clair_db_port = 5432 clair_db_username = postgres clair_db = postgres clair_updaters_interval = 12 uaa_endpoint = uaa.mydomain.org uaa_clientid = id uaa_clientsecret = secret uaa_verify_cert = true uaa_ca_cert = /path/to/ca.pem registry_storage_provider_name = filesystem registry_storage_provider_config = registry_custom_ca_bundle =
強調:harbor預設連結的是db_auth,如果想使用ldap_auth,
1,在預設情況下第一次登陸的時候在頁面的設定裡將認證方式改為ldap_auth,一定要將各個配置設定正確;
2,想使用ldap_auth的話,也可以在最初設定認證模式的時候設定為ldap模式,選項設定不正確可以在UI頁面設定。
提醒:不管你設定為哪一種模式,只要使用者中添加了除管理員的其他使用者之後,認證模式就不能再更改;
執行 install.sh 安裝
[[email protected] harbor]# ./install.sh
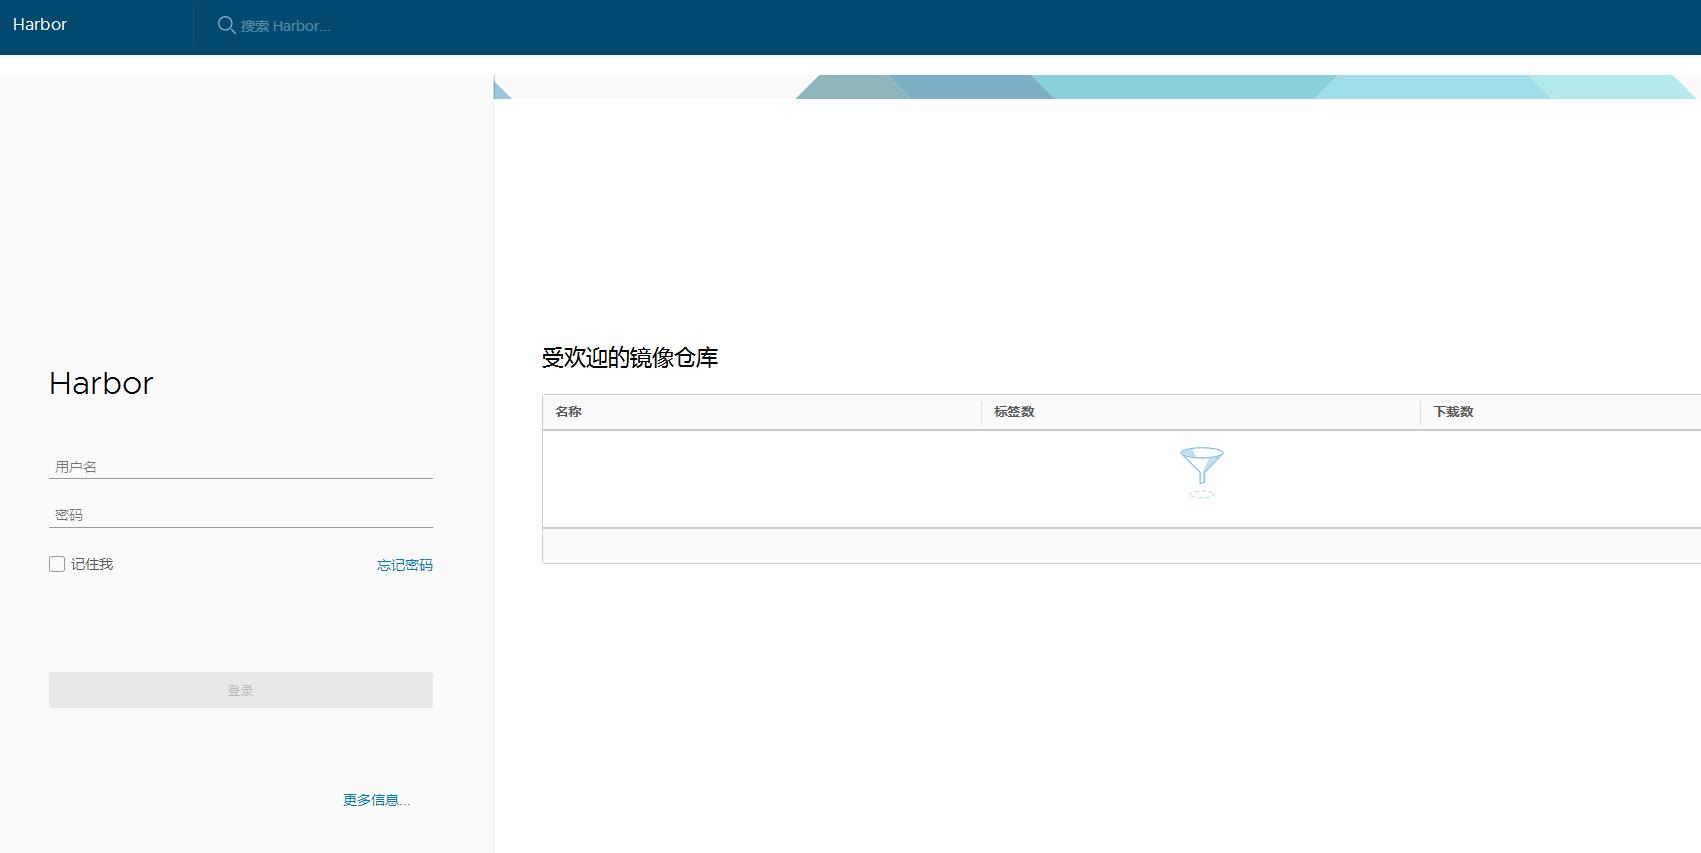
訪問 http://192.168.199.224/harbor/sign-in (如果頁面是空白,請更改瀏覽器模式為‘極速模式’)

LDAP認證

郵件設定

宿主機和客戶機都需要更改/etc/sysconfig/docker 不然連線時候報錯
docker login 192.168.199.224
Username: admin
Password:
Error response from daemon: Get https://192.168.199.224/v1/users/: dial tcp 10.236.63.76:443: getsockopt: connection refused
這是因為docker1.3.2版本開始預設docker registry使用的是https,我們設定Harbor預設http方式,所以當執行用docker login、pull、push等命令操作非https的docker regsitry的時就會報錯。解決辦法:
如果系統是MacOS,則可以點選“Preference”裡面的“Advanced”在“Insecure Registry”里加上10.236.63.76,重啟Docker客戶端就可以了。
如果系統是Ubuntu,則修改配置檔案/lib/systemd/system/docker.service,修改[Service]下ExecStart引數,增加 --insecure-registry 192.168.199.224
如果系統是Centos,可以修改配置/etc/sysconfig/docker,將OPTIONS增加 --insecure-registry 192.168.199.224
# Modify these options if you want to change the way the docker daemon runs
OPTIONS='--selinux-enabled --log-driver=journald --signature-verification=false --insecure-registry 192.168.199.224'
if [ -z "${DOCKER_CERT_PATH}" ]; then
    DOCKER_CERT_PATH=/etc/docker
fi
然後重啟docker服務或者重啟宿主機
上傳下載映象
新建一個專案“test” ,訪問級別私有,客戶機安裝docker
客戶機下載測試映象nginx
[[email protected] sysconfig]# docker pull nginx
給nginx映象重做標籤
[[email protected] sysconfig]# docker tag nginx:latest  192.168.199.224/test/nginx:latest
登入伺服器
[[email protected] sysconfig]# docker login 192.168.199.224
Username (admin): admin
Password:
Login Succeeded
上傳映象
[[email protected] sysconfig]# docker push 192.168.199.224/test/nginx
使用LDAP賬戶拉取私庫 test 映象失敗
docker pull 192.168.199.224/test/nginx:latest
Error response from daemon: repository 192.168.199.224/test/nginx:latest not found: does not exist or no pull access
這是原因可能有,一是Harbor倉庫上test/nginx確實不存在,二是專案未設定公開的時候,該賬戶未執行docker login 192.168.199.224登入操作,三是該賬戶對192.168.199.224/test專案沒有許可權,需要在該專案下增加該成員,並選擇角色
如果需要修改Harbor的配置檔案harbor.cfg,因為Harbor是基於docker-compose服務編排的,我們可以使用docker-compose命令重啟Harbor。不修改配置檔案,重啟Harbor命令:docker-compose start | stop | restart
1、停止Harbor
$ docker-compose down -v
Stopping nginx ... done
Stopping harbor-jobservice ... done
......
Removing harbor-log ... done
Removing network harbor_harbor

2、啟動Harbor
$ docker-compose up -d
Creating network "harbor_harbor" with the default driver
Creating harbor-log ...
......
Creating nginx
Creating harbor-jobservice ... done
參考: https://www.ilanni.com/?p=13492
https://blog.csdn.net/aixiaoyang168/article/details/73549898
https://ivanzz1001.github.io/records/post/docker/2018/04/11/docker-harbor-uage#2-%E7%94%A8%E6%88%B7%E8%B4%A6%E6%88%B7user-account 使用文件
https://github.com/goharbor/harbor/blob/master/docs/installation_guide.md#configuring-harbor-listening-on-a-customized-port 官網
