詳解使用Python爬取豆瓣短評並繪製詞雲
阿新 • • 發佈:2018-12-04
使用Python爬取豆瓣短評並繪製詞雲
成果如下(比較醜,湊合看)

1.分析網頁
開啟想要爬取的電影,比如《找到你》,其短評如下:
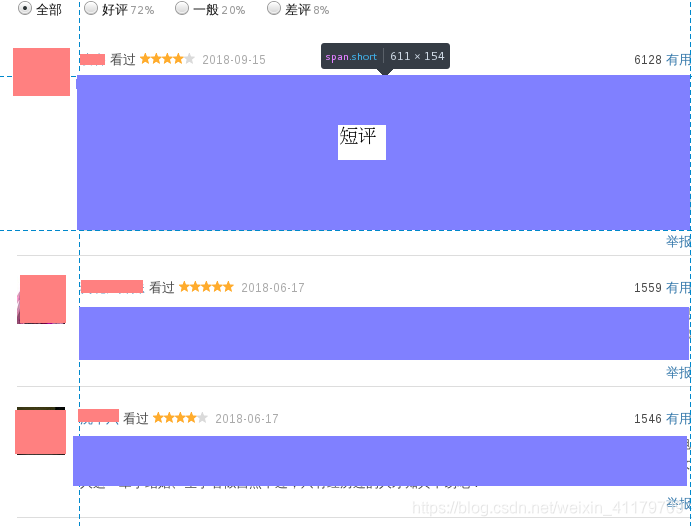
檢視原始碼

發現短評存放在<span>標籤裡 並且class為short,所以通過爬取其裡邊的內容即可
並且通過翻頁發現:url改變的僅僅為start,每次翻頁增加20,所以只需for迴圈增加數字即可控制頁數


2.獲取其網頁內容
我們使用bs4以及requests模組進行獲取,並使用多執行緒加快爬取速度
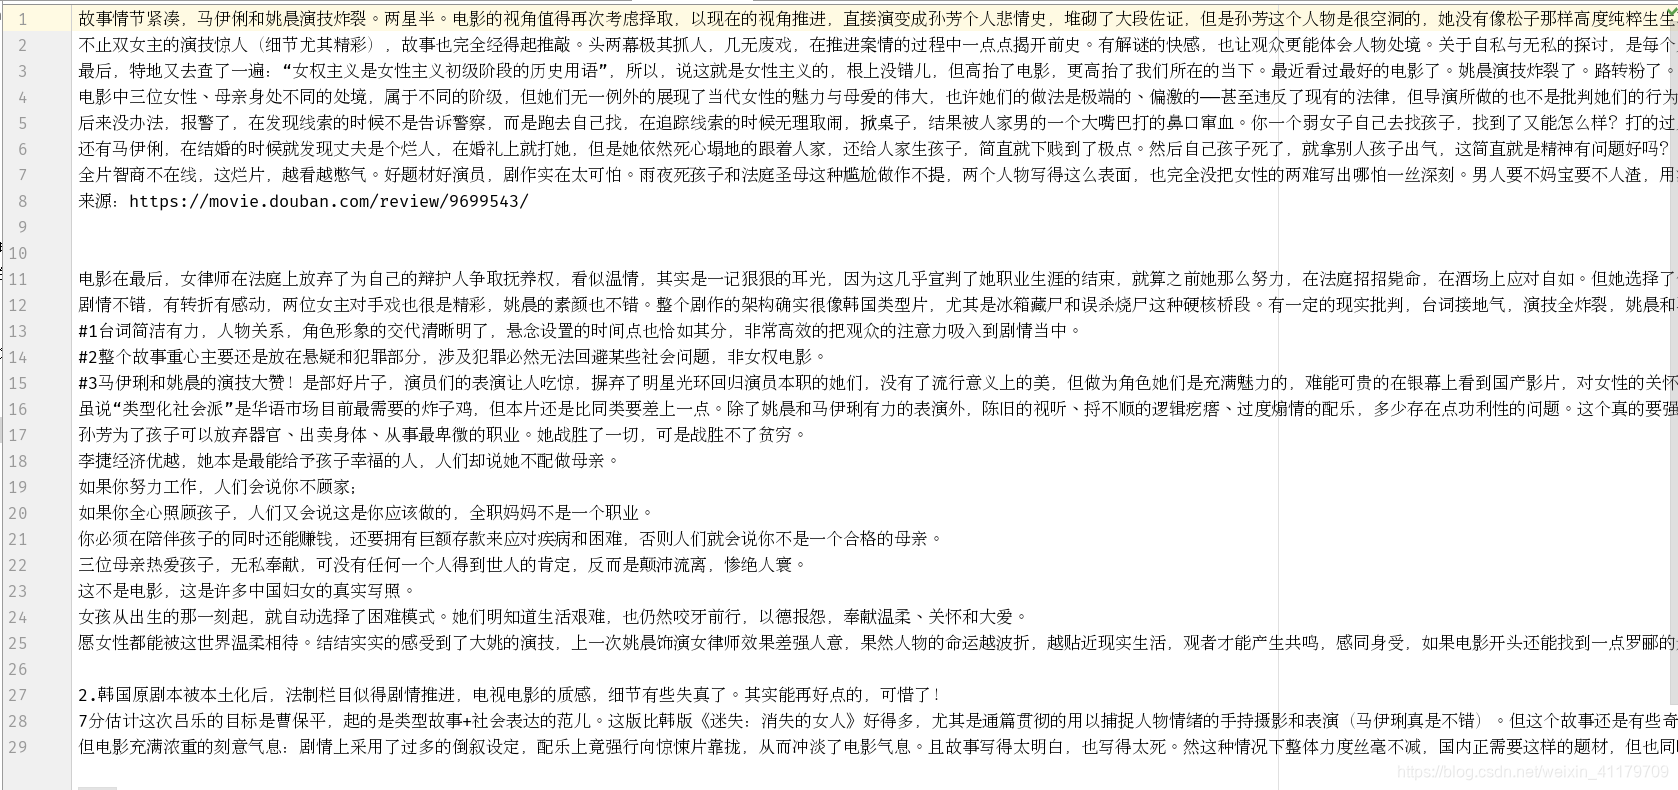
import threading

import requests
from bs4 import  BeautifulSoup
# #      1). 爬取某一頁的評論資訊;
def getOnePageComment(id, pageNum):
    # 1). 根據頁數確定start變數的值
    # 第一頁: https://movie.douban.com/subject/26425063/comments?start=0&limit=20&sort=new_score&status=P
    # 第二頁: https://movie.douban.com/subject/26425063/comments?start=20&limit=20&sort=new_score&status=P
    # 第三頁: https://movie.douban.com/subject/26425063/comments?start=20&limit=40&sort=new_score&status=P
    start = (pageNum-1)*20
    url = "https://movie.douban.com/subject/%s/comments?start=%s&limit=20&sort=new_score&status=P" %(id, start)
    # 2). 爬取評論資訊的網頁內容
    content = requests.get(url).text
    # 3). 通過bs4分析網頁
    soup = BeautifulSoup(content, 'lxml')
    # 分析網頁得知, 所有的評論資訊都是在span標籤, 並且class為short;
    commentsList = soup.find_all('span', class_='short')
    pageComments = ""
    # 依次遍歷每一個span標籤, 獲取標籤裡面的評論資訊, 並將所有的評論資訊儲存到pageComments變數中;
    for commentTag in commentsList:
        pageComments += commentTag.text
    # return pageComments
    print("%s page" %(pageNum))
    global  comments
    comments += pageComments

#      2).爬取某個電影的前10頁評論資訊;
id = '27140071'
comments = ''
threads = []
# 爬取前10頁的評論資訊;獲取前幾頁就迴圈幾次;
for pageNum in range(10): # 0 , 1 2 3 4...9
    pageNum = pageNum + 1
    # getOnePageComment(id, pageNum)
    # 通過啟動多執行緒獲取每頁評論資訊
    t = threading.Thread(target=getOnePageComment, args=(id, pageNum))
    threads.append(t)
    t.start()
#     等待所有的子執行緒執行結束, 再執行主執行緒內容;
_ = [thread.join() for thread in threads]
print("執行結束")
with open("%s.txt" %(id), 'w') as f:
    f.write(comments)
成果如下
3.資料清洗
對於爬取的評論資訊進行資料清洗(刪除不必要的逗號, 句號, 表情, 只留下中文或者英文內容)
在此使用re模組使用正則表示式進行資料清洗
with open('找到你.txt','a+') as f:
    comments = f.read()
    print(comments)
    # 通過正則表示式實現
    pattern = re.compile(r'([\u4e00-\u9fa5]+|[a-zA-Z]+)')
    deal_comments = re.findall(pattern, comments)
    newComments = ''
    print(newComments)
    for item in deal_comments:
        newComments += item
    print(newComments)
    f.write(newComments)
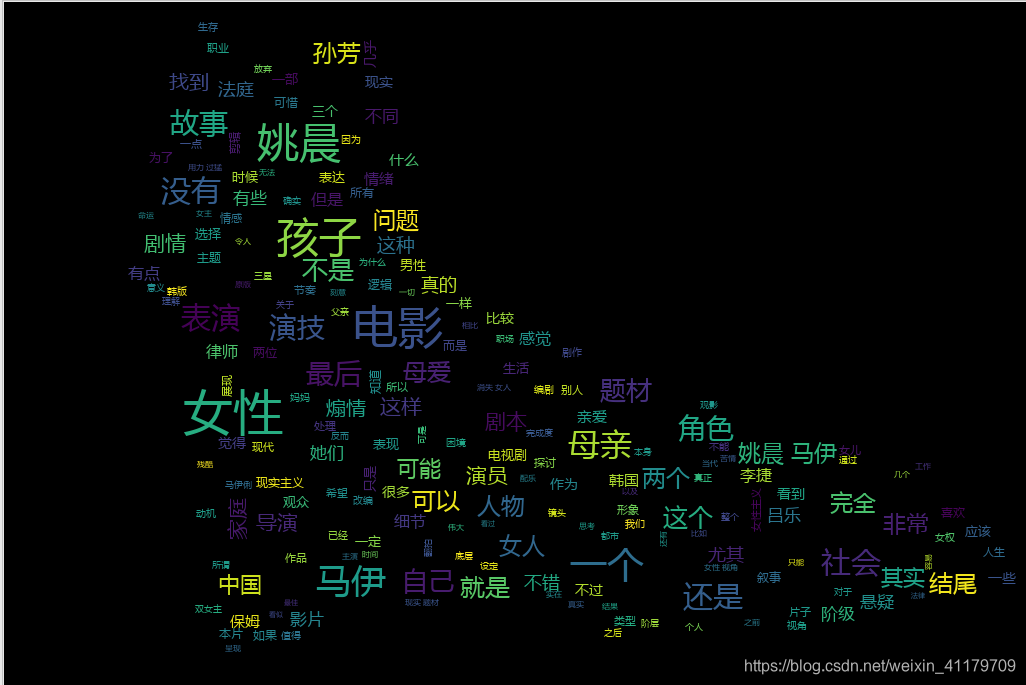
4.製作詞雲
通過jiaba(通過詞庫切割中文)、wordcloud(製作詞雲)模組實現
import jieba
import  wordcloud
import  numpy as np
# 在python2中處理影象,Image; python3中如果處理影象, 千萬不要安裝Image, 安裝pillow
from PIL import Image

# 1). 切割中文, lcut返回一個列表, cut返回一個生成器;
result = jieba.lcut(open('找到你.txt').read())

# 2). 開啟圖片
imageObj = Image.open('./doc/mao.jpg')
cloud_mask = np.array(imageObj)

# 4). 繪製詞雲
wc = wordcloud.WordCloud(
    mask = cloud_mask,
    background_color='black',
    font_path='./font/msyh.ttf',    # 處理中文資料時
    min_font_size=5,    # 圖片中最小字型大小;
    max_font_size=50,   # 圖片中最大字型大小;
    width=500,  # 指定生成圖片的寬度
)
wc.generate(",".join(result))
wc.to_file('找到你.png')
(效果如圖,背景大家可以找點自己喜歡的)