
自定義dialog並且去除黑邊
阿新 • • 發佈:2018-12-15
今天嘗試了一下自定義dialog。
想做成上傳頭像的那種,有兩個button,一個作為手機攝像頭拍攝用,一個呼叫手機SD卡的相簿。
先是佈局檔案:
<LinearLayout xmlns:android="http://schemas.android.com/apk/res/android"
android:layout_width="wrap_content"
android:layout_height="wrap_content"
android:background="#11ffffff"
android:layout_gravity="center"
然後在程式碼裡引入自定義dialog
 		View view = getLayoutInflater().inflate(R.layout.my_dialog,null);
                AlertDialog.Builder builder = new AlertDialog.Builder(getActivity(), R.style.MyDialog);
                builder.setView(view);
                AlertDialog alertDialog = builder.create();
                Button camera = view.findViewById(R.id.dialog_camera_btn);
                camera.setOnClickListener(new View.OnClickListener() {
                    @Override
                    public void onClick(View v) {
                        Intent intent = new Intent(MediaStore.ACTION_IMAGE_CAPTURE);
                        startActivityForResult(intent, CAMERA_REQUEST_CODE);
                    }
                });
                alertDialog.setCanceledOnTouchOutside(true);      //設定彈出框失去焦點是否隱藏,即點選遮蔽其它地方是否隱藏
                alertDialog.show();
拿到的view就是上面自定義的dialog佈局檔案。因為我是在fragment裡實例化一個AlertDialog,所以傳入的Context是通過getActivity()拿到的。
然後通過setView(view)載入佈局。
中間拿到了其中一個button的例項,並且設定了點選監聽事件。
最後別忘了show出來。
如果想加上自定義style的話,就在例項化AlertDialog.Builder裡傳入style即可(因為預設的確實醜)
我的style是這樣的,網上有很多:
 <!--自定義dialog背景全透明無邊框theme -->
    <style name="MyDialog" parent="@android:style/Theme.DeviceDefault.Light.Dialog">
        <!--背景顏色及和透明程度-->
        <item name="android:windowBackground">@android:color/transparent</item>
        <!--是否去除標題 -->
        <item name="android:windowNoTitle">true</item>
        <!--是否去除邊框-->
        <item name="android:windowFrame">@null</item>
        <!--是否浮現在activity之上-->
        <item name="android:windowIsFloating">true</item>
        <!--是否模糊-->
        <item name="android:backgroundDimEnabled">false</item>

    </style>
這裡有兩個地方需要注意,一個是parent的屬性值,網上有很多都是android:style/Theme.Dialog。如果parent的屬性是這個的話,建立的dialog會有很嚴重的黑邊,想要去除黑邊把parent的屬性值改為程式碼裡的那個就好。
還有一個windowBackgrount屬性,如註釋,可以自己定義一個顏色。最好是透明的。
最終的效果如下:
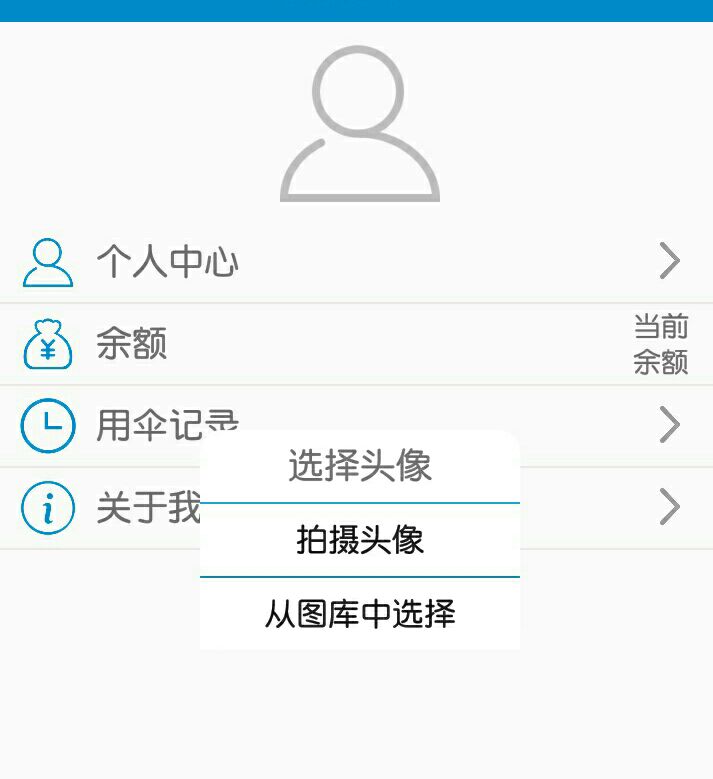
比較小,而且看起來很奇怪,有點像是嵌入到fragment裡了。這個在佈局和style改成自己想要的就行。
P.S:在自定義dialog佈局那裡,我加了兩個橫線,那裡的View的V千萬不要小寫,否則在拿到dialog例項時會報空指標。