自定義CoordinatorLayout的Behavior實現知乎和簡書快速返回效果
Design lib裡面的CoordinatorLayout是一個非常強大的控制元件,它接管了child元件之間的互動。讓你滑動互動使用更加方便簡單,效果也更加強大,不需要向以前那樣自己處理一坨什麼亂七八槽的滑動 事件傳遞之類的噁心東西了。
比如常見的頂部工具欄隨內容滑動消失和顯示,這個官方已經支援了Toolbar,但是有時候我們想讓自己的元件也可以和滑動互動,這個時候我們就需要自定義一個我們自己的Behavior了
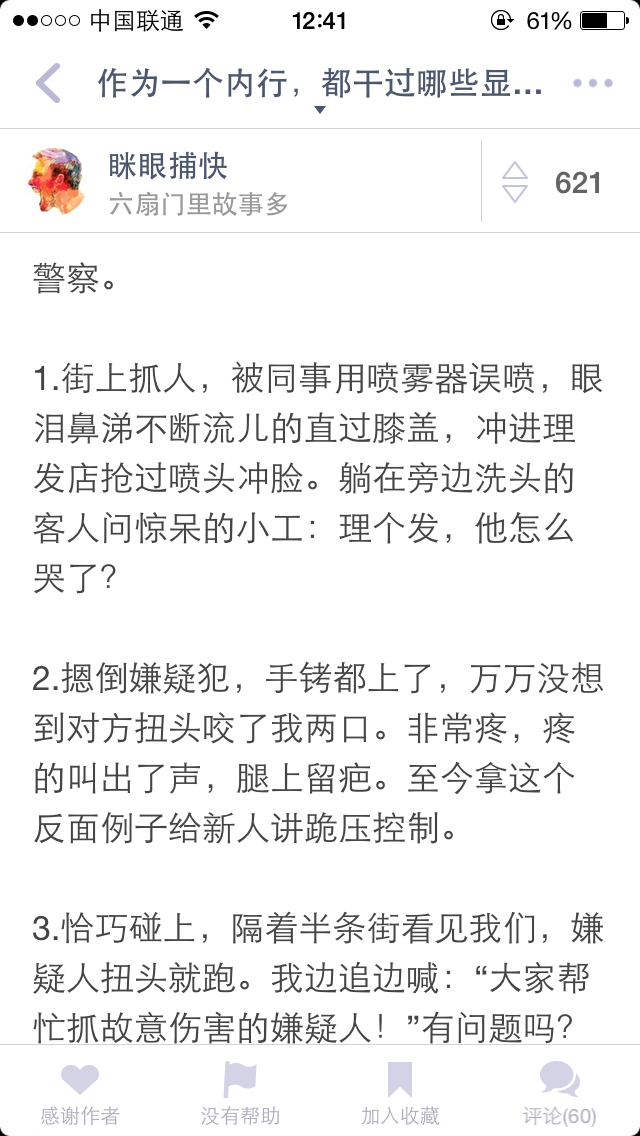
知乎效果
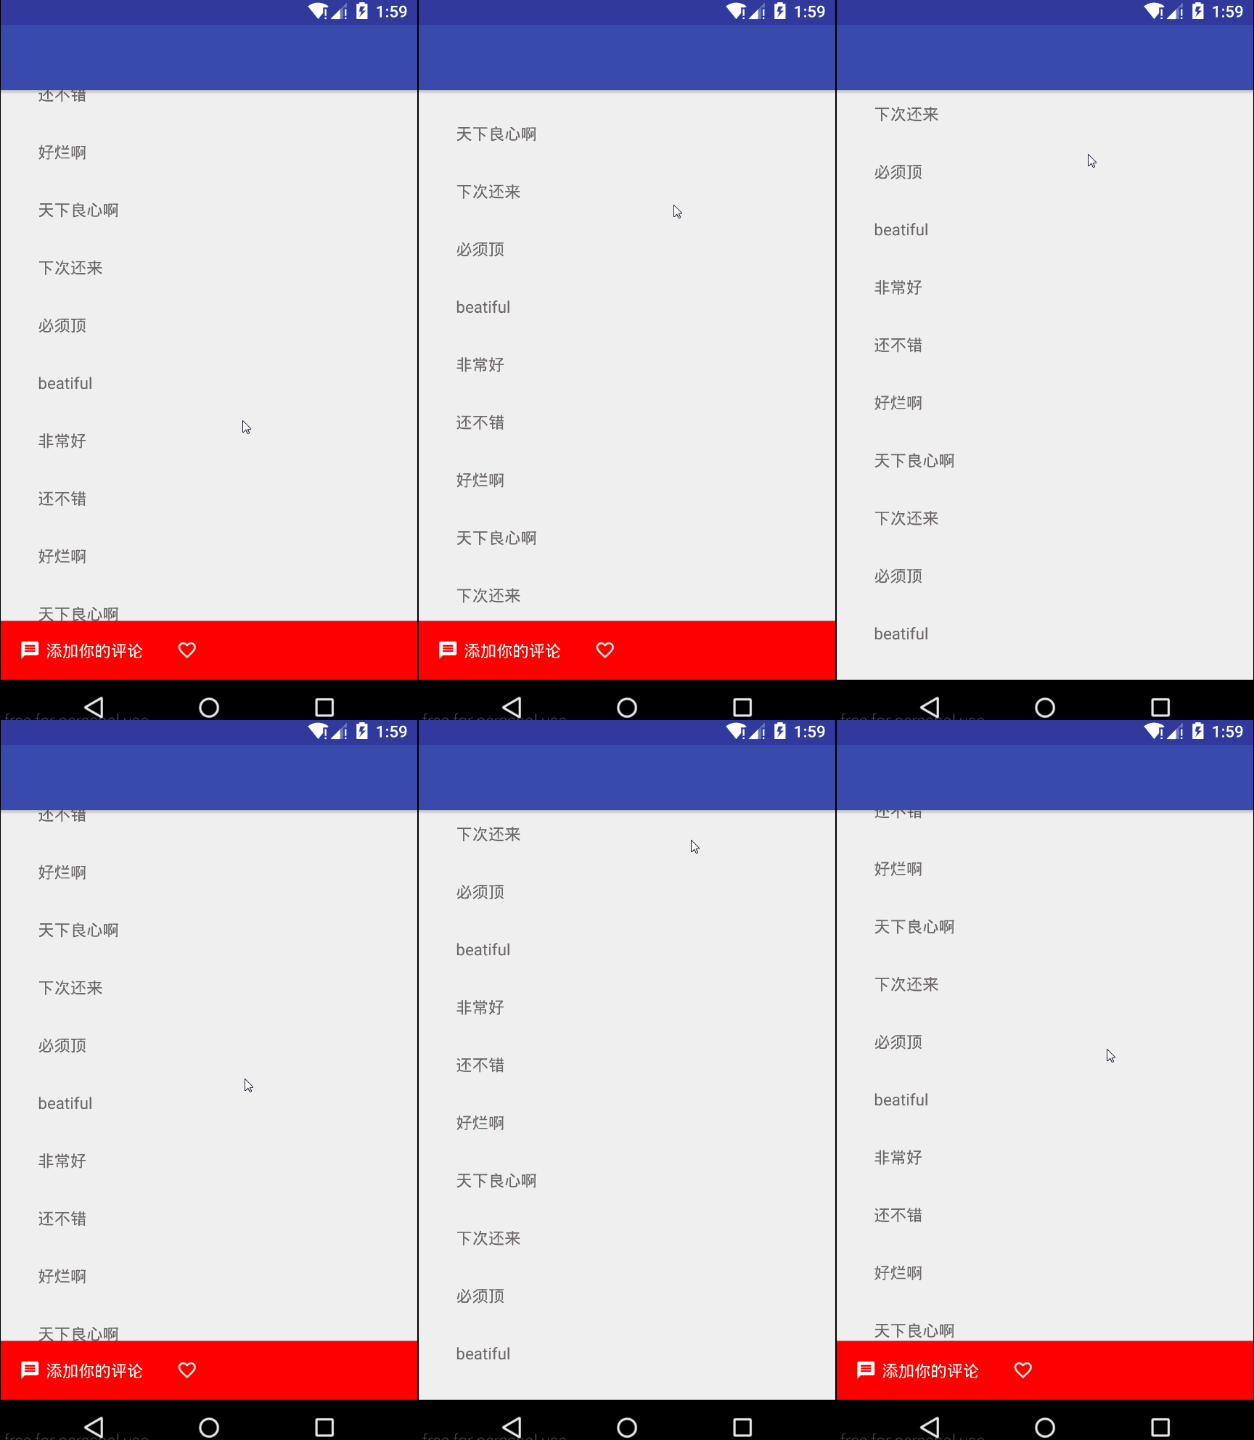
知乎的效果是頂部不動,底部隨內容滑動 顯示和隱藏
可以先看一下知乎的底部快速返回效果(sorry 靜態圖)
看下我們實現的效果
先看下我們的佈局
<?xml version="1.0" encoding="utf-8"?> 佈局很簡單就三個內容 toolbar,RecyclerView,footer(LinearLayout)
注意底部操作欄最外層的 LinearLayout我們加上了
app:layout_behavior=”com.example.lwp.design.behavior.FooterBehavior”
FooterBehavior就是我們要自定義的behavior,讓它和滑動互動,內容向上滑動時消失,向下滑動時顯示
實現我們自己的Behavior其實很簡單 ,就是幾行程式碼的事,主要就是根據滑動距離來顯示和隱藏footer
public class FooterBehavior extends CoordinatorLayout.Behavior<View> {

    private static final Interpolator INTERPOLATOR = new FastOutSlowInInterpolator();


    private int sinceDirectionChange;


    public FooterBehavior(Context context, AttributeSet attrs) {
        super(context, attrs);
    }

//1.判斷滑動的方向 我們需要垂直滑動
    @Override
    public boolean onStartNestedScroll(CoordinatorLayout coordinatorLayout, View child, View directTargetChild, View target, int nestedScrollAxes) {
        return (nestedScrollAxes & ViewCompat.SCROLL_AXIS_VERTICAL) != 0;
    }

//2.根據滑動的距離顯示和隱藏footer view
    @Override
    public void onNestedPreScroll(CoordinatorLayout coordinatorLayout, View child, View target, int dx, int dy, int[] consumed) {
        if (dy > 0 && sinceDirectionChange < 0 || dy < 0 && sinceDirectionChange > 0) {
            child.animate().cancel();
            sinceDirectionChange = 0;
        }
        sinceDirectionChange += dy;
        if (sinceDirectionChange > child.getHeight() && child.getVisibility() == View.VISIBLE) {
            hide(child);
        } else if (sinceDirectionChange < 0 && child.getVisibility() == View.GONE) {
            show(child);
        }
    }


    private void hide(final View view) {
        ViewPropertyAnimator animator = view.animate().translationY(view.getHeight()).setInterpolator(INTERPOLATOR).setDuration(200);
        animator.setListener(new Animator.AnimatorListener() {
            @Override
            public void onAnimationStart(Animator animator) {

            }

            @Override
            public void onAnimationEnd(Animator animator) {
                view.setVisibility(View.GONE);
            }

            @Override
            public void onAnimationCancel(Animator animator) {
                show(view);
            }

            @Override
            public void onAnimationRepeat(Animator animator) {

            }
        });
        animator.start();
    }


    private void show(final View view) {
        ViewPropertyAnimator animator = view.animate().translationY(0).setInterpolator(INTERPOLATOR).setDuration(200);
        animator.setListener(new Animator.AnimatorListener() {
            @Override
            public void onAnimationStart(Animator animator) {

            }

            @Override
            public void onAnimationEnd(Animator animator) {
                view.setVisibility(View.VISIBLE);
            }

            @Override
            public void onAnimationCancel(Animator animator) {
                hide(view);
            }

            @Override
            public void onAnimationRepeat(Animator animator) {

            }
        });
        animator.start();

    }
簡書效果
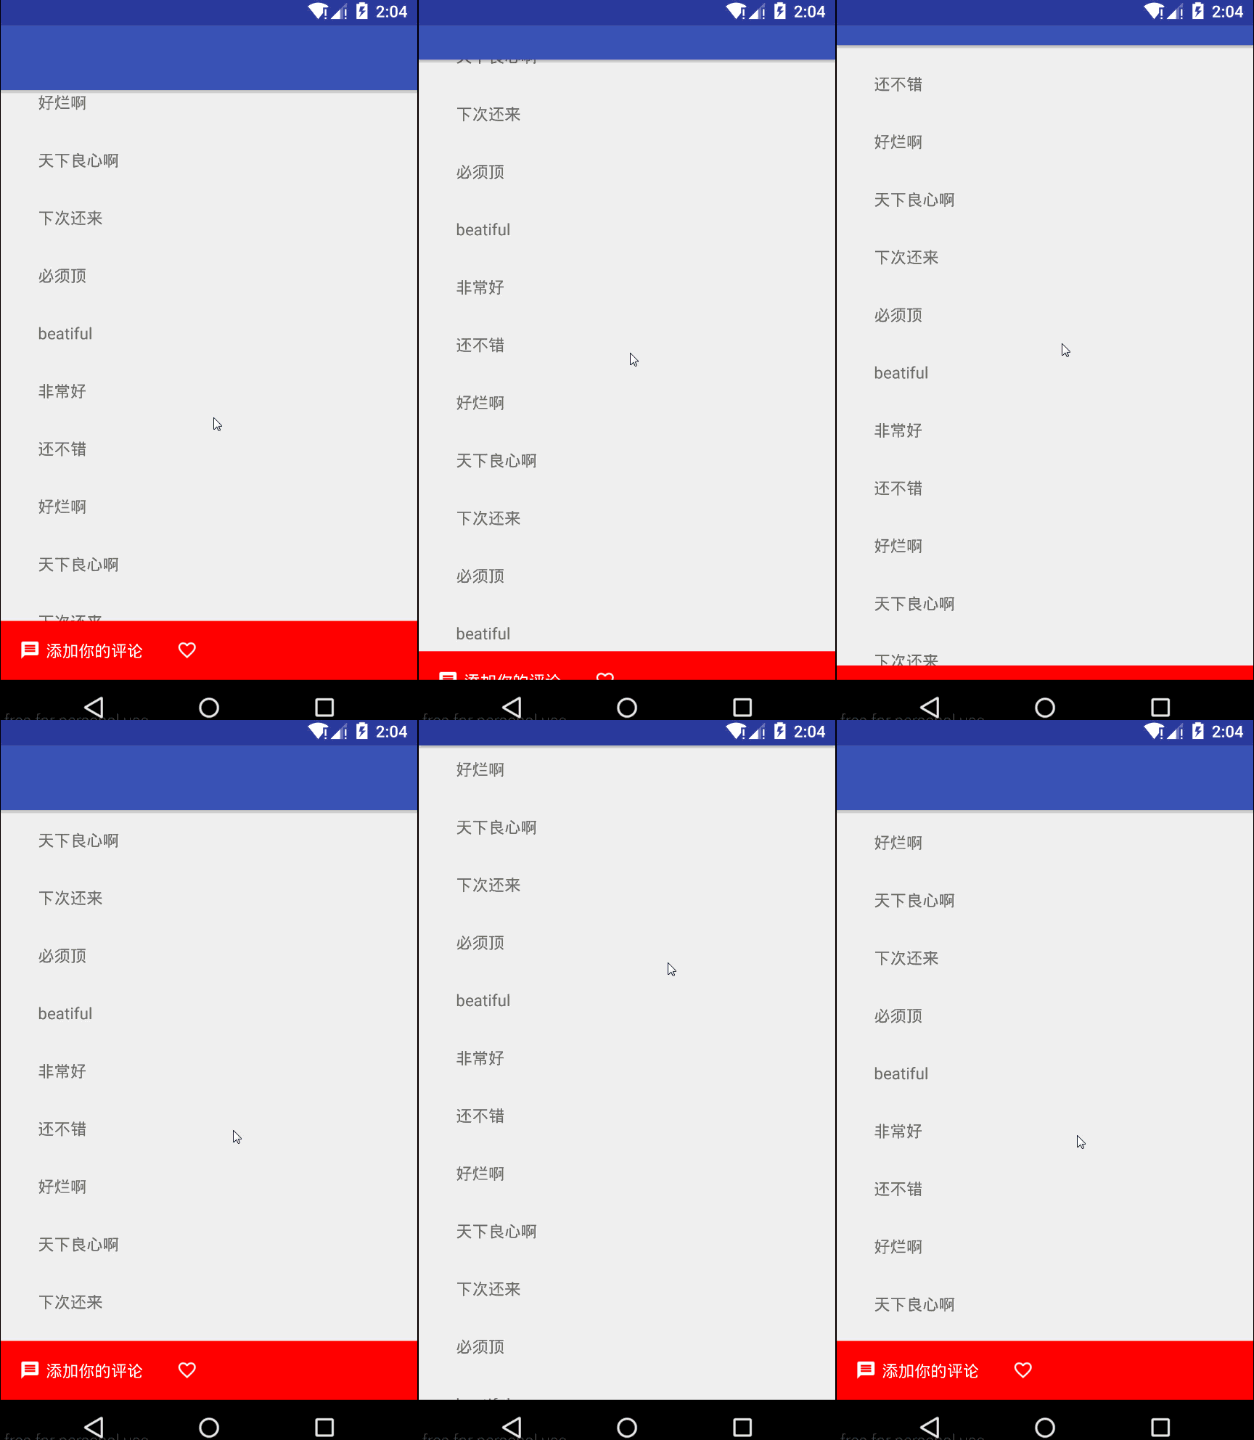
簡書效果有點類似全屏 就是滑動的時候頂部和底部的都消失,提供更好的閱讀體驗
看下我們實現的效果
佈局還是原來的佈局,只需要改2個小地方,一個是讓Toolbar支援隱藏,第二個底部的behavior改成我們接下來實現的behavior名稱: FooterBehaviorDependAppBar
...
<android.support.v7.widget.Toolbar
            android:layout_width="match_parent"
            android:layout_height="wrap_content"
            app:layout_scrollFlags="scroll|enterAlways"  //1.加上這個
            />

...

<LinearLayout
        android:layout_width="match_parent"
        android:layout_height="wrap_content"
        android:layout_gravity="bottom"
        android:background="@color/red"
        android:orientation="horizontal"
        android:padding="16dp"
        android:gravity="center_vertical"
        //2.修改behavior為我們第二個要實現的behavior
        app:layout_behavior="com.example.lwp.design.behavior.FooterBehaviorDependAppBar">
...
從效果來看,第一眼感覺會比實現知乎效果要麻煩,其實比第一個behavior實現更加簡單,幾乎只用了一行程式碼實現 child.setTranslationY(translationY);
public class FooterBehaviorDependAppBar extends CoordinatorLayout.Behavior<View> {


    public FooterBehaviorDependAppBar(Context context, AttributeSet attrs) {
        super(context, attrs);
    }

    @Override
    public boolean layoutDependsOn(CoordinatorLayout parent, View child, View dependency) {
         return dependency instanceof AppBarLayout;
    }


    @Override
    public boolean onDependentViewChanged(CoordinatorLayout parent, View child, View dependency) {
        float translationY = Math.abs(dependency.getTranslationY());
        child.setTranslationY(translationY);
        return true;
    }
}
現在可以看到實現自己的Behavior是多麼的方便和簡單了吧,這樣你就可以在滑動互動中實現更復雜和酷炫的互動效果了
趕緊去試試吧!


