
富文字編輯器ueditor使用配置
富文字編輯器(UEditor)
在平時開發Java Web專案的時候,往往會使用第三方外掛來幫助我們更快的實現功能。
這裡教大家使用百度開源的富文字編輯器(UEditor)來幫助我們更好的編寫文字。
官網下載地址
這裡下載最新版的就可以了

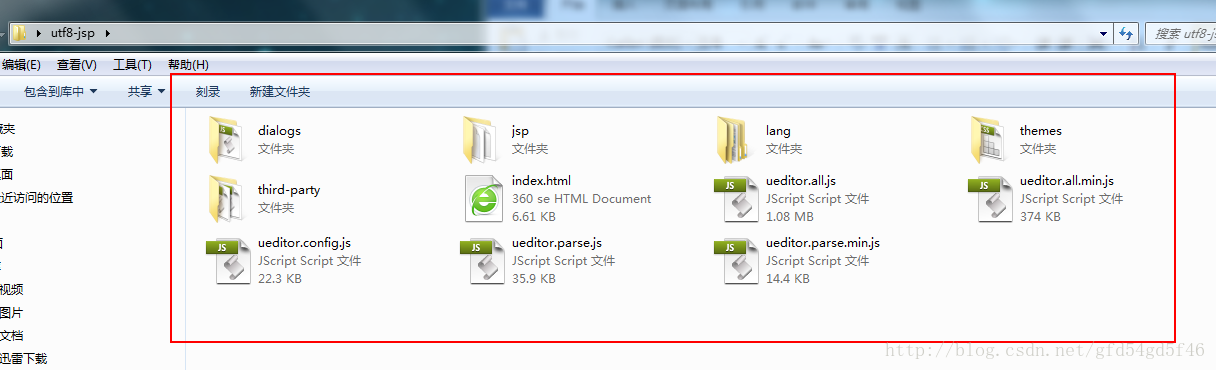
解壓出來是這樣的
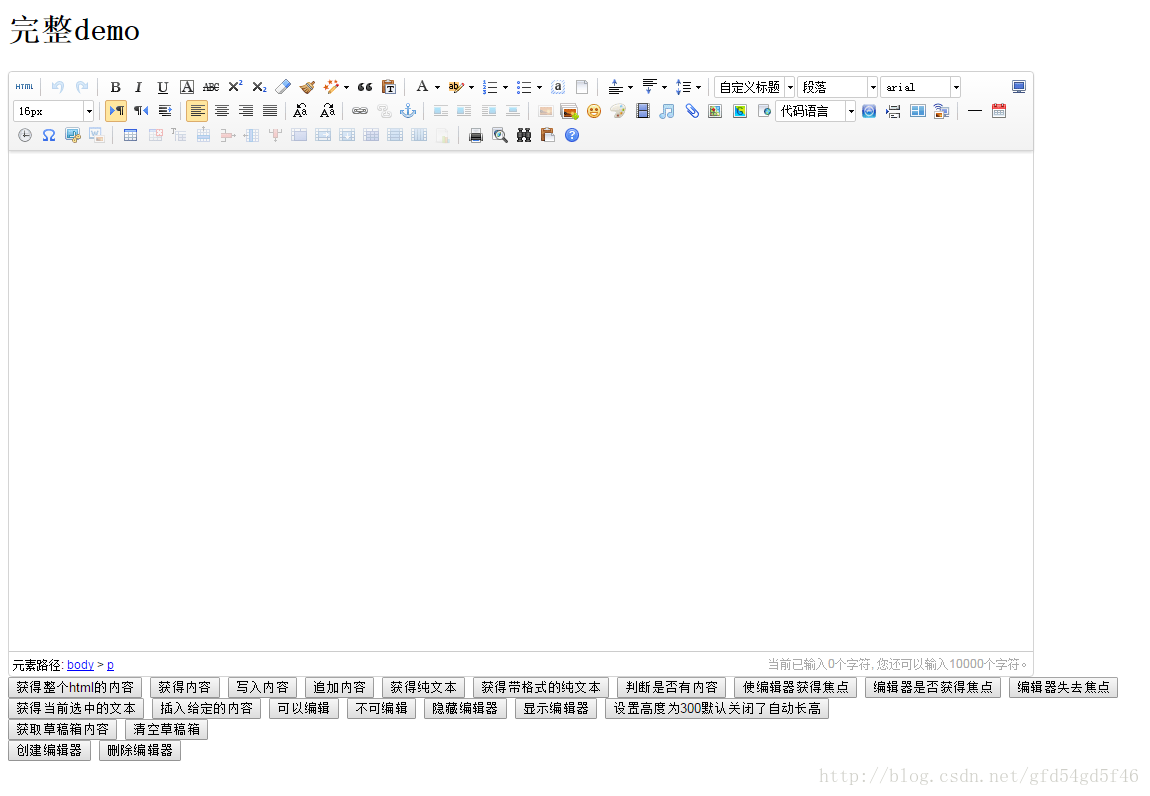
開啟index.html的效果
好了 ,廢話不多說,開始我們的正題。
1、配置編輯器環境
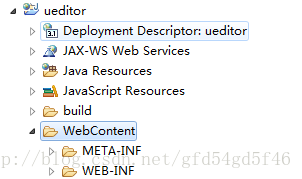
建立一個動態web工程
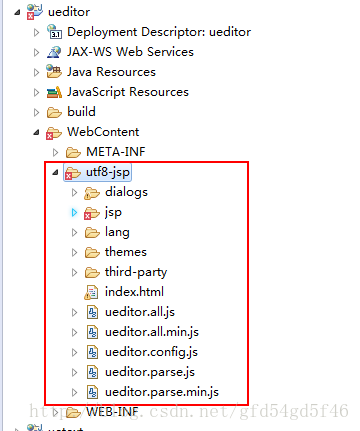
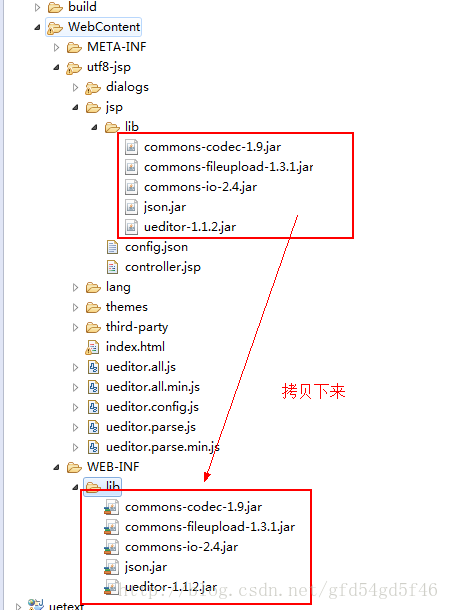
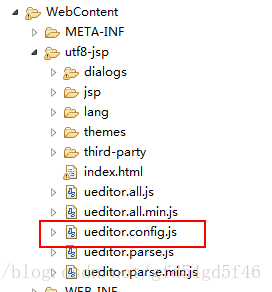
將解壓出來的編輯器資料夾整個拷貝到WebContent目錄下
此時工程會報錯,因為我們沒有引用所需的jar包。
將utf8-jsp -> jsp->libWEB-INF目錄下的lib資料夾中
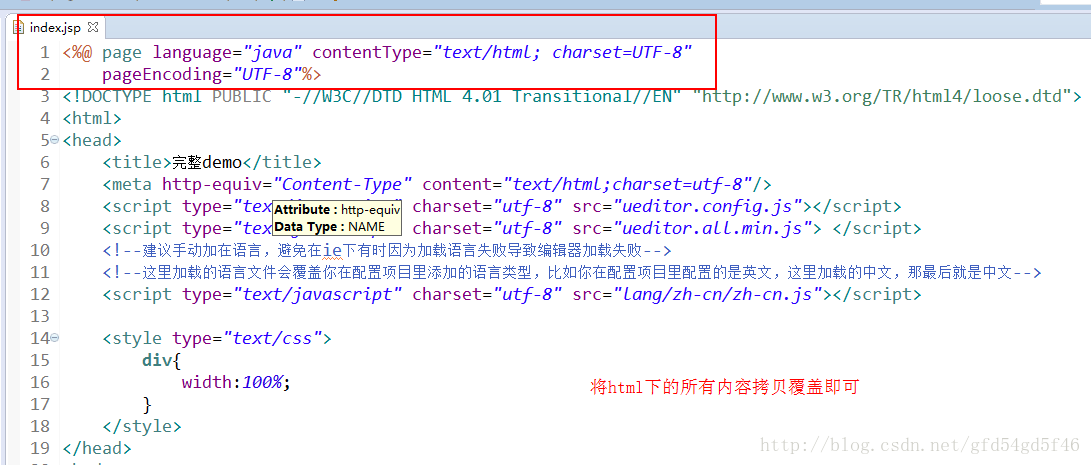
在WebContent下建立一個index.jsp的檔案。
將utf8-jsp中的index.html檔案內容拷貝到index.jsp
注:使用外掛時必須引入以下3個檔案
<script type="text/javascript" charset="utf-8" src=" ueditor.config.js"></script> <script type="text/javascript" charset="utf-8" src=" ueditor.all.min.js"> </script> <script type="text/javascript" charset="utf-8" src=" lang/zh-cn/zh-cn.js"></script>
呼叫編輯器:
<script id="editor" type="text/plain" style="width:1024px;height:500px;"></script>
將引用js檔案的相對路徑補全
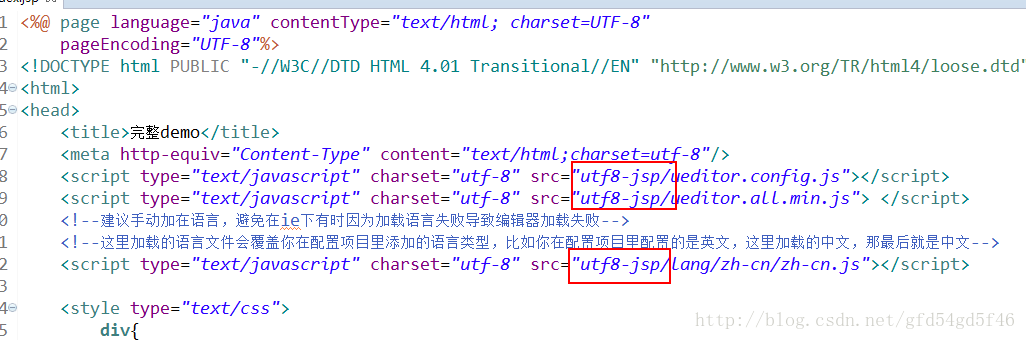
完成之後執行index.jsp或者右鍵工程執行

這樣基本的配置就搭建好了。
2、獲取編輯框的內容
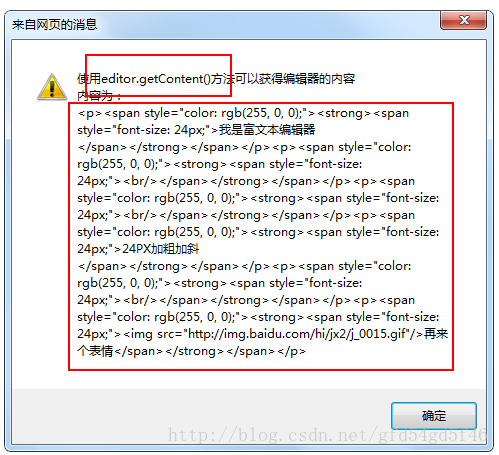
我們來使用富文字編輯器隨便寫一些內容,然後點選獲取內容
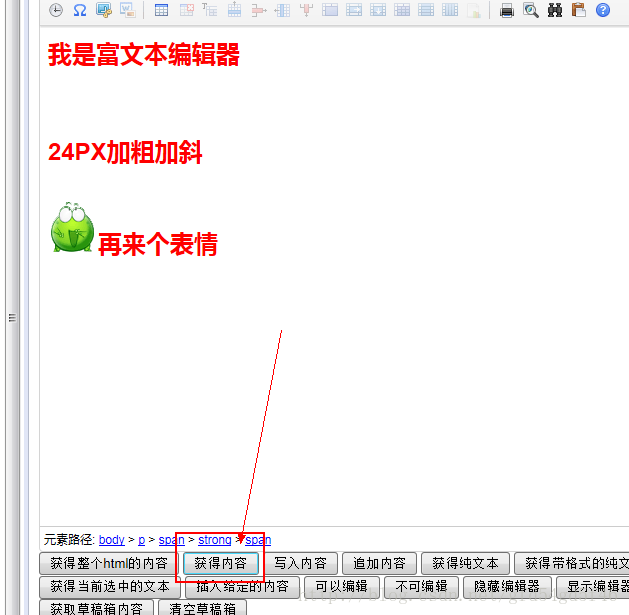
我們發現,在editor.getContent()獲得整個p標籤的內容,那我們怎麼在java web中拿到內容呢?
回到index.jsp中
使用form表單將整個 編輯器包涵,並且加上用於提交表單的按鈕
<body>
<div>
<form action="UeditorServlet">
<h1>完整demo</h1>
<script id="editor" type="text/plain" style="width:1024px;height:500px;"></script>
<input type="submit" value="提交"/>
</form>
</div>
<script type="text/javascript">
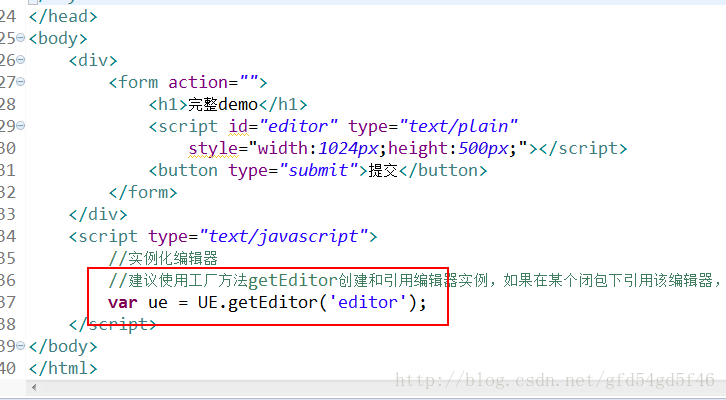
//例項化編輯器
//建議使用工廠方法getEditor建立和引用編輯器例項,如果在某個閉包下引用該編輯器,直接呼叫UE.getEditor('editor')就能拿到相關的例項
var ue = UE.getEditor('editor');
</script>
</body>
將多餘的按鈕以及js指令碼都刪除,保留一個例項化編輯器的方法
var ue = UE.getEditor('editor');- 1
- 1
執行之後 編輯一段內容然後點選提交
http://localhost:8080/ueditor/index.jspeditorValue=%3Cp%3E%E6%88%91%E6%98%AF%E5%86%85%E5%AE%B9%3C%2Fp%3E- 1
- 1

我們可以發現,在提交表單的時候資料是儲存在editorValue下的,知道原理之後我們就可以建立一個servlet來接收這個欄位了
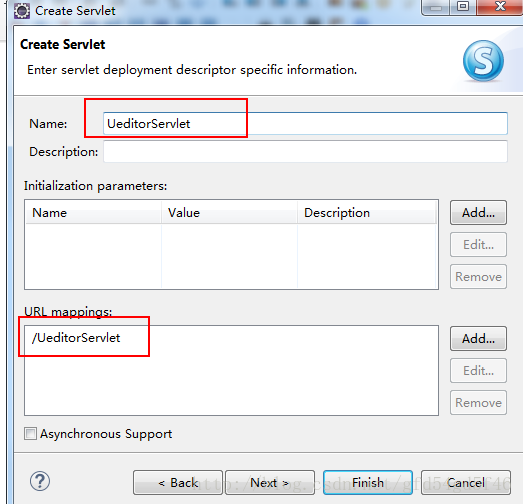
建立Servlet之後還需修改form表單中的action值
<form action="UeditorServlet" method="post">- 1
- 1
UeditorServlet .Java中的doGet()方法
public void doGet(HttpServletRequest request, HttpServletResponse response)
throws ServletException, IOException {


request.setCharacterEncoding("UTF-8");
response.setCharacterEncoding("UTF-8");
String content = request.getParameter("editorValue");
if(content != null){
request.setAttribute("content",content);
request.getRequestDispatcher("content.jsp").forward(request, response);
}else{
response.getWriter().append("內容為空!");
}

}
Content.jsp頁面就簡單使用EL表示式接收資料即可
<%@ page language="java" import="java.util.*" pageEncoding="UTF-8"%>
<%
String path = request.getContextPath();
String basePath = request.getScheme()+"://"+request.getServerName()+":"+request.getServerPort()+path+"/";
%>
<!DOCTYPE HTML PUBLIC "-//W3C//DTD HTML 4.01 Transitional//EN">
<html>
  <head>
    <base href="<%=basePath%>">
    <title>My JSP 'content.jsp' starting page</title>
  </head>

  <body>
  <%
  out.print(request.getRealPath(""));
   %>
   <div> ${content } </div>
  </body>
</html>
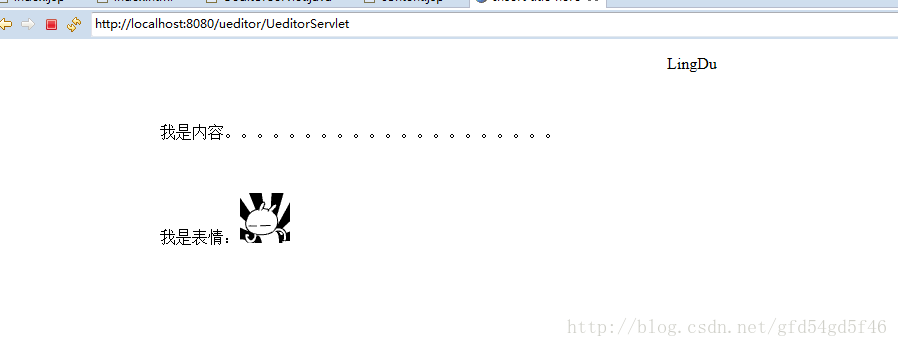
執行index.jsp ,隨便編輯一段文字提交
這時內容就已經傳過來了。
3、配置圖片路徑
在沒有配置圖片上傳路徑的時候,新增一張圖片時是顯示不出來的

編輯utf8-jsp -> lib -> 下的config.json檔案

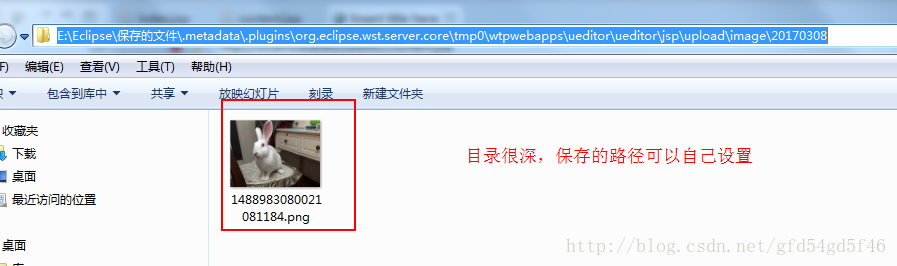
修改圖片上傳的路徑 ()上傳圖片儲存路徑 去掉最前面的/

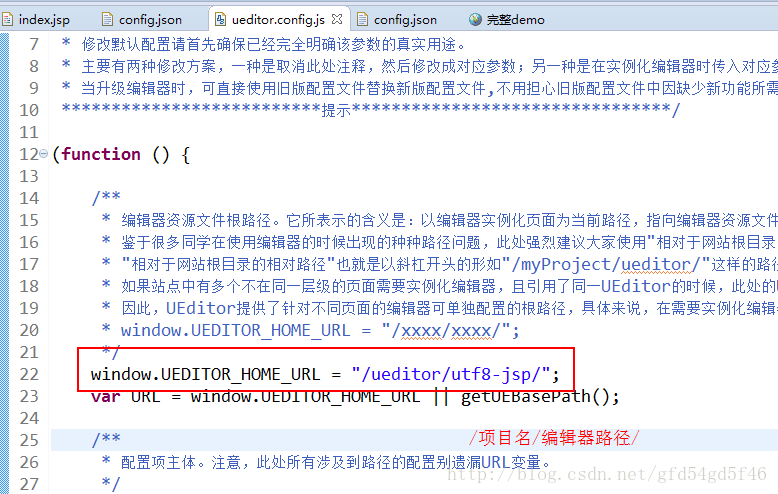
編輯utf8-jsp目錄下的ueditor.config.js
在配置中加入編輯器的路徑地址
配置完成之後重啟toncat伺服器並且執行index.jsp,編寫一條圖文資訊提交
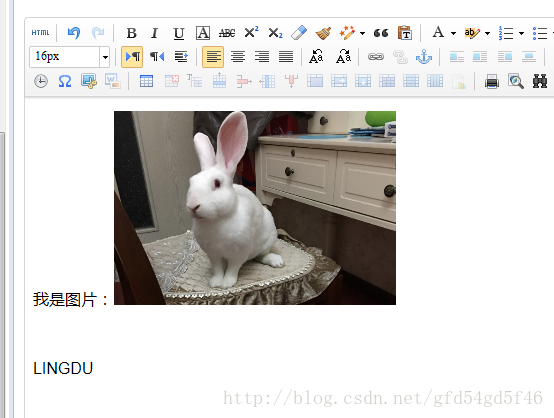
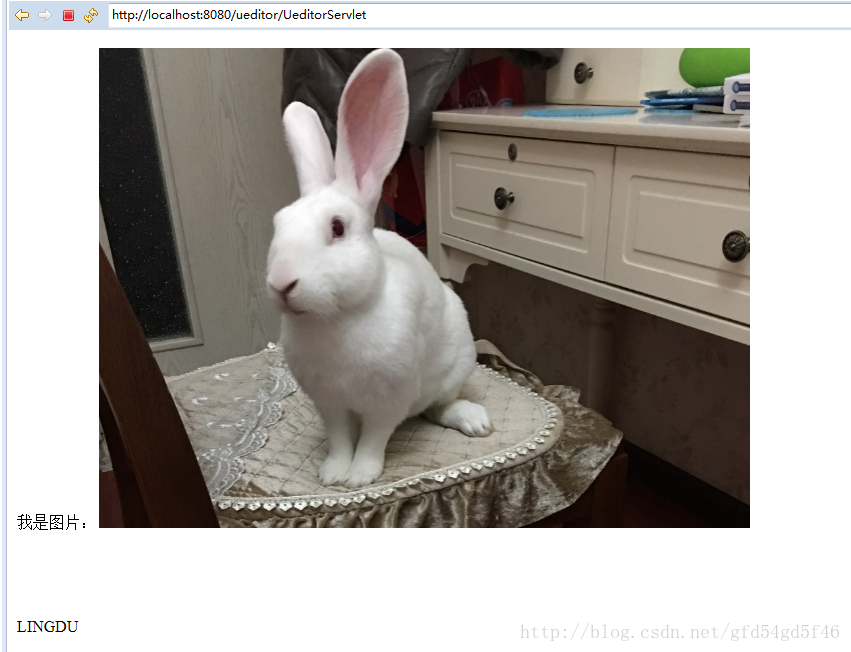
提交之後的結果:
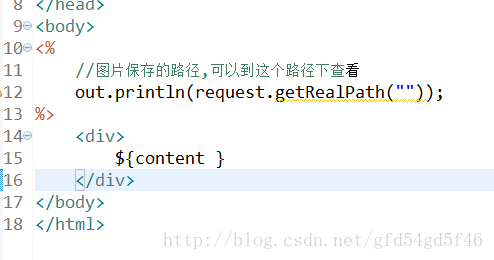
檢視圖片儲存路徑可以在jsp中使用以下程式碼,即可得到工程編譯後的路徑
<%
    //圖片儲存的路徑,可以到這個路徑下檢視
out.println(request.getRealPath("")); %>- 1
獲取到了根目錄位置

簡單的配置以及使用就介紹到這裡吧。
相關的編輯器配置資訊可到 utf8-jsp目錄下的ueditor.config.js檔案中修改