高效能web 架構之redis 快取叢集
redis 叢集
介紹
redis是一個key-value記憶體資料庫。它支援儲存的value型別包括字串、list(連結串列)、set(集合)、有序集合和hash(雜湊型別)。這些資料型別都支援push/pop、add/remove, redis支援各種不同方式的排序。redis會週期性的把更新的資料寫入磁碟或者把修改操作寫入追加的記錄檔案。
Redis 叢集是3.0以上才支援的
架構::
(1)所有的redis節點彼此互聯(PING-PONG機制),內部使用二進位制協議優化傳輸速度和頻寬.
(2)節點的fail是通過叢集中超過半數的節點檢測失效時才生效.
(3)客戶端與redis節點直連
(4)redis-cluster把所有的物理節點對映到[0-16383]slot上,cluster 負責維護node<->slot<->key
安裝redis
解壓
修改配置檔案
daemonize yes
port 6381
cluster-enabled yes
cluster-config-file nodes.conf
cluster-node-timeout 5000
appendonly yes
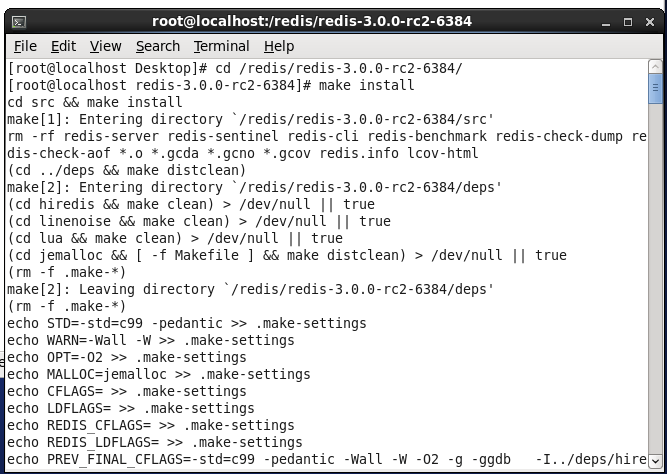
2. 進入到redis 目錄,進行編譯
make install
3. redis 建立叢集至少三個master 三個slave所以最少要有六個例項。否則建立叢集會提示。本文使用兩臺機器,每臺三個例項。也可以使用一個機器建立六個例項。
4. 如果建立過程正卡在Waiting for the cluster tojoin.......................................。需要修改配置檔案中的bind 127.0.0.1修改成對應機器的IP地址。並在建立叢集的時候使用IP。這個屬性是迴路IP,也就是其他節點訪問本節點用的。所以多臺機器要修改成在區域網的IP。
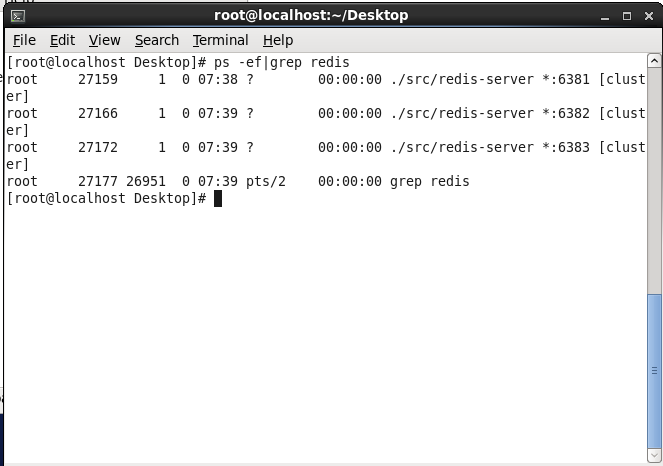
5. 複製三個到第一臺機器,並修改對應配置檔案的埠,分別為
然後啟動前三個
./src/redis-server redis.conf
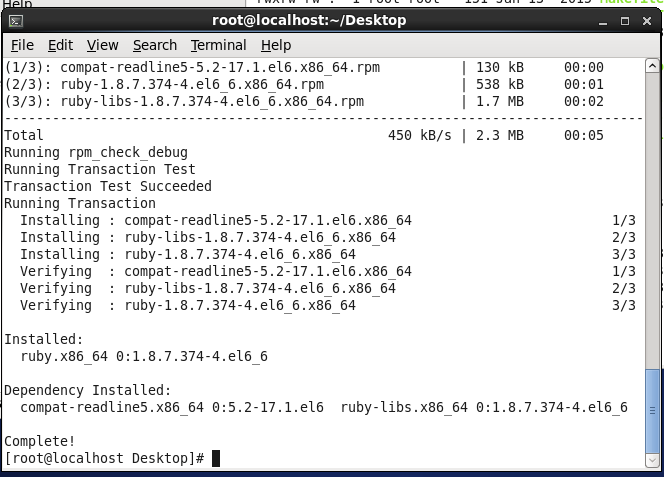
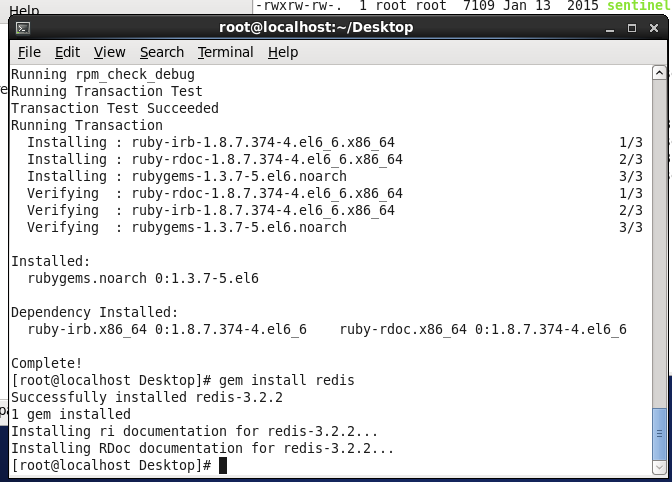
6. 安裝ruby
yum install ruby
安裝rubygems
yum install rubygems
gem install redis
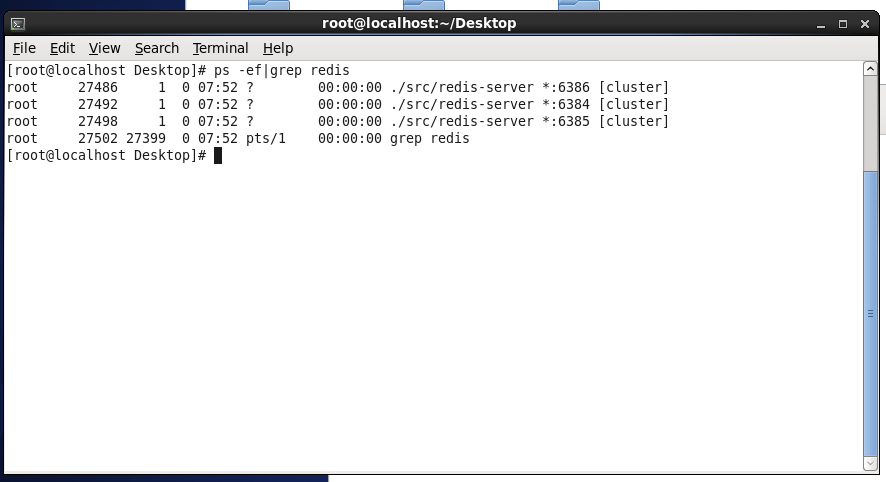
7. 安裝並執行第二臺機器的後三個,複製到第二臺機器三個並修改埠號分別為6384,6385,6386,並執行步驟6安裝ruby
叢集配置
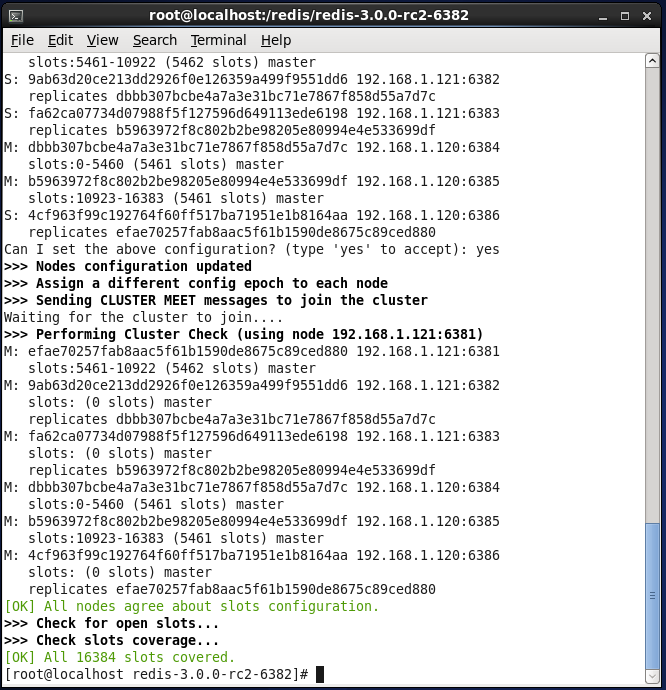
1. 執行叢集命令
./src/redis-trib.rb create –replicas 1 192.168.1.121:6381 192.168.1.121:6382192.168.1.121:6383 192.168.1.120:6384 192.168.1.120:6385 192.168.1.120:6386
2. 出現提示,輸入yes
到此叢集就建立完了
使用客戶端訪問快取
下載
下載jedis-jedis-2.7.2.zip 和commons-pool2-2.4.2-bin.zip
https://codeload.github.com/xetorthio/jedis/zip/jedis-2.7.2
jedis 下載只有原始碼,需要自己編譯成jar
配置spring
<bean name="genericObjectPoolConfig" class="org.apache.commons.pool2.impl.GenericObjectPoolConfig">
<property name="maxWaitMillis"value="-1" />
<property name="maxTotal"value="1000" />
<property name="minIdle"value="8" />
<property name="maxIdle"value="100" />
</bean>
<bean id="jedisCluster"class="redis.client.factory.JedisClusterFactory">
<property name="addressConfig">
<value>classpath:connect-redis.properties</value>
</property>
<property name="addressKeyPrefix"value="address" /> <!-- 屬性檔案裡 key的字首 -->
<property name="timeout"value="300000" />
<property name="maxRedirections"value="6" />
<property name="genericObjectPoolConfig"ref="genericObjectPoolConfig" />
</bean>
測試
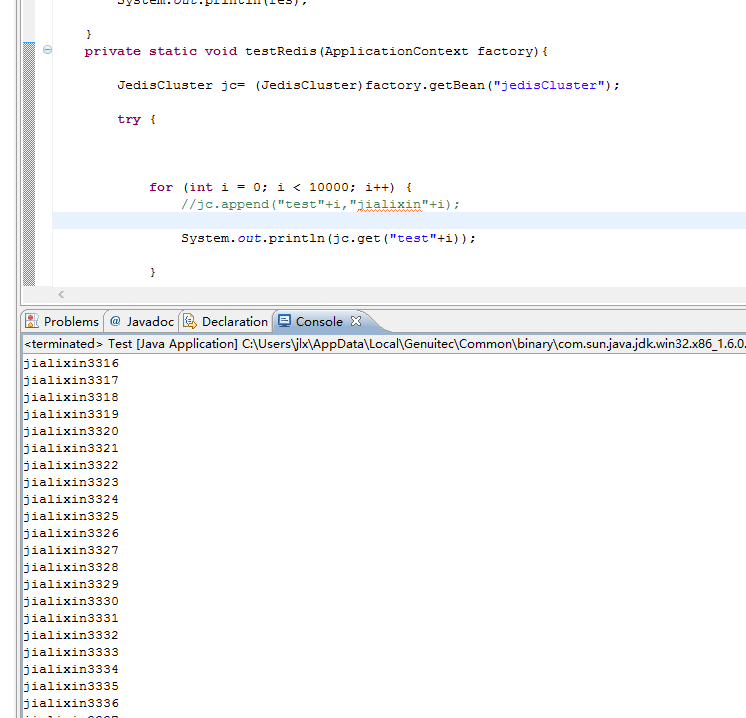
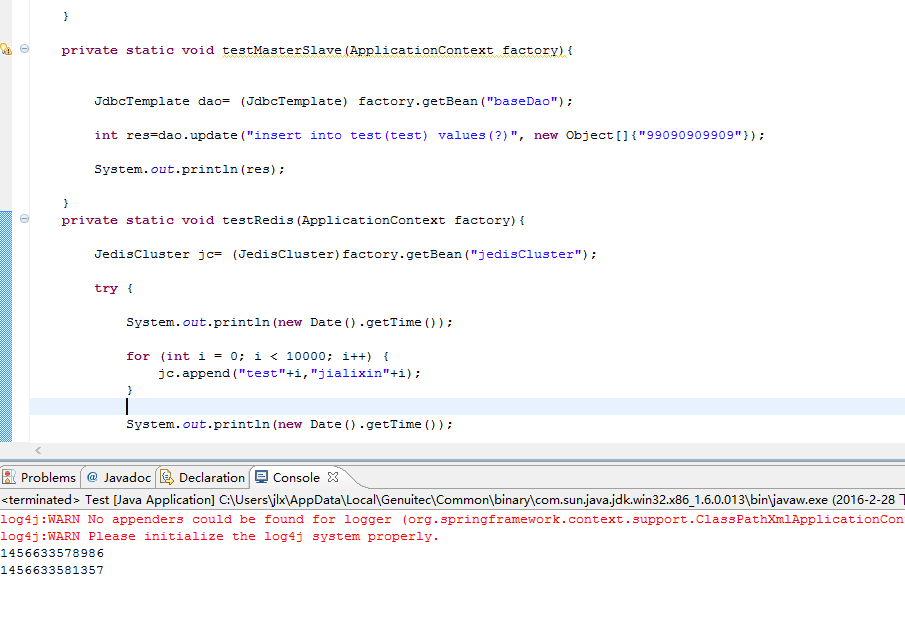
寫入快取
讀取快取
