
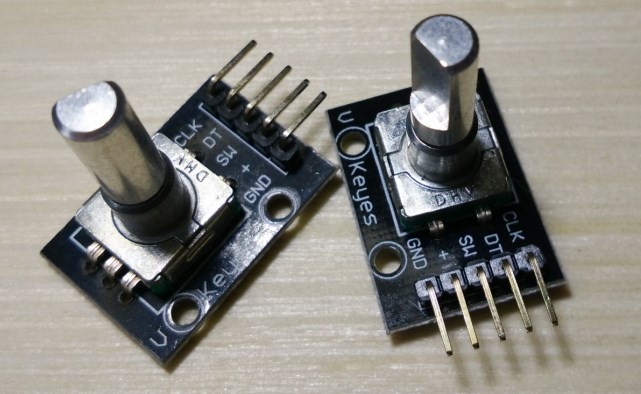
Arduino旋轉編碼器測試
阿新 • • 發佈:2018-12-27
做為旋轉編碼器學習過程的記錄,原理就不詳細介紹了,網上有很多。
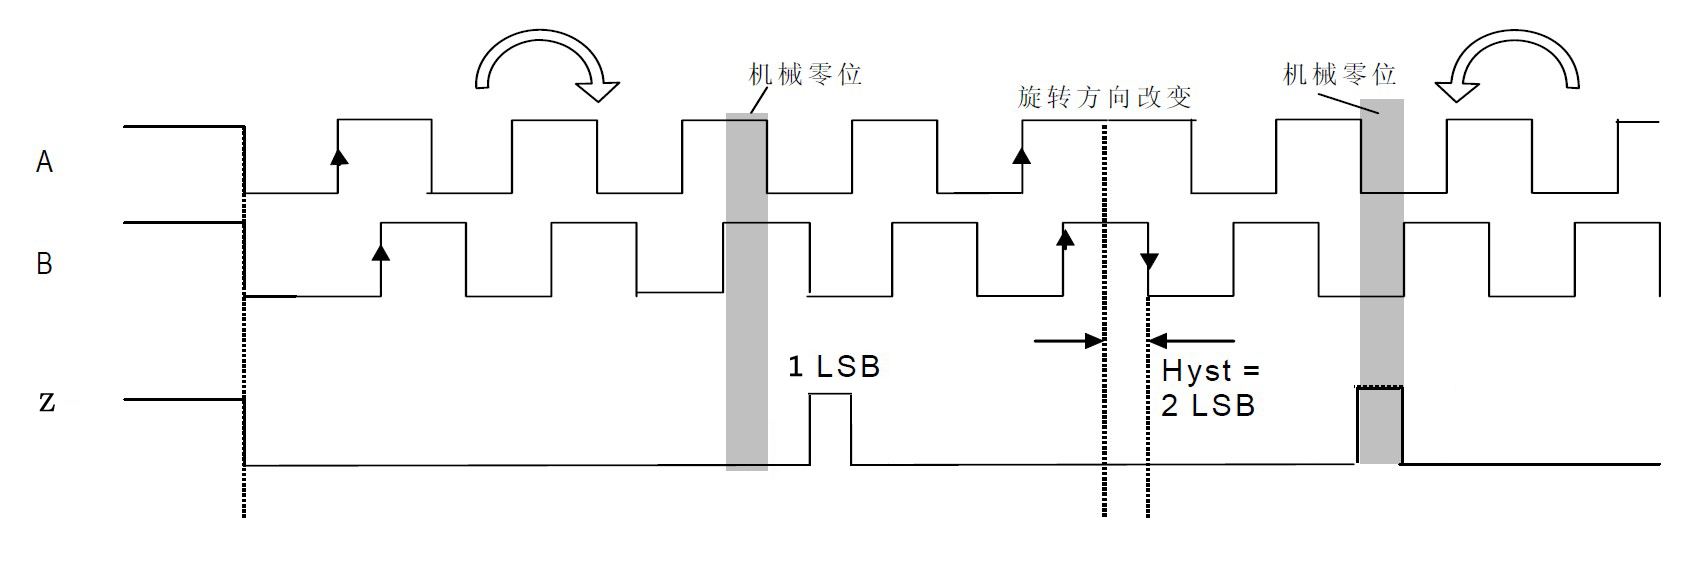
先上一張時序圖
正常旋轉時顯示
順時針時序
CLK:1 DT:1
CLK:1 DT:0
CLK:0 DT:0
CLK:0 DT:1
CLK:1 DT:1
逆時針時序
CLK:1 DT:1
CLK:0 DT:1
CLK:0 DT:0
CLK:1 DT:0
CLK:1 DT:1
用網上找的程式測試發現會出現錯誤編碼,於是自己修理一下檢測方法,對整個時序進行檢查,錯誤解決。
程式通過串列埠輸出旋轉方向和按鍵。
//旋轉編碼器測試 Rotaryencoder
int CLKbtn = 12;
int DTbtn = A2;
int SWbtn = A1;
int oldA = LOW;
int oldB = LOW;
bool lastButtonStatus = false;
unsigned char check = 0x00;
void setup()
{
  Serial.begin(9600);
  pinMode(CLKbtn, INPUT);
  pinMode(DTbtn, INPUT);
  pinMode(SWbtn, INPUT);
  digitalWrite(SWbtn, HIGH);//連線按鈕的引腳設為上拉
}
void loop()
{
  int newA = digitalRead(CLKbtn);
  int newB = digitalRead(DTbtn);
  int SW = digitalRead(SWbtn);

  //按鍵檢測
  bool buttonStatus = !digitalRead(SWbtn);//高電平時未按下,狀態為false
  if (buttonStatus != lastButtonStatus)
  {
    delay(20);//去抖動
    if (buttonStatus != lastButtonStatus)
    {
      Serial.println(buttonStatus ? "pressed" : "released");
      lastButtonStatus = buttonStatus;//儲存當前狀態
    }
  }
  //旋轉檢測
  if (newA != oldA || newB != oldB)//變化時
  {
    check = (check << 2) + (newA << 1) + newB; //將變化的時序按位放入,用於對比。
    if (newA == HIGH && newB == HIGH)//旋轉結束
    {
      if (check == 0x87) //順時針 10 00 01 11
        Serial.println("順時針");
      else if (check == 0x4B) //逆時針 01 00 10 11
        Serial.println("逆時針");
      else
      {
        Serial.println("error");
      }
    }
    oldA = newA;
    oldB = newB;
  }
}