
Create a Discord bot using Node
Discord provides a great documentation for developers at https://discordapp.com/developers/docs/intro. Make sure you check it out!
First login to https://discordapp.com and create an account if you haven’t one already.

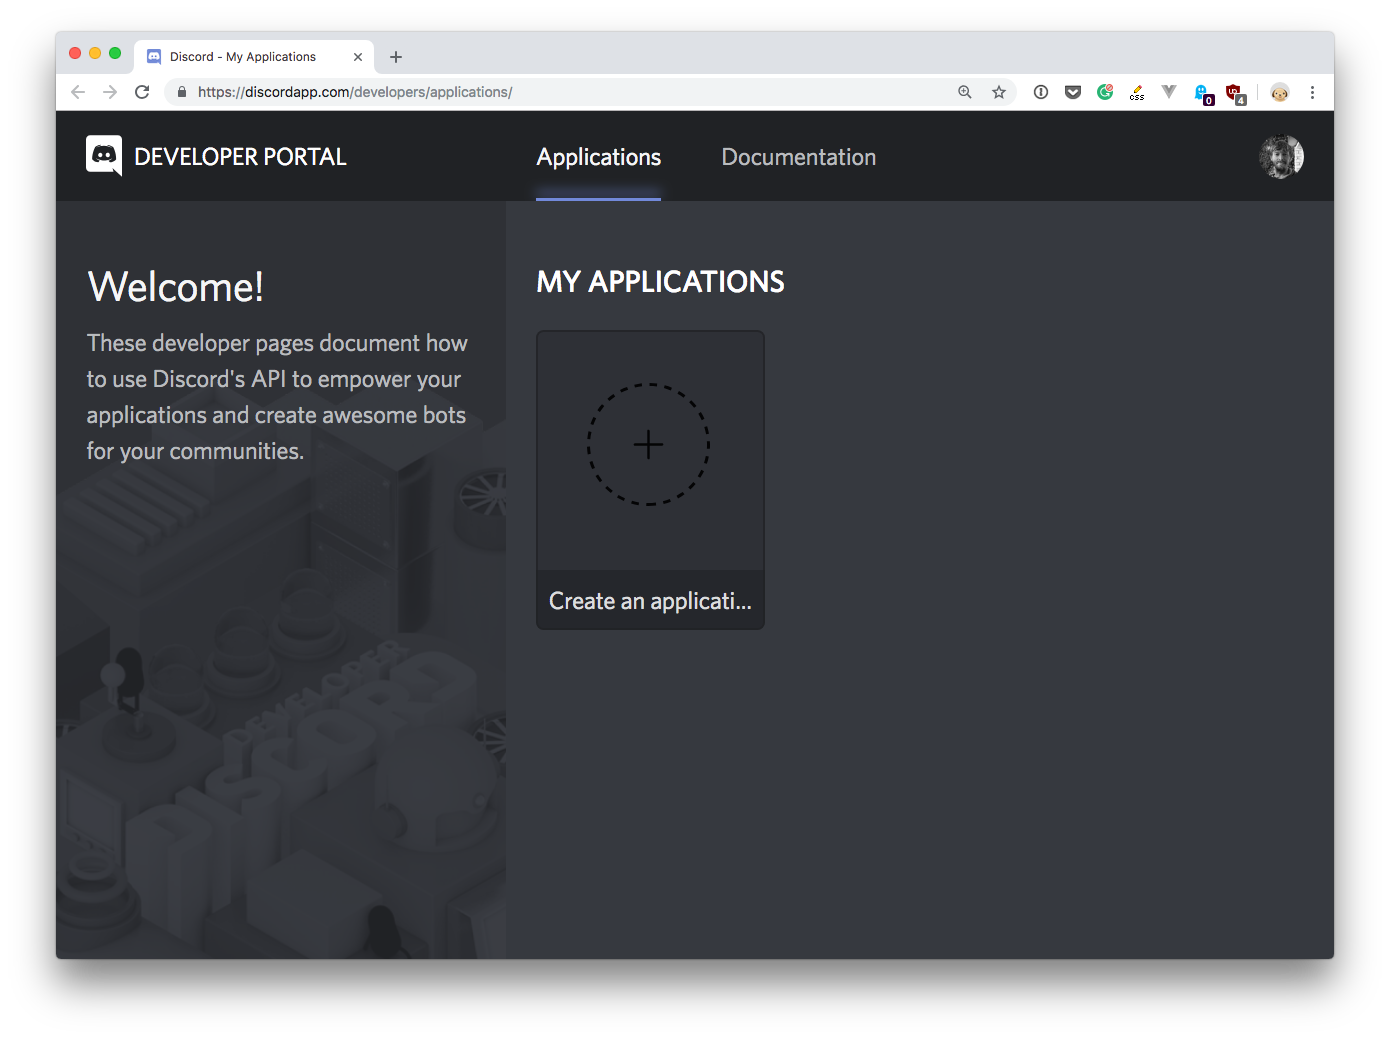
Click the “Create an application” button. In the next screen, give the app a name:

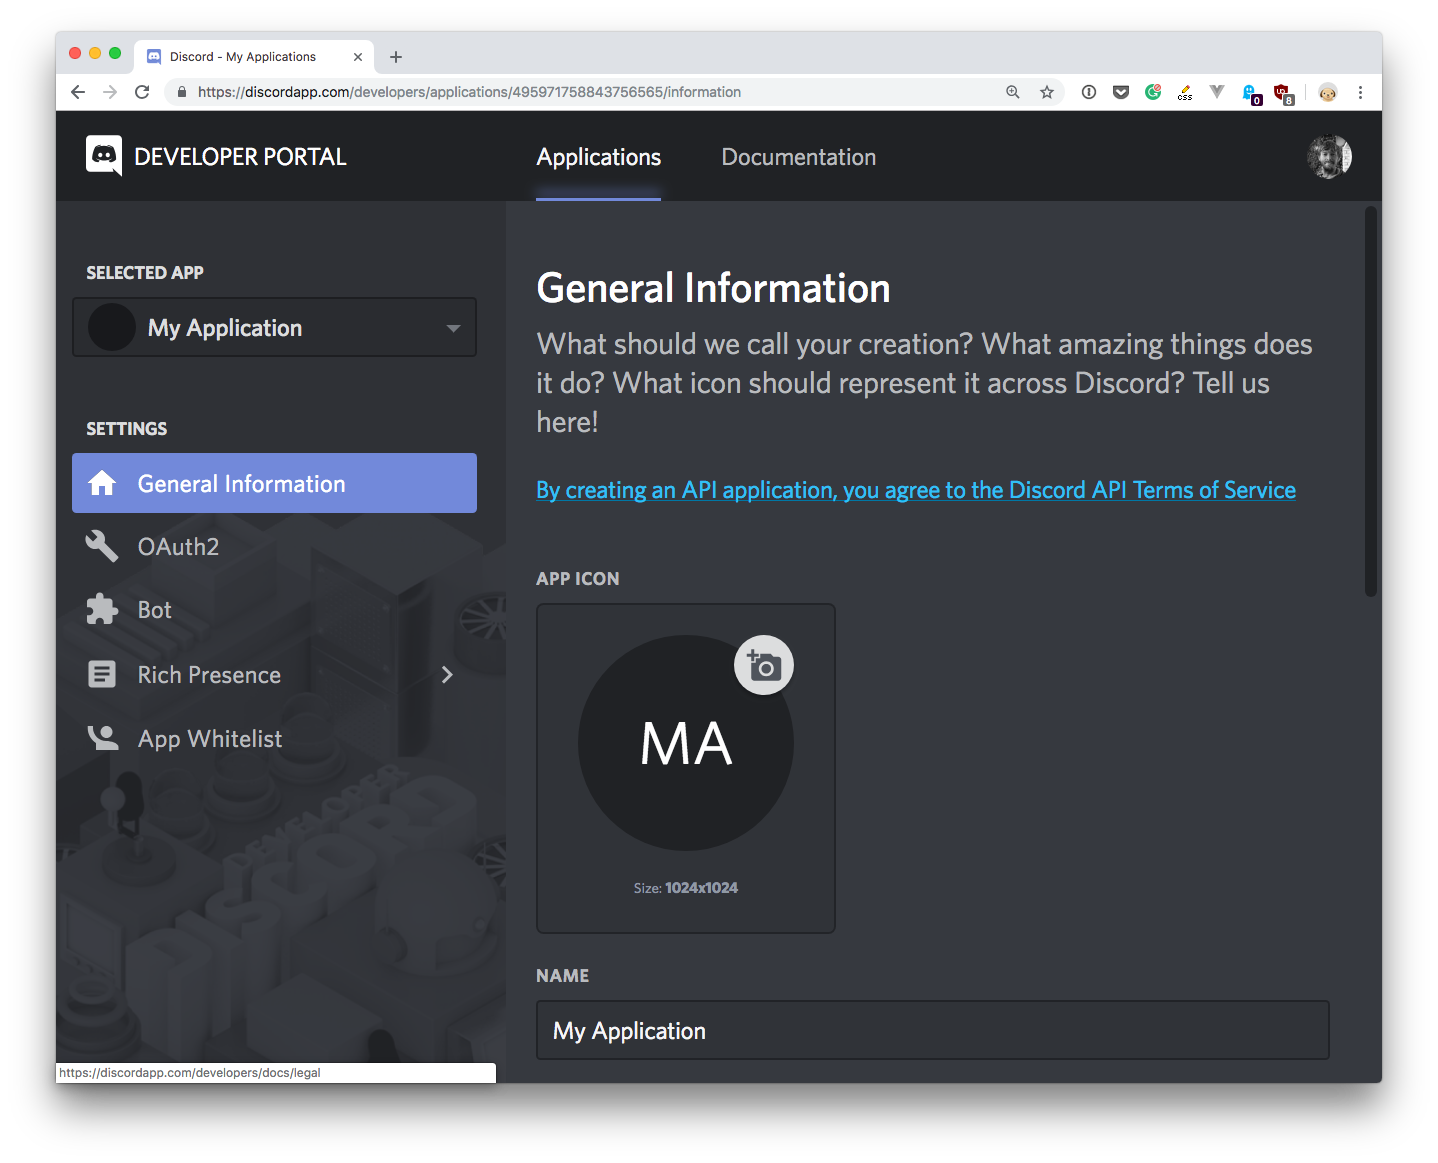
I’m going to call mine “English as a service”.
Scroll a little and you’ll find the client id, a number that identifies your application.
Save it somewhere safe, we’ll use it soon.
Now click the “Bot” menu in the left sidebar, and press “Add Bot”:

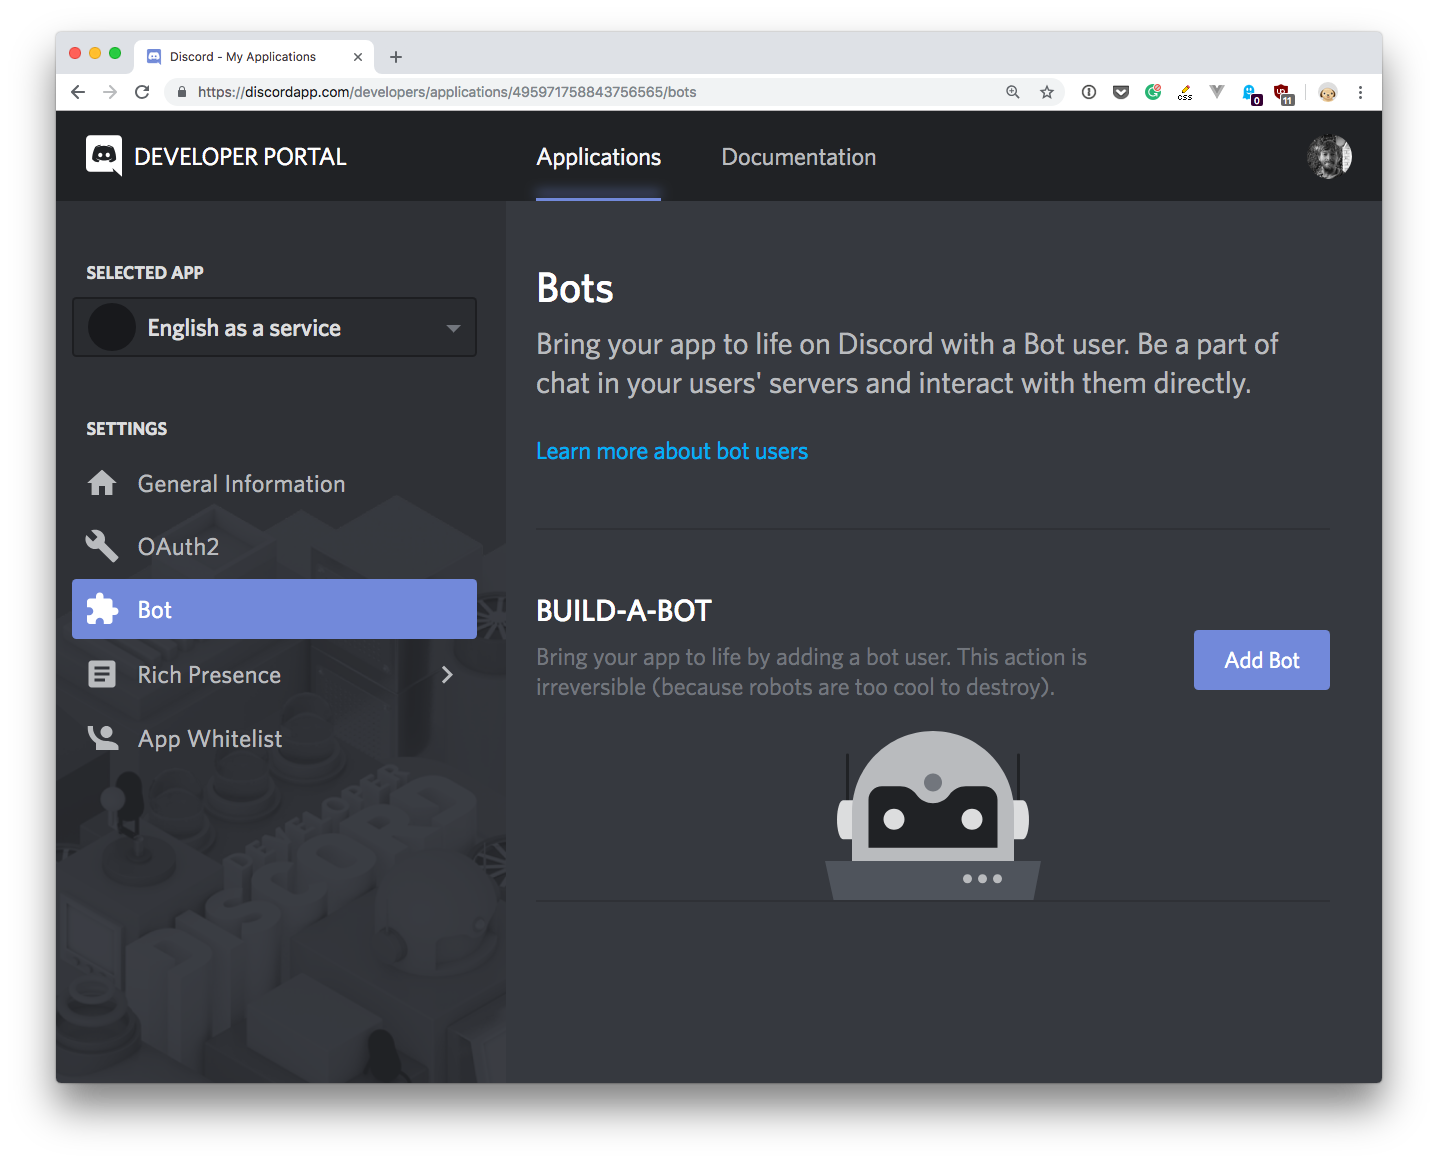
Doing this will give life to our bot.
The important thing that happens here is that Discord gives the bot token
We’ll need to use this in the Node.js bot code.
Before going to the code, however, let’s add the bot to the server. First, for the sake of testing, create a test server. We’ll put our bot into it.
From the Discord application, in the sidebar press the + button:

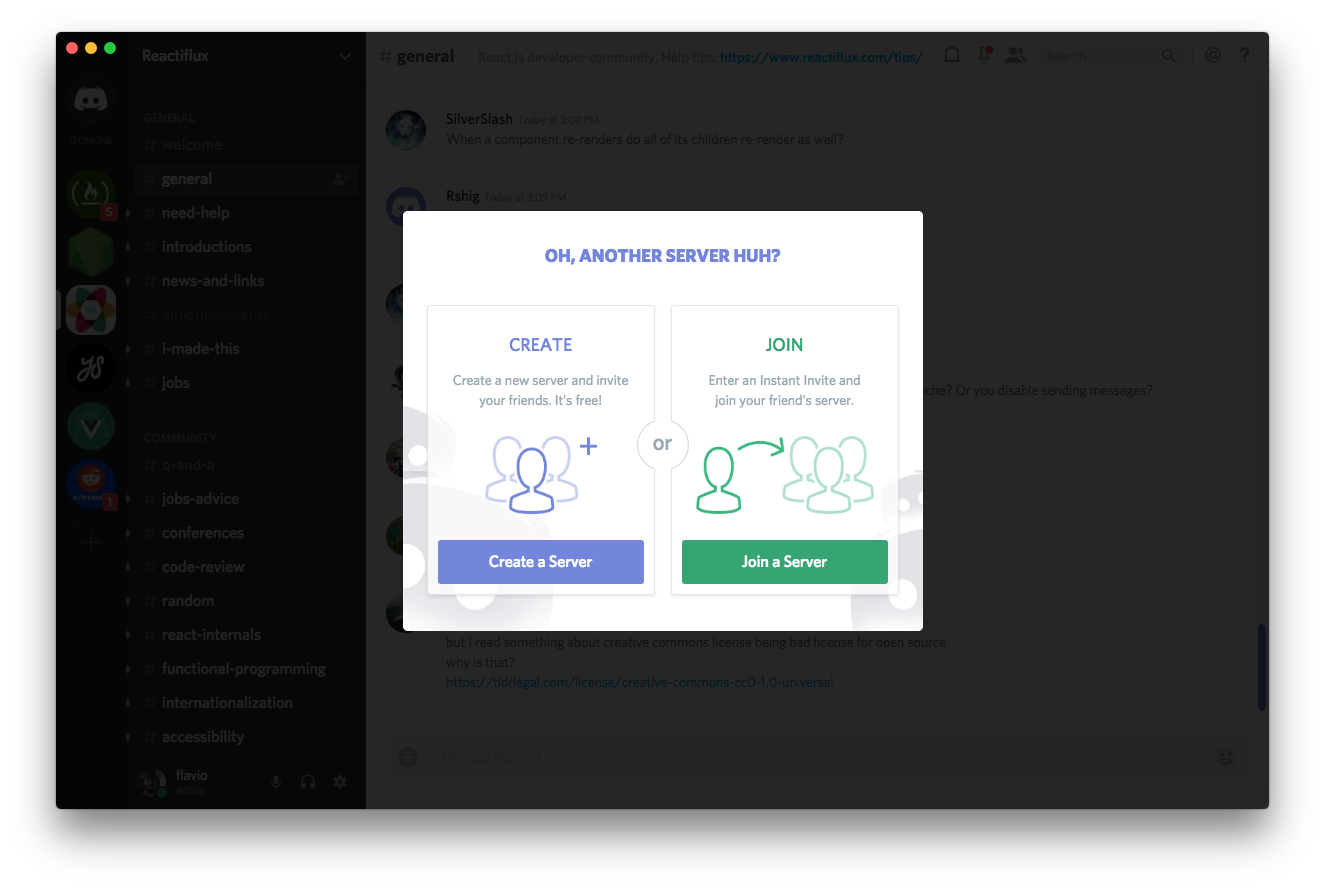
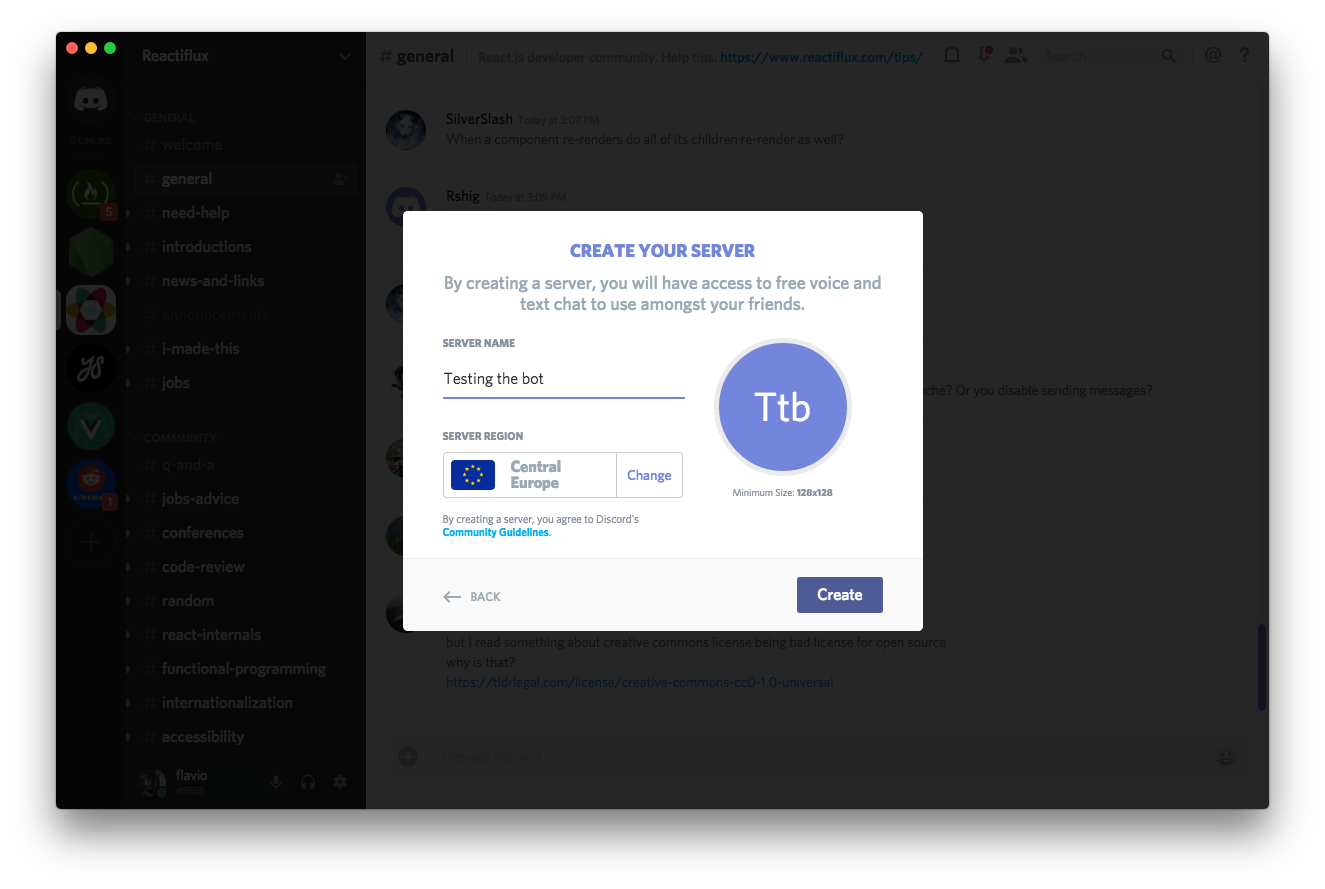
and click “Create a Server”. I called mine “Testing the bot”.

Now copy/paste this link to add the bot to your server:
Make sure you fill the client id you saw before in this URL.
You’ll see this screen, uncheck “Administrator” and authorize:

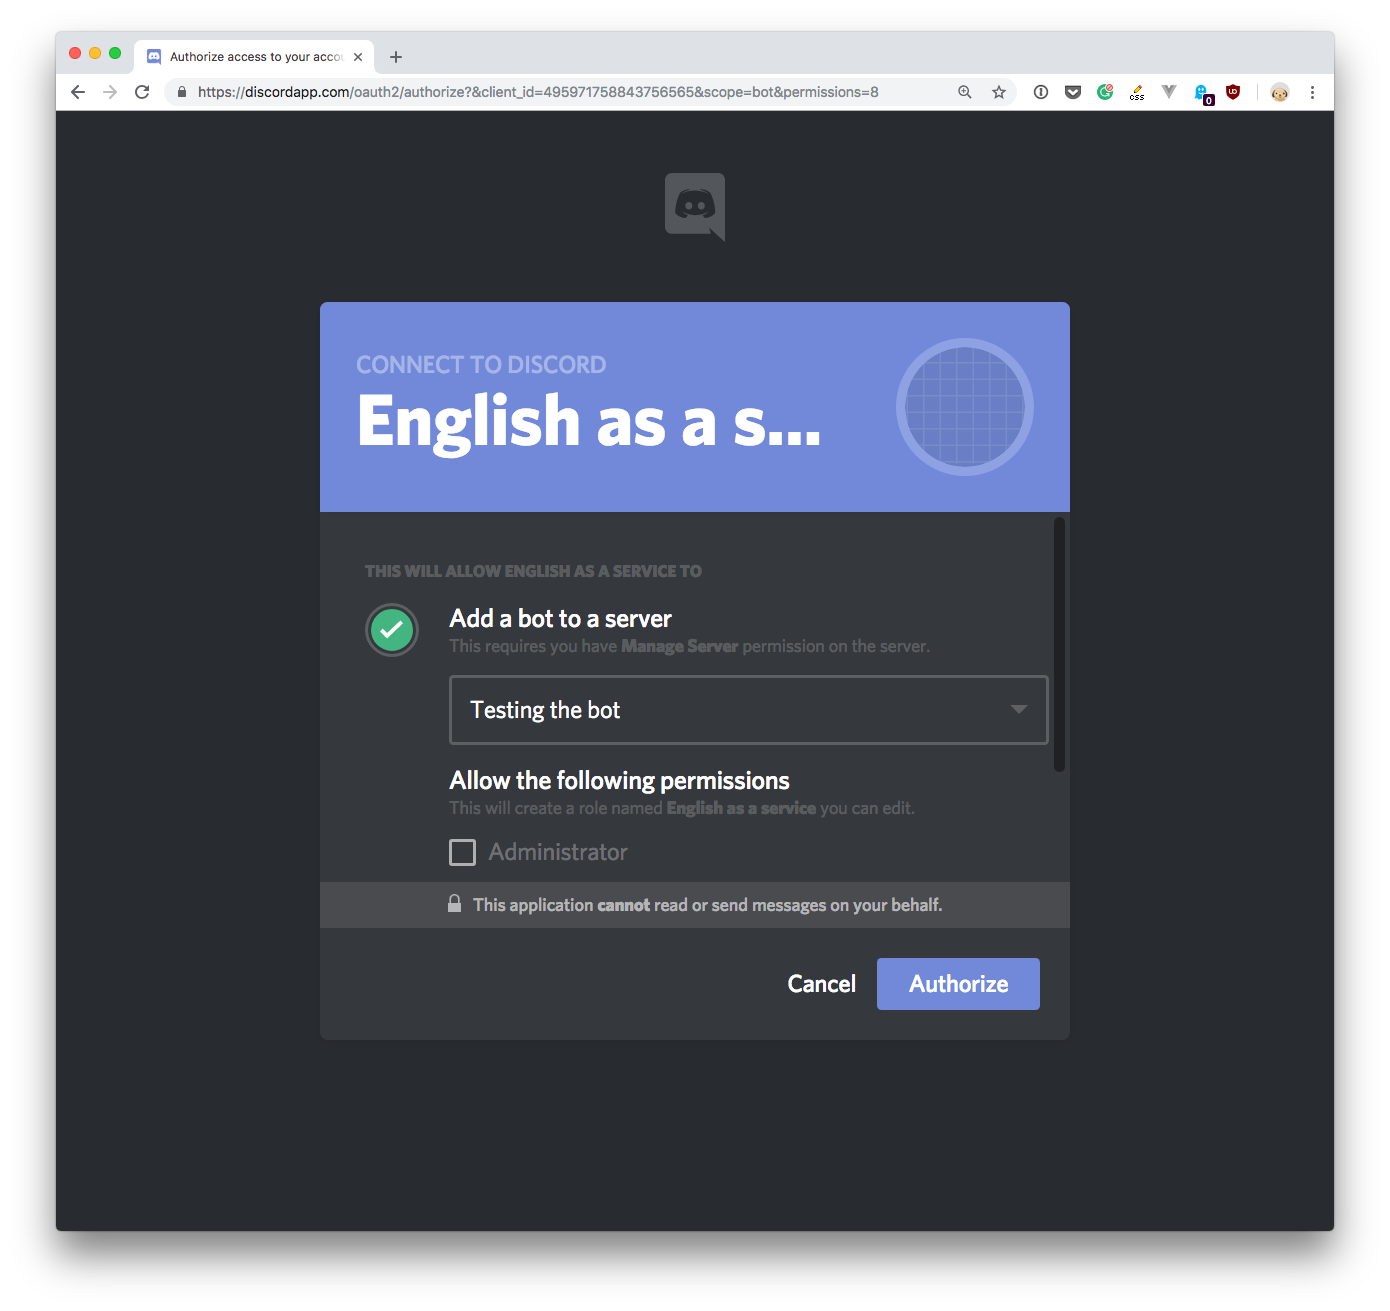
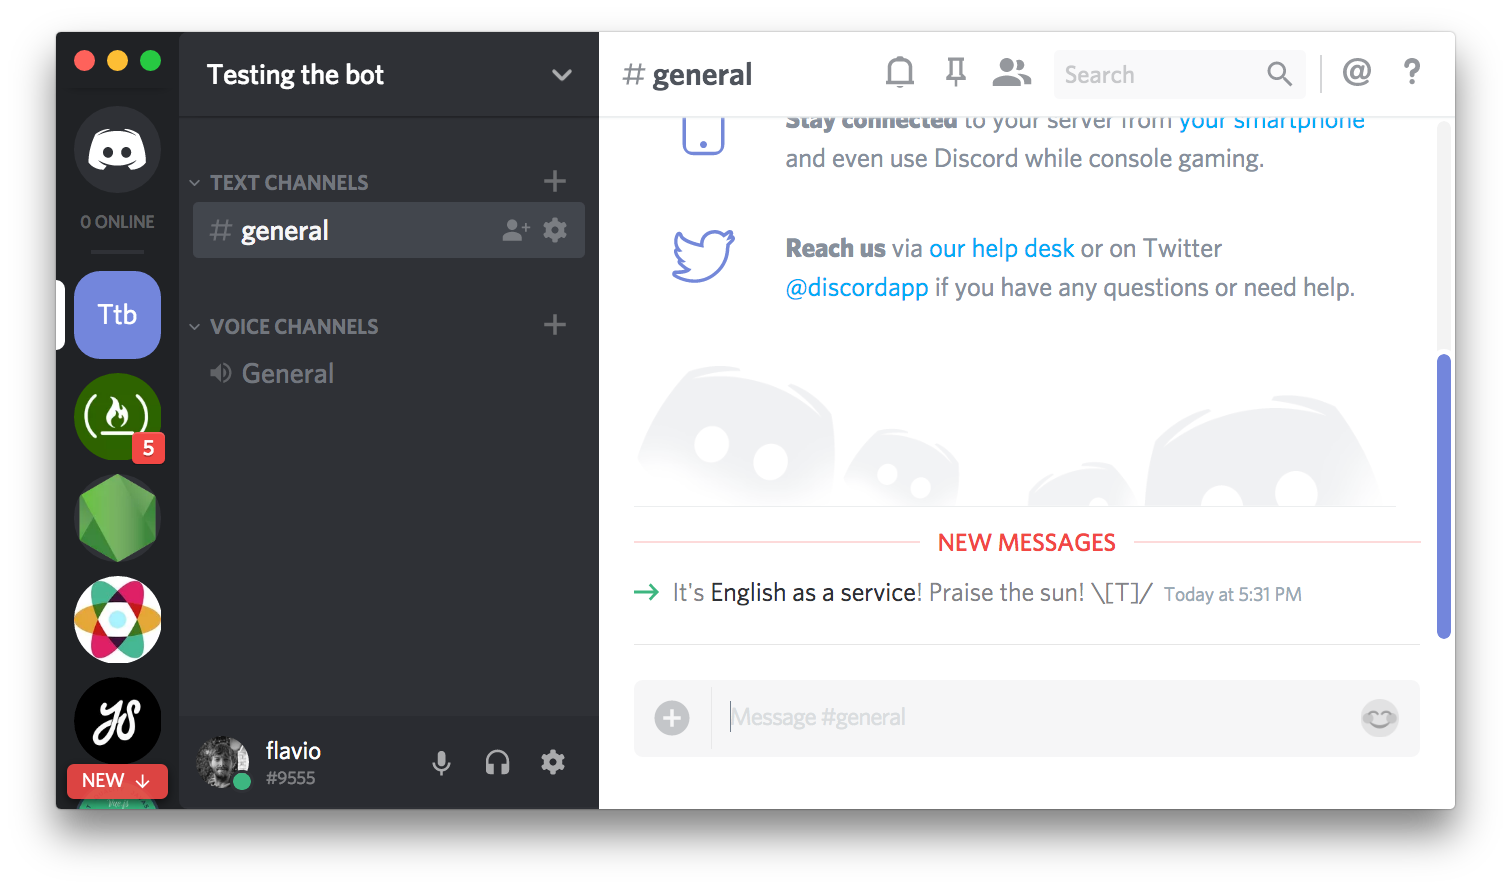
You should see the bot joined your server!

It’s finally time to code! ??
I’ll be using Glitch in this example. Glitch is a great service for this kind of thing — you can easily create applications, and they will run directly from Glitch — there are some fair use limitations, but for a simple bot it will be more than enough.
We’ll use the library to create our bot. Using a library makes all very easy since the tiny details are abstracted for us.
The app offers a great guide and a nicely organized API documentation.
To import it in Glitch, open the package.json file, and click “Add Package”.

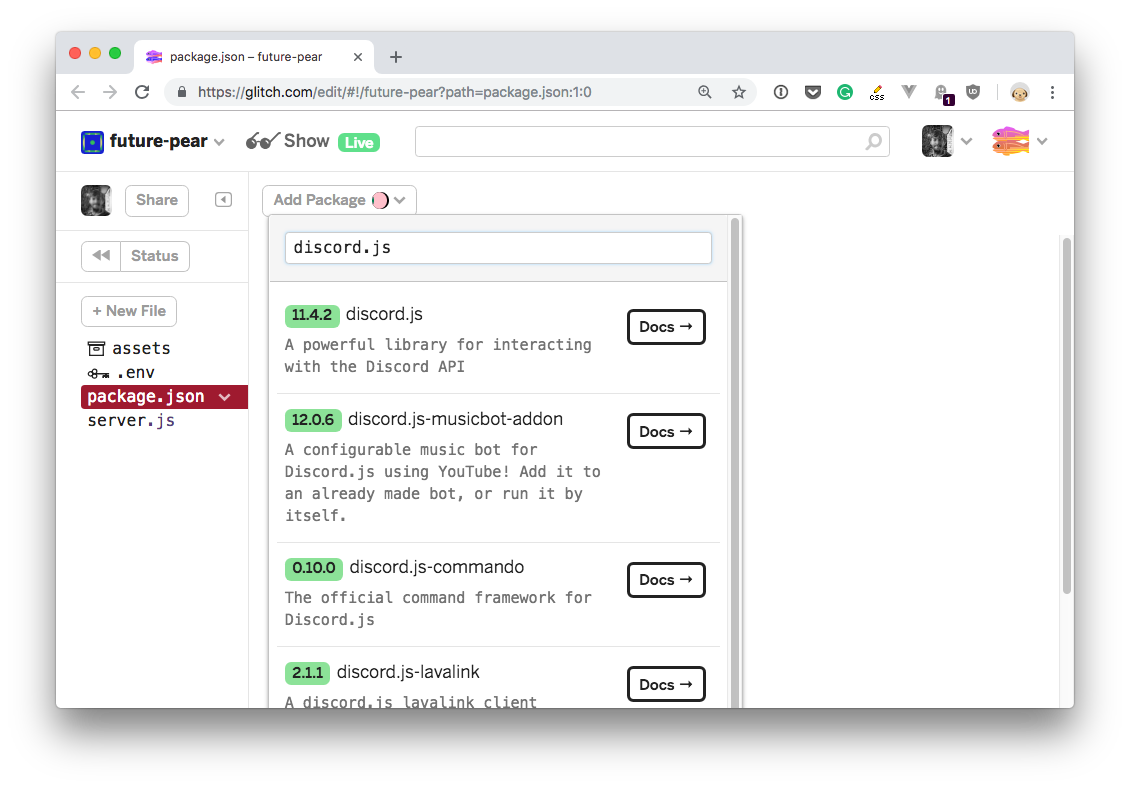
Just click the library to install it using npm.
Now open the .env file. This file is the way that Glitch offers us to handle secret tokens. Every app is publicly readable by default (you can make it private) but no one can read this file content, which makes sharing an application code quite safe.
Add those lines in there:
BOT_TOKEN=<the bot token>We log in to Discord using the bot:
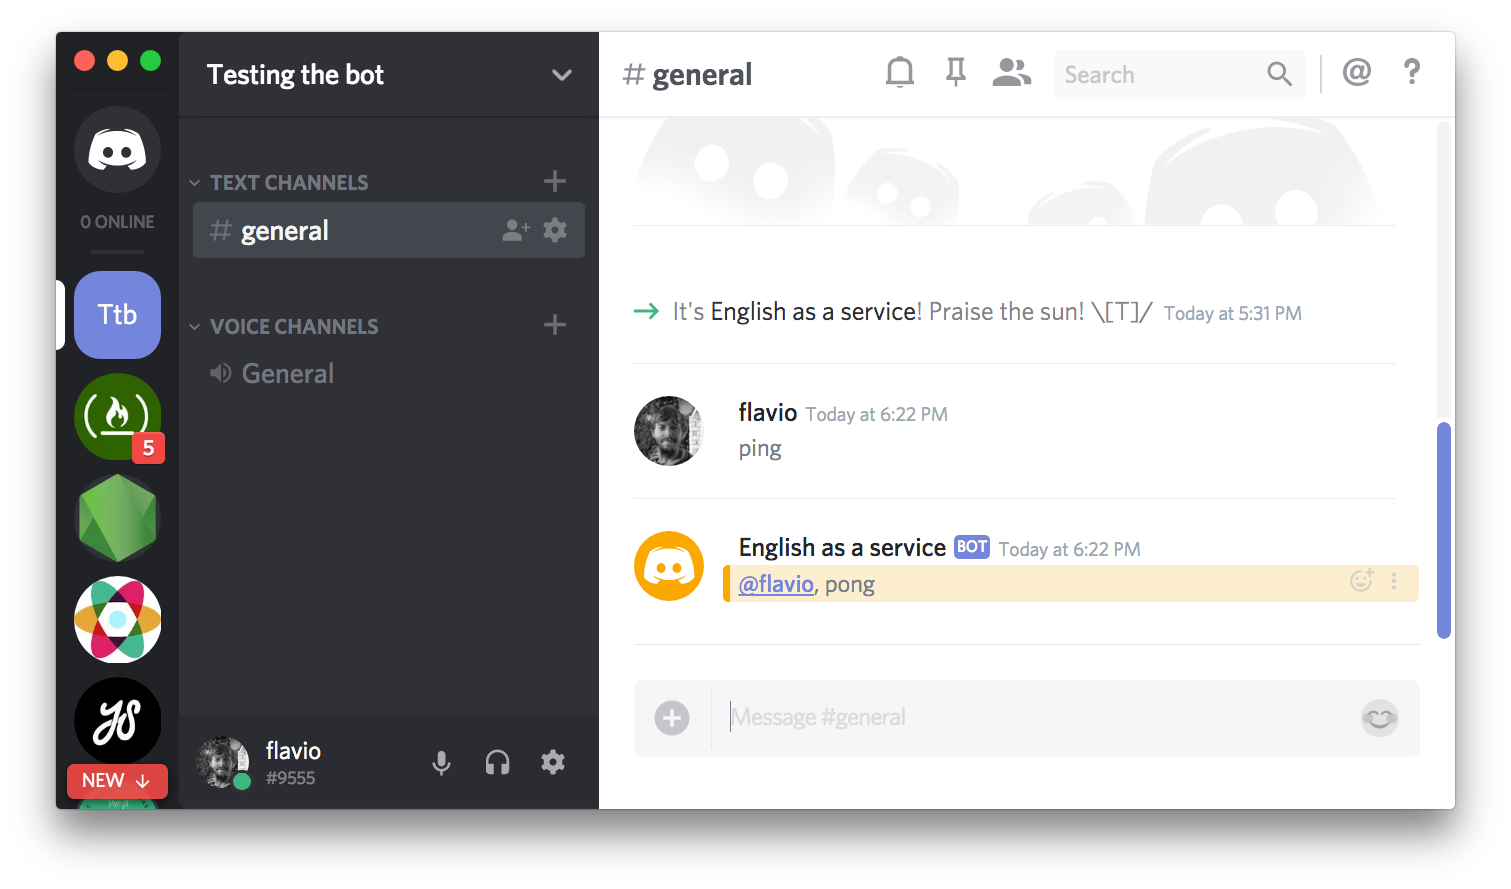
const Discord = require('discord.js')const client = new Discord.Client()client.login(process.env.BOT_TOKEN)and we create the simplest bot that we can possibly make. Every time a user says “ping”, the bot responds with “pong”:
const Discord = require('discord.js')const client = new Discord.Client()client.on('message', msg => { if (msg.content === 'ping') { msg.reply('pong') }})client.login(process.env.BOT_TOKEN)
We can now focus on what the bot must actually do.
It will listen for every message, ask for the translation to a service that provides them (we’ll use the Yandex Translations API) and if the answer is different from the words entered it means the original language was not English, and we can write the answer back.
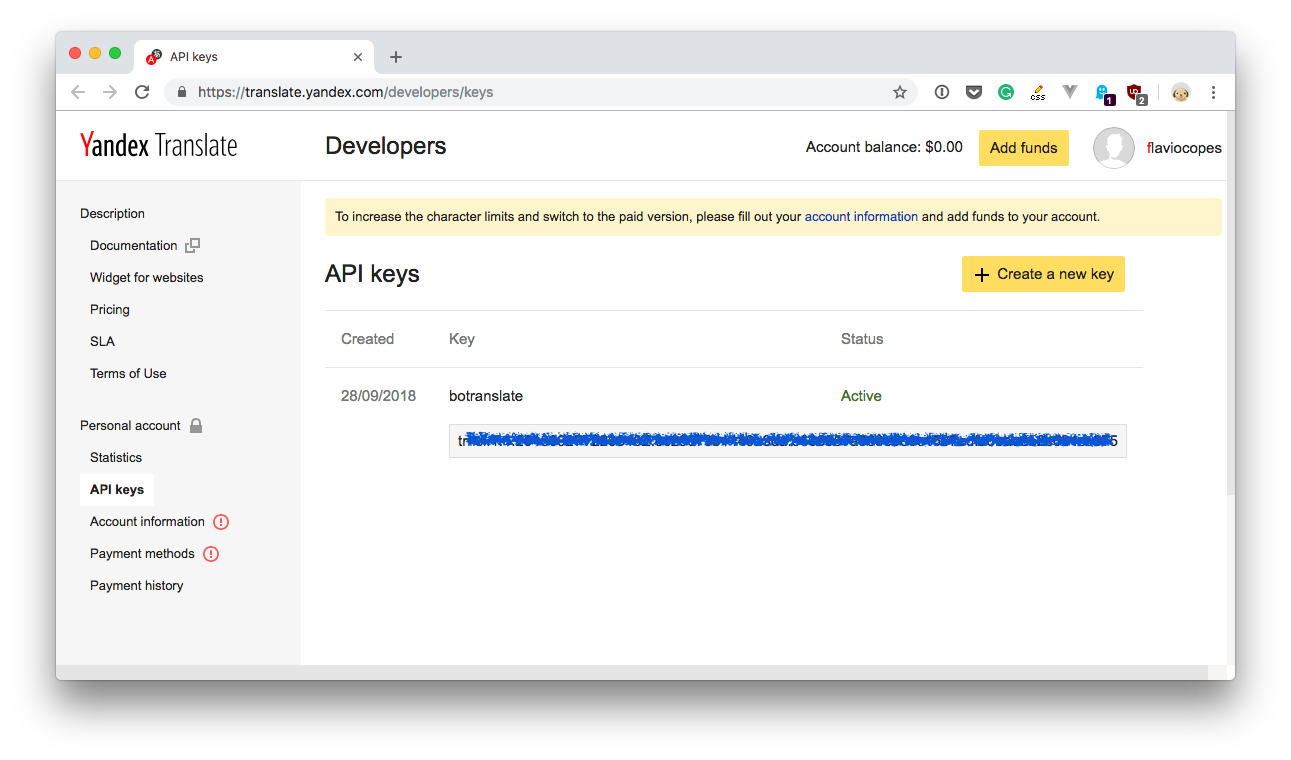
Go to https://tech.yandex.com/translate/. If you don’t have a Yandex account, create one for free.
Then create an API key from the interface:

According to the Terms of Use for the Yandex.Translate service, the text “Powered by Yandex.Translate” must be shown above or below the translation result, with a clickable link to the page http://translate.yandex.com/. As this is just a private sample application, I won’t do it, but be aware of this.
Now, store this API key in the .env file as YANDEX_API_KEY.
https://translate.yandex.net/api/v1.5/tr.json/translate ?key=<API key> &text=<text to translate> &lang=<translation direction>The lang in the query parameter can take the form <from>-<to> or just <to>(in this case “from” will be guessed from the message). For example en or it-en.
In our case, we’ll just guess the origin language, and we’ll use en as this parameter value.
Using Axios (in Glitch, search for axios in the package.json “Add package”) we’ll perform a network request to the Yandex Translate API.
We pass in the params object, and we listen for the promise to complete in the then() callback:
const axios = require('axios')//...client.on('message', msg => { axios.get('https://translate.yandex.net/api/v1.5/tr.json/translate', { params: { key: process.env.YANDEX_API_KEY, text: msg.content, lang: 'en' } }).then(res => { if (res.data.text[0] !== msg.content) { msg.reply(res.data.text[0]) } })})What are we doing here? First, we listen for messages from the chat, as we did before with ping/pong.
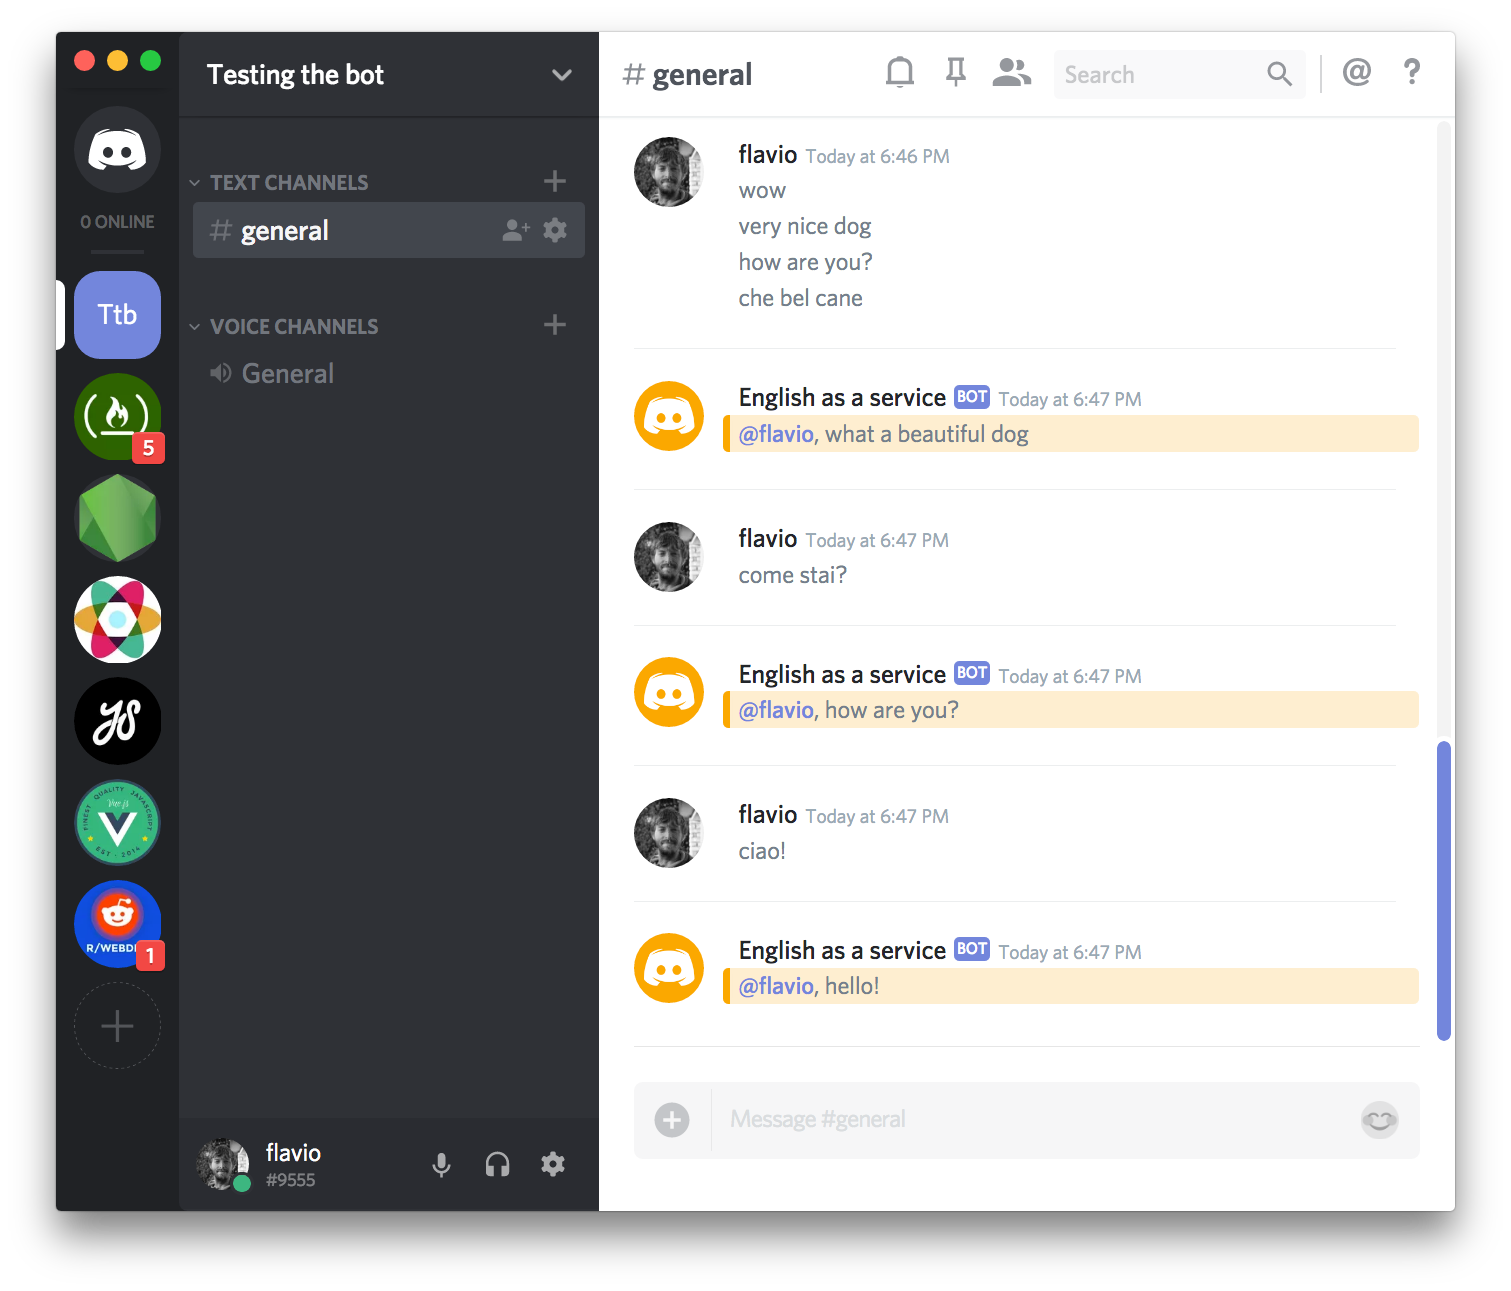
This time, however, we pass all messages through the Yandex Translate API, asking to translate to English if we get back a string different than the one we sent, it means the original language was not English, and we reply to the person with the translation (in this way the translation is linked to the original message).
Here’s an example of the bot in action:

So, to wrap up, we created a Discord bot and used the Yandex Translate API to provide a translation service for our Discord server. Our bot was developed on Glitch, and it’s automatically deployed there for free.
I hope this little introduction to Discord bots will help you create yours!