
My journey into fractals
My journey into fractals
Hi, I’m Greg, and for the last two years, I’ve been developing a 3d fractal exploration game, which started as just a “what if” experiment.
I would describe myself as technical artist, meaning, I am bad at both arting and coding. I had some experience with shader programming, and love unusual and experimental technological and artistic decisions.
One day I looked at 3d-fractals at shadertoy, and decided to write my own fractal renderer, but in a game engine. Because it is more convenient in a long run than shadertoy, and how cool would it be to have fractals in a game engine? Since 2014 I used Urho3d game engine for my home projects. It’s an open source engine with deferred shading render path (among a couple of others). It might not be as cool anymore as in 2010, but I still love deferred shading, and it will allow me to light my fractal with 100s of lights. Also it has easy to setup HDR auto-exposure, bloom and shaders written in plain hlsl or glsl (I use OpenGl). It’s sure going to be a fun little weekend project!

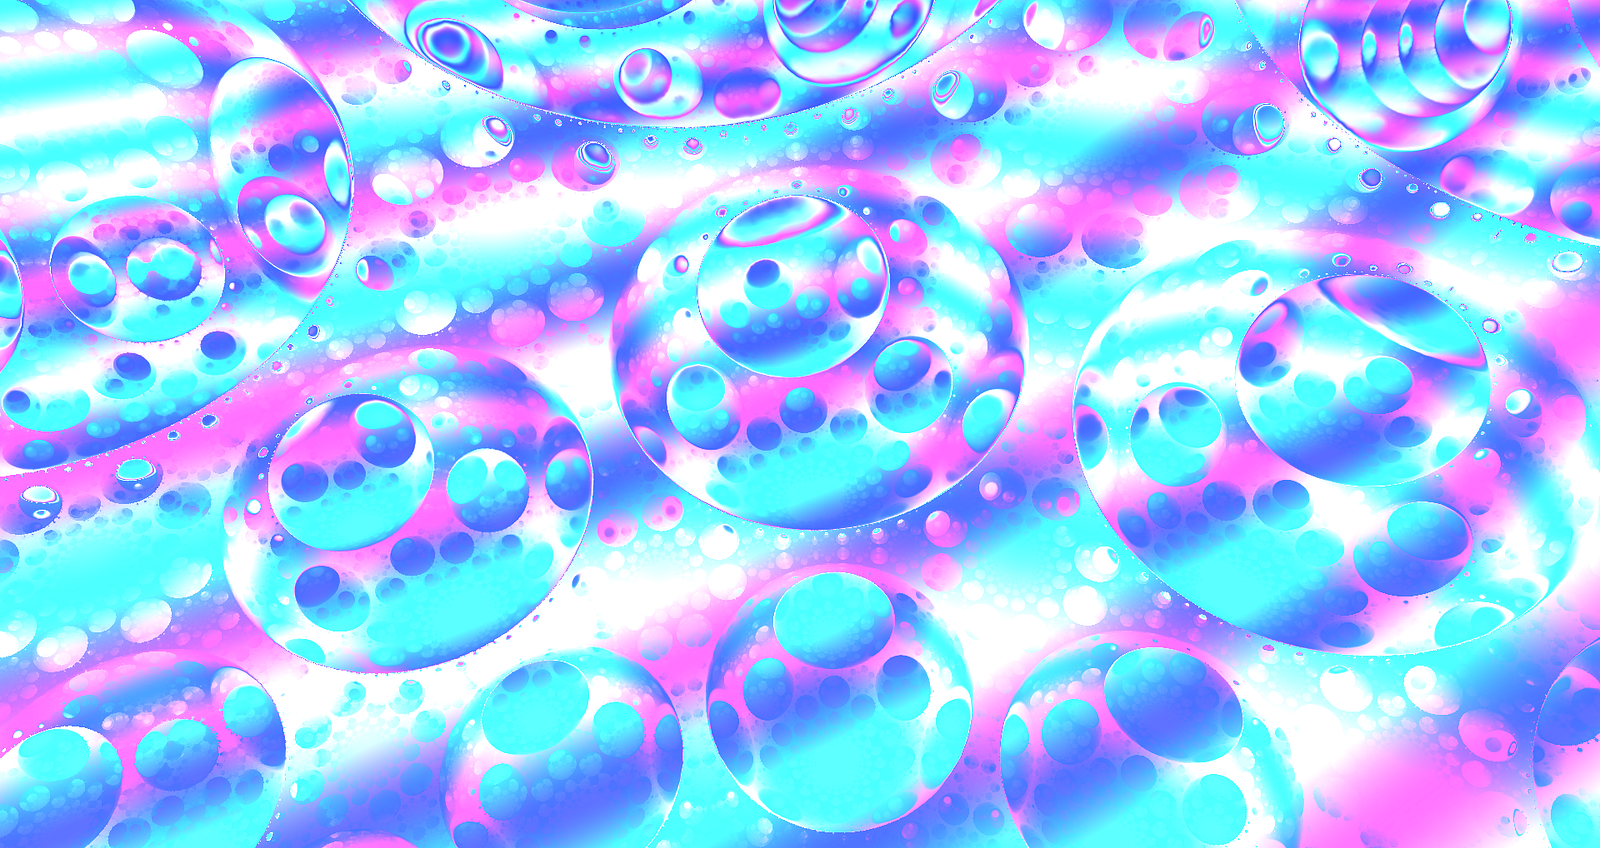


When I introduced lighting it was super noisy due to an infinite number of super tiny details, the aliasing on normals was intense. I can’t have MSAA with deferred, but luckily there are a couple of tricks in raymarching, to make sure you are not resolving details smaller than pixel size which helps a lot. Picture below is much smoother now.

I had several ideas on how to optimize fractal raymarching. It seemed wasteful to me, that there is a ray for each pixel, and neighboring rays basically trace the same path. The obvious solution would be to somehow combine their efforts into fewer rays and diverge them only for a last bit of their travel. My first idea was to draw a grid of quads on screen, march space in a vertex shader, then finish the job in a pixel shader. It was a stupid idea, I quickly realized it’s much easier to setup lower resolution depth-buffers, than fiddle with polygonal grid, I just need to edit renderpath.xml, no coding.


So I marched thick rays in lower resolution, then read result and continued the ray path in higher resolution.

I was sure this method is too obvious to be invented by me, but I never knew the right word to google. Only 1.5 years later I found, that this technique is called cone marching (referring to the fact that rays are getting thicker over distance). And described in 2012 paper by demo group Fulcrum.
This paper is still a great and very detailed description of this tech, especially the last part, when they talk about ways to squeeze some more performance and detail by making trade offs. There are lots of ways to cut corners and really just comes down to “what artifacts you find tolerable”.
I ended up using four low res passes: 1/64, 1/32, 1/8, 1/2, and finally full-res, which only makes 15 ray steps maximum. On my GTX 960 it runs on 40–60 fps at 1080p. The bottleneck is of course pixel shader instructions for fractal rendering, and overdraw and G-buffer bandwidth for deferred shading meaning it scales pretty badly with increased resolution. The opposite is also true, at lower resolutions 720p or 540p you can run it on pretty old discrete GPUs.
There is still a lot of stuff to improve and try. I’m sure my setup is far from perfect, even though I was revisiting and refining it several times. What surprised me the most, is how much you can achieve by randomly swapping stuff around, adding “magic numbers”, just trying and observing results, instead of figuring out the most mathematically correct and academically valid method.
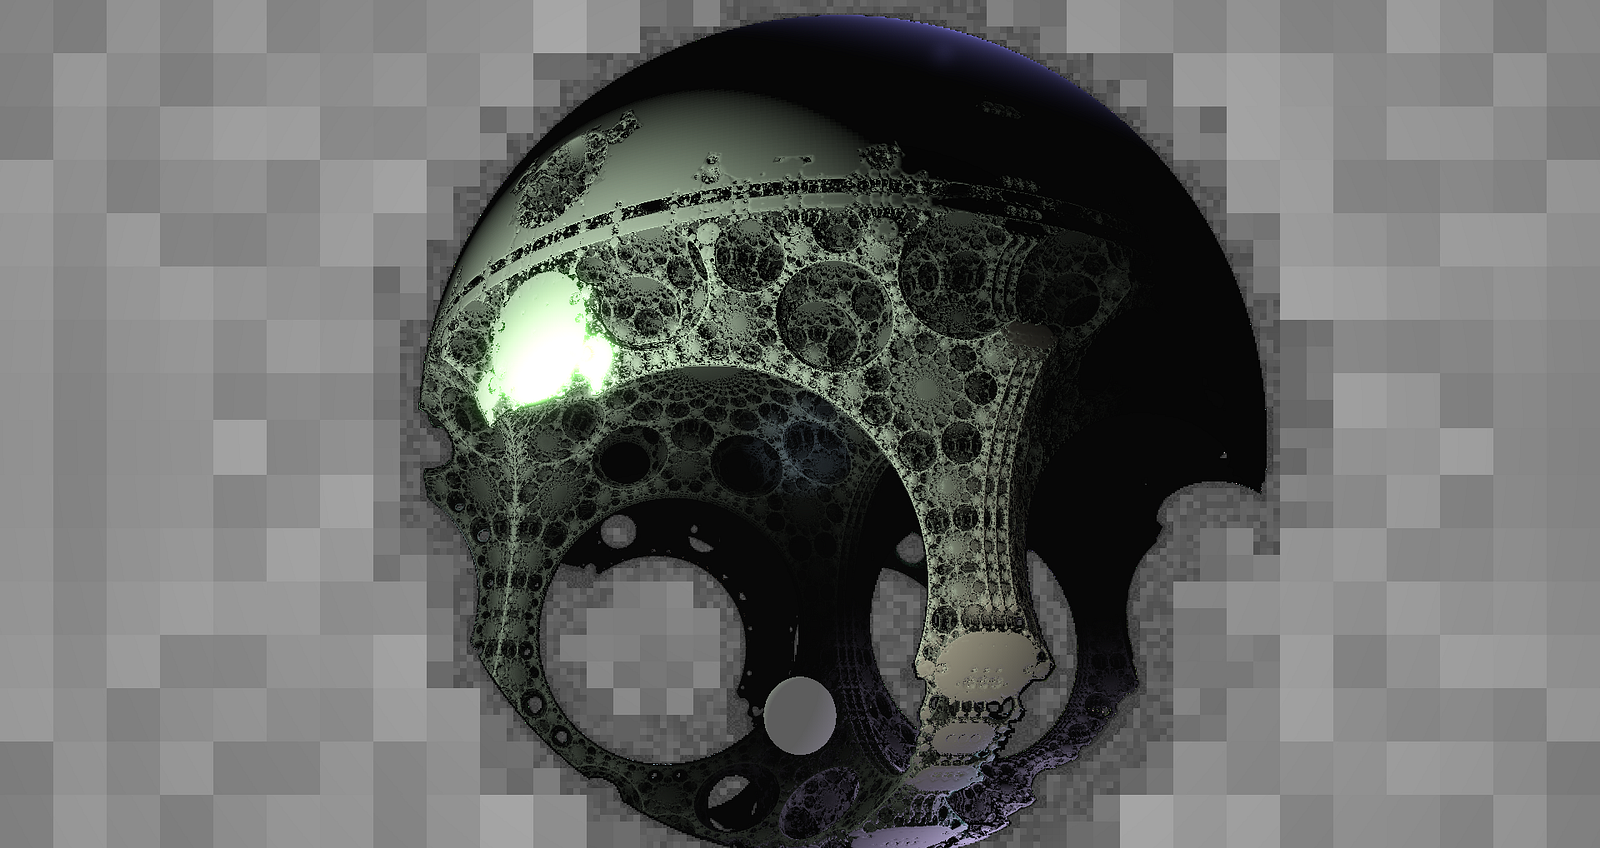
Here is how everything looked after three weeks: