Angular Router Series: Secondary Outlets Primer
In this short article, we’re going to explore secondary outlets (sometimes called named router outlets), and see the role they play in routing. By the end of this article, you will understand:
- how to define secondary outlets
- why secondary outlets are used
- the effect that they have on the structure of a URL
- how they are routed and activated
Creating Secondary Outlets
As discussed here, the router will render the components it has navigated to by using a router outlet directive. Unless specified, the default outlet is used:
<router-outlet></router-outlet><ng-component>Routed components go here</ng-component>
Technically, the router will place the routed components just after the router-outlet, within an <ng-component> element. This happens automatically, so you don’t actually type the <ng-component> element. You’d simply place a <router-outlet></router-outlet> in your template, and the router takes care of the rest.
Notice that the router-outlet directive has no name attribute. Internally, this default outlet is known as the , and it is where all routed content will go.
However, it’s possible that you want multiple outlets for displaying different routable content in different parts of your application. For example, maybe you are building a social media site, and you’d like to be able to route to the main content for a user in one part of the screen (news feed, etc), and route to a chat widget in another part of the screen. Furthermore, you want routing to be independent between the main content, and the chat widget. The main content would use the primary router outlet, and a secondary outlet would be used for displaying the chat widget components.
<router-outlet name="sidebar"></router-outlet><ng-component>Chat components go here</ng-component>
Notice that we specified a name attribute on this router outlet directive. We also need to specify that name in the router configuration for the application:
We’ve specified an outlet property named sidebar in the route for chat. This tells the router to render the ChatComponent using the sidebar outlet, whenever it matches the chat url segment.
However, the router will need someway of differentiating between different outlets in the URL, so let’s see how secondary routes are encoded inside a URL.
Secondary Outlets and URLs
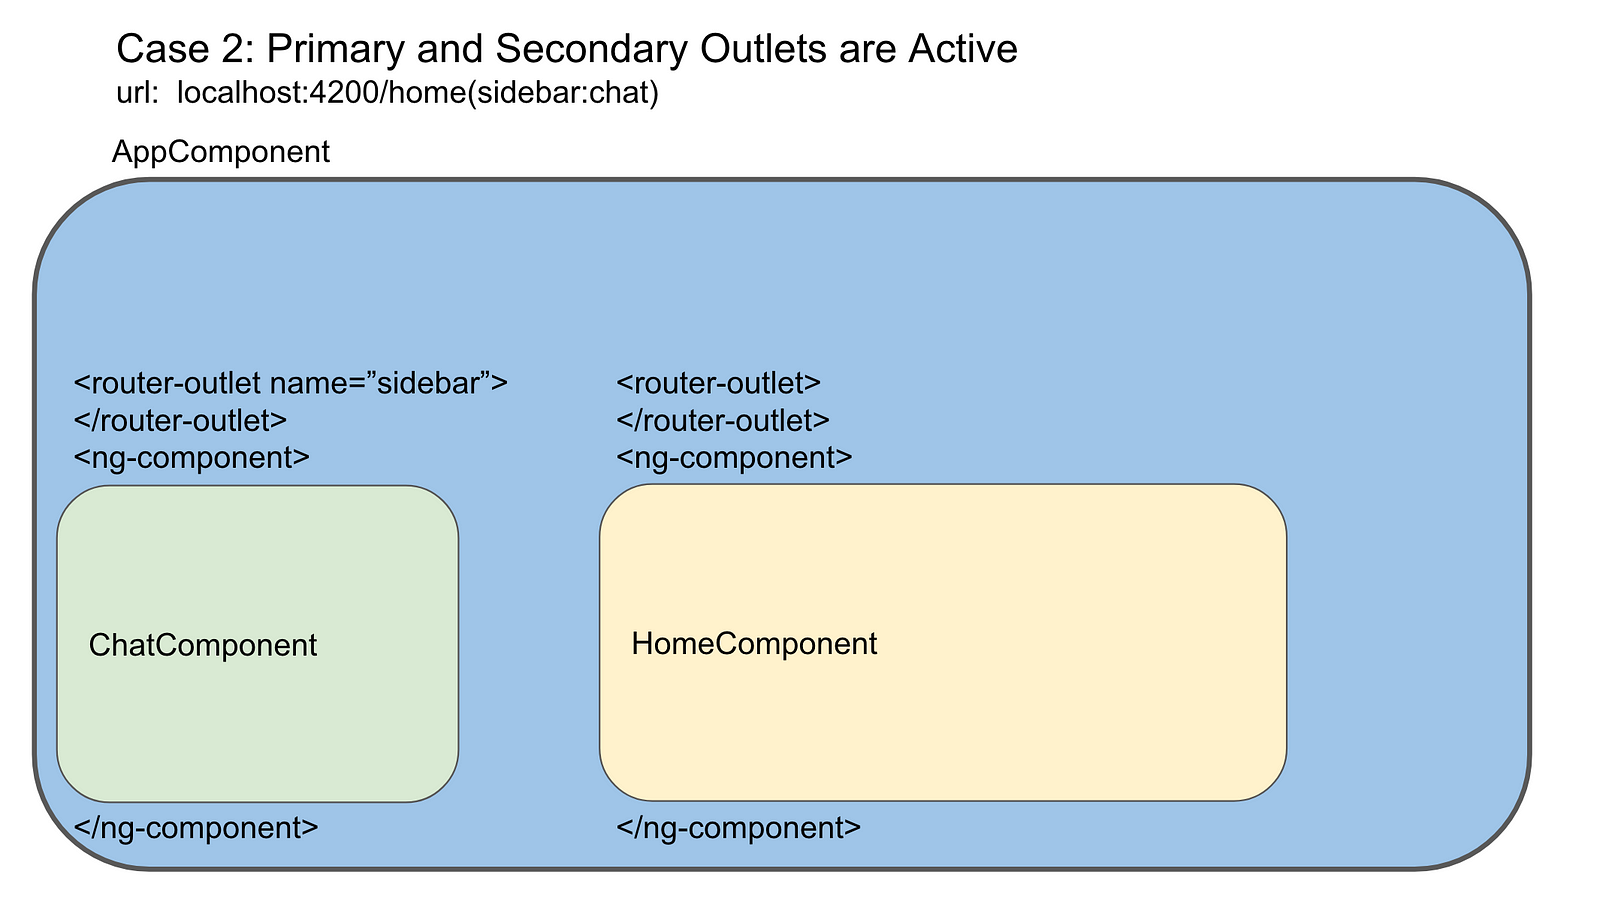
As we’ll see shortly, primary and secondary outlets are routed independently of each other, and can both be active at the same time. Secondary outlets are enclosed within parenthesis in a URL:
localhost:4200/home(sidebar:chat)
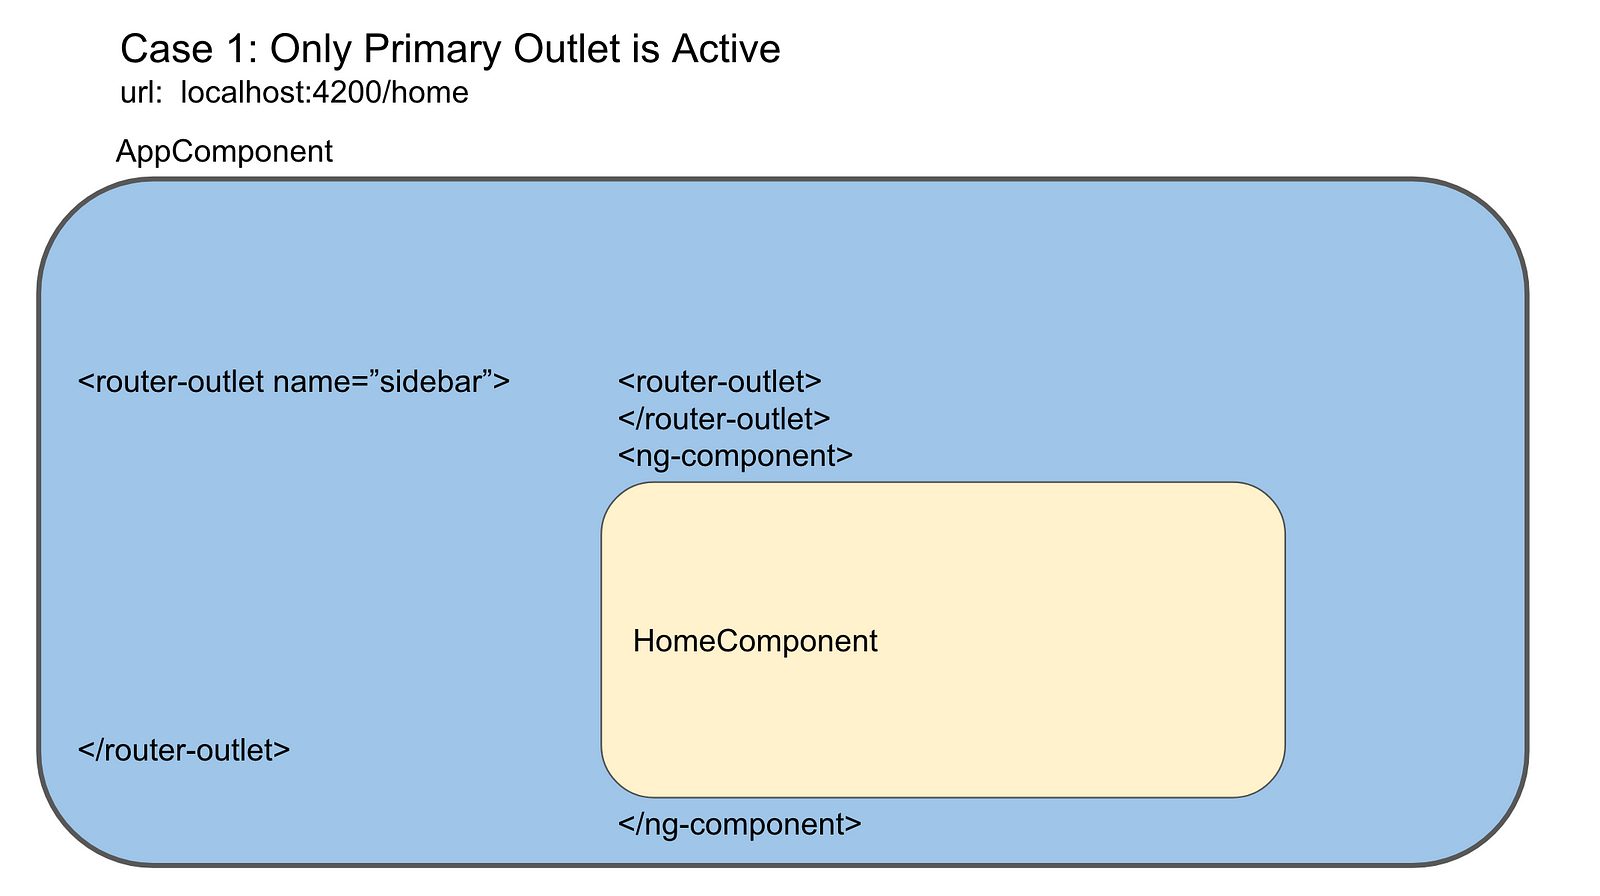
Consider the following diagrams, for our simple social application. In Case 1, only the primary outlet is activated with the URLlocalhost:4200/home. In Case 2, both outlets are activated with the URL localhost:4200/home(sidebar:chat)


If you’ve read the article on URLs and redirects, you may recall that outlets are represented as UrlSegmentGroups within a UrlTree. Outlets can occur at any level within a UrlTree, not just directly after the root.
Secondary Outlets, Routing, and ActivatedRoutes
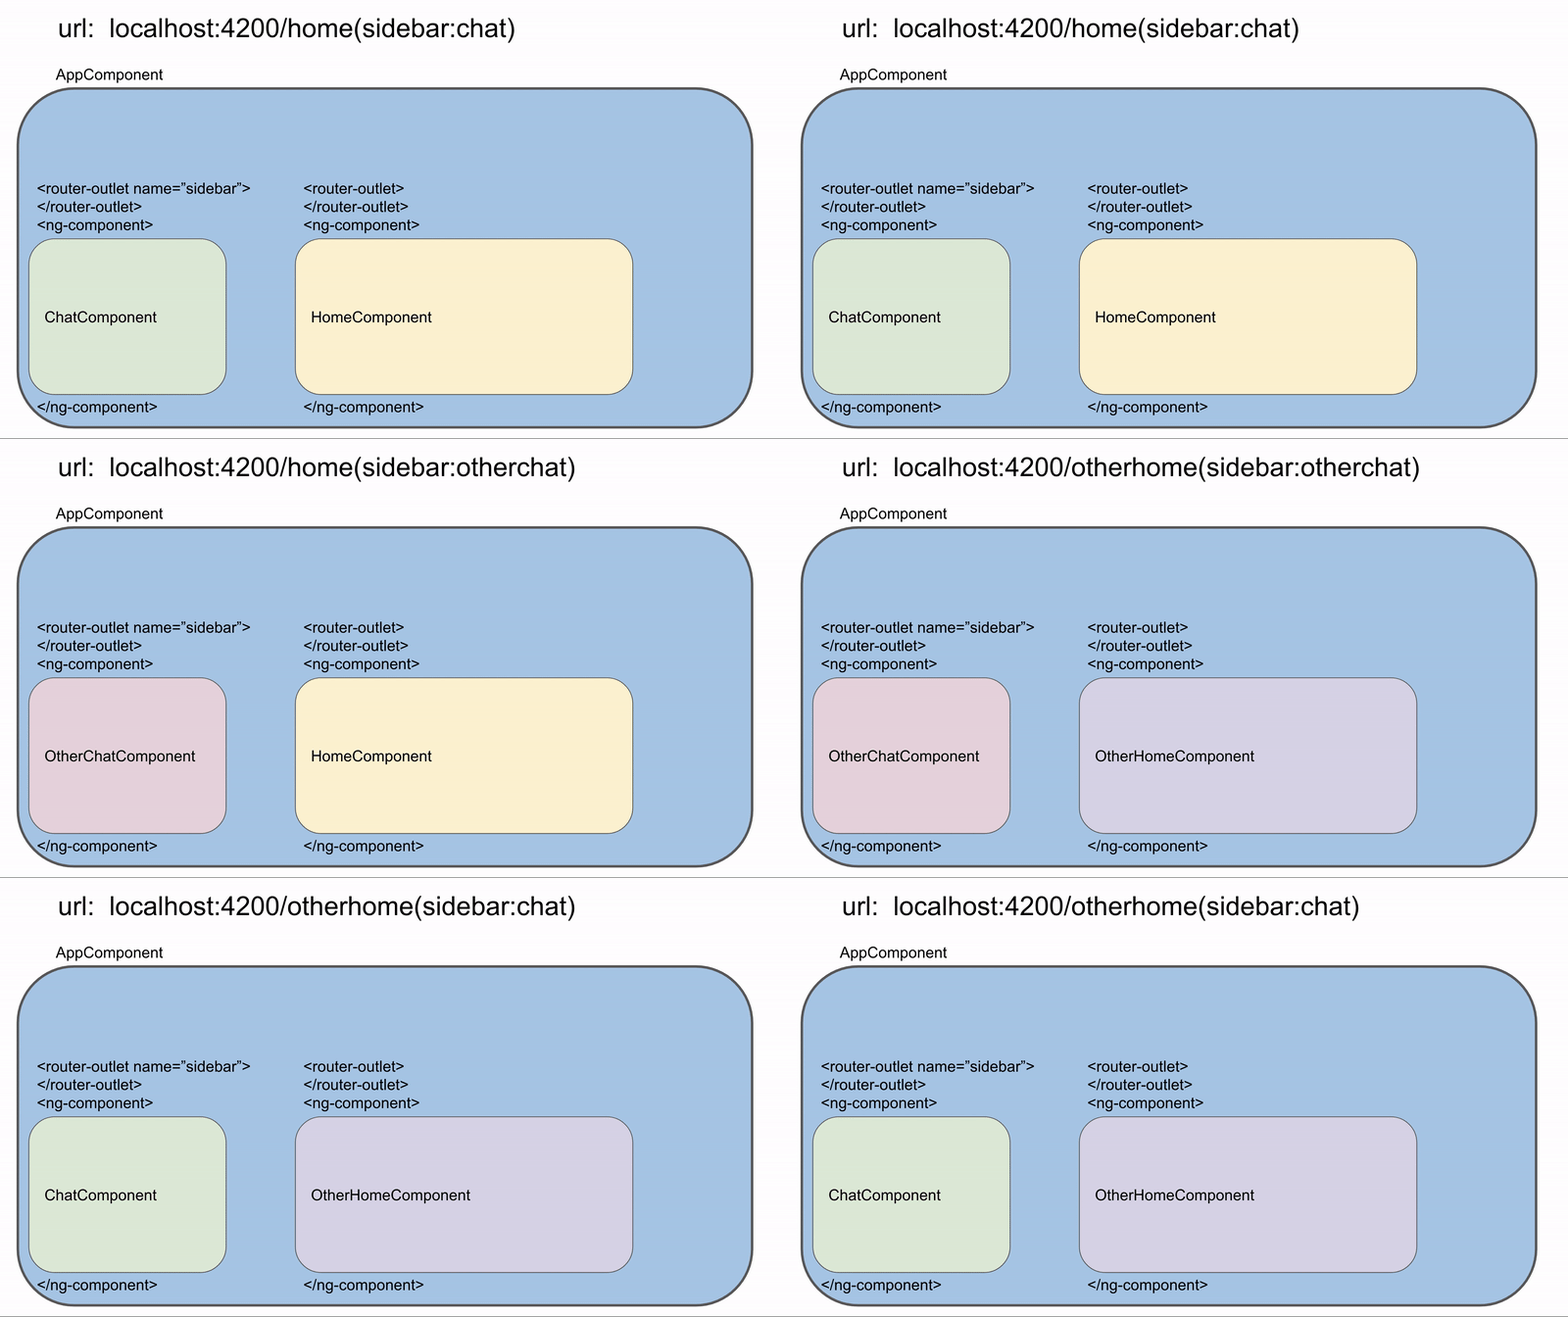
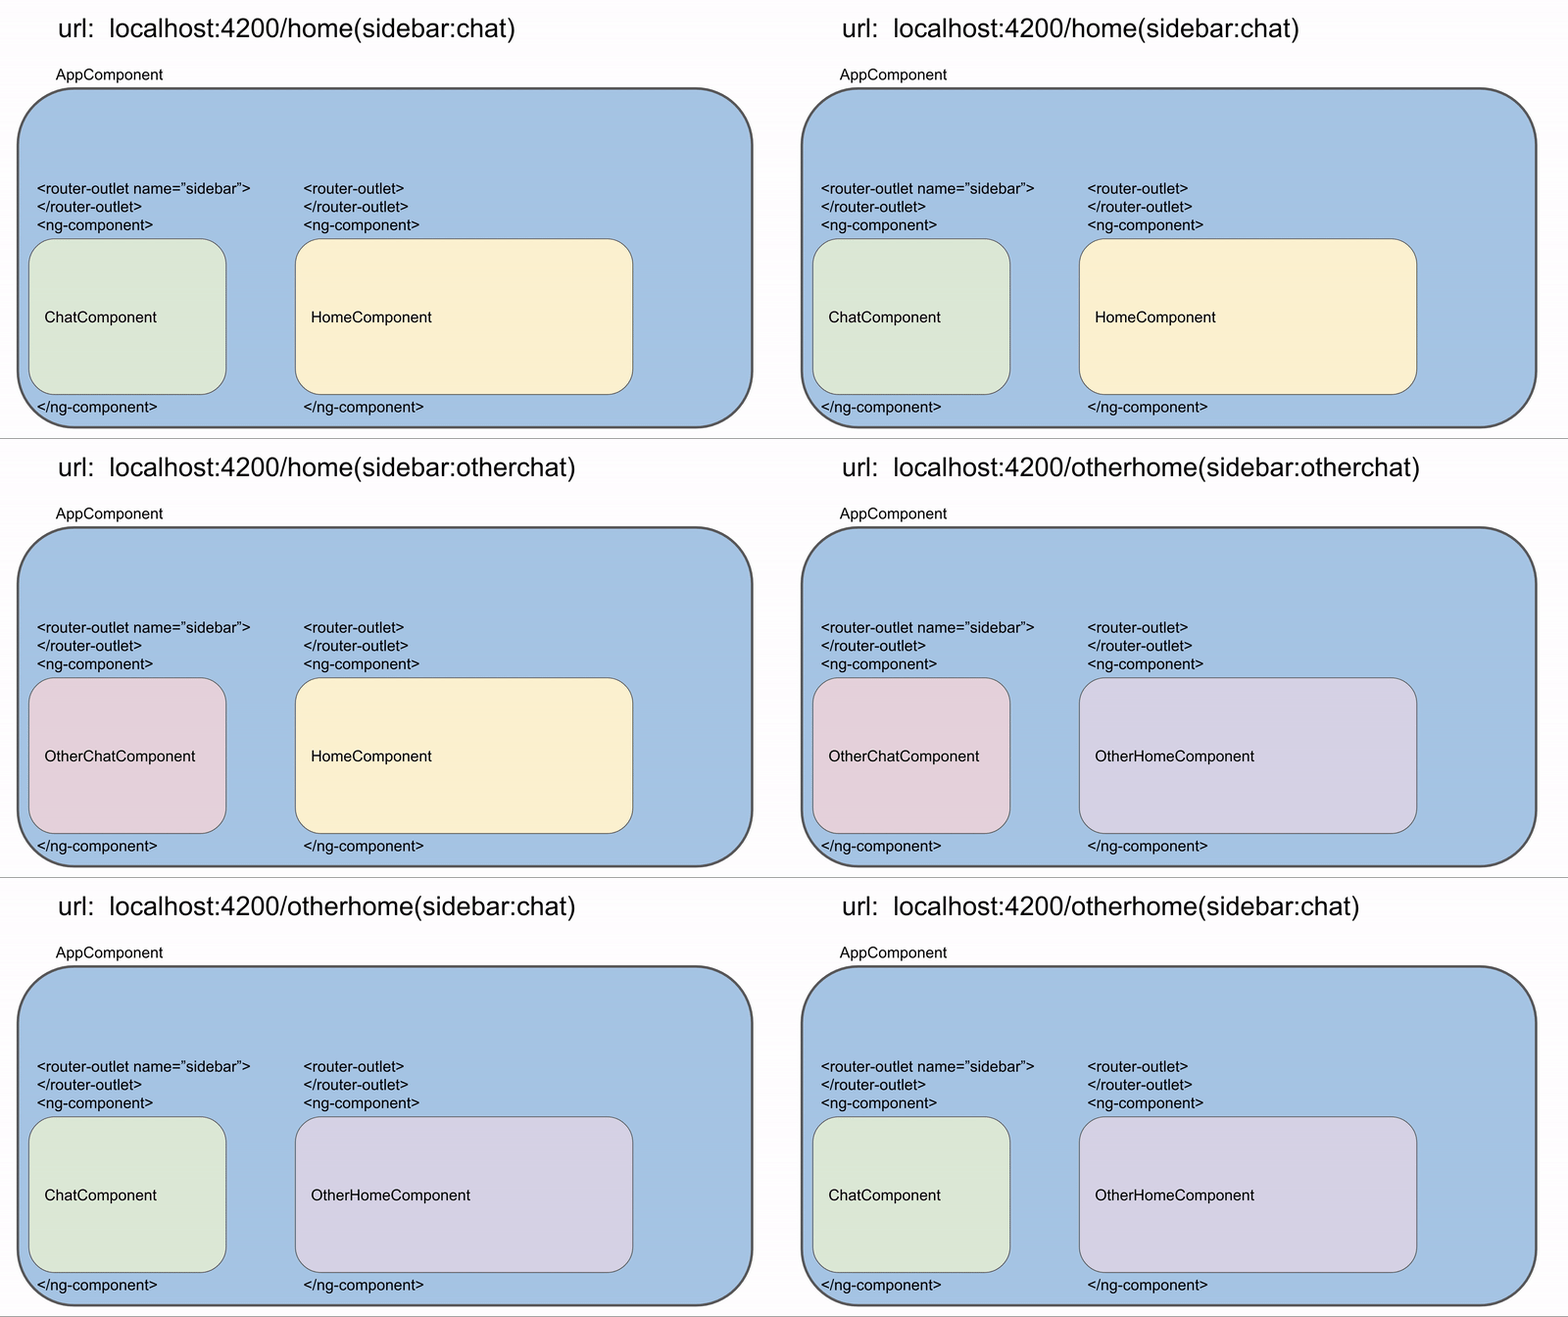
When the router is matching URL segments to paths in route configurations that we pass into RouterModule.forRoot(), it always keeps track of which outlet it is routing to by passing it along as a parameter.
As such, routing occurs independently between outlets, unless an absolute redirect is used.


This also means that there can be multiple ActivatedRoutes stored on the Router service at any given time, one for each outlet which is currently activated. You can see a simple example of secondary outlets and router states for the example configuration in this article at this stackblitz.
