style app in R using Shiny+Flexdashboard
Managing Human Intelligence Tasks
This workflow has served us well, but we quickly developed a backlog of messages that did not fall into one of our existing intents and therefore went unclassified. It was easy enough to identify new intent labels to close the gap, but we then had a “human intelligence task” on our hands, to use the language of Amazon’s
We considered a range of options, starting with MTurk. At first it seemed like an ideal solution: (Step 1) Create a project with discrete HITs; (Step 2) Amazon serves each message to multiple raters (“Workers”) who use a simple web interface to classify the message; (Step 3) Analyze the data for agreement between raters. Technically speaking, the MTurk platform would get the job done, but with a corpus of messages written in English, Swahili, and a mashup of the two, we came to the conclusion that it would be difficult (impossible?) to filter the pool of MTurk workers to find the right folks for the task.
At the other end of the difficulty spectrum, we also thought about just creating a spreadsheet with messages and a dropdown menu of intents. But what would be the fun in that? Besides, we had a better idea that would not be very hard to implement.
Our Desired Specifications
- Create a web app that would serve raters with one message at a time and ask them to classify the intent of the message.
- Stop serving specific messages once agreement is reached across 2 raters.
- Don’t serve repeat messages to raters.
Getting Started with Shiny+Flexdashboard
I’m going to show you how to use R Markdown and the package to create a simple shiny app to run a MTurk-style process.
I’m a diehard R user, lover of R Markdown, tidyverse convert, and general fan of RStudio. I had been looking for an excuse to develop my Shiny skills for creating interactive documents, and this seemed like perfect opportunity.
If you’re not familiar with Shiny, the developers describe it as:
…an open source R package that provides an elegant and powerful web framework for building web applications using R. Shiny helps you turn your analyses into interactive web applications without requiring HTML, CSS, or JavaScript knowledge.
They sure did get the marketing right for me: a data analyst who wants to build a web app, but can’t because he googles how to specify font colors each and every time he is forced to use HTML and CSS!
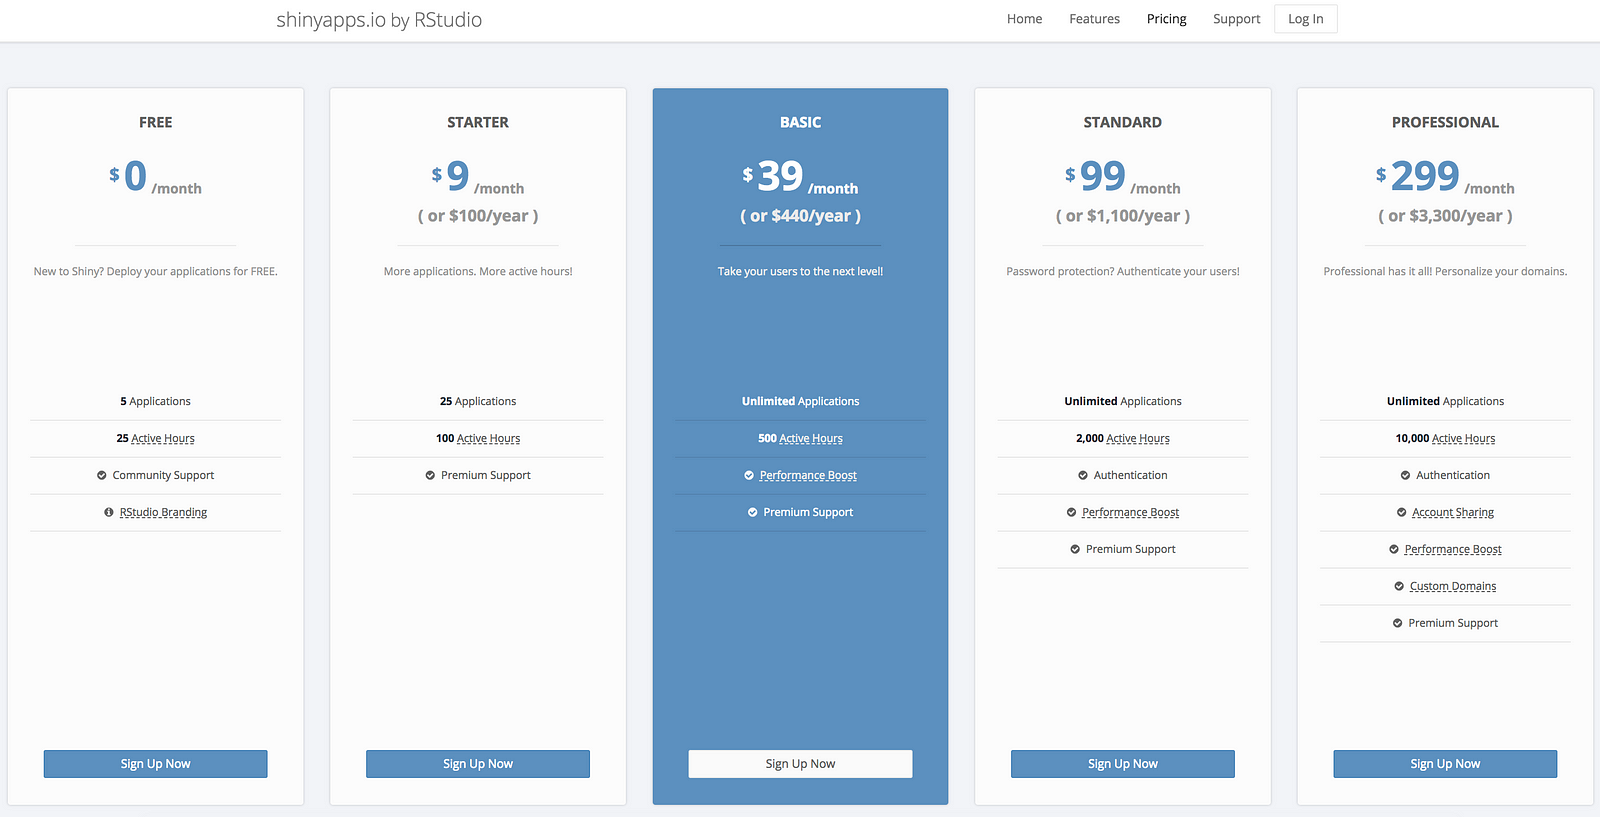
Step 1: Get a free account at shinyapps.io
Unlike static R Markdown outputs that can served by any web server, interactive documents with Shiny apps require a Shiny server. Right now there are three options: (a) host your own Shiny server; (b) host your own instance of RStudio Connect, a broader platform for sharing your data science products; or (c) put your app on shinyapps.io, a hosted service from RStudio. I’ll show you how to do Option C.


Step 2: Setup your local machine
If you don’t already have R installed, a shiny app is not the best first project, but go ahead and download R while you are here. Download the RStudio desktop IDE while you are at it.
You’ll also need to install a few packages:
install.packages(c("flexdashboard”, “shiny”, “rdrop2", “tidyverse", “shinyWidgets", “DT"))


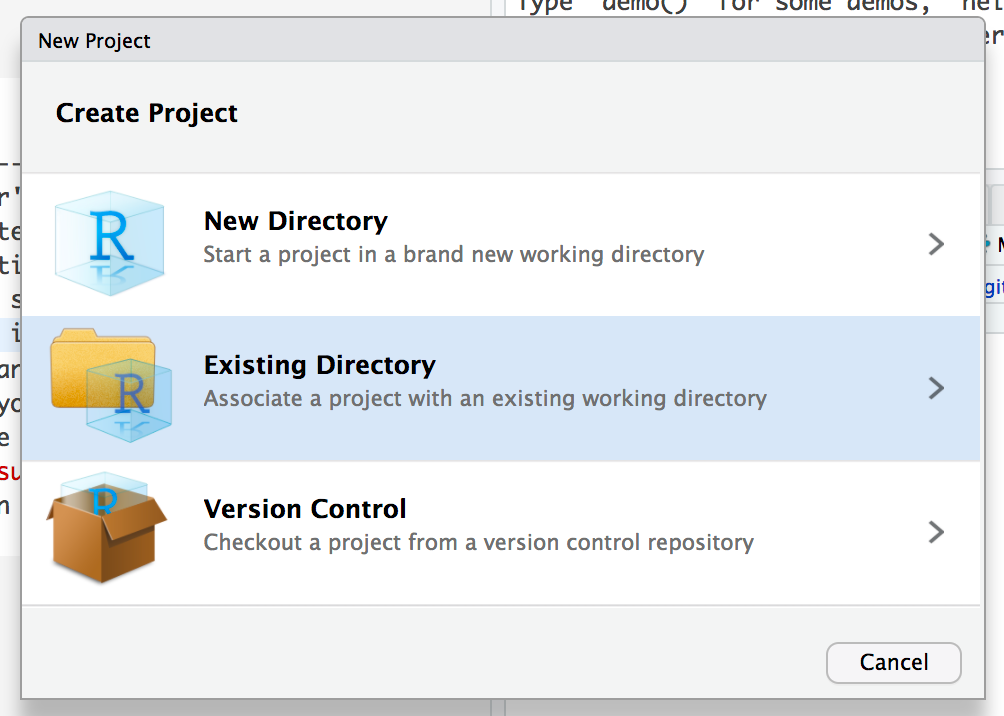
My preferred workflow is to create a git repo and create a new project in RStudio that maps to this directory on my local machine. Projects let you forget about working directories and have some other nice features.
Step 3: Setup persistent remote storage (required for Option C)
If you are not using a self-hosted option, you need to setup some form of remote data storage because, currently, shinyapps.io does not store data generated from one Application Instance to another. Dean Attali has a great guide for solving this problem.
I decided to use the package to connect my Shiny app to my Dropbox account. To authenticate with Dropbox, run the following commands once in the R console:
library(rdrop2)drop_auth()token <- drop_auth()saveRDS(token, file = “droptoken.rds”)
This generates a token that you will upload to shinyapps.io with your app. Remember, there are other approaches. See Dean’s summary. (Shoutout to Clayton Yochum for helping me get things running.)
On Dropbox, create a folder to store the results and copy over the master.csv and raters.csv file from my repo to this folder (leave copies in the local repo). Do this before going to the next step.
To run my example without any changes, create this folder in your top-level Dropbox directory and name it dash.
[Fair warning: Using Dropbox as the remote storage solution does create a race condition. It’s technically possible for one rater to overwrite another rater’s submission if both raters submit at the same exact moment. In our use case this is not a big threat, however.]
Step 4: Design your app and dashboard in a .Rmd file
I’ve done this step for you in the classify-example.Rmd file in my example repo. If you installed all of the required packages in Step 2, you should be able to open the document in RStudio, hit “Run Document”, and get the plain vanilla app to open.
