java-js知識庫之二——canvas繪製炫彩氣泡
阿新 • • 發佈:2018-12-30
現在使用canvas繪製氣泡,雖說很多人都已經實現過了,可能方法都大同小異,但自己寫和看別人寫完全是兩碼事,自己會寫的才是自己的,話不多說,直接上程式碼。
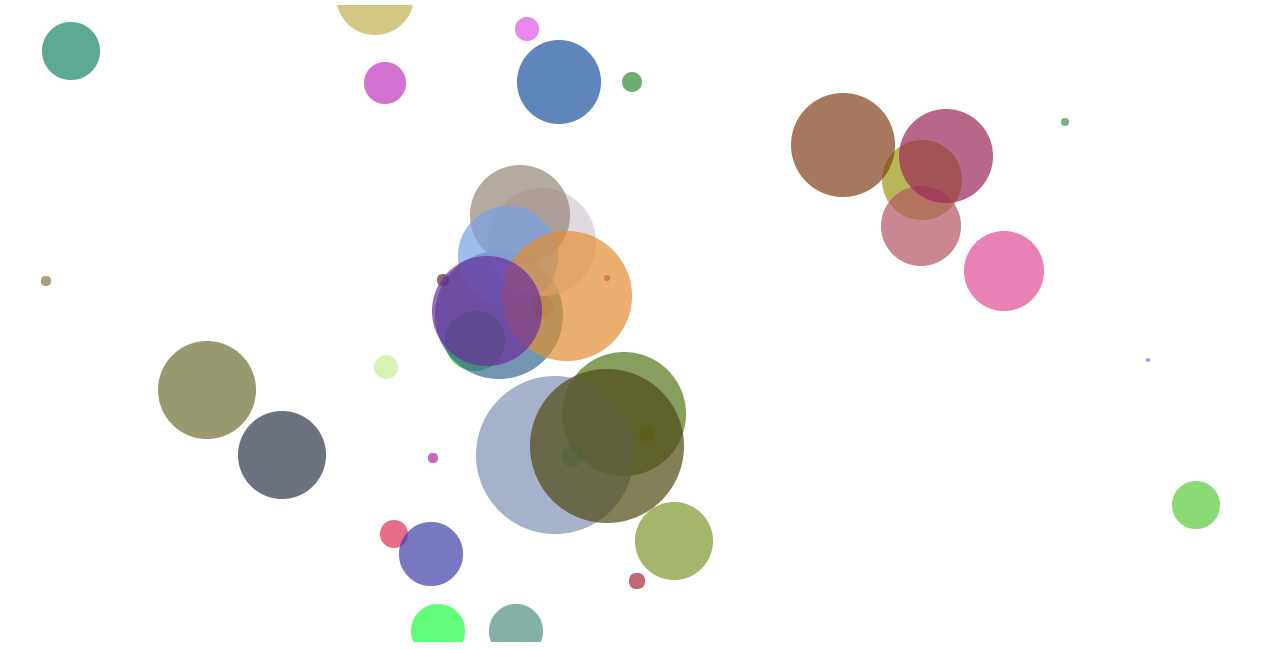
先來一張效果圖:

現在上程式碼,程式碼有詳細的註釋,簡單易懂:
<!--html只有一個canvas標籤--> <canvas id="canvas"></canvas>
//獲取canvas標籤 var canvas = document.getElementById("canvas"); //定義畫布的高和寬,定義為螢幕的高寬 canvas.width = document.documentElement.clientWidth-20; canvas.height = document.documentElement.clientHeight-20; //獲取2d畫布 var ctx = canvas.getContext("2d"); //定義存放氣泡的陣列 var bubbleArr = []; //定義氣泡的物件 function Bubble(x,y,r,dx,dy){this.x = x;//氣泡的x座標 this.y = y;//氣泡的y座標 this.r = r;//氣泡的半徑 this.dx = dx;//氣泡運動的x偏移量 this.dy = dy;//氣泡運動的y偏移量 bubbleArr.push(this);//將物件放入氣泡陣列 } Bubble.prototype.move = function(){ this.x += this.dx;//氣泡x偏移量 this.y += this.dy;//氣泡y偏移量 this.r--;//氣泡半徑減小 } Bubble.prototype.go = function(){ //氣泡的顏色,隨機生成 ctx.fillStyle = "rgba("+Math.floor(Math.random()*256)+","+Math.floor(Math.random()*256)+","+Math.floor(Math.random()*256)+",0.7)";//開始畫氣泡 ctx.beginPath(); //畫圓 引數依次為:圓心x座標、圓心y座標、半徑、弧度開始位置、弧度結束位置、是否順時針 ctx.arc(this.x,this.y,this.r,0,2*Math.PI,true); //填充 ctx.fill(); } //定義滑鼠移動事件 document.onmousemove = function(ev){ //獲取當前的dom,相容ie var e = ev || window.event; //例項化物件,半徑在100以內隨機生成,偏移量在-20~20之間隨機生成 new Bubble(e.clientX,e.clientY,Math.floor(Math.random()*100),Math.floor(Math.random()*20)-Math.floor(Math.random()*20),Math.floor(Math.random()*20)-Math.floor(Math.random()*20)); }
//定時器,一秒執行50次,每次都會改變氣泡的半徑和偏移量 setInterval(function(){ //現將畫布清屏 ctx.clearRect(0,0,canvas.width,canvas.height); //迴圈氣泡陣列,存在並且半徑大於0,則生成氣泡 for(var i = 0;i < bubbleArr.length;i++){ bubbleArr[i].move(); if(bubbleArr[i].r<0){
//半徑小於0,將物件從陣列清除 bubbleArr.splice(i,1); }else{ bubbleArr[i].go(); } } },20);
相信都能看得懂,程式碼也可以複製到html裡直接執行,很簡單的邏輯,程式碼也簡單,如有興趣可點選下方連結看看效果,滑鼠在頁面移動即可。
canvas繪製炫彩氣泡展示連結:http://yktzs.top/canvas/bubble.html 。
如有錯誤,歡迎指正QQ:1505771465
