Android移動開發-使用URLConnection提交請求的實現
URL的openConnection()方法將返回一個URLConnection物件,該物件表示應用程式和URL之間的通訊連線。程式可以通過URLConnection例項向該URL傳送請求,讀取URL引用的資源。
通常建立一個和URL的連線,併發送請求、讀取此URL引用的資源需要如下幾個步驟:
Step1: 通過呼叫URL物件的openConnection()方法來建立URLConnection物件;
Step2:設定URLConnection的引數和普通請求屬性;
Step3:如果只是傳送GET方式的請求,那麼使用connect方法建立和遠端資源之間的實際連線即可;如果需要傳送POST方式的請求,則需要獲取URLConnection例項對應的輸出流來發送請求引數;
Step4:遠端資源變為可用,程式可以訪問遠端資源的頭欄位,或通過流入流讀取遠端資源的資料。下面的程式Demo示範瞭如何向Web站點發送GET請求、POST請求,並從Web站點取得響應。該程式中用到一個GET、POST請求的工具類,該類程式碼如下:
- GetPostUtil.java邏輯程式碼如下:
package com.fukaimei.getposttest;
import android.util.Log;
import java.io.BufferedReader;
import java.io.IOException;
import java.io.InputStreamReader;
import java.io.PrintWriter;
import 從上面的程式Demo可以看出,如果需要傳送GET請求,只要呼叫URLConnection的connect()方法去建立實際的連線即可。如果需要傳送POST請求,則需要獲取URLConnection的OutputStream,然後再向網路中輸出請求引數。
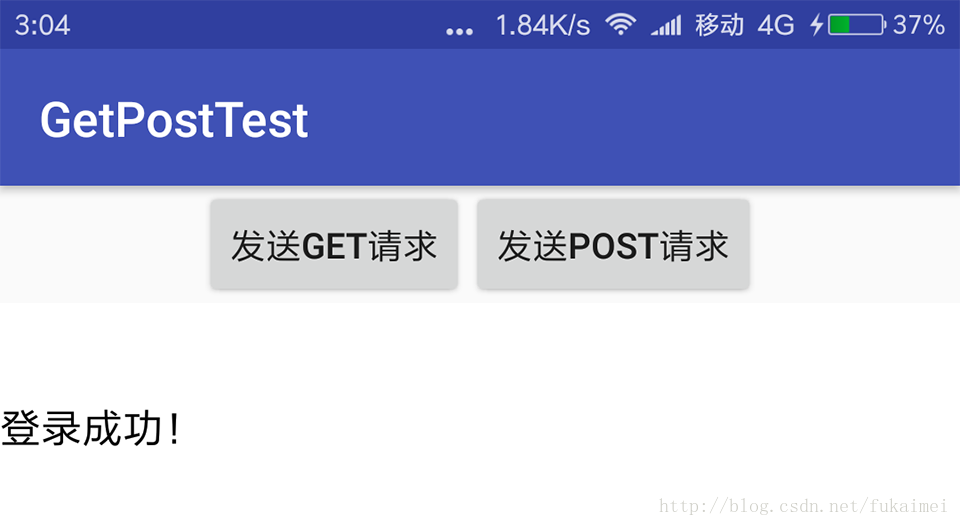
提供了上面傳送GET請求、POST請求的工具類之後,接下來就可以在Activity類中通過該工具類傳送請求了。該程式的介面中包含兩個按鈕,一個按鈕用於傳送GET請求,一個按鈕用於傳送POST請求。程式還提供了一個EditText來顯示伺服器的響應。
- layout/activity_main.xml介面佈局程式碼如下:
<?xml version="1.0" encoding="utf-8"?>
<LinearLayout xmlns:android="http://schemas.android.com/apk/res/android"
    android:layout_width="match_parent"
    android:layout_height="match_parent"
    android:orientation="vertical">

    <LinearLayout
        android:layout_width="match_parent"
        android:layout_height="wrap_content"
        android:gravity="center"
        android:orientation="horizontal">

        <Button
            android:id="@+id/get"
            android:layout_width="wrap_content"
            android:layout_height="wrap_content"
            android:text="傳送GET請求" />

        <Button
            android:id="@+id/post"
            android:layout_width="wrap_content"
            android:layout_height="wrap_content"
            android:text="傳送POST請求" />
    </LinearLayout>

    <TextView
        android:id="@+id/show"
        android:layout_width="match_parent"
        android:layout_height="match_parent"
        android:background="#ffff"
        android:gravity="top"
        android:textColor="#f000"
        android:textSize="16sp" />
</LinearLayout>- MainActivity.java邏輯程式碼如下:
package com.fukaimei.getposttest;

import android.os.Handler;
import android.os.Message;
import android.support.v7.app.AppCompatActivity;
import android.os.Bundle;
import android.view.View;
import android.widget.Button;
import android.widget.TextView;

public class MainActivity extends AppCompatActivity {

    Button get, post;
    TextView show;
    // 代表伺服器響應的字串
    String response;
    Handler handler = new Handler() {
        @Override
        public void handleMessage(Message msg) {
            if (msg.what == 0x123) {
                // 設定show控制元件伺服器響應
                show.setText(response);
            }
        }
    };

    @Override
    protected void onCreate(Bundle savedInstanceState) {
        super.onCreate(savedInstanceState);
        setContentView(R.layout.activity_main);
        get = (Button) findViewById(R.id.get);
        post = (Button) findViewById(R.id.post);
        show = (TextView) findViewById(R.id.show);
        get.setOnClickListener(new View.OnClickListener() {
            @Override
            public void onClick(View v) {
                new Thread() {
                    @Override
                    public void run() {
                        response = GetPostUtil.sendGet("https://www.mi.com/", null);
                        // 傳送訊息通知UI執行緒更新UI元件
                        handler.sendEmptyMessage(0x123);
                    }
                }.start();
            }
        });
        post.setOnClickListener(new View.OnClickListener() {
            @Override
            public void onClick(View v) {
                new Thread() {
                    @Override
                    public void run() {
                        response = GetPostUtil.sendPost("http://172.xx.xx.xxx:8080/fukaimei/login.jsp", "name=android&pass=123");
                    }
                }.start();
                // 傳送訊息通知UI執行緒更新UI元件
                handler.sendEmptyMessage(0x123);
            }
        });
    }
}
上面程式Demo中用於傳送GET請求、POST請求。從上面的程式碼可以發現,藉助於URLConnection類的幫助,應用程式可以非常方便地與指定站點交換資訊,包括髮送GET請求、POST請求,並獲取網站的響應等。
- 注意:由於該程式需要訪問網際網路,因此還需要在清單檔案AndroidManifest.xml檔案中授權訪問網際網路的許可權:
<!--  授權訪問網際網路-->
<uses-permission android:name="android.permission.INTERNET" />- Demo程式執行效果介面截圖如下: