微信介面顯示listview、Gridview
阿新 • • 發佈:2018-12-30
 首先是許可權
然後佈局
<android.support.v4.view.ViewPager
    android:id="@+id/pager"
    android:layout_width="match_parent"
    android:layout_height="0dp"
    android:layout_weight="1">

</android.support.v4.view.ViewPager>

<RadioGroup
    android:id="@+id/radiogroup"
    android:layout_width="match_parent"
    android:layout_height="wrap_content"
    android:orientation="horizontal">

    <RadioButton
        android:id="@+id/radioButton"
        android:layout_width="wrap_content"
        android:layout_height="wrap_content"
        android:layout_weight="1"
        android:button="@null"
        android:gravity="center"
        android:padding="8dp"
        android:text="list列表" />

    <RadioButton


        android:id="@+id/radioButton2"
        android:layout_width="wrap_content"
        android:layout_height="wrap_content"
        android:layout_weight="1"
        android:button="@null"
        android:gravity="center"
        android:padding="8dp"
        android:text="grid列表" />


</RadioGroup>
Item佈局
 android:layout_height="match_parent"
android:orientation="horizontal">
現在可以寫個點選變色
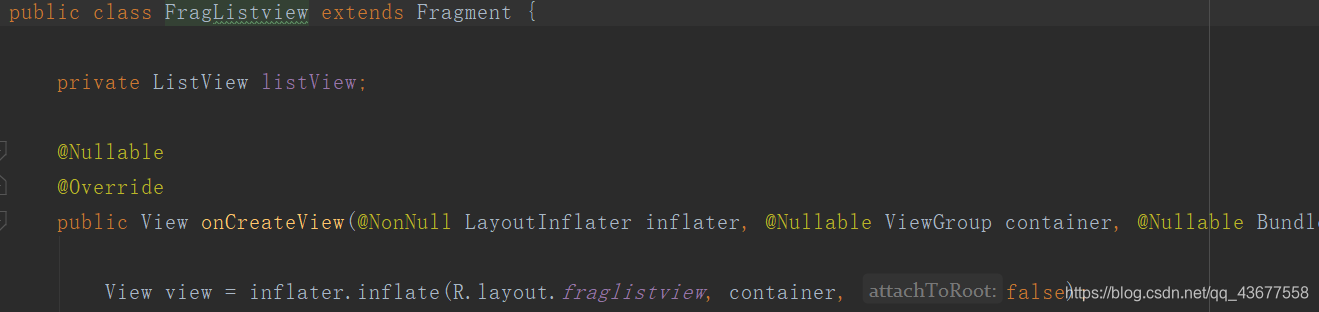
接著寫Fragment佈局
Java.class
尋找外掛 主介面新增 繼承FragmentActivity
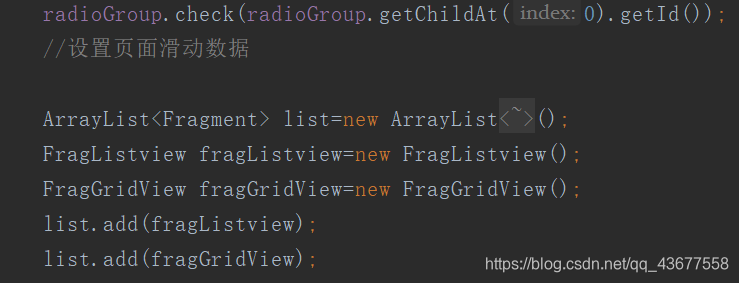
設定介面卡

MyFragmentAdapter裡

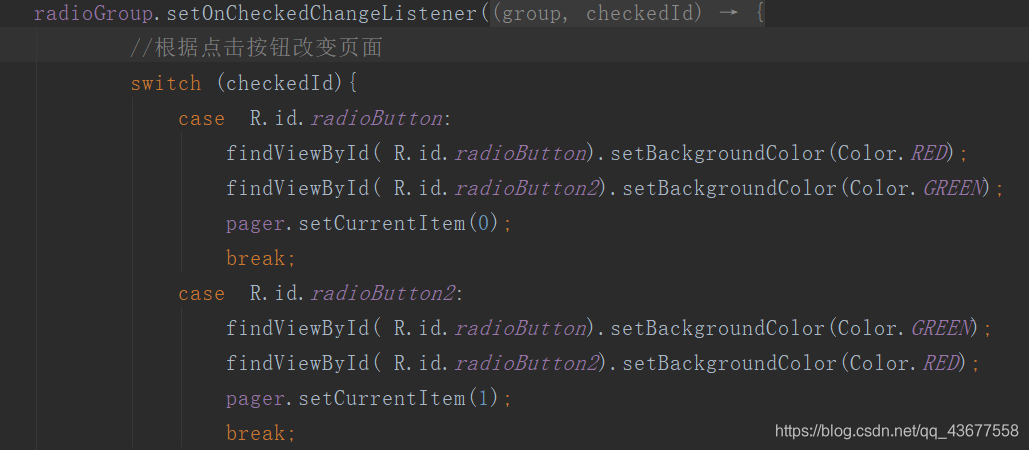
按鈕與頁面聯動
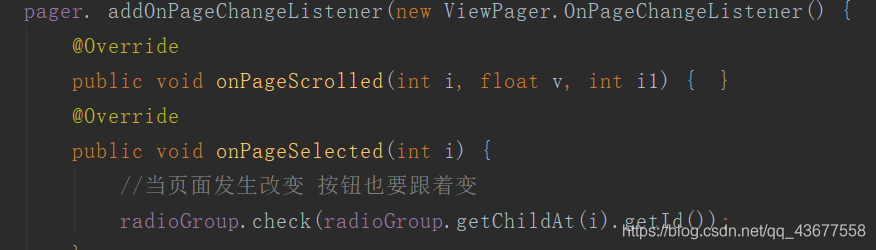
內含點選變色
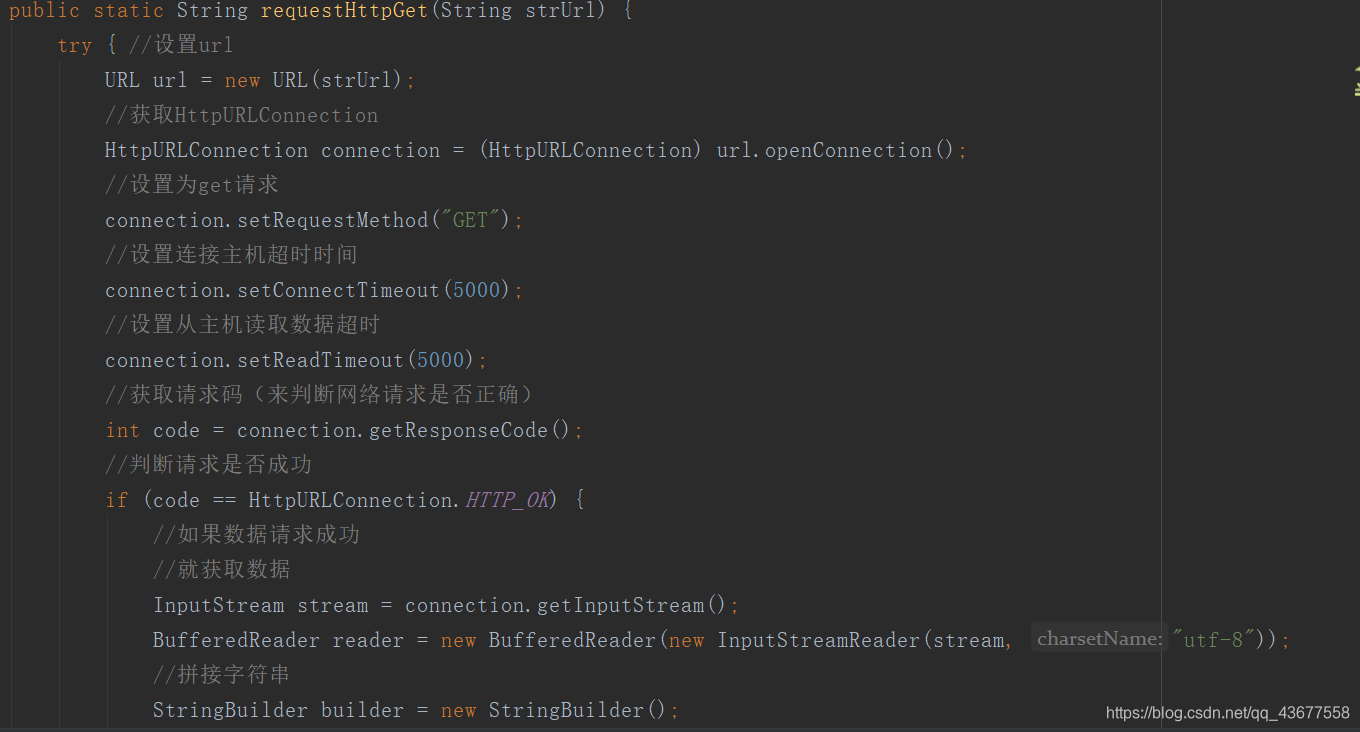
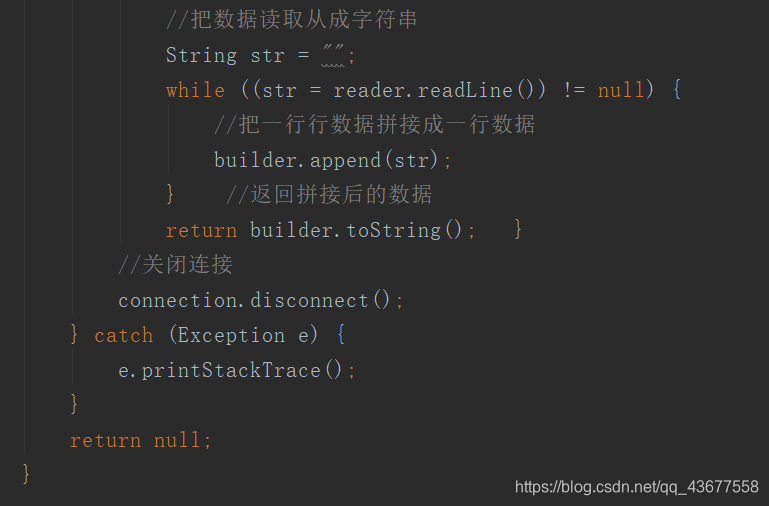
佈局完成 開始寫內部類Http
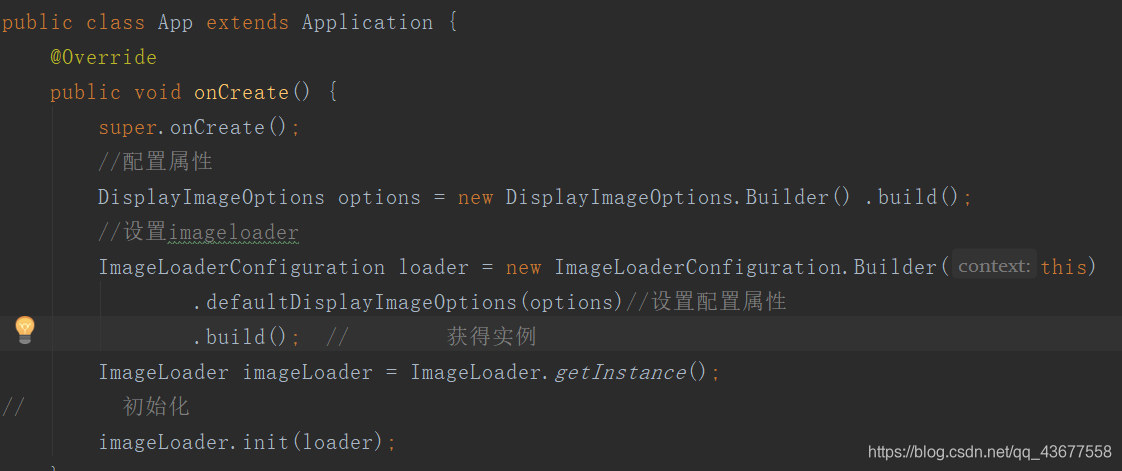
這時候就該寫資料的封裝(不要忘記導包 + gson+image-loder:1.9.5)
建App 看一下許可權裡是否存在
接著是第一個的頁面的完成
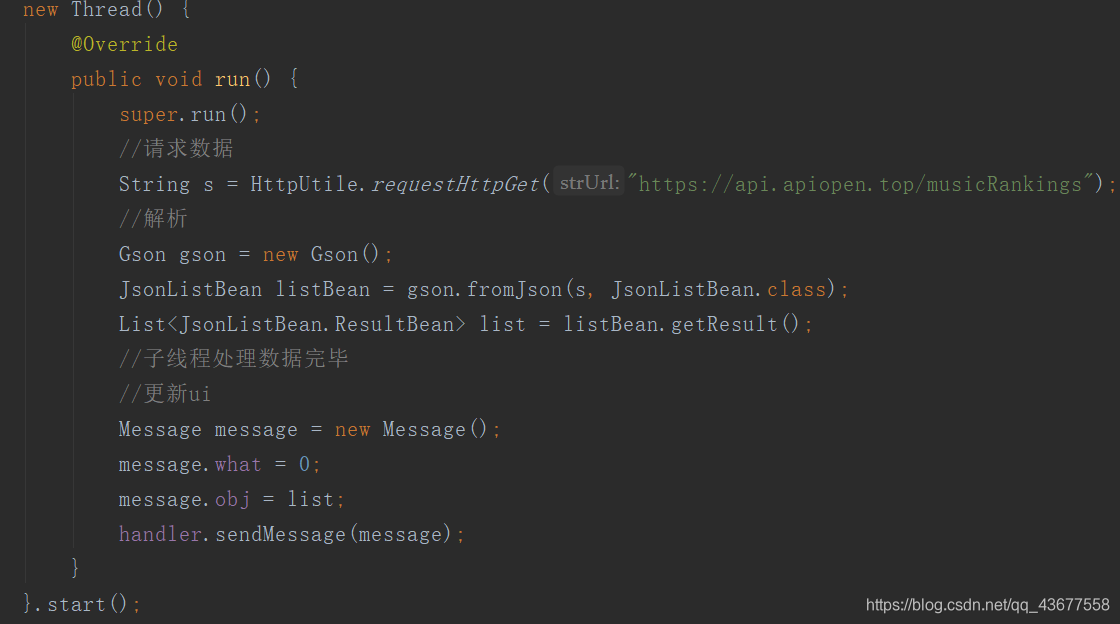
Handler handler = new Handler() {
@Override
public void handleMessage(Message msg) {
super.handleMessage(msg);
switch (msg.what) {
case 0:
List<JsonListBean.ResultBean> list = (List<JsonListBean.ResultBean>) msg.obj;
//展示到listview上
listView.setAdapter(new MyAdapter(list,getActivity()));
break;
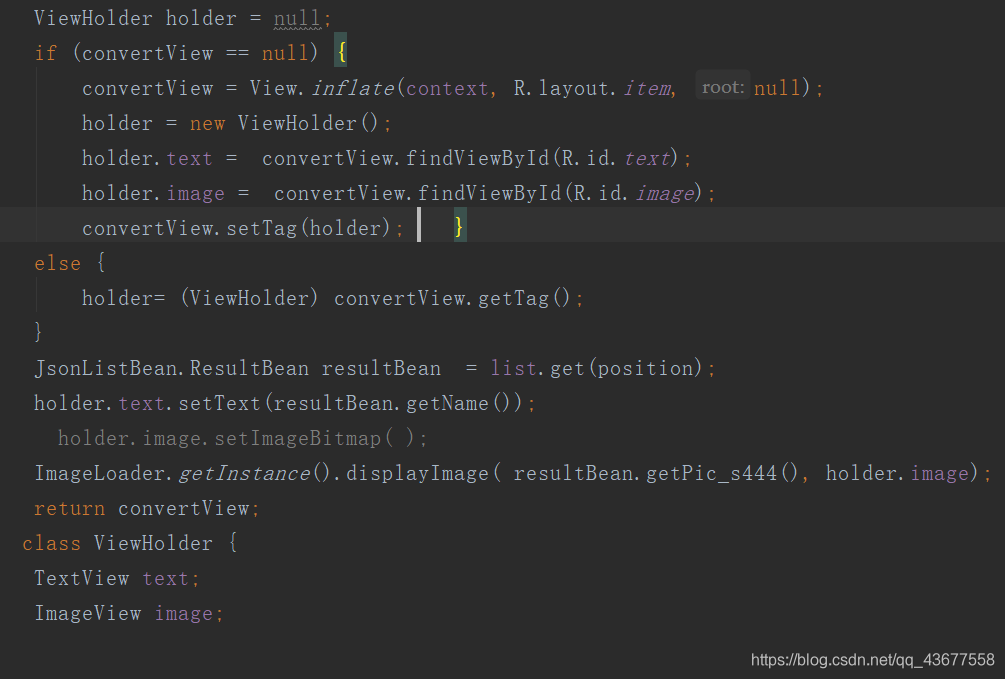
介面卡裡Adapter
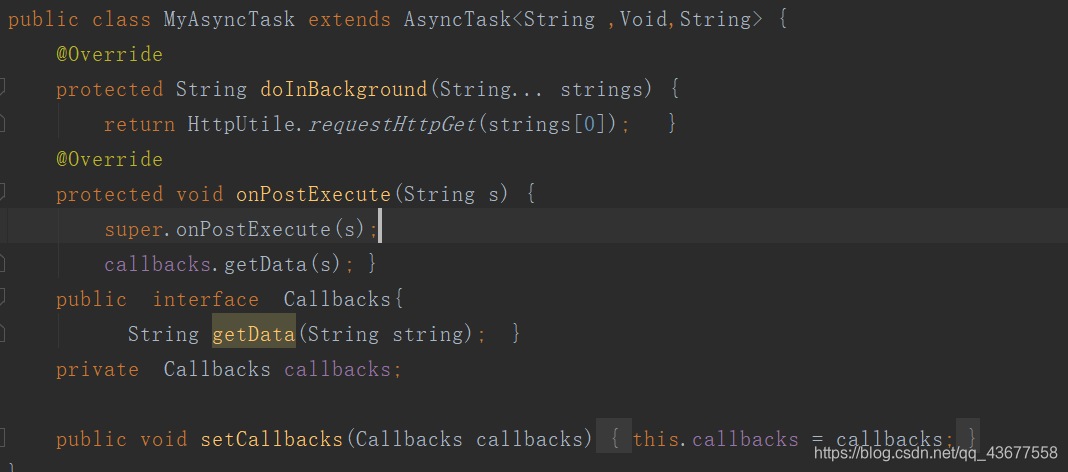
Task以完成第二個頁面
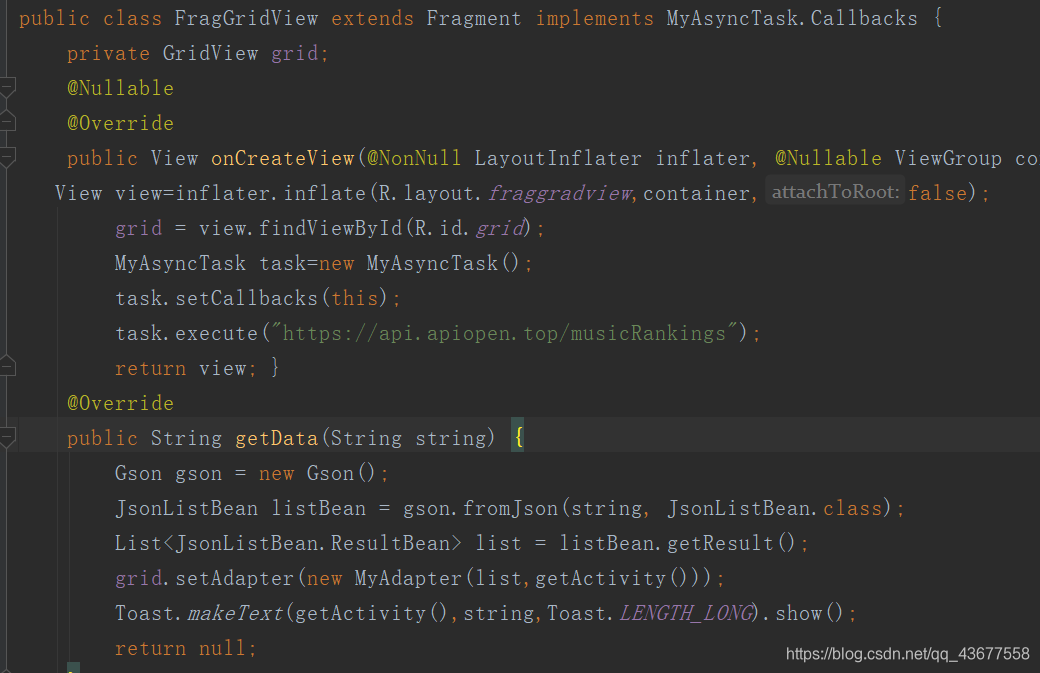
Grid的頁面