
solr5.5配置定時全量、增量同步索引mysql資料
阿新 • • 發佈:2018-12-31
上篇文章中講了如何下載solr、安裝solr、啟動、增加中文分詞器、簡單查詢等傳送門,這篇文章我們來配置solr定時全量和增量同步mysql資料。
1、先看資料庫表

2、開啟E:\solrHome\core1\conf資料夾下的data-config.xml檔案,這個檔案中主要配置資料來源等資訊,內容如下
3、在solrHome資料夾下新建資料夾conf,將E:\solrHome\core1\conf下的dataimport.properties檔案複製到solrHome<dataConfig> <dataSource driver="com.mysql.jdbc.Driver" url="jdbc:mysql://localhost:3306/test?useUnicode=true&characterEncoding=utf8" user="使用者名稱" password="密碼" /> <document> <!-- name屬性,就代表著一個文件,可以隨便命名 --> <!-- query是一條sql,代表在資料庫查找出來的資料 --> <entity name="product" pk="id" query="select id,name,catalog,catalog_name,price,description,picture from products where isdelete = 1" deltaQuery="select id from products where createTime > '${dataimporter.last_index_time}'" deletedPkQuery="select id from products where isdelete = 0" deltaImportQuery="select id,name,catalog,catalog_name,price,description,picture from products where id = '${dataimporter.delta.id}'" > <!-- query查詢是指查詢出表裡所有的符合條件的資料,因為筆者測試的有刪除業務,所以 where後面有一個限定條件isdelete=1,意思為查詢未被刪除的資料(注意這個query查詢只對第一次全量匯入有作用,對增量匯入不起作用) deltaQuery的意思是,查詢出所有經過修改的記錄的id 可能是修改操作,新增操作,刪除操作產生的 (此查詢只對增量匯入起作用,而且只能返回id值) deletedPkQuery此操作值查詢那些資料庫裡偽刪除的資料的id(即isdelete標識為0的資料) solr通過它來刪除索引裡面對應的資料 (此查詢只對增量匯入起作用,而且只能返回id值) deltaImportQuery次查詢是獲取以上兩步的id,然後把其全部資料獲取,根據獲取的資料 對索引庫進行更新操作,可能是刪除,新增,修改 (此查詢只對增量匯入起作用,可以返回多個欄位的值,一般情況下,都是返回所有欄位的列) --> <!-- 每一個field對映著資料庫中列與文件中的域,column是資料庫列,name是solr的域(必須是在managed-schema檔案中配置過的域才行) --> <field column="id" name="id"/> <field column="name" name="product_name"/> <field column="catalog" name="product_catalog"/> <field column="catalog_name" name="product_catalog_name"/> <field column="price" name="product_price"/> <field column="description" name="product_description"/> <field column="picture" name="product_picture"/> </entity> </document> </dataConfig>
目錄中的conf下(注意不是core1下的conf資料夾),將裡面內容清空,重新配置如下:
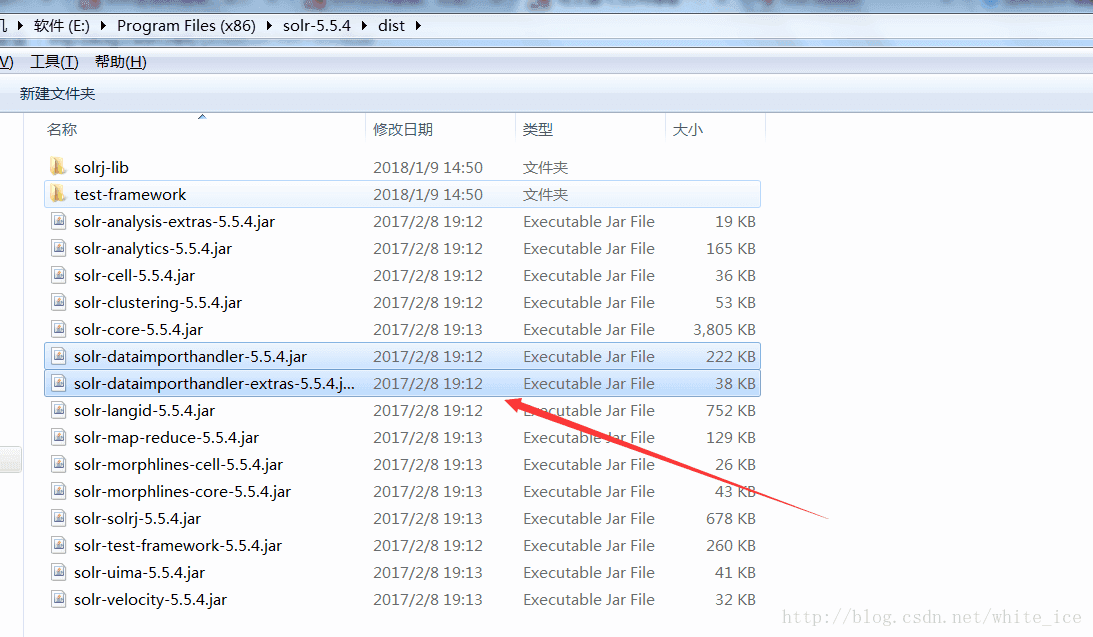
4、將solr下dist目錄中的solr-dataimporthandler-5.5.4.jar和solr-dataimporthandler-extras-5.5.4.jar兩個jar包複製到# to sync or not to sync # 1 - active; anything else - inactive # 這裡的配置不用修改 syncEnabled=1 # which cores to schedule # in a multi-core environment you can decide which cores you want syncronized # leave empty or comment it out if using single-core deployment # 修改成你所使用的core,我這裡是我自定義的core1 syncCores=core1 # solr server name or IP address # [defaults to localhost if empty] # 這個一般都是localhost不會變 server=localhost # solr server port # [defaults to 80 if empty] # 安裝solr的tomcat埠,如果你使用的是預設的埠,就不用改了,否則你懂的 port=18080 # application name/context # [defaults to current ServletContextListener's context (app) name] # 這裡預設不改 webapp=solr # URL params [mandatory] # remainder of URL # 這裡要改成下面的形式 params=/dataimport?command=delta-import&clean=false&commit=true # schedule interval # [defaults to 30 if empty] # 這裡是設定定時任務的,單位是分鐘,也就是多長時間你檢測一次資料同步,根據專案需求修改 # 開始測試的時候為了方便看到效果,時間可以設定短一點,我這是60秒 interval=1 # 重做索引的時間間隔,單位分鐘,預設7200,即5天; # 為空,為0,或者註釋掉:表示永不重做索引 reBuildIndexInterval=7200 # 重做索引的引數 reBuildIndexParams=/dataimport?command=full-import&clean=true&commit=true # 重做索引時間間隔的計時開始時間,第一次真正執行的時間=reBuildIndexBeginTime+reBuildIndexInterval*60*1000; # 兩種格式:2012-04-11 03:10:00 或者 03:10:00,後一種會自動補全日期部分為服務啟動時的日期 reBuildIndexBeginTime=03:10:00
tomcat\webapps\solr\WEB-INF\lib中,同時在網上下載apache-solr-dataimportscheduler-1.0.jar下載,下載後同樣將jar包
放到tomcat\webapps\solr\WEB-INF\lib中。
5、更改tomcat\webapps\solr\WEB-INF下的web.xml檔案,新增監聽如下:
6、重啟tomcat啟動solr就可以了。大家一起相互學習,相互進步.<listener> <listener-class> org.apache.solr.handler.dataimport.scheduler.ApplicationListener </listener-class> </listener>