Android之網路圖片載入的5種基本方式
阿新 • • 發佈:2019-01-01
學了這麼久,最近有空把自己用到過的網路載入圖片的方式總結了出來,與大家共享,希望對你們有幫助。
此部落格包含Android 5種基本的載入網路圖片方式,包括普通載入HttpURLConnection、HttpClients、Volley、XUtils、OkHttp等網路載入圖片。
其他網路圖片載入方式,後續補上。
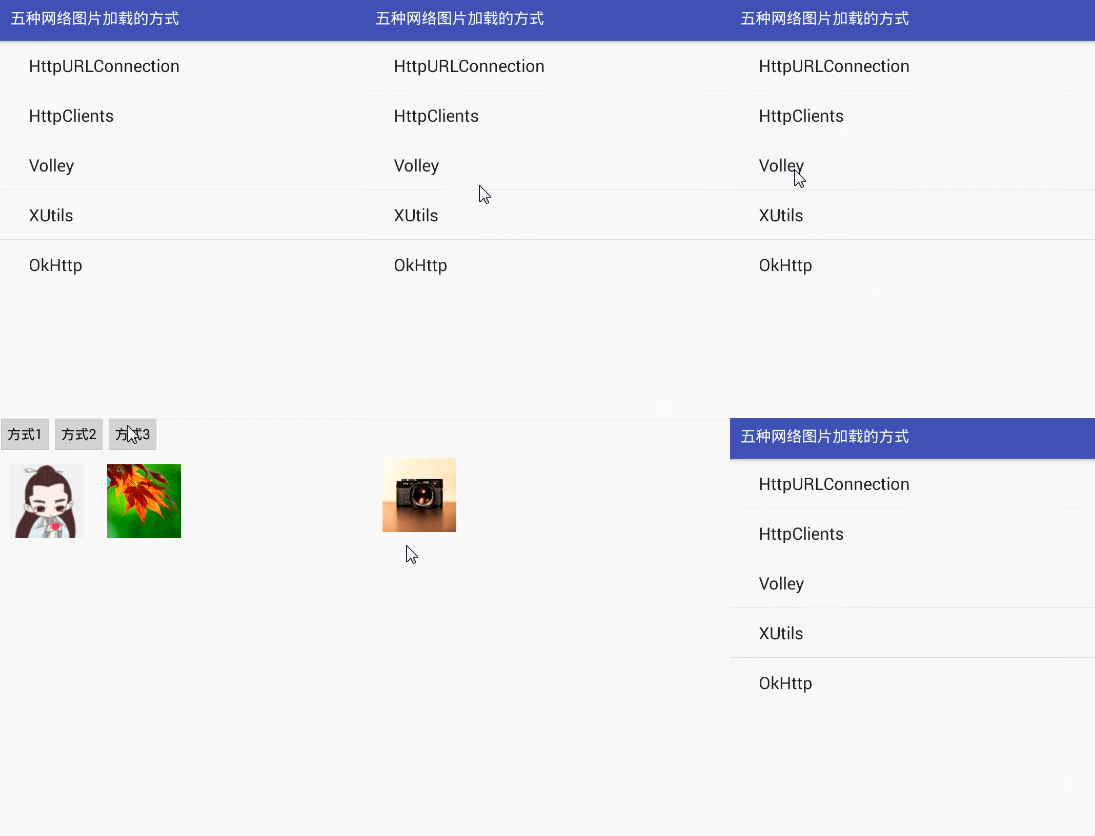
效果如下圖:
HttpURLConnection方式:
public Bitmap getImageBitmap(String url) {
		URL imgUrl = null;
		Bitmap bitmap = null;
		try {
			imgUrl = new URL(url);
			HttpURLConnection conn = (HttpURLConnection) imgUrl
					.openConnection();
			conn.setDoInput(true);
			conn.connect();
			InputStream is = conn.getInputStream();
			bitmap = BitmapFactory.decodeStream(is);
			is.close();
		} catch (MalformedURLException e) {
			// TODO Auto-generated catch block
			e.printStackTrace();
		} catch (IOException e) {
			e.printStackTrace();
		}
		return bitmap;
}
HttpClient方式
public Bitmap getImageBitmap(String url) {
		DefaultHttpClient httpclient = new DefaultHttpClient();
		HttpGet httpget = new HttpGet(url);
		try {
			HttpResponse resp = httpclient.execute(httpget);
			// 判斷是否正確執行
			if (HttpStatus.SC_OK == resp.getStatusLine().getStatusCode()) {
				// 將返回內容轉換為bitmap
				HttpEntity entity = resp.getEntity();
				InputStream in = entity.getContent();
				Bitmap mBitmap = BitmapFactory.decodeStream(in);
				// 向handler傳送訊息,執行顯示圖片操作
				return mBitmap;
			}

		} catch (Exception e) {
		} finally {
			httpclient.getConnectionManager().shutdown();
		}

		return null;
}
XUtils方式
private void initView() {
	// TODO Auto-generated method stub
	BitmapUtils bitmapUtils = new BitmapUtils(this);
	// 載入網路圖片
	bitmapUtils.display(imageView,
			"http://img.my.csdn.net/uploads/201407/26/1406383290_9329.jpg");

	// 載入本地圖片(路徑以/開頭, 絕對路徑)
	// bitmapUtils.display(imageView, "/sdcard/test.jpg");

	// 載入assets中的圖片(路徑以assets開頭)
	// bitmapUtils.display(imageView, "assets/img/wallpaper.jpg");

  }
OkHttp方式
  private void setIamge()
    {
    	String url = "http://img.my.csdn.net/uploads/201407/26/1406383291_8239.jpg";
    	OkHttpUtils.get().url(url).tag(this)
    			.build()
    			.connTimeOut(20000).readTimeOut(20000).writeTimeOut(20000)
    			.execute(new BitmapCallback() {
    			@Override
    			public void onError(Call call, Exception e, int id) {
    				}

    			@Override
    			public void onResponse(Bitmap bitmap, int id) {
    					imageView.setImageBitmap(bitmap);
    				}
    			});
    }
Volley方式
 /***
	 * ImageRequest載入圖片
	 */
 public void setImg1()
 {


	ImageRequest request = new ImageRequest(VolleySingleton.imageThumbUrls[0],
		 new Response.Listener<Bitmap>() {
		 @Override
		 public void onResponse(Bitmap bitmap) {
		        imageview1.setImageBitmap(bitmap);
		       }
		 }, 0, 0, Config.RGB_565,
		 new Response.ErrorListener() {
		     public void onErrorResponse(VolleyError error) {
		        imageview1.setImageResource(R.mipmap.ic_launcher);
		      }
	});
      VolleySingleton.getVolleySingleton(this.getApplicationContext()).addToRequestQueue(request);
	}
	/***
	 * 使用 ImageLoader 載入圖片
	 */

	public void setImg2()
	{
		com.android.volley.toolbox.ImageLoader mImageLoader;
		mImageLoader =   VolleySingleton.getVolleySingleton(this.getApplicationContext()).getImageLoader();
		mImageLoader.get(VolleySingleton.imageThumbUrls[1],
				//mImageView是ImageView例項
				//第2個引數:預設圖片
				//第2個引數:載入圖片錯誤時的圖片
		com.android.volley.toolbox.ImageLoader.getImageListener(imageview2,R.mipmap.ic_launcher, R.mipmap.ic_launcher));
	}
	/**
	 * 使用NetworkImageView載入圖片
	 */
	public void setImg3()
	{
		com.android.volley.toolbox.ImageLoader mImageLoader;
		mImageLoader = VolleySingleton.getVolleySingleton(this.getApplicationContext()).getImageLoader();
		networkImageView.setImageUrl(VolleySingleton.imageThumbUrls[2], mImageLoader);
	}
結語:
這五種網路圖片載入是基本的,瞭解會使用就行了;
其他網路圖片載入方式,請看

