
【UnityShader】螢幕空間全息掃描效果
阿新 • • 發佈:2019-01-01
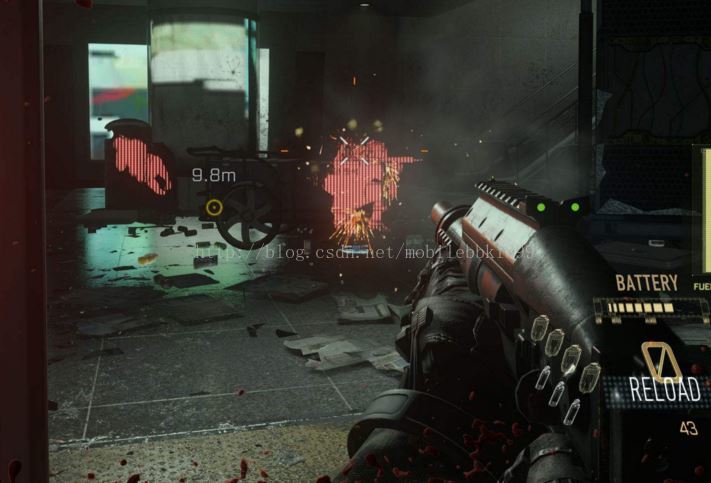
前段時間剛玩《使命召喚11》的時候發現裡面新增了一種很高科技的掃描手榴彈,可以產生一圈類似全息效果的掃描圈,並顯示出牆後的敵人,類似這樣:
最近打算實現一個用在第三人稱中類似的效果,如下:

實現方案:
1.根據_CameraDepthTexture計算螢幕空間畫素點的世界座標
2.將掃描發起位置的世界座標傳入shader
3.計算螢幕空間世界座標到掃描發起位置世界座標的距離
4.根據相關引數渲染出掃描區域
1._CameraDepthTexture中記錄了投影空間的深度資訊,通過如下方式可以得到世界座標:
2.計算傳入的初始位置和螢幕空間世界座標距離:fixed depth = tex2D(_CameraDepthTexture, i.uv).r; fixed4 projPos = fixed4(i.uv.x * 2 - 1, i.uv.y * 2 - 1, -depth * 2 + 1, 1); worldPos = mul(internalCameraToWorld, worldPos); worldPos /= worldPos.w;
fixed dis = length(internalCentPos.xyz - worldPos.xyz);

fixed a = 1 - saturate((abs(dis - internalArg.x) - internalArg.y) / internalArg.z);
a = a * internalFade.x + c * internalFade.y;
3.儲存上一步的渲染結果,使用CommandBuffer,將需要標記為持續顯示的目標(例如敵人)也渲染到該紋理,注意需要判斷目標是否在攝像機內,效果如下:
public static void CallRender(Vector3 worldPosition, Renderer[] renderer)
    {
        if (!IsInitialized())
            return;
        if (instance.m_IsShowingEffect)
        {
            if (renderer == null)
                return;
            Vector3 pjpos = instance.m_Camera.worldToCameraMatrix.MultiplyPoint(worldPosition);
            pjpos = instance.m_Camera.projectionMatrix.MultiplyPoint(pjpos);
            if (pjpos.x < -1 || pjpos.x > 1 || pjpos.y < -1 || pjpos.y > 1 || pjpos.z < -1 || pjpos.z > 1)
                return;
            for (int i = 0; i < renderer.Length; i++)
            {
                instance.m_CommandBuffer.DrawRenderer(renderer[i], instance.m_ReplaceMaterial);
            }
        }
    }
4.根據螢幕uv資訊將螢幕uv柵格化,並計算每個格子中取樣到的顏色值,可以得到如下結果:
float2 fl = floor(i.uv * _EffectScale);
float dp = tex2D(_PreTex, (fl + float2(0.5, 0.5)) / _EffectScale);

float4 led = tex2D(_EffectTex, i.uv * _EffectScale - fl);

col.rgb += led.rgb*dp;
5.同樣根據剛剛柵格的結果,可以計算出每一小格的uv,根據該uv來取樣用於作為全息掃描效果的紋理,得到如下結果:

6.疊加最終結果:
Git地址請點選部落格原文