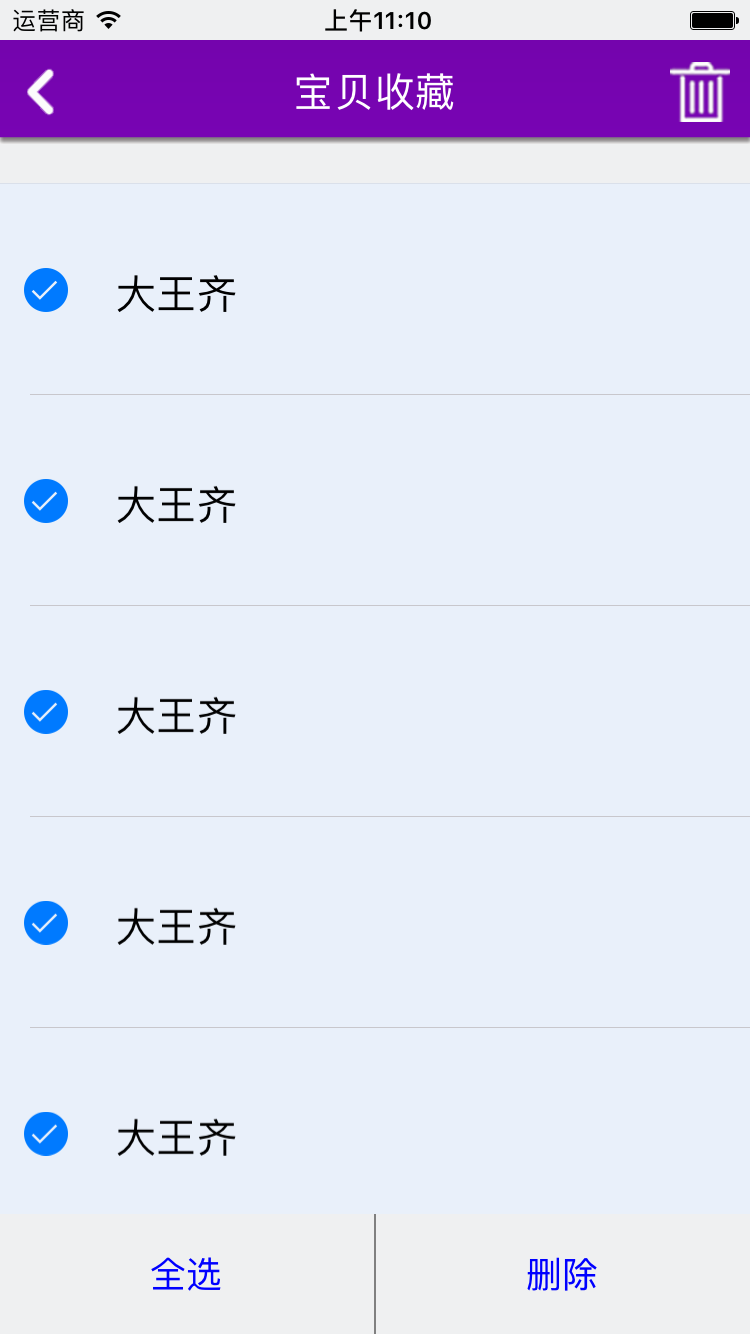
iOS TableViewcell 全選刪除
阿新 • • 發佈:2019-01-01
1.tableview建立
**//測試陣列
self.dateArray = [NSMutableArray arrayWithObjects:@"1",@"2",@"3",@"4",@"5",@"6",@"7",@"8",@"9", nil];
//設定tableview
self.myTableView = [[UITableView alloc] initWithFrame:CGRectMake(0, 52, self.view.width, self.view.height)];
self.myTableView.delegate = self;
self 2.tableview代理函式
#pragma mark 設定行數 rows //cell 編輯設定
- (void)tableView:(UITableView *)tableView commitEditingStyle:(UITableViewCellEditingStyle)editingStyle forRowAtIndexPath:(NSIndexPath *)indexPath
{

    if (editingStyle == UITableViewCellEditingStyleDelete) {

        [self.dateArray removeObjectAtIndex:indexPath.row];
        [self.myTableView deleteRowsAtIndexPaths:[NSArray arrayWithObject:indexPath] withRowAnimation:UITableViewRowAnimationFade];
        [tableView endUpdates];
    }
    else if (editingStyle == UITableViewCellEditingStyleInsert) {
    }
}

#pragma mark 點選tableviewcell
-(void)tableView:(UITableView *)tableView didSelectRowAtIndexPath:(NSIndexPath *)indexPath
{
    NSLog(@"點選第幾行 row == %ld",indexPath.row);
}
#pragma mark 設定cell高度
-(CGFloat)tableView:(UITableView *)tableView heightForRowAtIndexPath:(NSIndexPath *)indexPath
{
    return FIXWIDTHORHEIGHT(90);
}
3.自己建立一個全選按鈕,我只給一個呼叫的函式
-(void)btnAllSelectAction:(UIButton *)sender
{
    sender.backgroundColor = RGBCOLOR(239, 240, 241);
    //通過遍歷所有並選擇
    for (int row=0; row<10; row++) {
        NSIndexPath *indexPath = [NSIndexPath indexPathForRow:row inSection:0];
        [self.myTableView selectRowAtIndexPath:indexPath animated:NO scrollPosition:UITableViewScrollPositionNone];
    }

}
4.刪除就把資料的data陣列清空就可以了,如果不是全部要用陣列記錄一下
**
有一個需要注意的地方,全選時候內容整體向右滑動一小塊
就是把tableviewcell中的img或者label 都放在 cell的 contentView上面就好了
**
