
eclipse 使用maven 構建springboot 程式
阿新 • • 發佈:2019-01-02
1、建立Maven工程
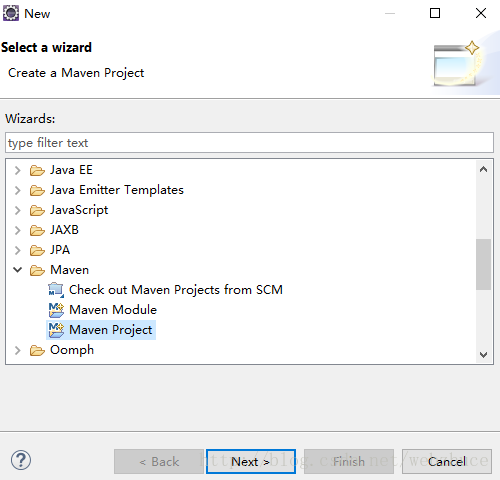
開啟Eclipse,點選File->New->Other,在彈出對話方塊中,選中Maven Project。
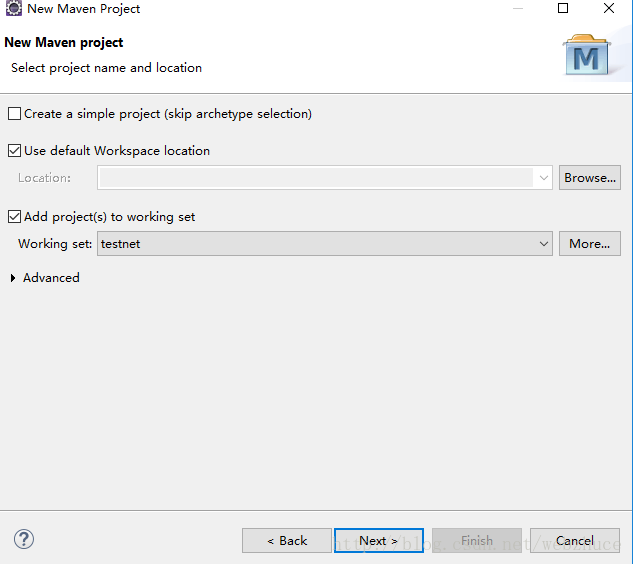
點選Next按鈕,出現下圖,根據自己需要設定,可以使用預設的。
再點選Next按鈕,出現下圖,選中圖中背景為藍色的項。
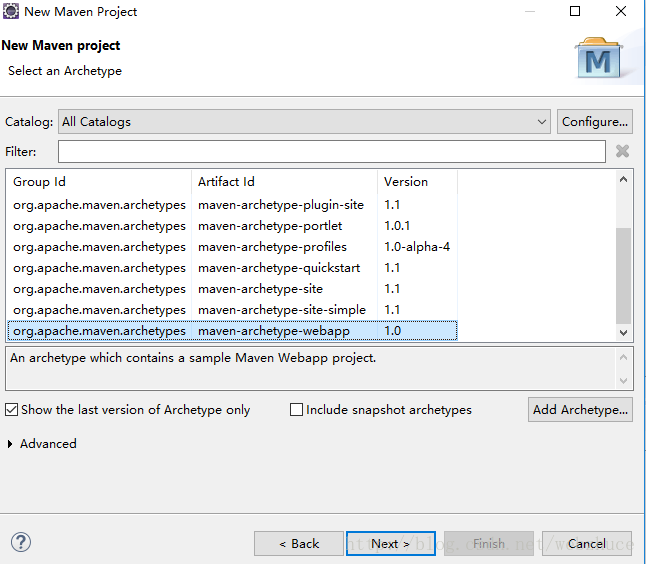
再點選Next按鈕,設定Group Id和Artifact Id,其他項可以不用設定。

點選Finish按鈕,完成專案的建立。
2、編寫pom.xml
在parent部分使用spring-boost-starter-parent。spring-boost-starter-parent是重要的預設的父工程,它提供了dependency-management部分。
<parent>
  <groupId>org.springframework.boot</groupId>
  <artifactId>spring-boot-starter-parent</artifactId>
  <version>1.4.3.RELEASE</version>
</parent>- 1
- 2
- 3
- 4
- 5
- 1
- 2
- 3
- 4
- 5
如果我們向pom.xml新增spring-boot-starter-web依賴(在parent這部分之後):
<dependencies>
<dependency - 1
- 2
- 3
- 4
- 5
- 6
- 1
- 2
- 3
- 4
- 5
- 6
此時pom.xml如下所示:
<project xmlns="http://maven.apache.org/POM/4.0.0" xmlns:xsi="http://www.w3.org/2001/XMLSchema-instance"
	xsi:schemaLocation="http://maven.apache.org/POM/4.0.0 http://maven.apache.org/xsd/maven-4.0.0.xsd">
	<modelVersion>4.0.0</modelVersion>
	<groupId>com.wlsq.accounts</groupId>
	<artifactId>WlsqAccounts</artifactId>
	<version>0.0.1-SNAPSHOT</version>

	<parent>
		<groupId>org.springframework.boot</groupId>
		<artifactId>spring-boot-starter-parent</artifactId>
		<version>1.4.3.RELEASE</version>
	</parent>

	<dependencies>
		<dependency>
			<groupId>org.springframework.boot</groupId>
			<artifactId>spring-boot-starter-web</artifactId>
		</dependency>
		<dependency>
			<groupId>junit</groupId>
			<artifactId>junit</artifactId>
			<version>3.8.1</version>
			<scope>test</scope>
		</dependency>
	</dependencies>
</project>
3、測試Spring Boot 應用
在src/main/java目錄下,新建一個com.zzg.apple包,然後在包下面新建一個類。
package com.wlsq.app;

import org.springframework.boot.SpringApplication;
import org.springframework.boot.autoconfigure.EnableAutoConfiguration;
import org.springframework.web.bind.annotation.RequestMapping;
import org.springframework.web.bind.annotation.RestController;

@RestController
@EnableAutoConfiguration
public class AppleApplication {
  @RequestMapping("/")
     String home() {
         return "歡迎使用SpringBoot!";
     }
     public static void main(String[] args) {
         SpringApplication.run(AppleApplication.class, args);
     }
}
啟動程式,右鍵AppleApplication.java檔案,選擇run as -> Java Application。
如果沒有報錯的話,在瀏覽器中輸入: http://localhost:8080/
