
openshift 學習筆記-5 template使用
阿新 • • 發佈:2019-01-04
建立微服務 new-app
[email protected]:~$ oc new-project myci
Already on project "myci" on server "https://openshift-cluster.example.com:8443".
You can add applications to this project with the 'new-app' command. For example, try:
oc new-app centos/ruby-22-centos7~https://github.com/openshift/ruby-ex.git
to 應用建立成功。
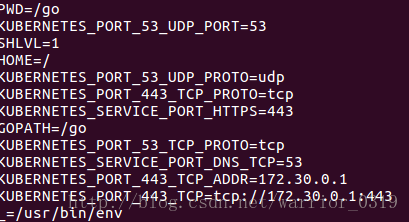
1、順便驗證一下service 的功能,此時build完成,部署完成,微服務成功啟動,但是沒有建立service。此時進入啟動的為服務容器內部,env檢查環境變數,肯定沒有service的資訊,因為沒有建立。
2、建立service
oc create -f service.yaml
yaml檔案內容如下:
apiVersion: v1
kind: Service
metadata:
  labels:
    app: test-svc
  name: test-svc
  namespace: myci
spec:
  ports:
    - name: test-ci
      port: 8081
      protocol: TCP
      targetPort: 8081
  selector:
    app: test-hello
  sessionAffinity: None
  type: ClusterIP
status:
  loadBalancer: {}
3、執行擴充套件,把pod數量擴充套件微兩個:
$ oc scale dc test-hello --replicas=2
deploymentconfig "test-hello" scaled
4、進入容器內部,檢視兩個pod的環境變數:
第一個pod:
第二個pod:
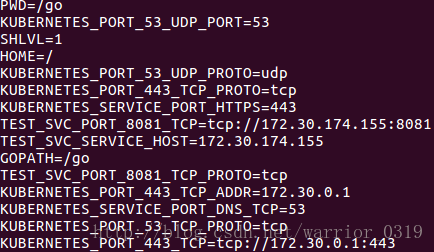
我們發現,雖然建立了service,原來的pod裡面仍然沒有注入service的資訊,必須重啟pod以後,service的環境變數資訊才能注入到pod中。
繼續往下template
匯出模板template
執行模板匯入命令:
oc export bc,dc,svc,is,route -o json –as-template=”test-template” > ~/test-template.yaml
本地生成yaml檔案:
test-template.yaml
匯入模板 create template
1、模板建立
oc create -f test-template.yaml
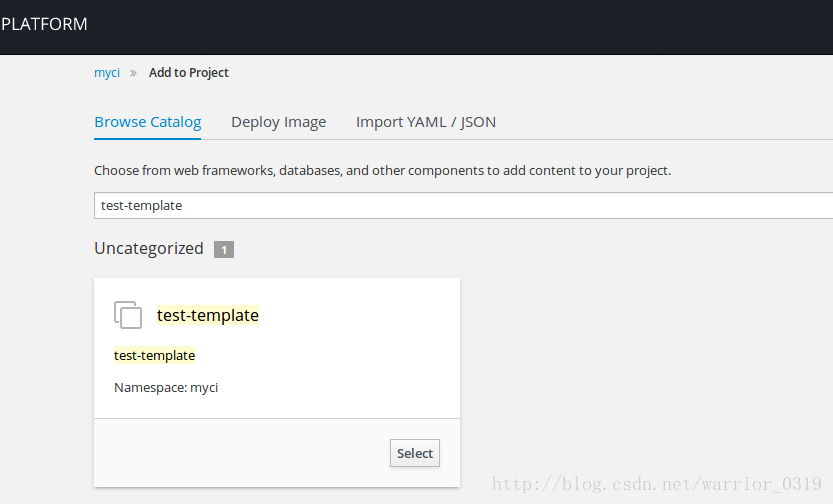
2、在web console 中使用模板建立專案,搜尋test-template模板
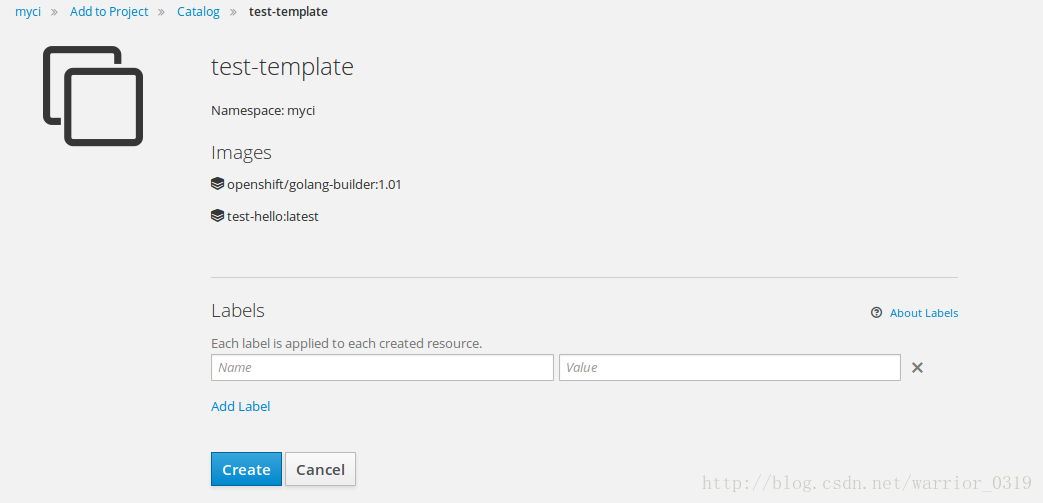
3、建立
4、建立完成
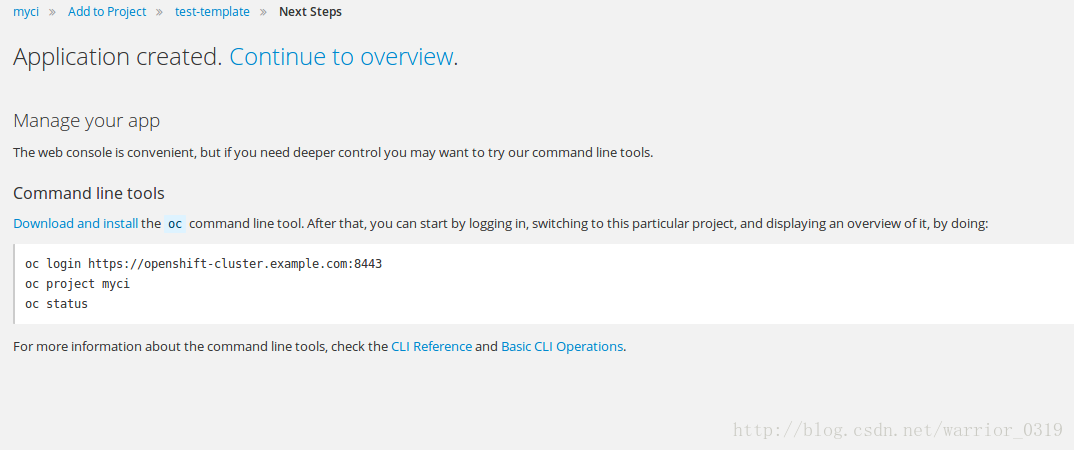
5、檢視進度
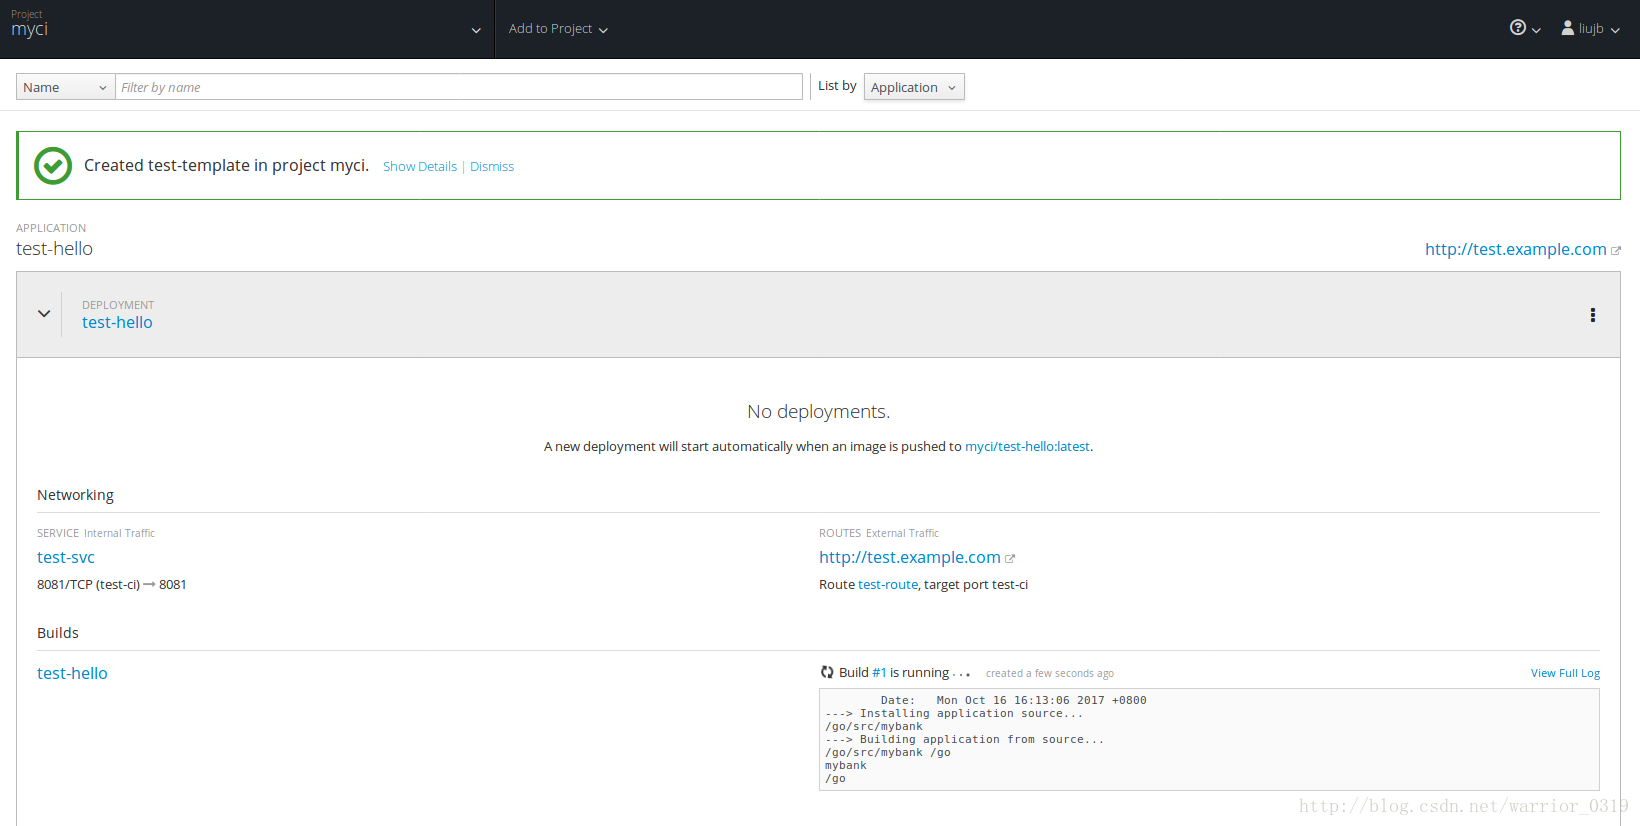
6、完成後,訪問測試微服務