
iOS瀑布流三種實現思路總結
瀑布流介紹
瀑布流可以在保證圖片原始比例的情況下,靈活的展現內容,相對於傳統的使用相同大小的網格展現大量圖片,效果上要好上很多,而實現瀑布流的方式有很多種,網上比較流行的有三種實現方式。
1,使用UIScrollView,主要技術點在於檢視的重用。
2,使用UITableView,這種方式應該是最易想到的,因為需要展現幾列就用幾個tabelview就ok了,而且不需要考慮重用,因為蘋果已經做好了,只需要考慮如何在幾列tabelView滑動的時候,保持同步不出現BUG。
3,使用UICollectionView,UICollectionView在iOS6中第一次被介紹,它與UITableView有許多相似點,但它多了一個佈局類,而實現瀑布流,就與這個佈局類有關。此種方式實現,也不需要考慮檢視重用。
UITableView的重用機制做瀑布流思路
- 總先做成幾列是事先要清楚,有多少條記錄,這個可以從json或者xml中讀取後知道(json或xml最好將圖片的高度和寬度也顯示出來,便於後面用到。
- 假設要做成3列,就用三個uitableview,寬度平均,高度動態,頁面高度取uitableview中最高的。
- 三個uitableview初始化的時候用到tag(我越來越覺得tag在ios中的用處很大,就像js中讀取html控制元件中的id一樣),然後 showsVerticalScrollIndicator和scrollEnabled設為no,separatorStyle設為 UITableViewCellSeparatorStyleNone,新增到UIview中。
下面詳細講一下用UICollectionView做瀑布流
1.故事板中拖拽一個UICollectionView放在檢視中
2.新建一個繼承子UICollectionViewCell的子類MyCollectionViewCell,將單元格的Class選定為MyCollectionViewCell,並且設定Identifier為MyCell。
3.實現UICollectionViewDelegate,UICollectionViewDataSource,設定區域,設定區域中的Item個數,生成可複用的單元格:
-(NSInteger)numberOfSectionsInCollectionView:(UICollectionView *)collectionView{
return viewDidLoad中設定一下資料來源和代理:
self.collectionView.delegate=self;
self.collectionView.dataSource=self;
self.collectionView.backgroundColor=[UIColor whiteColor];
最終效果:
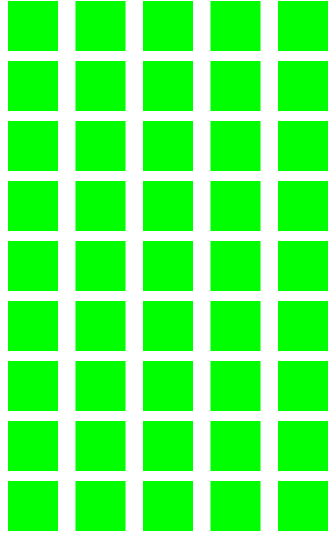
進行masonry layout (佈局)
很多情況下所有的單元格的寬度是一定的,只是高度不確定,這就是有些人說的定寬不定高,主要是從視覺上的美感來看,當然我們可以通過實現
UICollectionViewDelegateFlowLayout去改變單元格大小:
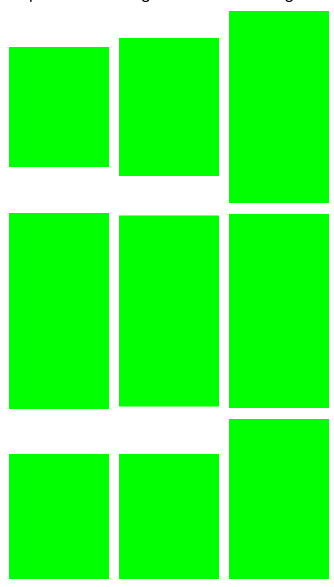
-(CGSize)collectionView:(UICollectionView *)collectionView layout:(UICollectionViewLayout *)collectionViewLayout sizeForItemAtIndexPath:(NSIndexPath *)indexPath{
CGFloat height=100+(arc4random()%100);
return CGSizeMake(100, height);
}通過效果我們可以發現,同一行的單元格的圓心所在的Y軸座標都是一樣的:
設定儲存所有高度的陣列:
//儲存所有的高度的陣列
@property (strong,nonatomic) NSMutableArray *heightArr;將高度新增到陣列中:
-(CGSize)collectionView:(UICollectionView *)collectionView layout:(UICollectionViewLayout *)collectionViewLayout sizeForItemAtIndexPath:(NSIndexPath *)indexPath{

    CGFloat height=100+(arc4random()%160);
    [self.heightArr addObject:[NSString stringWithFormat:@"%f",height]];

    return  CGSizeMake(100, height);

}
修改每一行單元格的位置:
-(UICollectionViewCell *)collectionView:(UICollectionView *)collectionView cellForItemAtIndexPath:(NSIndexPath *)indexPath{

    MyCollectionViewCell *myCell=[collectionView dequeueReusableCellWithReuseIdentifier:
                    @"MyCell" forIndexPath:indexPath];

    [myCell setBackgroundColor:[UIColor redColor]];
    NSInteger remainder=indexPath.row%3;

    NSInteger currentRow=indexPath.row/3;

    CGFloat   currentHeight=[self.heightArr[indexPath.row] floatValue];


    CGFloat positonX=100*remainder+10*(remainder+1);
    CGFloat positionY=(currentRow+1)*10;
    for (NSInteger i=0; i<currentRow; i++) {

        NSInteger position=remainder+i*3;

        positionY+=[self.heightArr[position] floatValue];
    }
   myCell.frame = CGRectMake(positonX, positionY,100,currentHeight) ;


    NSUInteger *randomNumber=arc4random_uniform(9);

    NSString *girlFilename = [NSString stringWithFormat:@"Girl%lu.jpg", (unsigned long)randomNumber];

    UIImageView *imageView = [[UIImageView alloc] initWithImage:[UIImage imageNamed:girlFilename]];


    [myCell setBackgroundView:imageView];
    return  myCell;

}
最終效果

比較簡單,僅供學習參考