使用TFRecord進行圖片格式轉換以及搭建神經網路實驗全過程,使用Tensorflow訓練自己的資料集
阿新 • • 發佈:2019-01-06
最近一個大作業需要進行影象處理可是網上的資源太分散,於是想整合網上資源,形成一個系統:
主要包括
- 圖片預處理
- 圖片轉TFrecord格式
- TFrecord格式轉圖片檢視
- 簡單神經網路搭建
- TFrecord格式在神經網路中的讀取
- batch方法提取資料
- 神經網路效能評價
- 總結
1.圖片預處理
主要是車牌分類,將每一類資料按照不同資料夾進行儲存。每張圖片格式大概是180*60.
2.圖片轉TFrecord格式
tfrecord資料檔案是一種將影象資料和標籤統一儲存的二進位制檔案,能更好的利用記憶體,在tensorflow中快速的複製,移動,讀取,儲存等。
tfrecord會根據你選擇輸入檔案的類,自動給每一類打上同樣的標籤。如在本例中,只有0,1 兩類,想知道資料夾名與label關係的,可以自己儲存起來。
參考連結:https://blog.csdn.net/v1_vivian/article/details/77898414
# -*- coding: utf-8 -*-
"""
Created on Sat Nov  3 09:32:31 2018

@author: Decheng Liu
製作資料集 讀取車牌資料集
https://blog.csdn.net/zhangjunp3/article/details/79627824
"""
import os

import tensorflow as tf
from PIL import Image
import matplotlib.pyplot as plt

# 儲存為TFrecords
cwd = r'H:\部落格\20181115 TFrecord\classes\\'
classes = {'Full_occlusion' , 'Normal', 'Semi_occlusion', 'Unsuspended'}
class_map = {}    # 檔名與label關係,儲存便於檢視

writer = tf.python_io.TFRecordWriter('car_License_plate_train.tfrecords') #要生成的檔案

for index ,name in enumerate(classes):

    class_path = cwd + name + '\\'
    class_map[index] =  name
    for img_name in os.listdir(class_path):
        img_path = class_path + img_name  # 每一個圖片的地址
        img = Image.open(img_path)
        img = img.resize((180,60))

        plt.imshow(img)
        print (img_path)
        img_raw = img.tobytes()   # 將圖片轉換為二進位制
        example = tf.train.Example(features=tf.train.Features(feature={
                  'label':tf.train.Feature(int64_list = tf.train.Int64List(value=[index])),
                  'img_raw':tf.train.Feature(bytes_list=tf.train.BytesList(value=[img_raw]))
                  }))    #example 物件對label和image資料進行封裝
        writer.write(example.SerializeToString())   # 序列化為字串
        plt.show()
    print(class_path)
writer.close()


txtfile = open('class_map.txt','w+')
for key in class_map.keys():
    txtfile.writelines(str(key)+":"+class_map[key]+"\n")
txtfile.close()
這時生成一個TFrecord檔案以及一個標籤對映檔案如下:
0:Semi_occlusion
1:Normal
2:Unsuspended
3:Full_occlusion

3.TFrecord格式轉圖片便於檢視與處理
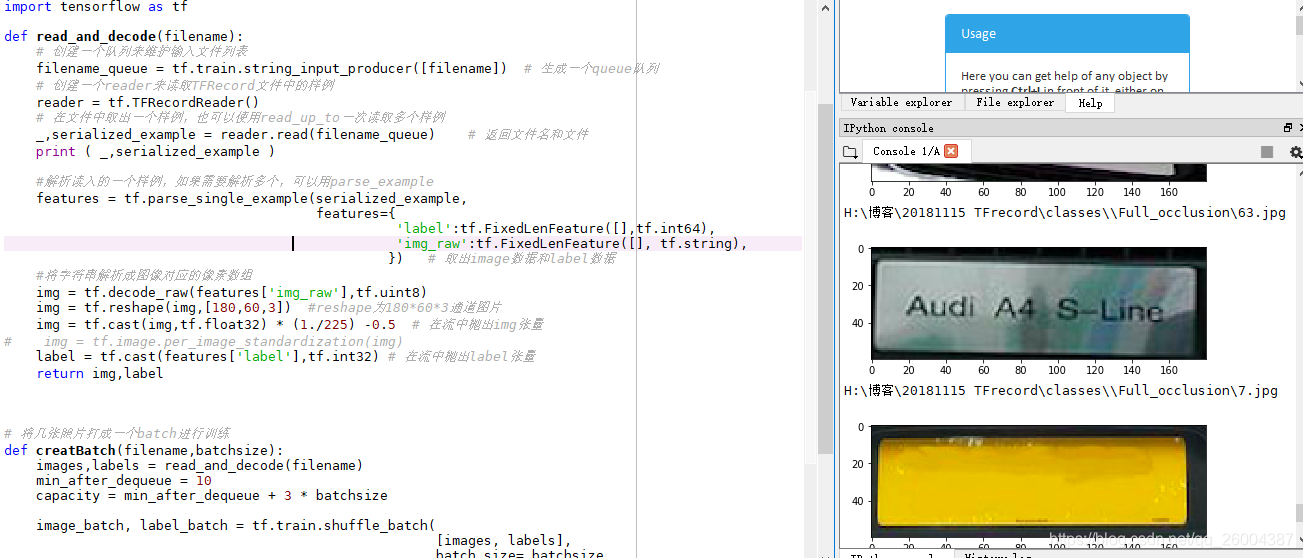
讀取TFRecord的資料,進行解析,此時使用了檔案佇列以及多執行緒
