Python實現圖片轉字元畫
阿新 • • 發佈:2019-01-06
初學Python,在網上看到Python圖片轉字元畫的教程,我也來嘗試下。
首先我們要用到Python的PIL庫的Image模組,PIL(Python Imaging Library)庫是Python的一個影象處理庫。想了解PIL的詳細功能介紹,可參考PIL的官方文件(雖然我也沒看過,不過還是貼上來):http://effbot.org/imagingbook/
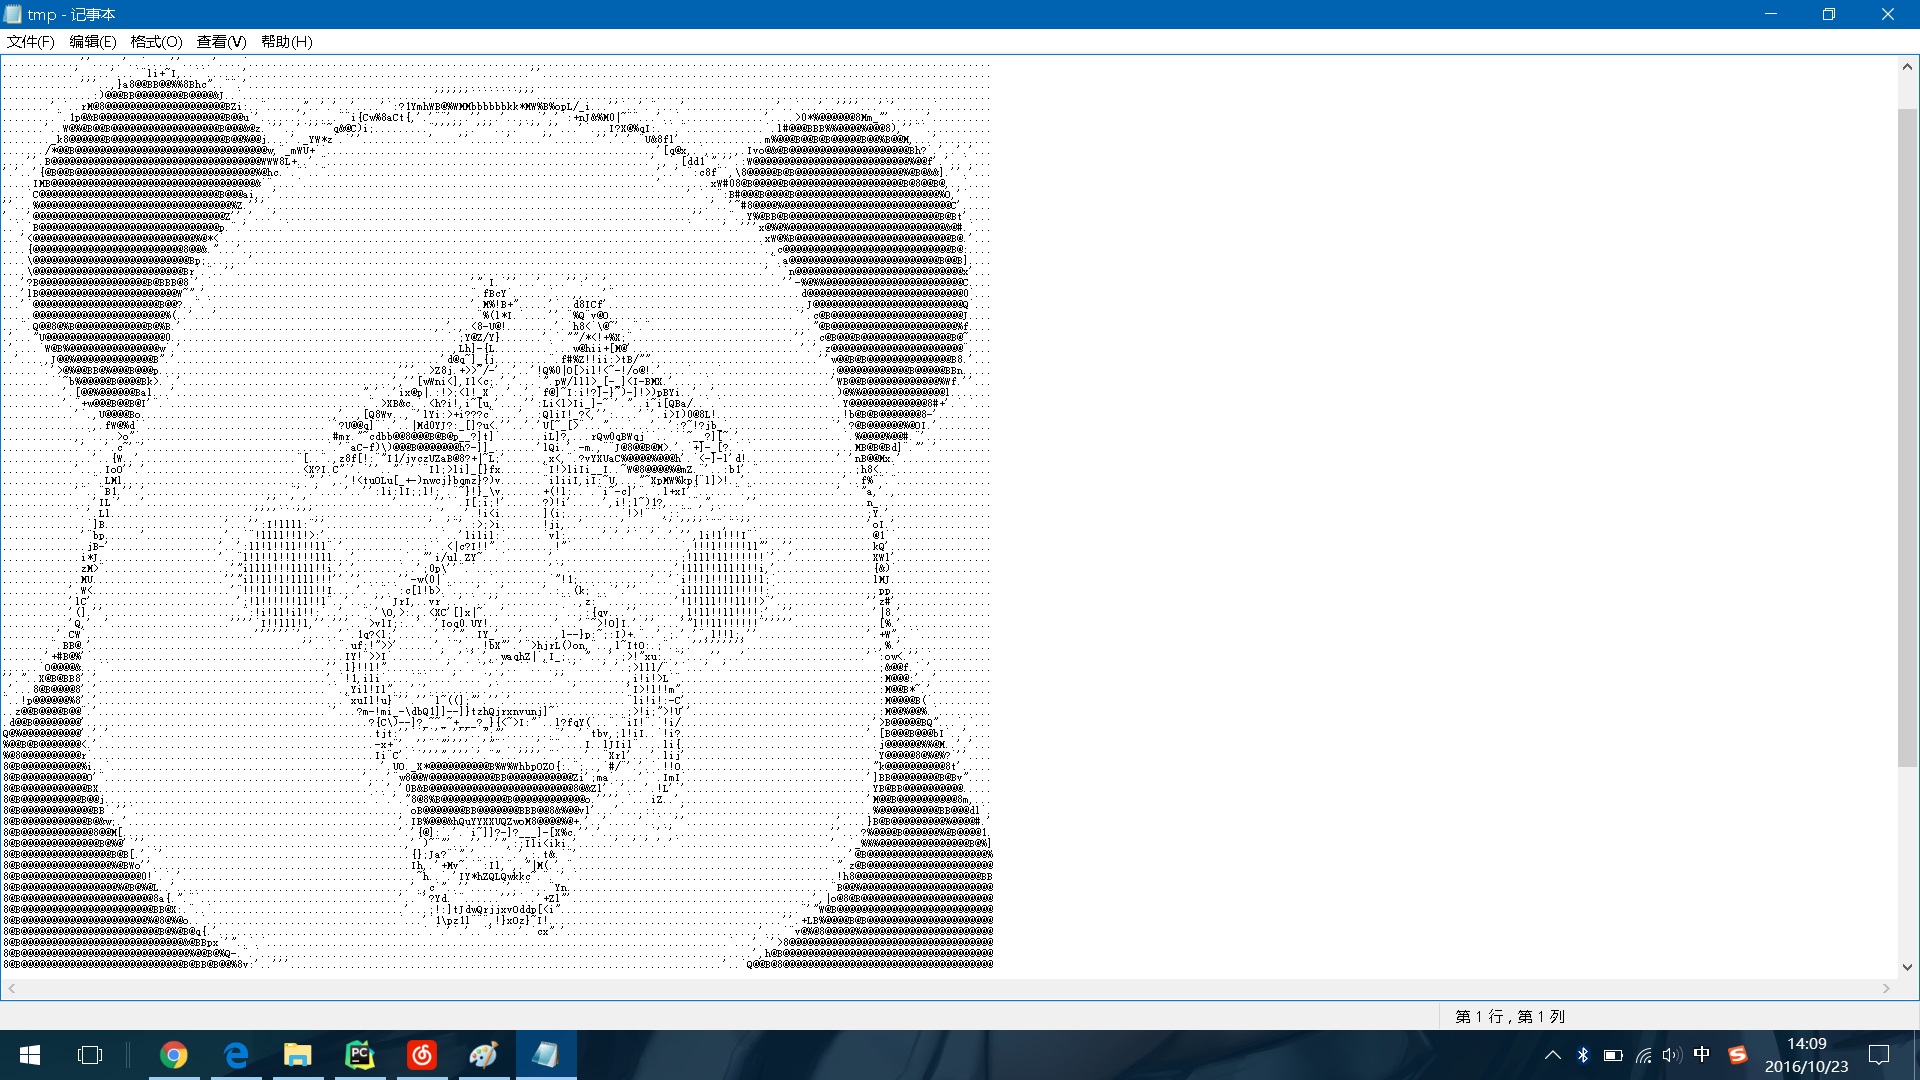
圖片轉字元畫的關鍵思想是將圖片的灰度值與你自己設定的字符集之間建立對映關係,不同區間的灰度值對應不同的字元,之後將圖片每一個畫素對應的字元打印出來就是我們要的字元畫啦~
這裡提供兩種方法:
- 先將彩色圖片轉換為黑白圖片,然後直接將每個畫素點的灰度值與字符集建立對映。
- 獲取圖片的RGB值,利用公式:
Gray = R*0.299 + G*0.587 + B*0.114
計算可得每個畫素點的灰度值,之後再建立對映即可。
# -*- coding: utf-8 -*-
from PIL import Image
codeLib = '''@B%8&WM#*oahkbdpqwmZO0QLCJUYXzcvunxrjft/\|()1{}[]?-_+~<>i!lI;:,"^`'. '''#生成字元畫所需的字符集
count = len(codeLib)
def transform1(image_file) :
image_file = image_file.convert("L")#轉換為黑白圖片,引數"L"表示黑白模式
codePic = ''
for h in range(0,image_file.size[1]): #size屬性表示圖片的解析度,'0'為橫向大小,'1'為縱向
for w in range(0,image_file.size[0]):
gray = image_file.getpixel((w,h)) #返回指定位置的畫素,如果所開啟的影象是多層次的圖片,那這個方法就返回一個元組
codePic = codePic + codeLib[int(((count-1 )*gray)/256)]#建立灰度與字符集的對映
codePic = codePic+'\r\n'
return codePic
def transform2(image_file):
codePic = ''
for h in range(0,image_file.size[1]):
for w in range(0,image_file.size[0]):
g,r,b = image_file.getpixel((w,h))
gray = int(r* 0.299+g* 0.587+b* 0.114)
codePic = codePic + codeLib[int(((count-1)*gray)/256)]
codePic = codePic+'\r\n'
return codePic
fp = open(u'暴走.jpg','rb')
image_file = Image.open(fp)
image_file=image_file.resize((int(image_file.size[0]*0.75), int(image_file.size[1]*0.5)))#調整圖片大小
print u'Info:',image_file.size[0],' ',image_file.size[1],' ',count
tmp = open('tmp.txt','w')
tmp.write(transform1(image_file))
tmp.close()
原圖
轉換為字元畫(注:在記事本開啟時記得取消自動換行,下圖字型:宋體 字號:小六)