OpenCV(Python)學習筆記(One):幾何變換之對影象的旋轉
阿新 • • 發佈:2019-01-07
最近學習中會用到OpenCV,感覺OpenCV簡單且功能強大,Python語言也簡單易用,於是就學了Python版OpenCV。裡面講的比較簡單,就先從簡單的入手吧。
因為已經學習一段時間了,所以文章並不是按照OpenCV的順序來寫的,我會慢慢補齊以前學過的一些例子。
都是些簡單的小栗子,大神勿噴,也懇請大家多多提意見交流。
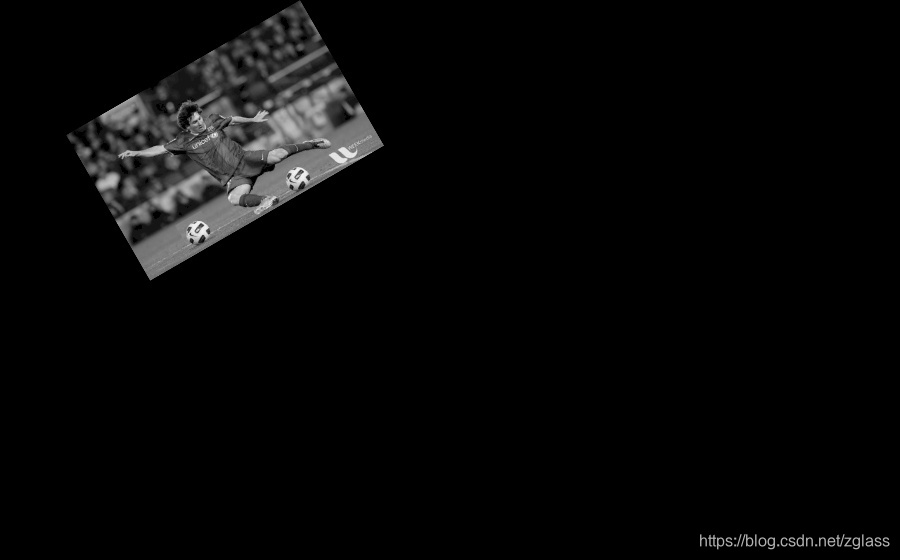
下面的例子實現對圖片的旋轉,一些輸入輸出只是為了使用友好,刪除也沒有任何影響的。
def turnImage(imgpath,outpath):
    print('***************The start****************')
    imgname = imgpath.split('/')[-1]
    name, dot = imgname.split('.')[0], imgname.split('.')[1]
    basename = outpath + name + '_' + dot + '_TurnImage_30'
    img = cv2.imread(imgpath,0)
    rows, cols = img.shape

    #這裡的第一個引數為旋轉中心,第二個為旋轉角度,第三個為旋轉後的縮放因子
    #可以通過設定旋轉中心,縮放因子,以及視窗大小來防止旋轉超出邊界的問題
    M = cv2.getRotationMatrix2D((cols/2,rows/2),30,0.6)

    #這裡第三個引數是輸出影象的尺寸中心
    dst = cv2.warpAffine(img,M,(2*cols,2*rows))
    cv2.imshow('Turn Inage',dst)#顯示旋轉後的圖片
    cv2.imshow(' Inage',img)
    imgname_out1 =basename + 'img.jpg'
    imgname_out2 =basename + 'dst.jpg'
    cv2.imwrite(imgname_out1,img)#原圖儲存
    cv2.imwrite(imgname_out2,dst)#儲存旋轉後的結果
    cv2.waitKey(2000)#等待2000毫秒
    cv2.destroyAllWindows()#關閉所有顯示視窗
    print('***************The end***************')


imgpath = '../testimage/football.jpg'#圖片路徑
outpath = 'Geometric_change/'#結果儲存路徑
turnImage(imgpath,outpath)

檔案組織:

|--OpenCV
|--code 程式碼所在資料夾
|--Geometric_change.py 原始碼檔案
|--Geometric_change 儲存結果的資料夾
|--testimage 載入圖片的資料夾
