SpringBoot基於阿里雲OSS上傳檔案
一:需求背景.
Web系統開發中,檔案上傳是非常常見的功能,本來也沒啥好說的,就是通過IO流將檔案寫到另外一個地方,這個地方可以是
1. 專案的目錄中的某個資料夾.
2. 本地碟符的某個檔案下.
3. 雲服務OSS裡面.例如七牛雲,OSS等.
4. FastDSF的分散式檔案儲存系統.
本次使用阿里雲OSS為例介紹一下吧.
二:環境搭建
1. SpringBoot框架.Thymeleaf.BootStrap.開通的阿里雲OSS空間.買雲伺服器會送一定的空間.
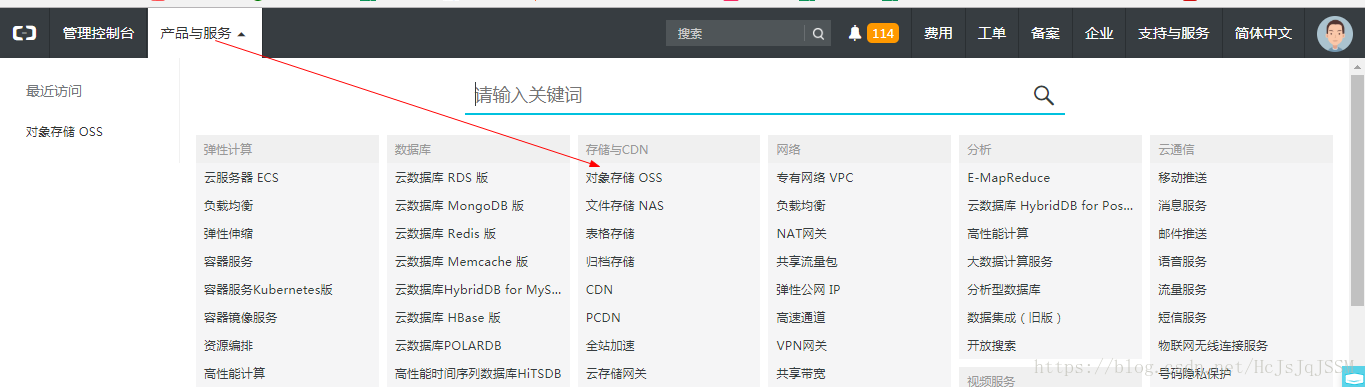
新建一個空間(符合命名規範即可)那個Access Key就是這個Bucket的一下授權資訊.使用第三方服務必用的.

2. Maven依賴(Thymeleaf,SpringBoot的熱部署,lombok)
<dependency> <groupId>org.springframework.boot</groupId> <artifactId>spring-boot-starter-web</artifactId> </dependency> <dependency> <groupId>org.springframework.boot</groupId> <artifactId>spring-boot-starter-test</artifactId> <scope>test</scope> </dependency> <!-- Thymeleaf--> <dependency> <groupId>org.springframework.boot</groupId> <artifactId>spring-boot-starter-thymeleaf</artifactId> </dependency> <!-- 熱部署--><dependency> <groupId>org.springframework.boot</groupId> <artifactId>spring-boot-devtools</artifactId> <optional>true</optional> </dependency><!-- 阿里雲OSS--> <dependency> <groupId>com.aliyun.oss</groupId> <artifactId>aliyun-sdk-oss</artifactId> <version>2.4.0</version> </dependency> <dependency> <groupId>commons-fileupload</groupId> <artifactId>commons-fileupload</artifactId> <version>1.3.1</version> </dependency> <!-- lombok--> <dependency> <groupId>org.projectlombok</groupId> <artifactId>lombok</artifactId> <version>1.16.18</version> </dependency>
3. 準備一下上傳成功的提示圖片嘛.當然使用Ajax是比較好的.
三. 原始碼如下
1. application-dev.properties(由於使用的是多個環境下的properties,這裡是開發環境.)
#OSS配置
lximage.endpoint=你的endPoint(見控制檯)
lximage.keyid=你的keyid
lximage.keysecret=你的keysecret
lximage.bucketname1=你新建的bucket的名字
lximage.filehost=你的目錄我做測試的是file(就是一個根目錄嘛)

2.配置類(JAVA配置類獲取配置檔案裡面的資訊)
@Getter
@Setter
@Component
@Configuration
public class ConstantConfig  {
    @Value("${lximage.endpoint}")
    private   String LXIMAGE_END_POINT;
@Value("${lximage.keyid}")
    private  String LXIMAGE_ACCESS_KEY_ID;
@Value("${lximage.keysecret}")
    private  String LXIMAGE_ACCESS_KEY_SECRET;
@Value("${lximage.filehost}")
    private  String LXIMAGE_FILE_HOST;
@Value("${lximage.bucketname1}")
    private  String LXIMAGE_BUCKET_NAME1;
}
3. 工具類
AliyunOSSUtil
@Component
public class AliyunOSSUtil {
    @Autowired
private ConstantConfig constantConfig;
    private static final org.slf4j.Logger logger = LoggerFactory.getLogger(AliyunOSSUtil.class);
/** 上傳檔案*/
public String upLoad(File file){
        logger.info("------OSS檔案上傳開始--------"+file.getName());
String endpoint=constantConfig.getLXIMAGE_END_POINT();
System.out.println("獲取到的Point為:"+endpoint);
String accessKeyId=constantConfig.getLXIMAGE_ACCESS_KEY_ID();
String accessKeySecret=constantConfig.getLXIMAGE_ACCESS_KEY_SECRET();
String bucketName=constantConfig.getLXIMAGE_BUCKET_NAME1();
String fileHost=constantConfig.getLXIMAGE_FILE_HOST();
SimpleDateFormat format=new SimpleDateFormat("yyyy-MM-dd");
String dateStr=format.format(new Date());
// 判斷檔案
if(file==null){
            return null;
}
        OSSClient client=new OSSClient(endpoint, accessKeyId, accessKeySecret);
        try {
            // 判斷容器是否存在,不存在就建立
if (!client.doesBucketExist(bucketName)) {
                client.createBucket(bucketName);
CreateBucketRequest createBucketRequest = new CreateBucketRequest(bucketName);
createBucketRequest.setCannedACL(CannedAccessControlList.PublicRead);
client.createBucket(createBucketRequest);
}
            // 設定檔案路徑和名稱
String fileUrl = fileHost + "/" + (dateStr + "/" + UUID.randomUUID().toString().replace("-", "") + "-" + file.getName());
// 上傳檔案
PutObjectResult result = client.putObject(new PutObjectRequest(bucketName, fileUrl, file));
// 設定許可權(公開讀)
client.setBucketAcl(bucketName, CannedAccessControlList.PublicRead);
            if (result != null) {
                logger.info("------OSS檔案上傳成功------" + fileUrl);
}
        }catch (OSSException oe){
             logger.error(oe.getMessage());
}catch (ClientException ce){
            logger.error(ce.getErrorMessage());
}finally{
            if(client!=null){
                client.shutdown();
}
        }
        return null;
}
}
4. 上傳控制器
@Controller
public class UpLoadController {

    private final org.slf4j.Logger logger = LoggerFactory.getLogger(getClass());
    private static final String TO_PATH="upLoad";
    private static final String RETURN_PATH="success";
@Autowired
private AliyunOSSUtil aliyunOSSUtil;
@RequestMapping("/toUpLoadFile")
    public String toUpLoadFile(){
        return TO_PATH;
}

    /** 檔案上傳*/
@RequestMapping(value = "/uploadFile")
    public String uploadBlog(@RequestParam("file") MultipartFile file) {
        logger.info("檔案上傳");
String filename = file.getOriginalFilename();
System.out.println(filename);
        try {

            if (file!=null) {
                if (!"".equals(filename.trim())) {
                    File newFile = new File(filename);
FileOutputStream os = new FileOutputStream(newFile);
os.write(file.getBytes());
os.close();
file.transferTo(newFile);
// 上傳到OSS
String uploadUrl = aliyunOSSUtil.upLoad(newFile);
}

            }
        } catch (Exception ex) {
            ex.printStackTrace();
}
        return RETURN_PATH;
}
}
5. 上傳頁面
<!DOCTYPE html>
<html xmlns="http://www.w3.org/1999/xhtml" xmlns:th="http://www.thymeleaf.org" >
<head>
    <meta charset="UTF-8">
    <title>【基於OSS的上傳檔案頁面】</title>
    <link rel="stylesheet" th:href="@{/css/bootstrap.min.css}"  media="all">
    <style type="text/css">
*{
               margin:0;
padding:0;
}
           #group{
               position: absolute;
left:580px;
}
           #submit{
               position: absolute;
top:140px;
left:580px;
}
    </style>
</head>
<body>
    <div align="center">
        <h2 style="color:orangered;">基於OSS的上傳檔案頁面</h2>
    </div>
    <br/>
    <form action="/uploadFile" enctype="multipart/form-data" method="post">
        <div class="form-group" id="group">
            <label for="exampleInputFile">File input</label>
            <input type="file" id="exampleInputFile" name="file">
        </div>
        <button type="submit" class="btn btn-default" id="submit">上傳</button>
    </form>
</body>
</html>
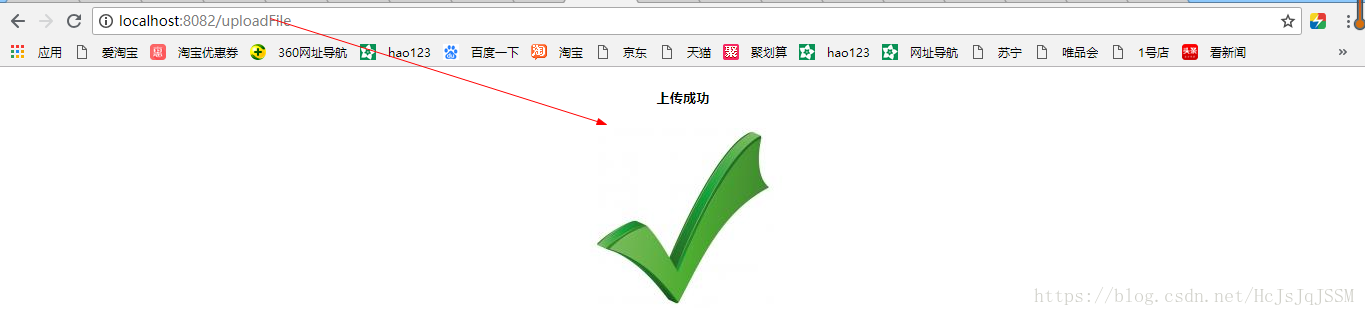
6. 上傳成功頁面
<!DOCTYPE html>
<html xmlns="http://www.w3.org/1999/xhtml" xmlns:th="http://www.thymeleaf.org" >
<head>
    <meta charset="UTF-8">
    <title>【檔案上傳成功頁面】</title>
</head>
<body>
     <div align="center">
         <h5>上傳成功</h5>
         <img src="images/true.jpg" />
     </div>
</body>
</html>
四:執行結果

控制檯檢視圖片

2018-07-09 22:13:07.660 INFO 30080 --- [nio-8082-exec-4] c.l.myvideo.controller.UpLoadController : ============>檔案上傳
star.jpg
2018-07-09 22:13:07.667 INFO 30080 --- [nio-8082-exec-4] com.lx.myvideo.util.AliyunOSSUtil : ------OSS檔案上傳開始--------star.jpg
2018-07-09 22:13:09.510 INFO 30080 --- [nio-8082-exec-4] com.lx.myvideo.util.AliyunOSSUtil : ------OSS檔案上傳成功------file/2018-07-09/5e5170620a664f488f2df0f30c4823e2-star.jpg
這個預設的上傳大小是可以看下面的異常, 預設的大小是128KB.這個可以在控制檯設定上傳大小的.
FileSizeLimitExceededException: The field file exceeds its maximum permitted size of 1048576 bytes.
五:注意事項
1. 寫表單的時候注意不要落了name="file".基本操作.
2. @Value的時候屬性欄位不要使用static,final修飾,否則就取不到值的.為null.先JUnit單元測試一下嘛,方法上 go to.
3. 遇到陌生的錯誤,先思考一下程式應有的流程.DeBug一下嘛.
一句話就是IO流將檔案寫入你想要的地方.詳細的開發文件仔細看一下吧.