
本地手動一步步搭建WNMP環境(nginx+php+mysql) Windows平臺
環境:Windows 10 x64
參考文章: WNMP完整教程 windows下PHP環境的搭建
我自定義安裝後的目錄結構:
+WNMP
++MySQL_Server-8.0.13
++nginx-1.15.8
++php-7.3.1
++www
\wnmp WNMP總目錄 ├─MySQL_Server-8.0.13 MySQL安裝目錄 ├─nginx Nginx1.15.8安裝目錄 ├─php PHP7.3.1安裝目錄 ├─www 網站目錄C:\WNMP\MySQL_Server-8.0.13\bin;C:\WNMP\nginx;C:\WNMP\php;
一、下載
MySQL下載:https://www.mysql.com/why-mysql/windows/
(我選的是MySQL Installer for Windows)關於web版和普通版的區別,只需要注意看下載頁的說明。官網有幫助可以看。
PHP下載:https://windows.php.net/download/
我選的是x64最新版的Non Thread Safe版
(在Windows下是用FastCGI模式執行php,所以就沒必要使用執行緒安全檢查,選用非執行緒安全版效率會高一些。) 區別在此
Nginx下載:https://nginx.org/en/download.html
我選了 nginx/Windows-1.15.8
二、安裝/配置
1,MySQL8的msi包安裝
更詳細的安裝可看Windows上安裝MySQL
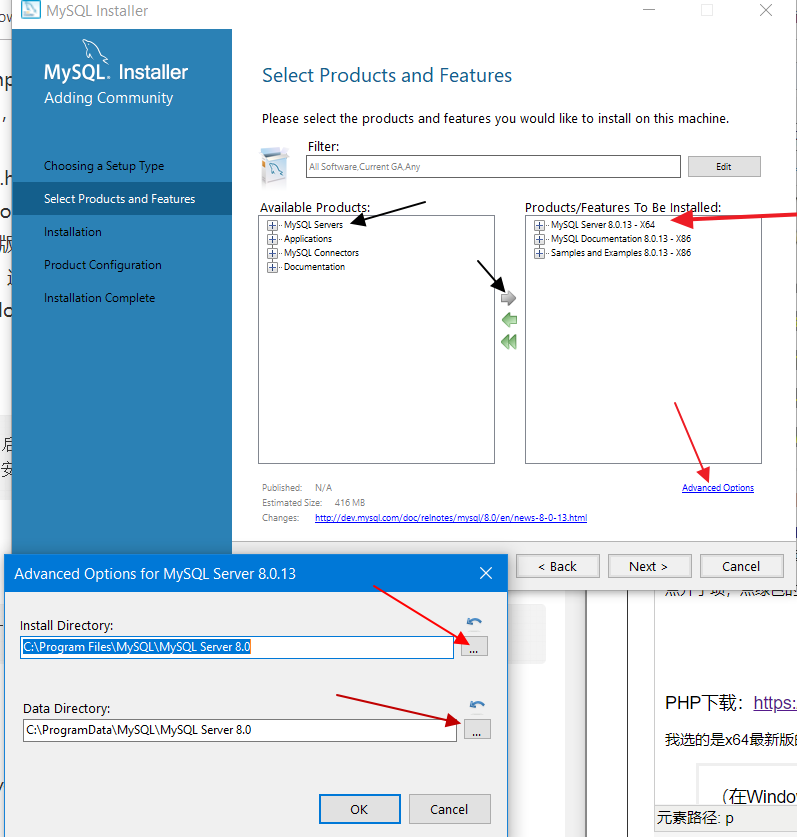
安裝過程我選了自定義安裝,Server和一些示例幫助
點開子項,點綠色的箭頭就是新增功能。然後點右側功能就能Advanced Options自定義安裝路徑
我只改了安裝路徑為*WNMP\MySQL_Server-8.0.13
然後一路確定到Accounts and Roles那一步,好了,現在設定你想要的root賬號密碼,並新增一個常用非root使用者,然後就一路確定到底。最後它會讓你測試連線到你剛安裝好的MySQL服務。最後本地MySQL伺服器配置完成,它會給你一個log(可在log裡搜尋一下是否有錯誤)
2,安裝PHP
解壓php壓縮包到wnmp目錄下,複製貼上php安裝目錄(我的是php)裡的php.ini-development為php.ini
[文章引用]
逐一查詢到如下程式碼修改並將前面的分號去掉(具體含義請谷歌百度必應)
    ;extension_dir = "ext"
  ;date.timezone =
    ;cgi.force_redirect = 1
    ;cgi.fix_pathinfo=1
    ;fastcgi.impersonate = 1
    ;cgi.rfc2616_headers = 0 改為: extension_dir = "C:/WNMP/php/ext"  也就是 你的php安裝目錄/ext date.timezone = Asia/Shanghai
  cgi.force_redirect = 1 cgi.fix_pathinfo=1 fastcgi.impersonate = 1 cgi.rfc2616_headers = 0
3,安裝Nginx
[文章引用自韶華傾負]1.將Nginx壓縮包解壓到建好的wnmp/nginx資料夾中; 2.開啟nginx/conf/nginx.conf進行配置 將 server { listen 80; server_name localhost; #charset koi8-r; #access_log logs/host.access.log main; location / { root html; index index.html index.htm; } # pass the PHP scripts to FastCGI server listening on 127.0.0.1:9000 # #location ~ \.php$ { # root html; # fastcgi_pass 127.0.0.1:9000; # fastcgi_index index.php; # fastcgi_param SCRIPT_FILENAME /scripts$fastcgi_script_name; # include fastcgi_params; #} } 注:
【由於80和預設IIS衝突,我自己的改成了listen 82埠】
配置檔案修改: server { listen 80; server_name localhost; #charset koi8-r; #access_log logs/host.access.log main; location / { root C:/WNMP/www; index index.html index.htm index.php; } # pass the PHP scripts to FastCGI server listening on 127.0.0.1:9000 # location ~ \.php$ { root C:/WNMP/www; fastcgi_pass 127.0.0.1:9000; fastcgi_index index.php; fastcgi_param SCRIPT_FILENAME $document_root$fastcgi_script_name; include fastcgi_params; } } 儲存後雙擊nginx.exe就可以直接執行Nginx伺服器(雙擊nginx.exe),開啟瀏覽器輸入localhost就可以看到歡迎頁。
配置成功效果:
附上Nginx命令
切換到nginx目錄過載nginx :
nginx -s reload
三、測試
配置環境後檢視版本號
mysqld --version
nginx -v
php -v
1,開啟cmd,切換到php-cgi.exe所在目錄:
php-cgi.exe -b 127.0.0.1:9000 -c php.ini
啟動後最小化,再新開一個cmd,輸入
netstat -a|findstr "9000"
檢視9000埠是否被監聽,是則說明cgi執行成功。
2.在www目錄下新建index.php<?php phpinfo(); ?>
測試MySQL:
再nginx的html目錄(即WNMP\www)下新建MySqltest.php
<?php
$link = new mysqli('localhost', 'root', 'root');
if(!$link) {
    echo "FAILD!";
} else {
    echo "OK!";
}
紅色部分的請填寫自己的伺服器地址(我的是localhost:82)、資料庫使用者名稱、密碼
內容含義參考:https://www.w3schools.com/php/func_mysqli_connect.asp瀏覽器訪問 http://localhost/sqltest.php (如果nginx用82埠,請訪問http://localhost:82/sqltest.php)
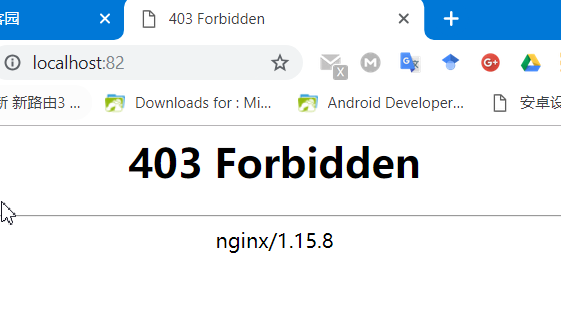
若結果如下,即紅色部分填寫出錯(登入資料庫失敗)

如果沒問題,那本地WNMP就初步配置好了。