動畫篇(二)——android屬性動畫
本文講介紹android在3.0之後推出的一種新的動畫機制,屬性動畫,對動畫不瞭解的同學,可以先去看看動畫篇(一)——android動畫基礎這篇文章。
本人水平有限,文章中如果出現什麼不正確或者模糊的地方,還請各位小夥伴留下評論,多多指教 : )
好了,現在我們進入正題。
基本概念
【android傳統動畫Animation與屬性動畫Animator的工作原理】
簡單來說,傳統動畫就是不斷的去呼叫系統的onDraw方法,去重新繪製元件,而屬性動畫則是通過呼叫屬性的get和set方法重新設定控制元件的屬性值,實現動畫的效果
【Animator出現的原因】
既然已經存在了可以實現各種動畫的方法了,為什麼谷歌還要推出新的動畫框架呢?為了解釋這個問題,我們寫一個小栗子。
首先是佈局檔案,很簡單,就是一個imageView
<?xml version="1.0" encoding="utf-8"?>
<RelativeLayout xmlns:android="http://schemas.android.com/apk/res/android"
android:layout_width="match_parent"
android:layout_height="match_parent">
<ImageView
android:id="@+id/image"
android:layout_width 接下來是java程式碼,我們找到這個view,為其新增點選事件,這裡直接簡單的Toast一下,表示view被點選;然後我們為這個view新增一個位移動畫。程式碼如下:
package com.example.dell.myapplication;
import android.app.Activity;
import android.os.Bundle;
import 我們來看看演示效果:
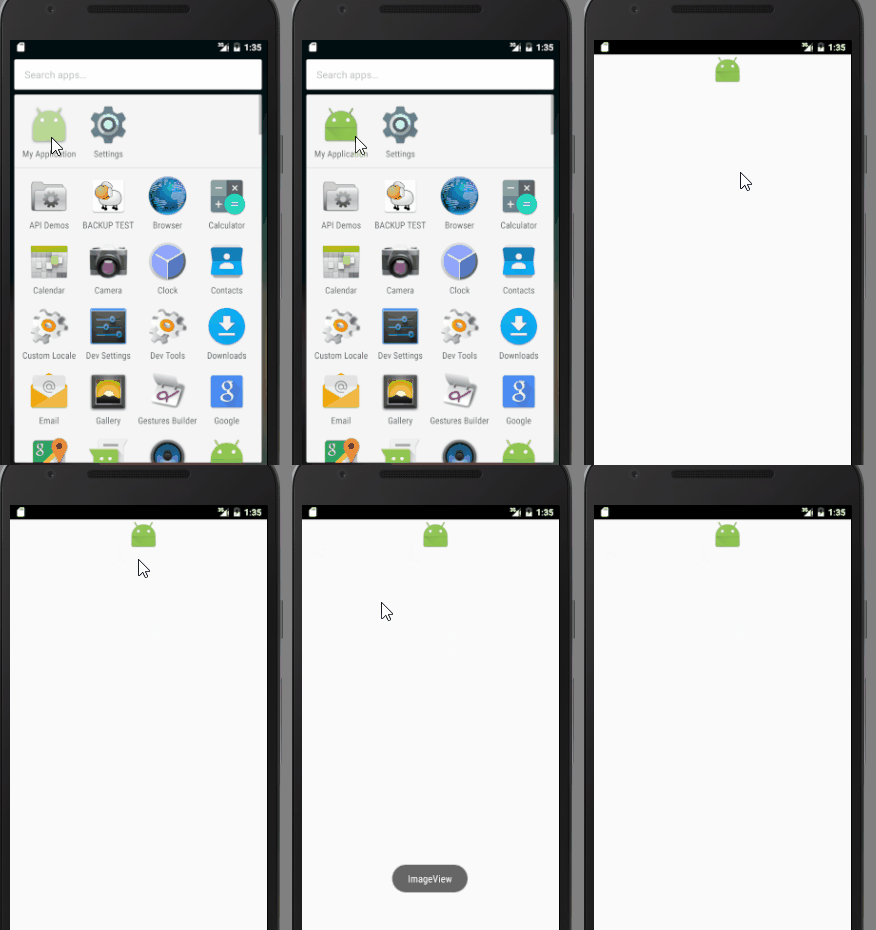
可以看到,當我們進入到Activity當中後,動畫就已經完成了,大家注意一下,這段程式碼其實是有問題的,因為我們只看到了動畫的結果,而沒看到動畫的過程,這樣一來,動畫設定的就毫無意義。為什麼會出現這種情況呢?這涉及到了Activity生命週期的內容,答案將在本節最後揭曉。
現在這時我先點的imageview完成動畫後的位置(0f,100f)發現並沒有彈出Toast,然後我們再去點選imageView的初始位置(0f,0f),有意思的事情發生了,Toast被彈出來了
那麼這些說明了什麼呢?
說明了我們在使用Animation的時候,雖然可以改變動畫在介面上顯示的位置,但是卻不能改變點選事件所在的位置。
到這裡,傳統Animation一個很大的侷限性,它只是重繪了動畫,改變了顯示的位置,但是真正事件響應的位置,卻沒有發生任何改變。所以,Animation並不適合製作具有互動的動畫效果。它只能用來完成一些顯示性的效果。
那麼下面,我們就來列一下傳統Animation的侷限性
【Animation的侷限性】
- 第一點就是上面所說的內容,不在囉嗦了。
- 因為Animation的工作原理,上面介紹了,是不斷呼叫系統的onDraw()方法去繪製圖像,那麼必然十分耗費GPU,效率不高
- Animation提供了位移、旋轉、透明度、縮放這四種動畫,雖然經過組合,可以創造出很多的動畫效果,但是有時候依然無法制作出複雜好看的動畫,即存在動畫效果上的侷限。
為解決以上的侷限性,Google在android3.0後推出了屬性動畫。那麼接下來我們就正式進入屬性動畫的內容。
在這之前,我們似乎還有一個小問題沒有解決,那就是為什麼上一個栗子的動畫沒有顯示出來呢?
答案是,動畫的啟動寫在了onCreate()方法當中,而在這之後,還有onStart(),onResume()方法,而使用者真正看到介面的時候,onCreate方法早已經呼叫完畢了,此時如果動畫的持續時間過短,那麼使用者看到介面時動畫自然已經結束了。解決的辦法也非常簡單,只需要把動畫的啟動邏輯放在onResume() (活動準備好和使用者進行互動的時候 )方法當中即可
補充:經過測試,發現在onResume()方法當中也會出現一些延時,這因為機器效能的問題,啟動一個活動的時間長短不一,即便呼叫了onResume()方法,距離Activity的啟動可能還有一段時間。但是這種寫法肯定要比在onCreate()方法中啟動動畫要好一些。
屬性動畫——ObjectAnimator
【“translationX”】
現在我們在上面栗子的基礎上增加一個button,將動畫的啟動邏輯放在裡面,這樣就能避免剛才動畫顯示的問題。
更改後的佈局
<?xml version="1.0" encoding="utf-8"?>
<RelativeLayout xmlns:android="http://schemas.android.com/apk/res/android"
    android:layout_width="match_parent"
    android:layout_height="match_parent">

    <ImageView
        android:id="@+id/image"
        android:layout_width="wrap_content"
        android:layout_height="wrap_content"
        android:src="@mipmap/ic_launcher"/>
    <Button
        android:id="@+id/bt_move"
        android:layout_width="wrap_content"
        android:layout_height="wrap_content"
        android:text="move"
        android:layout_centerVertical="true"
        android:layout_centerHorizontal="true" />
</RelativeLayout>
接下來是java程式碼
public class MainActivity extends Activity {
    private ImageView imageView;
    private TranslateAnimation animation;
    private Button bt_move;

    @Override
    protected void onCreate(Bundle savedInstanceState) {
        super.onCreate(savedInstanceState);
        setContentView(R.layout.activity_main);
        imageView= (ImageView) findViewById(R.id.image);
        bt_move= (Button) findViewById(R.id.bt_move);
        //view的點選事件
        imageView.setOnClickListener(new View.OnClickListener() {
            @Override
            public void onClick(View view) {
                Toast.makeText(MainActivity.this,"ImageView",Toast.LENGTH_SHORT).show();
            }
        });
        //button的點選事件
        bt_move.setOnClickListener(new View.OnClickListener() {
            @Override
            public void onClick(View view) {
                //使用ObjectAnimator
                //第一個引數是被操縱的view物件;第二個引數是被操作的屬性
                //第三,第四個引數是可變長的數,表示熟悉所變化的範圍
                ObjectAnimator objectAnimator= ObjectAnimator.ofFloat(imageView,"translationX",0f,200f);
                //設定顯示時長
                objectAnimator.setDuration(2000);
                //讓動畫開始
                objectAnimator.start();

            }
        });

    }

}
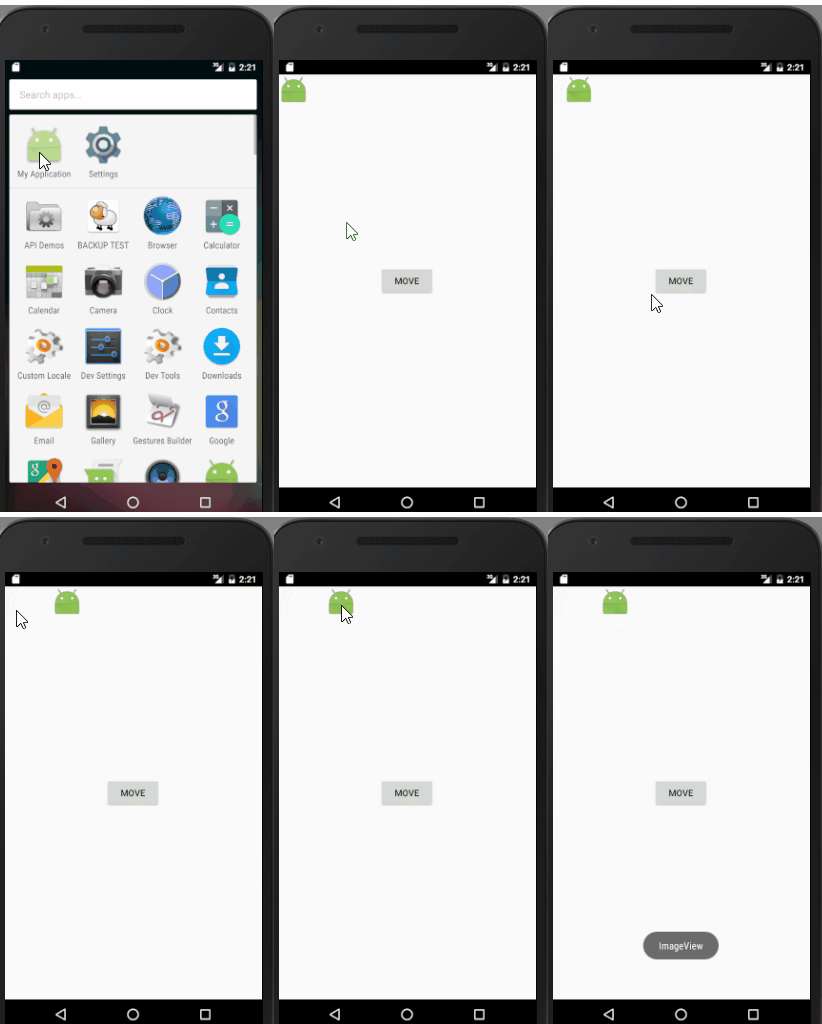
我們看一下效果
這裡很明顯,view的點選事件也發生了相應的變化。
【“translationY”】
想要改變Y上的屬性,也很簡單,程式碼如下:
ObjectAnimator objectAnimator= ObjectAnimator.ofFloat(imageView,"translationY",0f,200f);
    //設定顯示時長
   objectAnimator.setDuration(2000);
   //讓動畫開始
objectAnimator.start();看到這裡,有的小夥伴可能會有疑問,到底那些屬性是我們可以去設定的呢?其實只要是Google定義了的可以通過set和get去操縱的屬性,我們都可以在屬性動畫中對其進行設定。
【“X和Y”】
前面已經講了translationX和translationY,那麼現在出現的X和Y又是什麼東西呢?
translationX是指的是物體的偏移量,而X是指物體最後到達的一個絕對值,即具體移動到的座標
【“rotation”】
旋轉屬性,旋轉360度
ObjectAnimator objectAnimator= ObjectAnimator.ofFloat(imageView,"rotation",0f,360f);
                //設定顯示時長
                objectAnimator.setDuration(2000);
                //讓動畫開始
                objectAnimator.start();
以此類推,可以操作的屬性還有很多,凡是可以通過get或者set設定的屬性,都可以設定成屬性動畫。
【組合動畫】
現在我們使用ObjectAnimator來進行多個動畫效果的組合
  ObjectAnimator.ofFloat(imageView,"translationY",0f,100f).setDuration(1000).start();
                ObjectAnimator.ofFloat(imageView,"translationX",0f,100f).setDuration(1000).start();
                ObjectAnimator.ofFloat(imageView,"rotation",0f,360f).setDuration(1000).start();
效果圖:
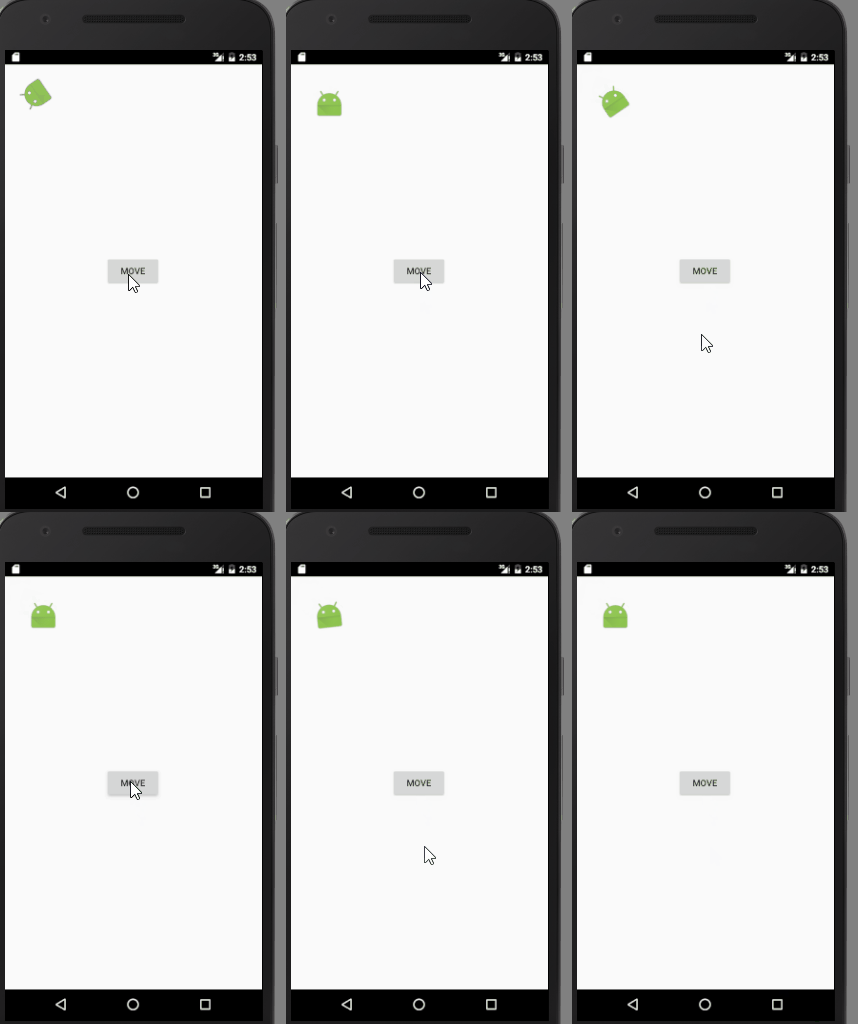
可以發現,這三個動畫的效果是同時完成的,因為在呼叫start()方法之後,實際上是一個非同步的過程。
實際上,我們還有更好的方法去實現這種組合效果,我們對上面的寫法進行優化:
       PropertyValuesHolder p1=PropertyValuesHolder.ofFloat("translationY",0f,100f);
                PropertyValuesHolder p2=PropertyValuesHolder.ofFloat("translationX",0f,100f);
                PropertyValuesHolder p3=PropertyValuesHolder.ofFloat("rotation",0f,360f);
                //通過ObjectAnimator來呼叫ofPropertyValuesHolder()方法
                //第一個引數傳遞view,後續的引數為可變長的陣列
ObjectAnimator.ofPropertyValuesHolder(imageView,p1,p2,p3).setDuration(1000).start();這裡我們使用了一個PropertyValuesHolder的容器來容納3個動畫效果,然後在最後呼叫ObjectAnimator的ofPropertyValuesHolder()方法來載入之前定義的三個holder。那麼這樣寫的好處是什麼呢?Google在PropertyValuesHolder這個類中對動畫進行了一些優化,這些優化使得我們在使用多個動畫屬性的時候能夠更加有效率,更加節省系統資源。
在前面的動畫基礎當中,有一個動畫集合的概念,那麼在屬性動畫當中其實也有這麼一個集合的概念。下面我們就用AnimatorSet來實現上述的效果。
程式碼如下:
AnimatorSet animatorSet=new AnimatorSet();
                //接下來將單個動畫新增到AnimatorSet當中
                animatorSet.playTogether(animator1,animator2,animator3);
                animatorSet.setDuration(1000);
                animatorSet.start();
當然在AnimatorSet方法當中我們還有更多的選擇去控制動畫。從animatorSet.playTogether()這個方法的名字中就能看出,該方法是讓所有的動畫同時起效果,我們才看到了和剛才幾種方法實現的同樣的效果。這裡google還提供了playSequentially()方法,該方法則是按順序去播放動畫。大家可以試一下。
我們還可以使用play()方法,這裡我們實現view在X和Y軸上同時平移,結束之後再旋轉360度。
程式碼如下:
                ObjectAnimator animator1= ObjectAnimator.ofFloat(imageView,"translationY",0f,100f);
                ObjectAnimator animator2= ObjectAnimator.ofFloat(imageView,"translationX",0f,100f);
                ObjectAnimator animator3= ObjectAnimator.ofFloat(imageView,"rotation",0f,360f);

                AnimatorSet animatorSet=new AnimatorSet();
                //animator1和Animator2同時播放
                animatorSet.play(animator1).with(animator2);
                //Animator3在Animator1或者Animator2結束後播放
                animatorSet.play(animator3).after(animator2);
                animatorSet.setDuration(1000);
                animatorSet.start();
這樣一來就實現了對每個動畫更加細緻的控制。通過play(),with(),after(),before()方法,我們就能做到對一個屬性集合的詳細的順序控制。這種方式,也是屬性動畫框架中使用最多的一種配和。
接下來總結一下
(1)通過ObjectAnimator進行更精細的控制,只控制一個物件的一個屬性。
(2)同時多個ObjectAnimator組合到AnimatorSet當中,可以形成一個完整的動畫效果。
(3)而且AnimatorSet可以自動驅動,可以去呼叫play(),with(),after(),before,playTogether(),playSequentially()實現更為豐富的動畫效果。
動畫事件監聽
顧名思義,和一般的點選事件差不多,我們為ObjectAnimator設定監聽事件,以滿足實際開發當中的需求。
       bt_move.setOnClickListener(new View.OnClickListener() {
            @Override
            public void onClick(View view) {

  ………………

                ObjectAnimator bt_animator=ObjectAnimator.ofFloat(view,"alpha",0f,1f);
                bt_animator.setDuration(1000);
                  bt_animator.addListener(new Animator.AnimatorListener() {
                    @Override
                    public void onAnimationStart(Animator animator) {
                    //動畫開始前呼叫
                    }

                    @Override
                    public void onAnimationEnd(Animator animator) {
                    //動畫結束後呼叫,為簡單起見,這裡我們只簡單的提示一行字
                        Toast.makeText(MainActivity.this,"anim is end",Toast.LENGTH_SHORT).show();
                    }

                    @Override
                    public void onAnimationCancel(Animator animator) {
                    //動畫被取消後
                    }

                    @Override
                    public void onAnimationRepeat(Animator animator) {
                    //動畫重複時呼叫
                    }
                });
                bt_animator.start();

…………
            }
        });
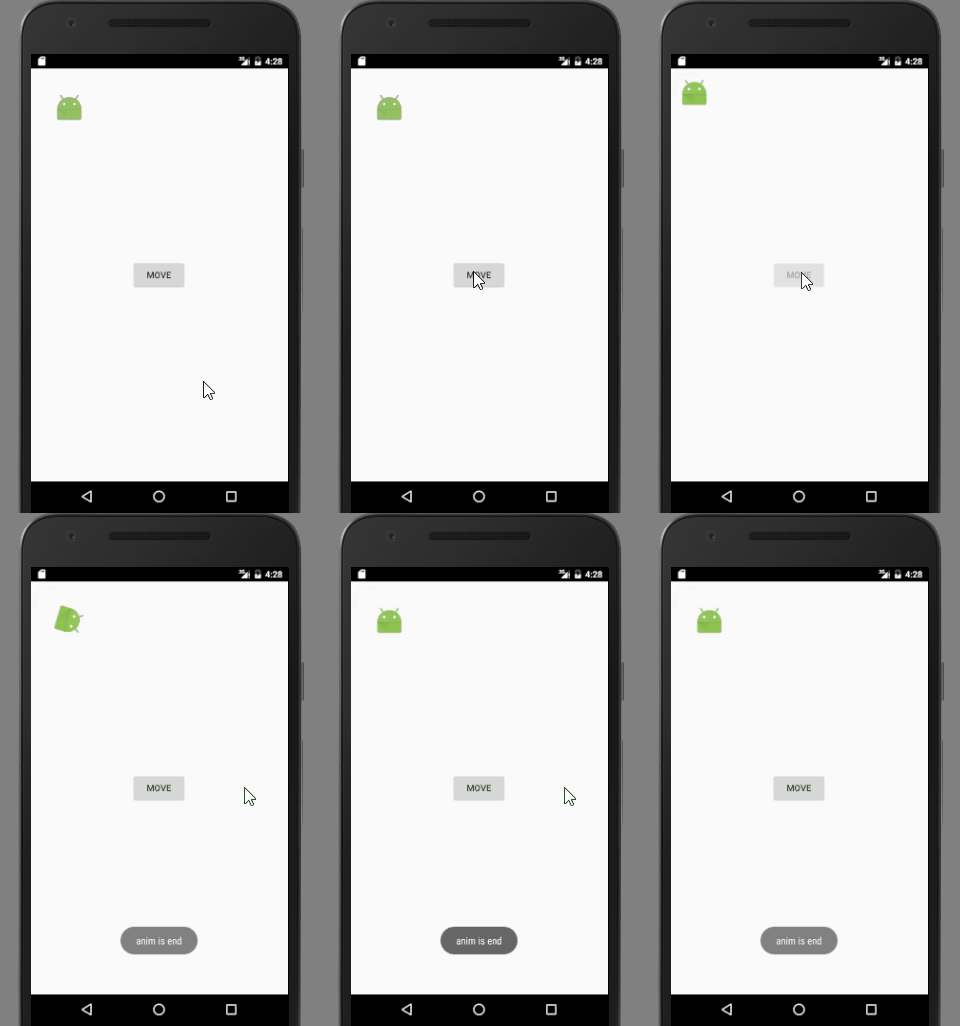
我們在上一個栗子的基礎上為我們的Button新增一個alpha動畫,讓其從透明變成不透明,然後在這個動畫裡面加入了一個監聽事件,在監聽事件當中,我們看到了4個需要重寫的方法,通過這4個方法,我們就可以監聽動畫在不同事件段所需要完成的操作。
演示效果:
現在我們在考慮一種情況,那就是如果我們並不需要重寫那麼多的方法該怎麼辦呢?這時可以使用android系統提供的一個更方便的介面AnimatorListenerAdapter(),大家可以發現,系統幫我們實現了很多方法,這裡我們只需要新增需要重寫的方法即可
程式碼如下:
 bt_animator.addListener(new AnimatorListenerAdapter() {
                    @Override
                    public void onAnimationEnd(Animator animation) {
                        super.onAnimationEnd(animation);
                        Toast.makeText(MainActivity.this,"anim is end",Toast.LENGTH_SHORT).show();
                    }
                });
這樣我們就實現了對某一個事件的監聽,而不需要寫出所有的事件。
總結一下
看到出來動畫監聽事件還是比較簡單的,我們只需要呼叫ObjectAnimator的addListener()方法,就能為我們的Animator增加一個監聽事件,接著我們可以通過 AnimatorListenerAdapter這個類,去有選擇的去選取我們需要監聽的事件。
小栗子
這裡的栗子來自於慕課網的課程,有興趣的小夥伴可以去看看。
在開始寫這個栗子之前,請各位小夥伴去下載一下素材,其中a.png的尺寸有點問題,改為58*58即可
演示效果:
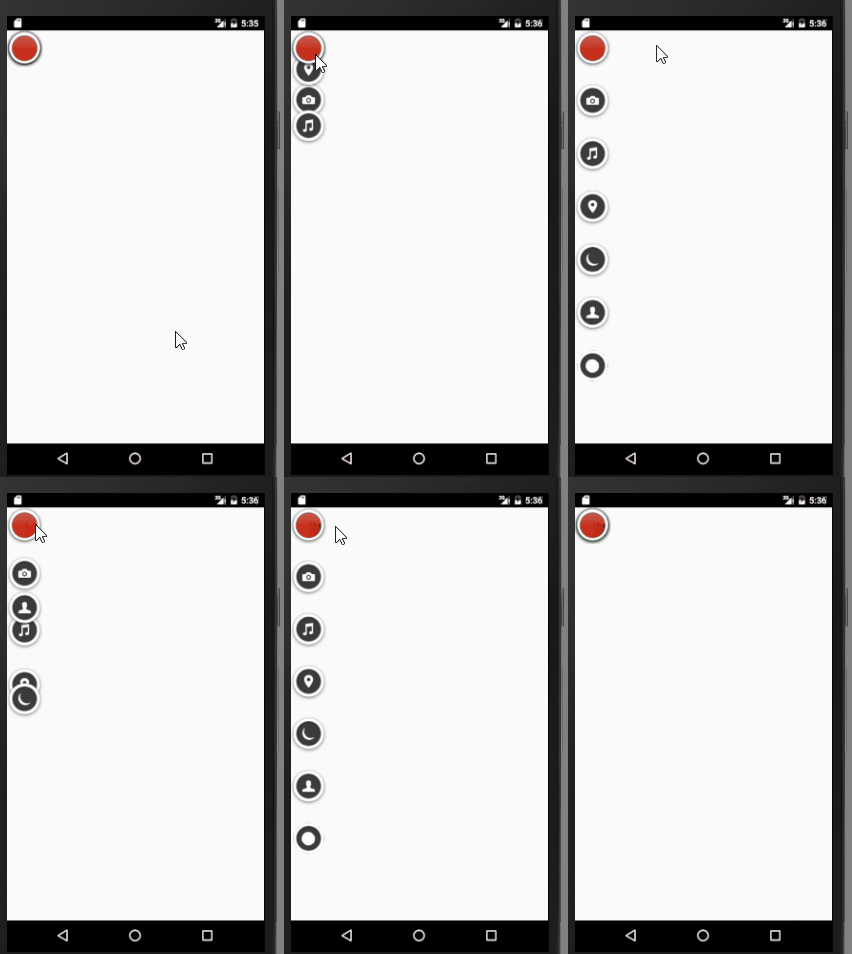
接下來讓讓我們看看佈局檔案
<?xml version="1.0" encoding="utf-8"?>
<FrameLayout xmlns:android="http://schemas.android.com/apk/res/android"
    android:layout_width="match_parent"
    android:layout_height="match_parent">
    <ImageView
        android:id="@+id/view_b"
        android:src="@drawable/b"
        android:layout_width="wrap_content"
        android:layout_height="wrap_content" />
    <ImageView
        android:id="@+id/view_c"
        android:src="@drawable/c"
        android:layout_width="wrap_content"
        android:layout_height="wrap_content" />
    <ImageView
        android:id="@+id/view_d"
        android:src="@drawable/d"
        android:layout_width="wrap_content"
        android:layout_height="wrap_content" />
    <ImageView
        android:id="@+id/view_e"
        android:src="@drawable/e"
        android:layout_width="wrap_content"
        android:layout_height="wrap_content" />
    <ImageView
        android:id="@+id/view_f"
        android:src="@drawable/f"
        android:layout_width="wrap_content"
        android:layout_height="wrap_content" />
    <ImageView
        android:id="@+id/view_g"
        android:src="@drawable/g"
        android:layout_width="wrap_content"
        android:layout_height="wrap_content" />
    <ImageView
        android:id="@+id/view_h"
        android:src="@drawable/h"
        android:layout_width="wrap_content"
        android:layout_height="wrap_content" />
    <ImageView
        android:id="@+id/view_a"
        android:src="@drawable/a"
        android:layout_width="wrap_content"
        android:layout_height="wrap_content" />

</FrameLayout>
裡面定義了我們需要用到的imageView
接下來是比較關鍵的java程式碼:
public class MainActivity extends Activity implements View.OnClickListener {
    //定義每一個圖片資源
    private int[] res = {R.id.view_a, R.id.view_b, R.id.view_c, R.id.view_d, R.id.view_e, R.id.view_f, R.id.view_g,
            R.id.view_h};
    //儲存viewd的list集合
    private List<ImageView> imageViewList = new ArrayList<>();
    //設定一個flag來標示列表是否展開
    private boolean flag = true;

    @Override
    protected void onCreate(Bundle savedInstanceState) {
        super.onCreate(savedInstanceState);
        setContentView(R.layout.activity_my);
        for (int i = 0; i < res.length; i++) {
            //例項化imageView
            ImageView imageView = (ImageView) findViewById(res[i]);
            //新增點選事件
            imageView.setOnClickListener(this);
            //將每一個ImageView新增到list當中
            imageViewList.add(imageView);
        }

    }

    @Override
    public void onClick(View v) {
        switch (v.getId()) {
            case R.id.view_a:
                //點選最上面的圖片,顯示展開動畫
                //動畫方法
                if (flag) {
                    //列表未展開
                    startAnimation();
                    flag = false;
                } else {
                    //列表已展開
                    stopAnimation();
                    flag = true;
                }
                break;
            default:
                //其他按鈕
                Toast.makeText(this, "clicked", Toast.LENGTH_SHORT).show();
                break;
        }
    }

    private void stopAnimation() {
        for (int i = 1; i < res.length - 1; i++) {
            ObjectAnimator animator = ObjectAnimator.ofFloat(imageViewList.get(i), "translationY", 200 * i, 0);
            animator.setDuration(500);
            //設定插值器
            animator.setInterpolator(new AnticipateInterpolator());
            animator.start();
        }
    }

    private void startAnimation() {
        for (int i = 1; i < res.length - 1; i++) {
            ObjectAnimator animator = ObjectAnimator.ofFloat(imageViewList.get(i), "translationY", 0f, 200 * i);
            animator.setDuration(500);
            //設定延遲,讓動畫更加豐富
            animator.setStartDelay(i * 100);
            //設定插值器
            animator.setInterpolator(new OvershootInterpolator());
            animator.start();
        }
    }
}
上述程式碼當中有非常詳細的註釋,這裡就不多解釋了。為了讓動畫效果更棒,有時我們還可以為動畫新增差插器(interpolator)。android內建的插值器有如下
- Accelerate
- Decelerate
- Accelerate/Decelerate、
- Overshoot
- Bounce
通過插值器,我們讓某一屬性在數值上的變化時,可以擁有不同的加速曲線,進而讓我們的動畫更加豐富。

