利用JavaFx開發RIA桌面應用-佈局說明
阿新 • • 發佈:2019-01-24
1.概要
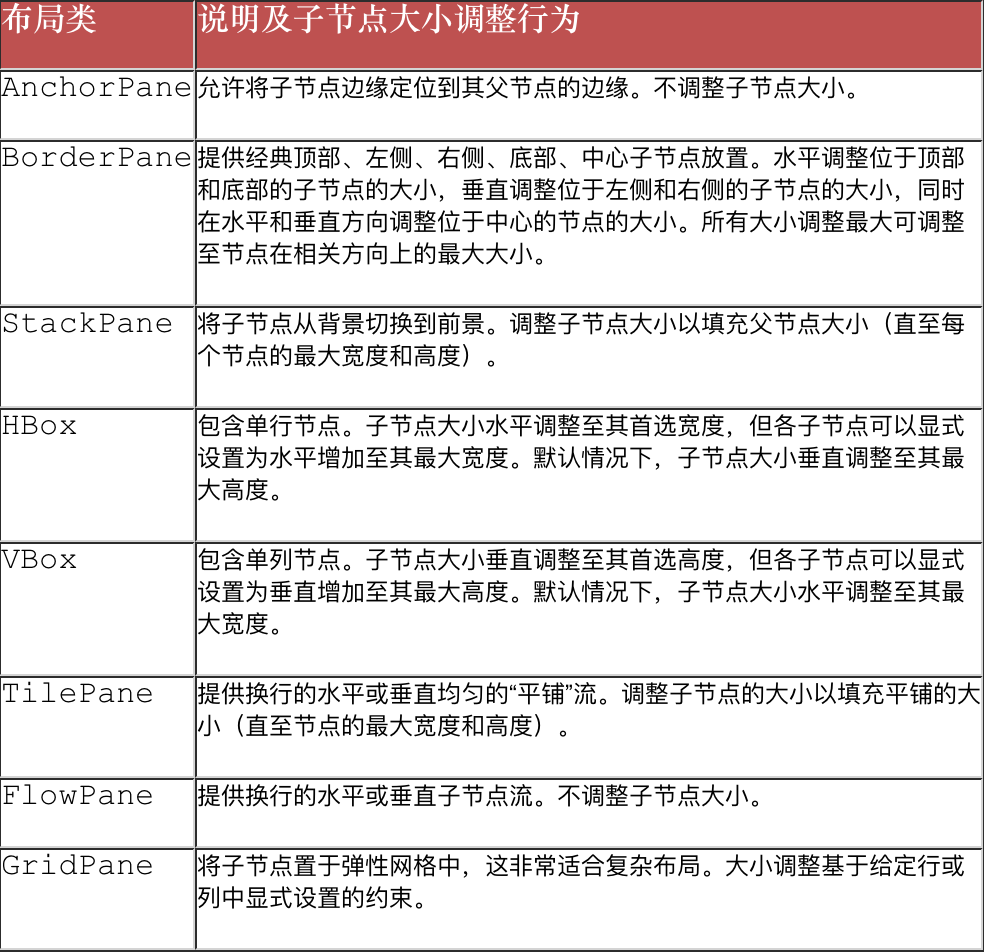
JavaFX 帶有自己的佈局類,如圖所示(來自 Amy Fowler 在 JavaOne 2011 的簡報),旨在便於對任何型別的平臺和任何大小的場景進行使用者介面佈局,這些類位於 javafx.scene.layout 程式包中。

下圖則對每種佈局做了說明:
2.具體說明
本文僅對其中四個經常使用的佈局作演示說明,分別是VBox、HBox、BorderPane、GridPane,當然要設計出比較優美的介面,僅僅靠這些完全不夠,還需要大家自我修行,本文僅僅做一個初級的介紹,讓大家對佈局有一個視覺上的瞭解。
2.1 VBox
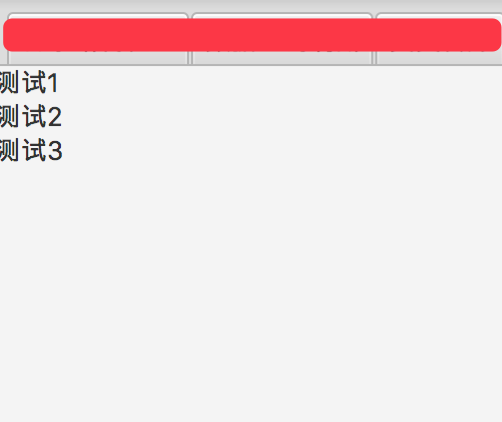
垂直佈局,往佈局中新增的控制元件依據新增順序從上到下垂直排列。如下,往vbox中添加了3個標籤。
VBox vBox = new VBox();

Label label1 = new Label("測試1");
Label label2 = new Label("測試2");
Label label3 = new Label("測試3");

vBox.getChildren().addAll(label1,label2,label3);
效果圖:
2.2 HBox
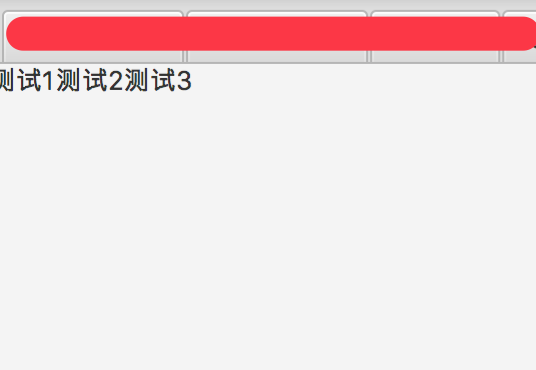
水平佈局,往佈局中新增的控制元件依據新增順序從左到右水平排列。如下,往hbox中添加了3個標籤。
HBox hBox= new HBox();
Label label1 = new Label("測試1" 效果圖:
2.3 BorderPane
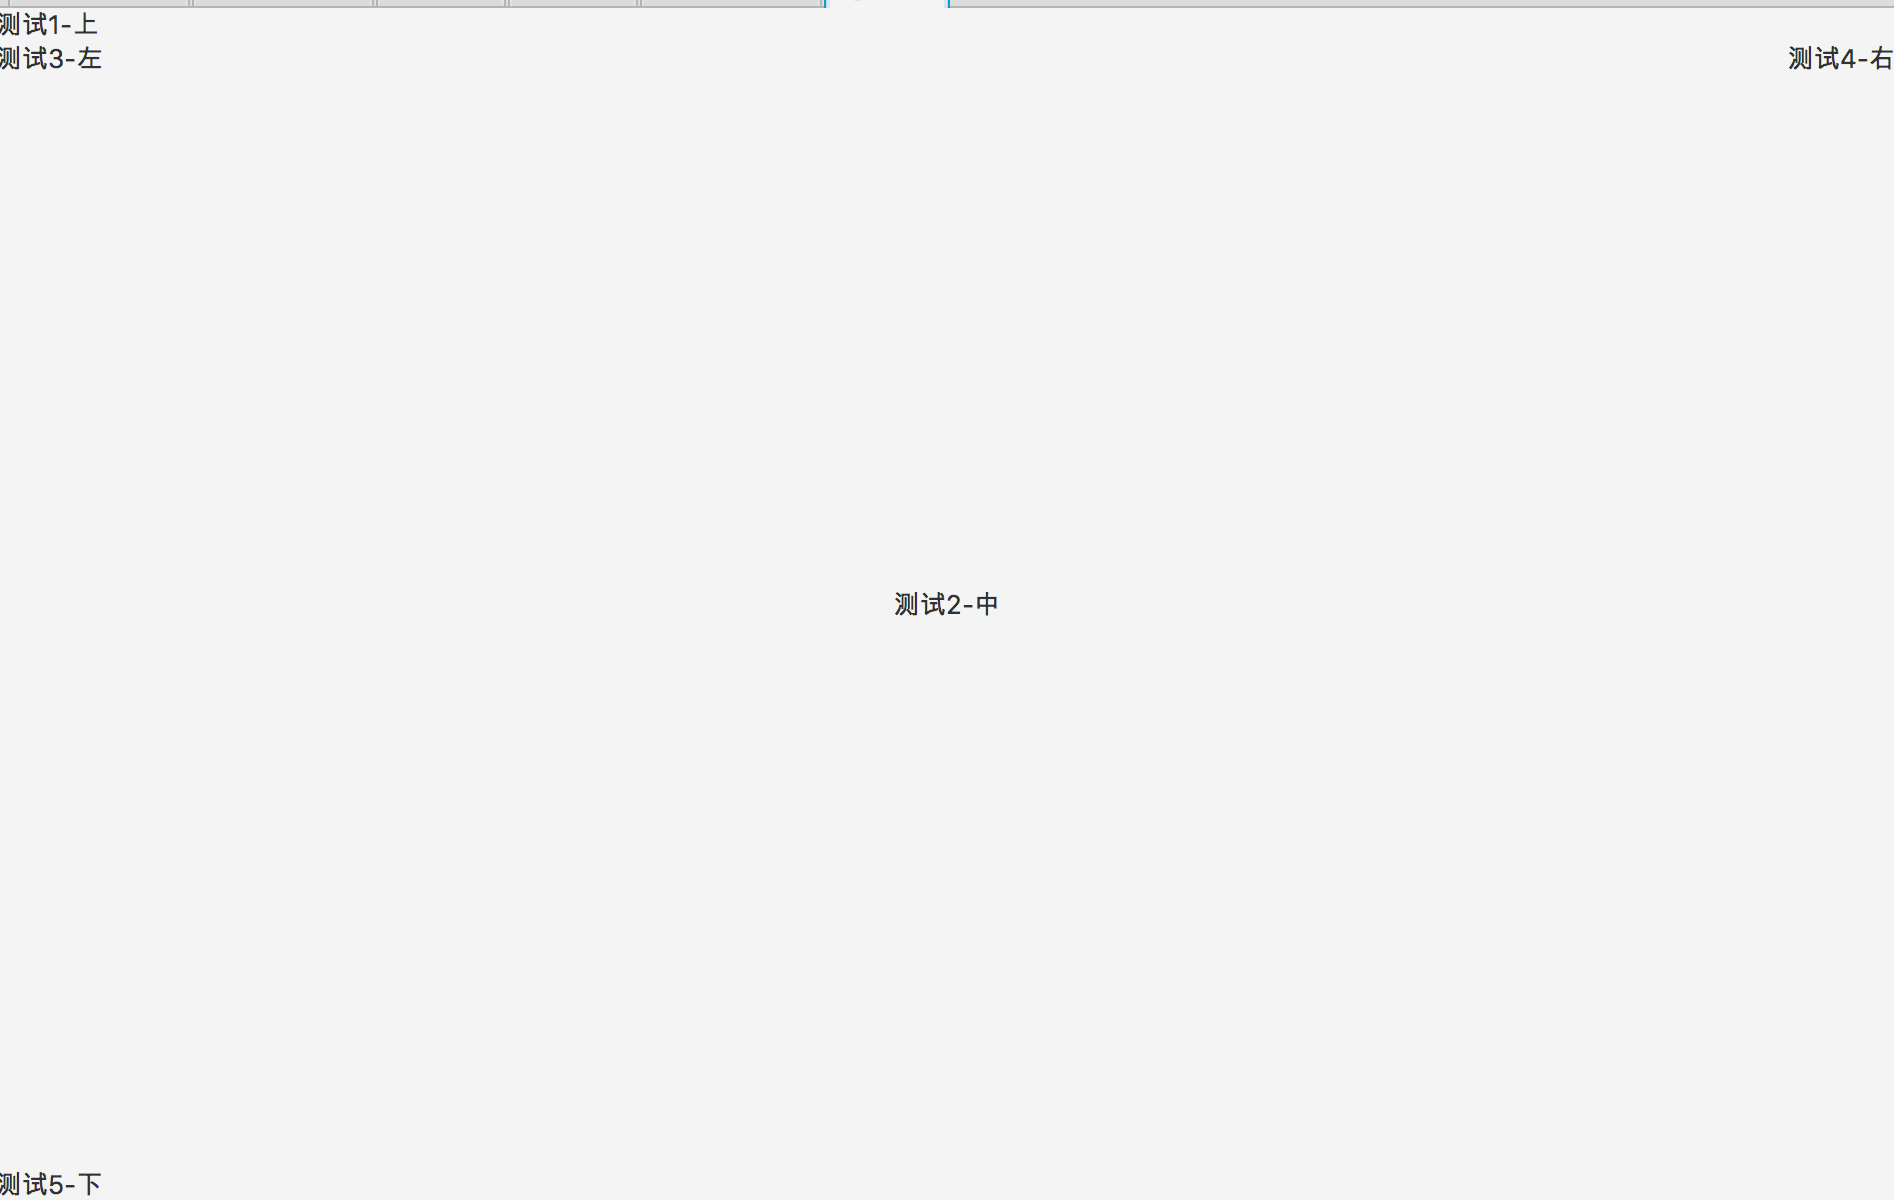
上中下左右經典佈局,提供了5個方位的佈局設定方式。如下,往borderPane中添加了5個標籤。
BorderPane borderPane = new BorderPane();
Label label1 = new Label("測試1-上");
Label label2 = new Label("測試2-中" 效果圖:
2.4 GridPane
網格佈局,可以讓使用者自由配置控制元件方位,可以設計出更美的介面。
        GridPane grid = new GridPane();
        grid.setVgap(10);
        grid.setHgap(10);
        grid.setPadding(new Insets(50,0,0,0));
        //grid.setGridLinesVisible(true);
        grid.setAlignment(Pos.CENTER);

        Text serverName = new Text(Constant.SERVER_NAME);
        ComboBox serverNameInput = myStyleComboBox.getComboBox(1,1);
        serverNameInput.setEditable(true);
        serverNameInput.setMaxWidth(Double.MAX_VALUE);
        grid.add(serverName,1,0,2,1);
        grid.add(serverNameInput,3,0);
        grid.setHgrow(serverNameInput,Priority.ALWAYS);

        Text userName = new Text(Constant.USER_NAME);
        ComboBox userNameInput = myStyleComboBox.getComboBox(1,2);
        userNameInput.setEditable(true);
        userNameInput.setMaxWidth(Double.MAX_VALUE);
        grid.add(userName,1,1,2,1);
        grid.add(userNameInput,3,1);

        Text passWord = new Text(Constant.PASS_WORD);
        PasswordField passWordInput = new PasswordField();
        grid.add(passWord,1,2,2,1);
        grid.add(passWordInput,3,2);

        Text databaseName = new Text(Constant.DATABASE);
        ComboBox databaseNameInput = myStyleComboBox.getComboBox(1,3);
        databaseNameInput.getEditor().setEditable(false);
        databaseNameInput.setEditable(true);
        databaseNameInput.setMaxWidth(Double.MAX_VALUE);
        grid.add(databaseName,1,3,2,1);
        grid.add(databaseNameInput,3,3);

        Text databaseConfig = new Text(Constant.DATABASE_CONFIG);
        TextField databaseConfigInput = new TextField();
        Button buttonOfDataPath = myStyleButton.getShadowButton(Constant.BROWSE, ImageUtil.getImageView("image/upload_file.png"));
        buttonOfDataPath.getStyleClass().add("button-data");
        grid.add(databaseConfig,1,4,2,1);
        grid.add(databaseConfigInput,3,4);
        grid.add(buttonOfDataPath,4,4);

        Text searchType = new Text(Constant.SEARCH_TYPE);
        ToggleGroup toggleGroup = new ToggleGroup();
        RadioButton radioButtonSingle = new RadioButton();
        RadioButton radioButtonBatch = new RadioButton();
        toggleGroup.getToggles().addAll(radioButtonSingle,radioButtonBatch);
        radioButtonSingle.setText(Constant.SINGLE_SEARCH);
        radioButtonBatch.setText(Constant.BATCH_SEARCH);
        grid.add(searchType,1,5,2,1);
        grid.add(radioButtonSingle,3,5);
        grid.add(radioButtonBatch,3,6);


        CheckBox remenberPassWord = new CheckBox();
        Text remenberPassWordTitle = new Text(Constant.REMENBER_PASS_WORD);
        grid.add(remenberPassWord,1,7);
        grid.add(remenberPassWordTitle,2,7);
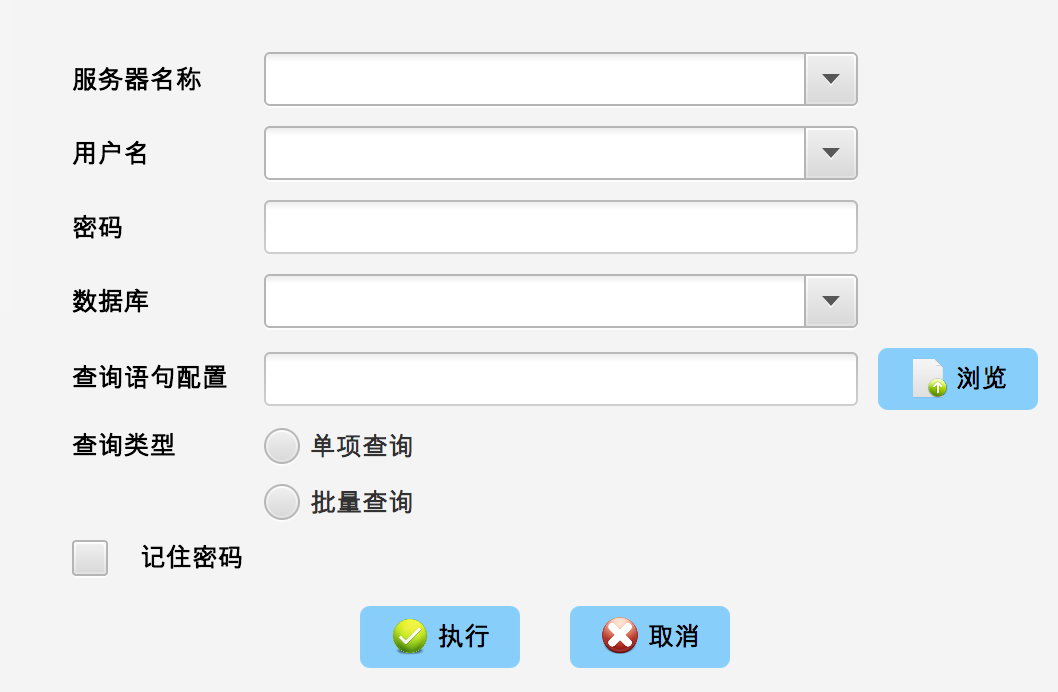
效果圖:
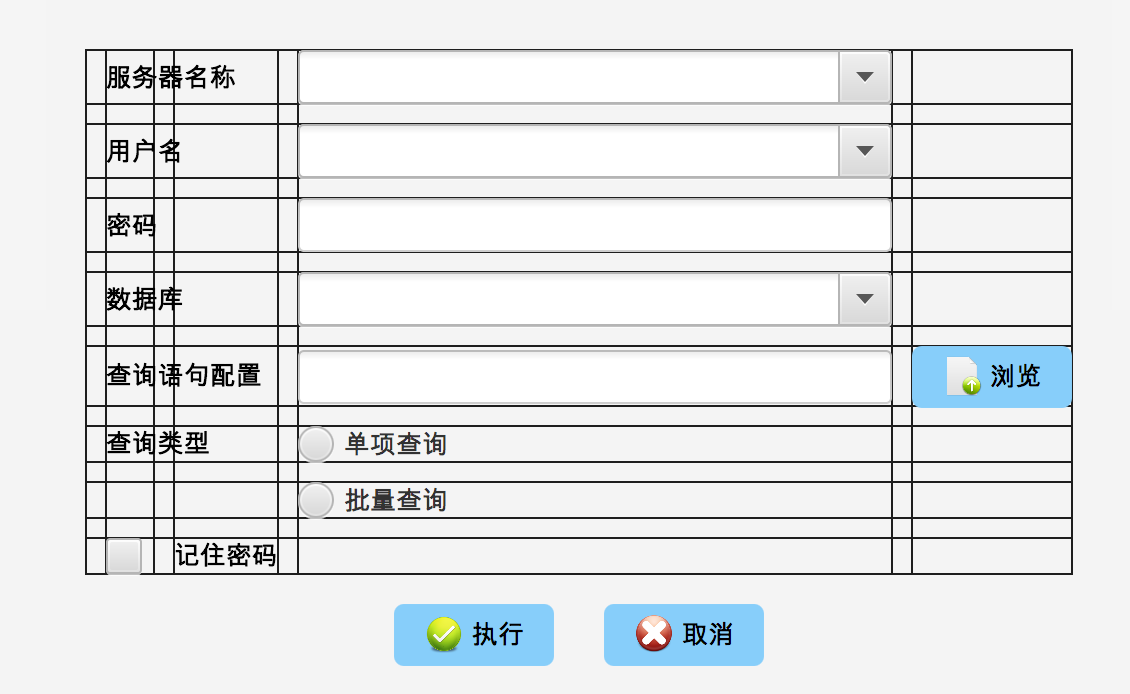
各控制元件在網格中的分佈:
相關文章:

