
Android選擇頭像(從相機-相簿-截圖獲取),以及閃退的解決
阿新 • • 發佈:2019-01-24
最近在做類似註冊的模組用到了上傳頭像
找了好幾個demo效果都不太好,最後找了一個不會在Neux6 上crush掉的,程式碼也很簡單:
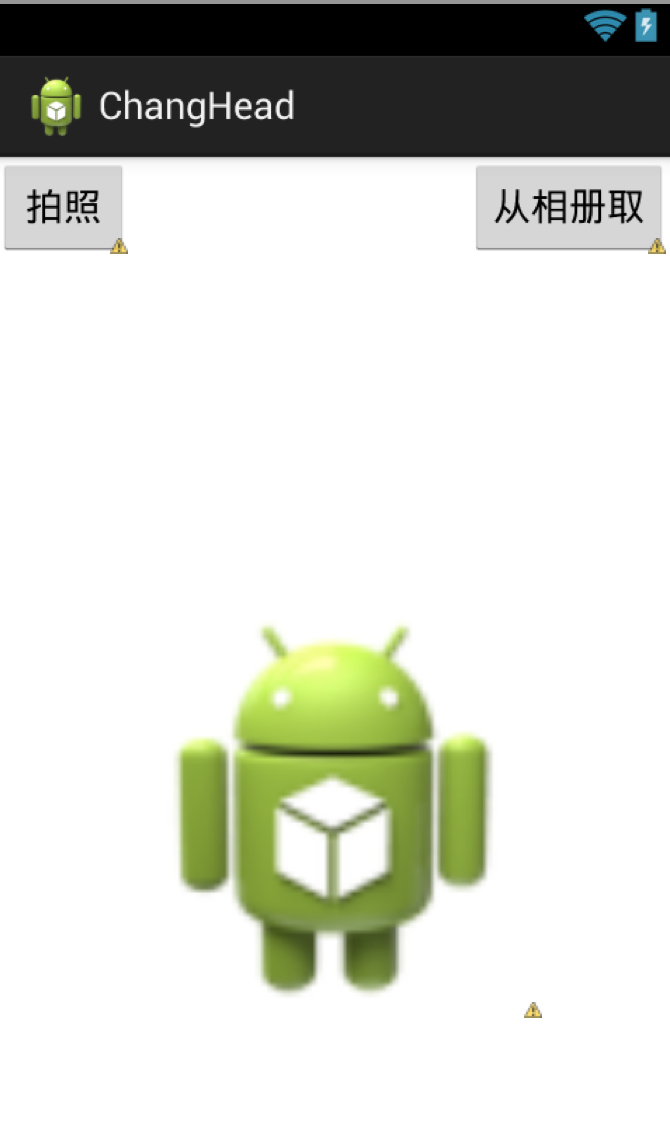
專案叫ChangeHead
manifest檔案內容:
-------------
<?xml version="1.0" encoding="utf-8"?>
<manifest xmlns:android="http://schemas.android.com/apk/res/android"
package="com.example.changhead"
android:versionCode="1"
android:versionName MainActivity.java
package com.example.changhead;
import java.io.File;
import java.io.FileNotFoundException;
import java.io.FileOutputStream;
import java.io.IOException;
import android.net.Uri;
import android.os.Bundle;
import android.os.Environment;
import android.provider.MediaStore;
import android.annotation.SuppressLint;
import android.app.Activity;
import android.content.Intent;
import android.graphics.Bitmap;
import android.graphics.BitmapFactory;
import android.graphics.drawable.BitmapDrawable;
import android.graphics.drawable.Drawable;
import android.view.View;
import android.view.View.OnClickListener;
import android.widget.Button;
import android.widget.ImageView;
@SuppressLint("SdCardPath")
public class MainActivity extends Activity implements OnClickListener {
private ImageView ivHead;//頭像顯示
private Button btnTakephoto;//拍照
private Button btnPhotos;//相簿
private Bitmap head;//頭像Bitmap
private static String path="/sdcard/myHead/";//sd路徑
@Override
protected void onCreate(Bundle savedInstanceState) {
super.onCreate(savedInstanceState);
setContentView(R.layout.activity_main);
initView();
}
private void initView() {
//初始化控制元件
btnPhotos = (Button) findViewById(R.id.btn_photos);
btnTakephoto = (Button) findViewById(R.id.btn_takephoto);
btnPhotos.setOnClickListener(this);
btnTakephoto.setOnClickListener(this);
ivHead = (ImageView) findViewById(R.id.iv_head);
Bitmap bt = BitmapFactory.decodeFile(path + "head.jpg");//從Sd中找頭像,轉換成Bitmap
if(bt!=null){
@SuppressWarnings("deprecation")
Drawable drawable = new BitmapDrawable(bt);//轉換成drawable
ivHead.setImageDrawable(drawable);
}else{
/**
* 如果SD裡面沒有則需要從伺服器取頭像,取回來的頭像再儲存在SD中
*
*/
}
}
@Override
public void onClick(View v) {
switch (v.getId()) {
case R.id.btn_photos://從相簿裡面取照片
Intent intent1 = new Intent(Intent.ACTION_PICK, null);
intent1.setDataAndType(MediaStore.Images.Media.EXTERNAL_CONTENT_URI, "image/*");
startActivityForResult(intent1, 1);
break;
case R.id.btn_takephoto://呼叫相機拍照
Intent intent2 = new Intent(MediaStore.ACTION_IMAGE_CAPTURE);
intent2.putExtra(MediaStore.EXTRA_OUTPUT, Uri.fromFile(new File(Environment.getExternalStorageDirectory(),
"head.jpg")));
startActivityForResult(intent2, 2);//採用ForResult開啟
break;
default:
break;
}
}
protected void onActivityResult(int requestCode, int resultCode, Intent data) {
switch (requestCode) {
case 1:
if (resultCode == RESULT_OK) {
cropPhoto(data.getData());//裁剪圖片
}
break;
case 2:
if (resultCode == RESULT_OK) {
File temp = new File(Environment.getExternalStorageDirectory()
+ "/head.jpg");
cropPhoto(Uri.fromFile(temp));//裁剪圖片
}
break;
case 3:
if (data != null) {
Bundle extras = data.getExtras();
head = extras.getParcelable("data");
if(head!=null){
/**
* 上傳伺服器程式碼
*/
setPicToView(head);//儲存在SD卡中
ivHead.setImageBitmap(head);//用ImageView顯示出來
}
}
break;
default:
break;
}
super.onActivityResult(requestCode, resultCode, data);
};
/**
* 呼叫系統的裁剪
* @param uri
*/
public void cropPhoto(Uri uri) {
Intent intent = new Intent("com.android.camera.action.CROP");
intent.setDataAndType(uri, "image/*");
intent.putExtra("crop", "true");
// aspectX aspectY 是寬高的比例
intent.putExtra("aspectX", 1);
intent.putExtra("aspectY", 1);
// outputX outputY 是裁剪圖片寬高
intent.putExtra("outputX", 150);
intent.putExtra("outputY", 150);
intent.putExtra("return-data", true);
startActivityForResult(intent, 3);
}
private void setPicToView(Bitmap mBitmap) {
String sdStatus = Environment.getExternalStorageState();
if (!sdStatus.equals(Environment.MEDIA_MOUNTED)) { // 檢測sd是否可用
return;
}
FileOutputStream b = null;
File file = new File(path);
file.mkdirs();// 建立資料夾
String fileName =path + "head.jpg";//圖片名字
try {
b = new FileOutputStream(fileName);
mBitmap.compress(Bitmap.CompressFormat.JPEG, 100, b);// 把資料寫入檔案
} catch (FileNotFoundException e) {
e.printStackTrace();
} finally {
try {
//關閉流
b.flush();
b.close();
} catch (IOException e) {
e.printStackTrace();
}
}
}
}
佈局長這樣…這個就不貼了,大家一看就明白.
然後我就改了一下儲存的路徑在自己專案下
+++++++++++++++++++++++++++++++++++++++
手機適配
測試的時候出了一個bug —當然是手機適配的問題;
在測試的手機中IUNI U3出現閃退
我迷茫了
找了很多網上的解決方案,然後我就請了一天的假,好好的在外面吃了一頓,第二天 我在github上找到一個 crop(截圖)專案
CropMaster將上一個專案呼叫系統自帶的截圖部分替換成這個就OK了.
PS:注意為了能夠重複的選擇圖片請加上專案給的Expample裡的
++++++++++++++++++++++++++++++++++++++++++
++  resultView.setImageDrawable(null);  ++
++++++++++++++++++++++++++++++++++++++++++
Crop.pickImage(this);這個專案是在另外一個專案上加工而成的cropimage如果要有白色框的效果請看theme裡的配置.
恩,然後就解決了:-D
附:
由相機或相簿中的圖片bitmap與uri互相轉換
1、bitmap to uri
Uri uri = Uri.parse(MediaStore.Images.Media.insertImage(getContentResolver(), bitmap, null,null));
2、uri to bitmap
Bitmap bitmap = MediaStore.Images.Media.getBitmap(this.getContentResolver(), uri);
然而這並沒有結束
跟很多人一樣一樣的,我又遇到了某些三星手機圖片倒轉的問題……
主要用到了三個方法
  /**
     * Compress image by size, this will modify image width/height.
     * Used to get thumbnail
     *
     * @param image
     * @param pixelW target pixel of width
     * @param pixelH target pixel of height
     * @return
     */
    public Bitmap ratio(Bitmap image, float pixelW, float pixelH) {
        Bitmap bitmap = null;
        try {
            ByteArrayOutputStream os = new ByteArrayOutputStream();
            image.compress(Bitmap.CompressFormat.JPEG, 100, os);
            if (os.toByteArray().length / 1024 > 1024) {//判斷如果圖片大於1M,進行壓縮避免在生成圖片(BitmapFactory.decodeStream)時溢位
                os.reset();//重置baos即清空baos
                image.compress(Bitmap.CompressFormat.JPEG, 50, os);//這裡壓縮50%,把壓縮後的資料存放到baos中
            }
            ByteArrayInputStream is = new ByteArrayInputStream(os.toByteArray());
            BitmapFactory.Options newOpts = new BitmapFactory.Options();
            //開始讀入圖片,此時把options.inJustDecodeBounds 設回true了
            newOpts.inJustDecodeBounds = true;
            newOpts.inPreferredConfig = Bitmap.Config.RGB_565;
            bitmap = BitmapFactory.decodeStream(is, null, newOpts);
            newOpts.inJustDecodeBounds = false;
            int w = newOpts.outWidth;
            int h = newOpts.outHeight;
            float hh = pixelH;// 設定高度為240f時,可以明顯看到圖片縮小了
            float ww = pixelW;// 設定寬度為120f,可以明顯看到圖片縮小了
            //縮放比。由於是固定比例縮放,只用高或者寬其中一個數據進行計算即可
            int be = 1;//be=1表示不縮放
            if (w > h && w > ww) {//如果寬度大的話根據寬度固定大小縮放
                be = (int) (newOpts.outWidth / ww);
            } else if (w < h && h > hh) {//如果高度高的話根據寬度固定大小縮放
                be = (int) (newOpts.outHeight / hh);
            }
            if (be <= 0) be = 1;
            newOpts.inSampleSize = be;//設定縮放比例
            //重新讀入圖片,注意此時已經把options.inJustDecodeBounds 設回false了
            is = new ByteArrayInputStream(os.toByteArray());
            bitmap = BitmapFactory.decodeStream(is, null, newOpts);
            //壓縮好比例大小後再進行質量壓縮
            //return compress(bitmap, maxSize); // 這裡再進行質量壓縮的意義不大,反而耗資源,刪除
            LogUtil.Debug("儲存圖片");
            FileOutputStream out = new FileOutputStream(temp);
            os.writeTo(out);
            LogUtil.Debug("已經儲存");
        } catch (Exception e) {
// TODO: handle exception
            e.printStackTrace();
            Log.e("--ImageFactory.ratio--", e.toString());
        }
        return bitmap;
    }


    /**
     * 讀取圖片的旋轉的角度
     *
     * @param path 圖片絕對路徑
     * @return 圖片的旋轉角度
     */
    private int getBitmapDegree(String path) {
        int degree = 0;
        try {
            // 從指定路徑下讀取圖片,並獲取其EXIF資訊
            ExifInterface exifInterface = new ExifInterface(path);
            // 獲取圖片的旋轉資訊
            int orientation = exifInterface.getAttributeInt(ExifInterface.TAG_ORIENTATION,
                    ExifInterface.ORIENTATION_NORMAL);
            switch (orientation) {
                case ExifInterface.ORIENTATION_ROTATE_90:
                    degree = 90;
                    break;
                case ExifInterface.ORIENTATION_ROTATE_180:
                    degree = 180;
                    break;
                case ExifInterface.ORIENTATION_ROTATE_270:
                    degree = 270;
                    break;
            }
        } catch (IOException e) {
            e.printStackTrace();
        }
        return degree;
    }


    /**
     * 將圖片按照某個角度進行旋轉
     *
     * @param bm     需要旋轉的圖片
     * @param degree 旋轉角度
     * @return 旋轉後的圖片
     */
    public static Bitmap rotateBitmapByDegree(Bitmap bm, int degree) {
        Bitmap returnBm = null;

        // 根據旋轉角度,生成旋轉矩陣
        Matrix matrix = new Matrix();
        matrix.postRotate(degree);
        try {
            // 將原始圖片按照旋轉矩陣進行旋轉,並得到新的圖片
            returnBm = Bitmap.createBitmap(bm, 0, 0, bm.getWidth(), bm.getHeight(), matrix, true);
        } catch (OutOfMemoryError e) {
        }
        if (returnBm == null) {
            returnBm = bm;
        }
        if (bm != returnBm) {
            bm.recycle();
        }
        return returnBm;
    }