
iOS【NSTimer_計時器】
阿新 • • 發佈:2019-01-25
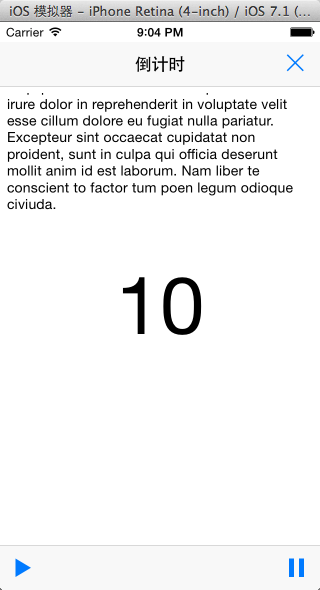
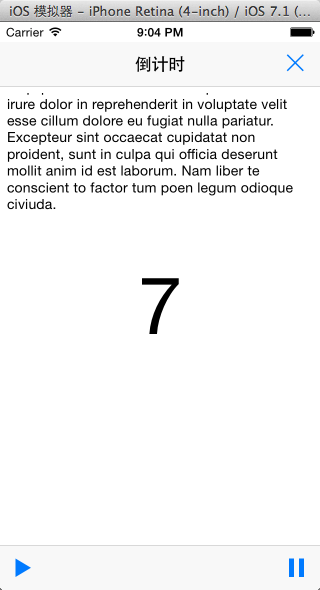
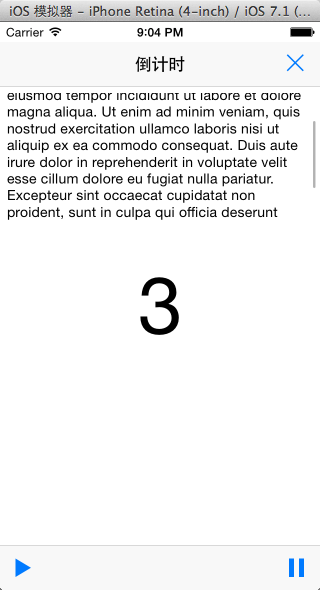
先看效果

程式碼
#import "NYViewController.h"
@interface NYViewController () <UIAlertViewDelegate>
@property (weak, nonatomic) IBOutlet UILabel *counterLabel;
@property (nonatomic, strong) NSTimer *timer;
@end
@implementation NYViewController
/**開始*/
-(IBAction)start{
// 倒計時10秒,計時器
/* NSTimer scheduledTimerWithTimeInterval
引數說明:
1,時間間隔,double
2,監聽時鐘觸發的物件
3,呼叫方法
4,userInfo,可以是任意物件,通常傳遞nil,如果有傳遞值,大多數是為了在多個計數器中分辨用哪個
5,repeats:是否重複執行呼叫方法。
*/ 注意點NSTimer
用法:
self.timer = [NSTimer scheduledTimerWithTimeInterval:1.0 target:self selector:@selector(updateTimer) userInfo:nil repeats:YES]
引數說明:
1,時間間隔,double
2,監聽時鐘觸發的物件
3,呼叫方法
4,userInfo,可以是任意物件,通常傳遞nil,如果有傳遞值,大多數是為了在多個計數器中分辨用哪個
5,repeats:是否重複執行呼叫方法。
是否要在發生滾動事件時候繼續計時器
將timer新增到執行迴圈,模式:NSRunLoopCommonModes監聽滾動模式
[[NSRunLoop currentRunLoop]addTimer:self.timer forMode:NSDefaultRunLoopMode];
提示框 UIAlertView
提示框
[[[UIAlertView alloc] initWithTitle:@”開始” message:@”開始啦。。。” delegate:self cancelButtonTitle:@”取消” otherButtonTitles:@”確定”, nil] show];
AlertView 中輸入的最後是陣列,可以通過代理方式來實現方法
#pragma mark - alertView 代理方法

-(void)alertView:(UIAlertView *)alertView didDismissWithButtonIndex:(NSInteger)buttonIndex
{

    NSLog(@"%d",buttonIndex);
    //0指的是取消按鈕
    //可以加入if判斷buttonIndx為多少來加入事件
}