This single-page web app can edit itself
This single-page web app can edit itself
How to create a self-editing, (im)mutable web profile, and have fun doing it

The official IPFS Javascript library has undergone several major updates recently that make it even better for building decentralized web-apps and DWeb sites. With the advent of
To get a taste for what IPNS in the browser can bring, we thought it might be fun to build a simple profile app, something akin to an about.me page or similar. While we’re building this app, we’ll use
Getting started
Like many of our previous posts, we’ll start by cloning Textile’s handy-dandy ipfs app template.
While you’re at it, go ahead and grab this IPFS getter module, which makes it easy to use promises when creating a new IPFS peer/node in the browser. You can save it in your projects src directory and call it something like ipfs-promise.js.
Ok, with the project cloned and our new file ready to go, the only other thing you’ll want to do is yarn install the required modules, and then yarn watch your code so we can start building and testing our app.
yarn install
yarn watch
Once your project is built, the watch command will ‘watch’ for changes and update your compiled bundle as needed (we’re using ). So you should fire up http://localhost:8000 in your browser and refresh that page along the way each time you make any changes to your code. You can also check out this previous tutorial where we cover some of the required modules and development tools we’ll be using in today’s post. Ok, enough setup, let’s get building…
Let’s get building
We’ll start pretty basic, adding only minimal functionality to get us going. So our main.js file gets some minor updates:
Which is essentially just starting up an IPFS peer in the browser, querying for our peer’s id, comparing this with the user id from the url’s query string (that’s how we’ll view other peoples’ profiles, via a user parameter), and console.loging some information. Easy. The app page itself will look pretty much empty, save for a few ‘branding’ bits if you’ve left those in. So that’s great, and hopefully you’re seeing something like this in your browser’s Javascript console:
Viewing profile for Qm… from peer with id Qm…
Viewing own profile, editing will be enabled!
So now, let’s begin designing our profile app!
The View
We’ll start by defining our view. Since we’re developing our web-app with Knockout, our view is defined via our index.html file. Here’s the basic structure:
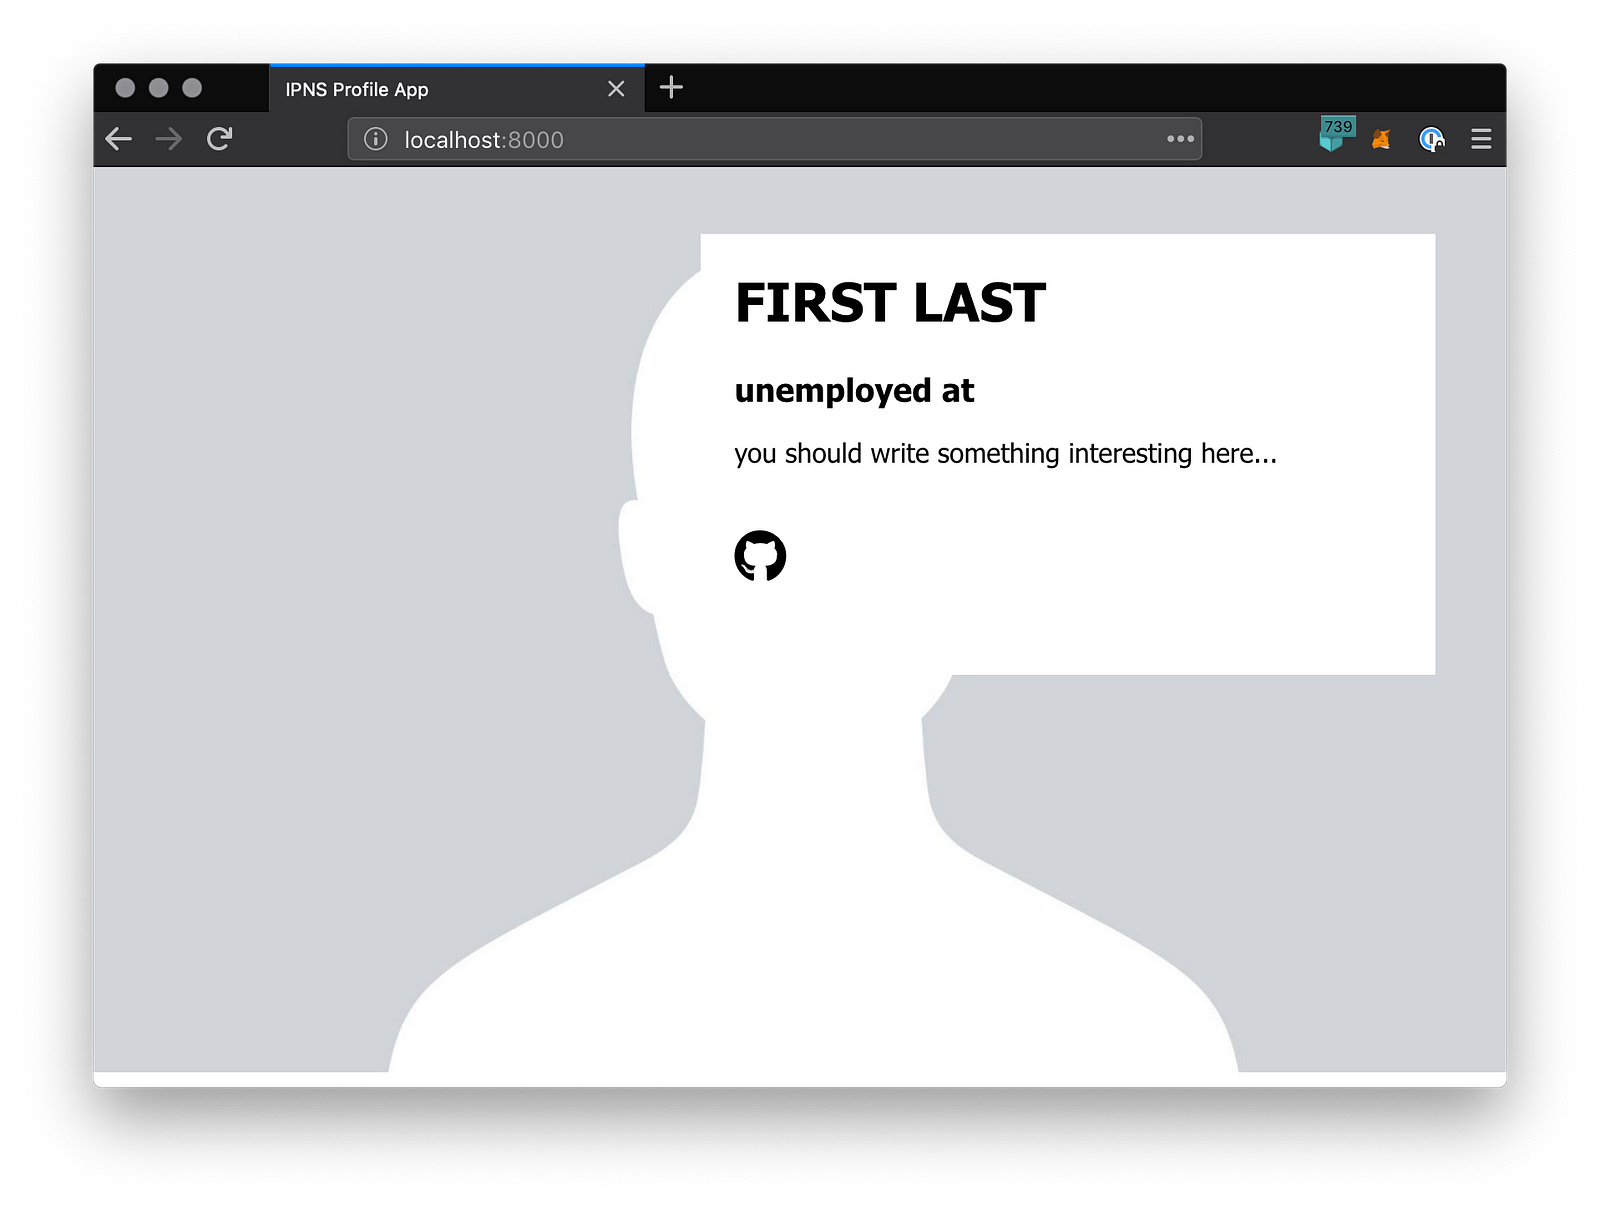
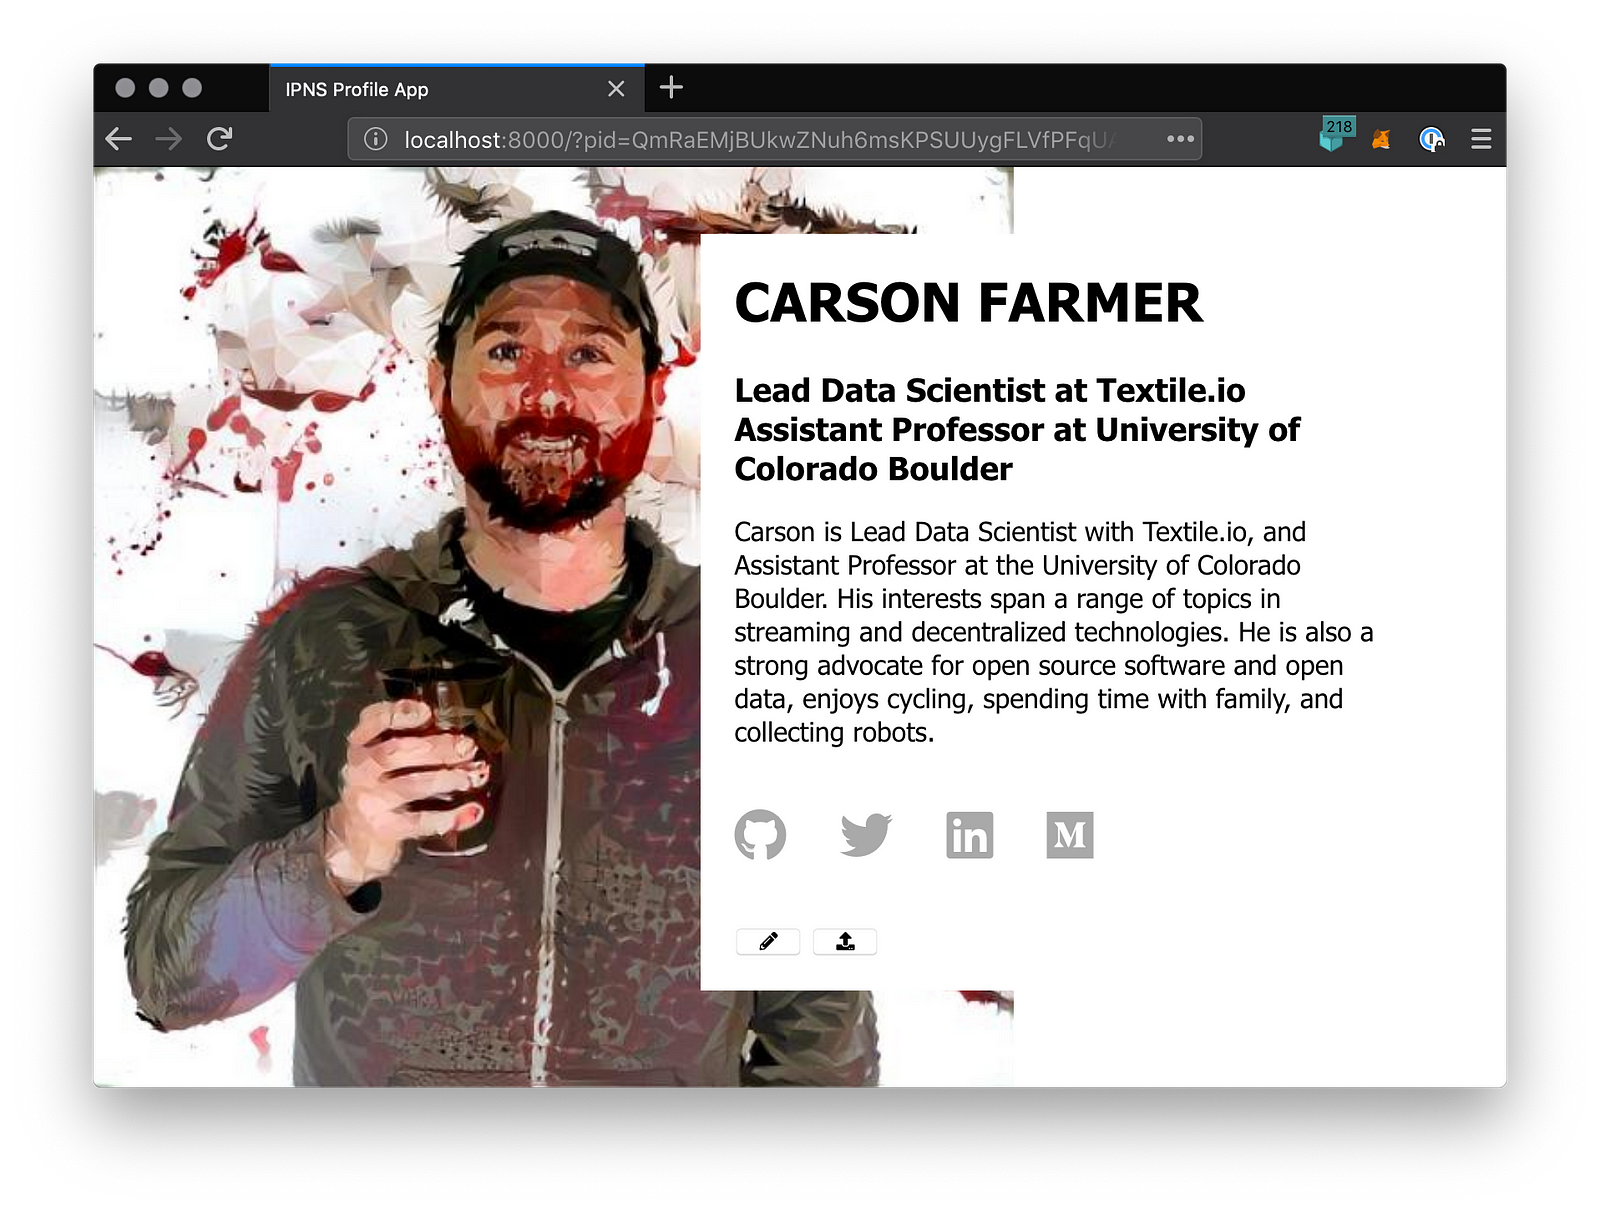
If you take a look at the main div, you’ll see we have components for our profile image, profile information such as first and last name, etc. We also include a section for work with a list of jobs, as well as a section for a bio write-up, and even social media links. Just for fun, we’ve included some external links to font awesome css assets, just to mix in some ‘centralized’ bits and pieces. You could, of course, include these within your app’s bundle if you wanted, at the expense of a slightly larger bundle size. While you’re at it, you might as well create a style.css file and stick this stuff in it to make things look nice and ‘profile-like’.
The Data Model
With that in mind, we then turn to our data model. For this example, we’ll be using the user-profile data model from our previous tutorial on building a simple decentralized RESTful endpoint with IPFS/IPNS. This is just a simple JSON-based structure with fields for name, work, social media, etc. If you really wanted to get fancy, you could do something like a formalized json-schema based structure, but I leave that as an exercise for the reader. For now, here’s the default structure, which we’ll provide to our app as an importable object (import { defaultProfile } from "./default-profile.js”):
In our code, we’re going to assume that the user either already has this JSON doc published to their IPNS hash, or they’re going to create one using our app. Once we get going, most of our app functionality will go into modifying and republishing this data.
The View Model
Which finally brings us to our view model. This is where we link our user-profile data model (default-profile.js) to our previously defined profile view structure (index.html). We’re going to take advantage of Knockout and the very nice mapping plugin, which gives us a straightforward way to map plain ol’ Javascript objects into a view model with the appropriate observables ready to go. This is awesome, because it really means we’re only adding a few lines to the bottom of our init function in main.js:
// Setup a viewModel based on our JSON structure
const viewModel = ko.mapping.fromJS(defaultProfile)
// Add an 'extra' observable for when we're loading
viewModel.state = {}
viewModel.state.loading = ko.observable(true)
viewModel.state.editing = ko.observable(false)
// Apply the viewModel bindings
ko.applyBindings(viewModel)
But before we save this and reload our page, we’ll also want to create our view’s bindings, so that our view model can actually update our view for us! For that, we return to our index.html file, and add various data-bind properties to bind our view elements to our model via our view-model. You should really check out the Knockout docs for an explanation for all of this fancy binding stuff, but suffice to say, this is how we map our users’ profile information to their profile page. Here’s what the body div from index.html should look like now:
Each view element is mapped in some way, shape, or form to part of our data model. For example, we’ll display a loading spinner if loading is true (and hide the rest). Conversely, for each element in our work array, we’ll display the text for the job title and employer. Any time these elements are updated, our view-model will automatically take care of the changes for us… slick! Alright, after all that, let’s check out our handy work…
Check it out
Here’s what we have so far…

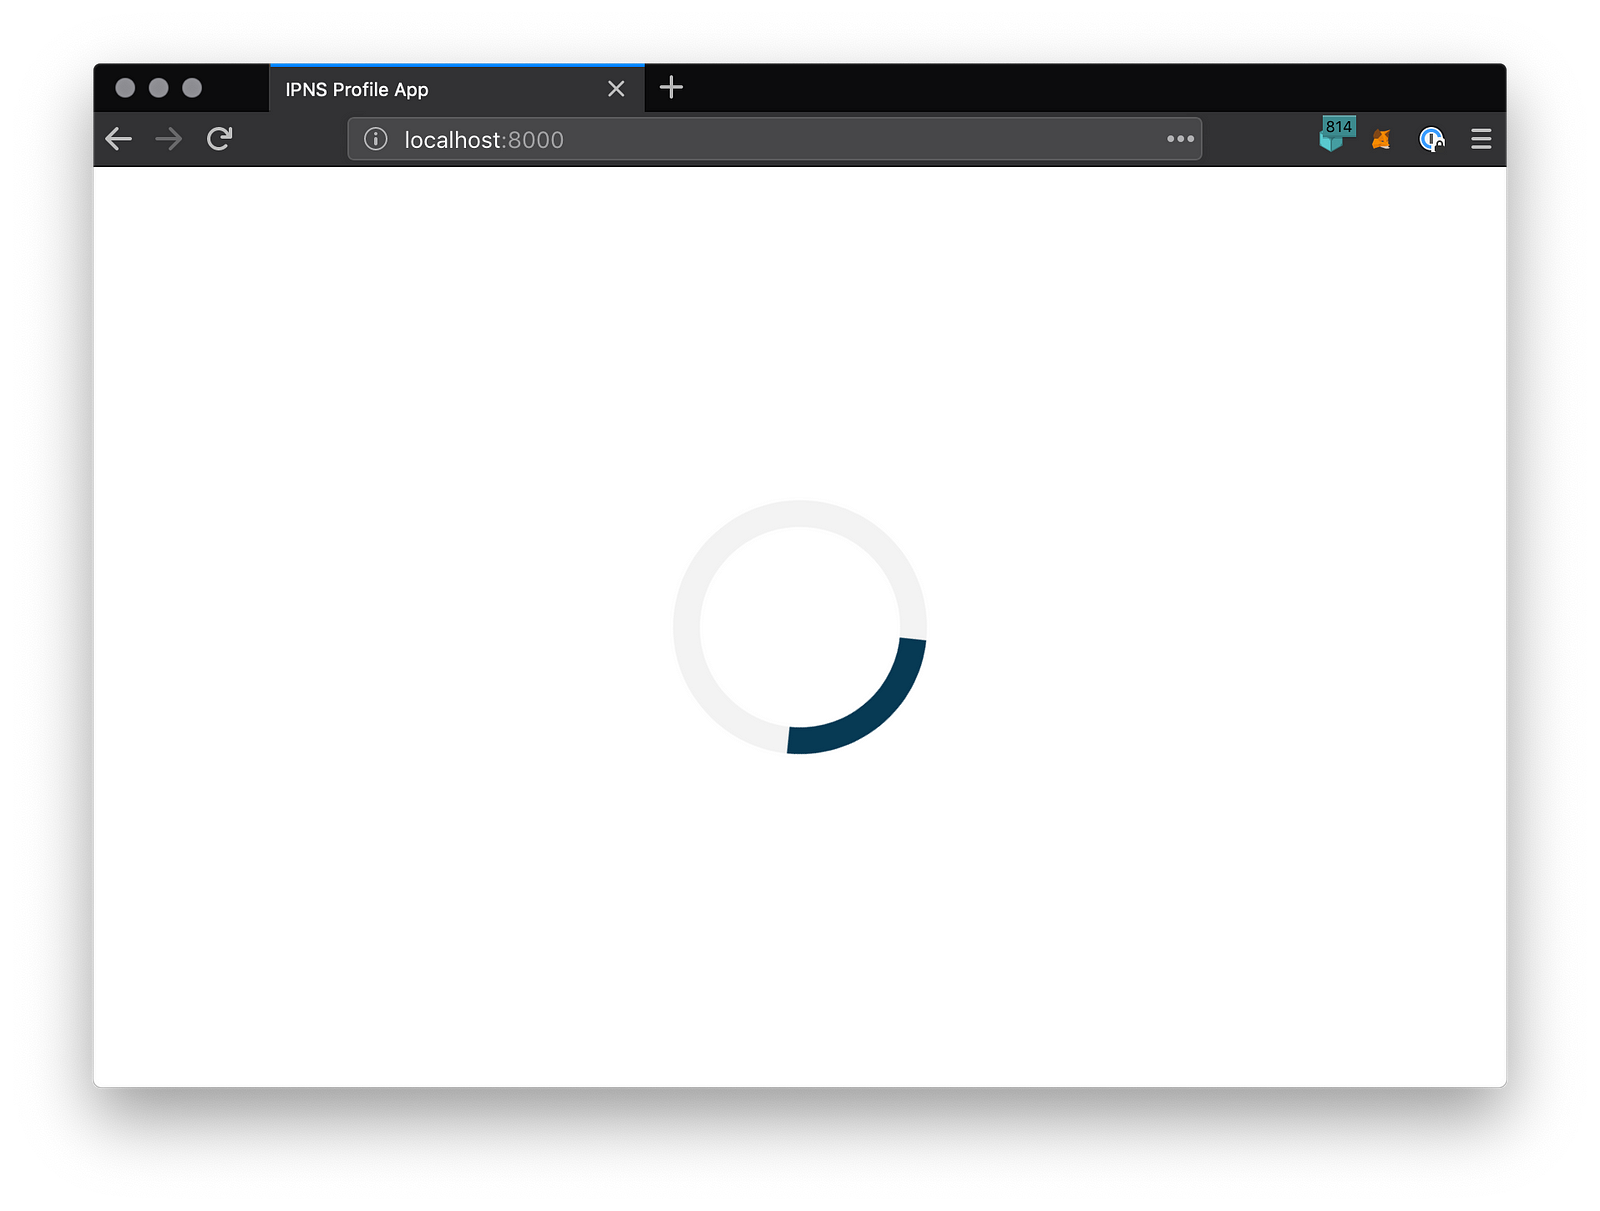
Not all that exciting, so you can change your initial loading bool to false for now, and you’ll likely see something like this: