
opencv+QT+vs 中顯示圖片總結
阿新 • • 發佈:2019-01-29
opencv支援QT,QT也有vs外掛,所以學習一下用QT顯示圖片的方法,實現的是圖片的讀取顯示與反轉顯示。
各種配置完成之後,在vs中新建一個qt專案,專案名字不要有中文,一路確定、下一步,直到完成。
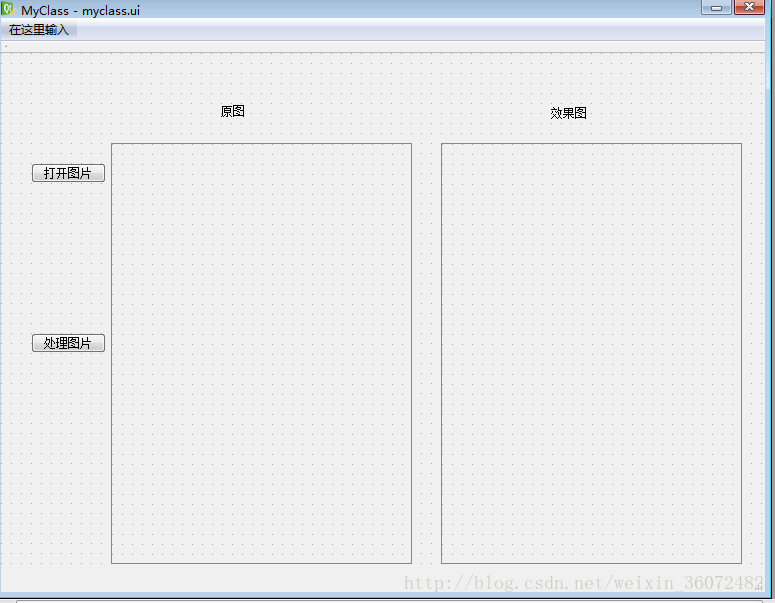
在專案下面會自動生成一些檔案。.ui為qt設計檔案,雙擊出現 qt設計師 程式,在這當中可以自由拖拽控制元件來設計介面。
如圖,使用 兩個按鍵 兩個label 兩個scrollarea。
主要用到的是標頭檔案myclass.h 和原始檔main.cpp、myclass.cpp檔案。
main不用管,需要編寫程式碼的是在myclass.h與myclass.cpp檔案中。
這裡我將用兩種方法實現圖片顯示。
方法一 Qlabel顯示
myclass.h標頭檔案程式碼如下
#ifndef MYCLASS_H
#define MYCLASS_H
#include <QtWidgets/QMainWindow>
#include "ui_myclass.h"
#include<QGraphicsScene>
#include<QGraphicsView> //graphicsview類
#include<opencv2\imgproc\imgproc.hpp>
#include <opencv2\core\core.hpp> myclass.cpp檔案程式碼如下
#include "myclass.h"
using namespace cv;
using namespace std;
MyClass::MyClass(QWidget *parent)
: QMainWindow(parent)
{
ui.setupUi(this);
}
MyClass::~MyClass()
{
//解構函式
}
void MyClass::on_open_clicked()
{
QString fileName = QFileDialog::getOpenFileName(this, tr("Open Image"), ".", tr("Image Files(*.jpg *.png *.jpeg *.bmp)"));
//獲取圖片路徑的程式程式碼-this-介面 open image-視窗名稱 files 開啟檔案格式 (格式之間要空格區分)
string str = fileName.toStdString(); // 將filename轉變為string型別;
image = imread(str);
//image=imread(fileName.toLatin1().data);
cvtColor(image, image, CV_BGR2RGB);
cv::resize(image, image, Size(300, 200));
QImage img = QImage((const unsigned char*)(image.data), image.cols, image.rows, QImage::Format_RGB888);
label1 = new QLabel();
label1->setPixmap(QPixmap::fromImage(img));
label1->resize(QSize(img.width(), img.height()));
ui.scrollmage->setWidget(label1);
}
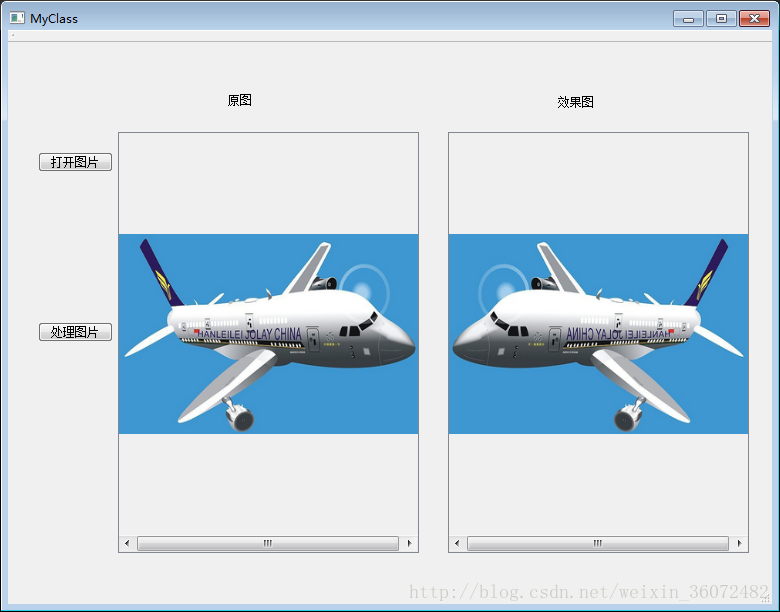
void MyClass::on_process_clicked()
{
flip(image, image, 4);//反轉函式 0 上下反轉;整數,水平發轉;負數,水平垂直均反轉
QImage img1 = QImage((const unsigned char*)(image.data), image.cols, image.rows, QImage::Format_RGB888);
label11 = new QLabel();
label11->setPixmap(QPixmap::fromImage(img1));
label11->resize(QSize(img1.width(), img1.height()));
ui.scrollmage_2->setWidget(label11);
}顯示結果為如圖:
方法二 graphicsview顯示
在qt設計師當中拖入graphics view 控制元件,命名為image1
myclass.h標頭檔案不需要變動,(private中label1、label11沒用了),
myclass.cpp檔案中 開啟圖片按鍵 程式碼如下
    ui.image1->resize(img.size());
    QGraphicsScene *scene = new QGraphicsScene;
    scene->addPixmap(QPixmap::fromImage(img));
    ui.image1->setScene(scene);
    ui.image1->adjustSize();
    ui.image1->show();
方法三 簡單的Qlabel 顯示
myclass.cpp中 按鍵主要程式碼
    QLabel *label = new QLabel(this);
    label->move(100, 100);
    label->setPixmap(QPixmap::fromImage(img));
    label->resize(label->pixmap()->size());
    label->show();
注意!
UI檔案同步到VS中有一定的延遲,也就是你在UI上拖放了一個Button,但是要過一段時間VS的自動提示才會有那個Button物件名的提示,並且改動UI後要首先編譯一次。
如有錯誤 ,歡迎指正