
Android 程式猿的保活心酸史
說起android 保活真是一把鼻涕一把淚,由於國內廠商對系統的大刀闊斧各種變態的省電機制,真不知道當初自己為什麼會寫android T.T …………………
雖然谷歌爸爸在每個Android版本都在手機電量方面努力進行優化,不過還是沒有一個解決後臺服務氾濫電量消耗過快的很好的辦法(PS:騷一句就是之所以android手機越來越卡就是因為很多APP在後臺耍流氓,導致你根本殺不掉程序,然後手機的執行記憶體越來越小,最後就是卡卡卡),於是Android 6.0系統中,引入了DOZE模式既在裝置未接通電源且螢幕關閉了一段時間以後,系統會對CPU,網路,Alarm等活動進行限制,從而延長電池的使用壽命,當然系統不會一直處於DOZE模式下,會間歇性的退出DOZE模式來執行同步,Alarm任務。
目前我是用的方案是一個畫素+前臺服務+jobScheduler 在許可權給足的情況 能在小米和華為6.0、8.0的系統上苟延殘喘。
保活方案
1. 一個畫素activity保活方案
一個畫素的方案網上也非常多不做過多的解釋,就是在螢幕關閉的時候開啟一個1px的透明的activity據說是QQ的保活方案,螢幕開啟的時候再去finsh掉這個activty即可,大致程式碼如下:
/**
* Created by zkx on 2018/4/24.
* 一個畫素的保活介面
*/
public class LiveActivity extends BaseActivity {
public static final 廣播的程式碼:
/**
 * Created by zkx on 2018/4/24.
 */

public class LiveBroadcastReceiver extends BroadcastReceiver {
    public static final String TAG="LiveActivity";
    private KeepLiveManager mKeepLiveManager;

    private HomeActivity mHomeActivity;
    public LiveBroadcastReceiver(HomeActivity homeActivity){
              this.mHomeActivity=homeActivity;
        mKeepLiveManager=mHomeActivity.getKeepLiveManger();
    }

    @RequiresApi(api = Build.VERSION_CODES.LOLLIPOP)
    @Override
    public void onReceive(Context context, Intent intent) {
        switch (intent.getAction()){
            case Intent.ACTION_SCREEN_OFF://螢幕被關閉
                Intent it=new Intent(context, LiveActivity.class);
                it.addFlags(Intent.FLAG_ACTIVITY_NEW_TASK);
                context.startActivity(it);
                break;
            case Intent.ACTION_SCREEN_ON://螢幕被開啟
                context.sendBroadcast(new Intent("finish"));
                /**
                 * 以下的程式碼會導致螢幕解鎖後會出現返回主介面的情況
                 */
//                Intent main = new Intent(Intent.ACTION_MAIN);
////                main.setFlags(Intent.FLAG_ACTIVITY_CLEAR_TOP);
//                //註釋掉這段避免在再次開啟APP介面時出現的返回主介面的問題
//                //main.addCategory(Intent.CATEGORY_HOME);
//                context.startActivity(main);
                break;
        }
    }
}
2.前臺服務保活方案
這個太簡單了就是直接啟動一個服務與MainActivty繫結即可,這裡就不再多說啦
3.JobScheduler
重點介紹下JobScheduler
Android從5.0開始,增加支援一種特殊的機制,即任務排程JobScheduler,該工具集成了常見的幾種執行條件,開發者只需新增少數幾行程式碼,即可完成原來要多種元件配合的工作。比如在無線網路狀態下執行自動下載更新包或者進行資料同步等等任務都可以通過JobScheduler來進行設定。
官方簡介
This is an API for scheduling various types of jobs against the framework that will be executed in your application’s own process.
See JobInfo for more description of the types of jobs that can be run and how to construct them. You will construct these JobInfo objects and pass them to the JobScheduler with schedule(JobInfo). When the criteria declared are met, the system will execute this job on your application’s JobService. You identify which JobService is meant to execute the logic for your job when you create the JobInfo with JobInfo.Builder(int, android.content.ComponentName).
The framework will be intelligent about when you receive your callbacks, and attempt to batch and defer them as much as possible. Typically if you don’t specify a deadline on your job, it can be run at any moment depending on the current state of the JobScheduler’s internal queue, however it might be deferred as long as until the next time the device is connected to a power source.
You do not instantiate this class directly; instead, retrieve it through Context.getSystemService(Context.JOB_SCHEDULER_SERVICE).
biubiubiu 我看不太懂,大致的意識應該將JobInfo傳遞給JobScheduler來執行任務,然後我們可以通過Context.getSystemService(Context.JOB_SCHEDULER_SERVICE). 來獲取jobScheduler.
再看jobinfo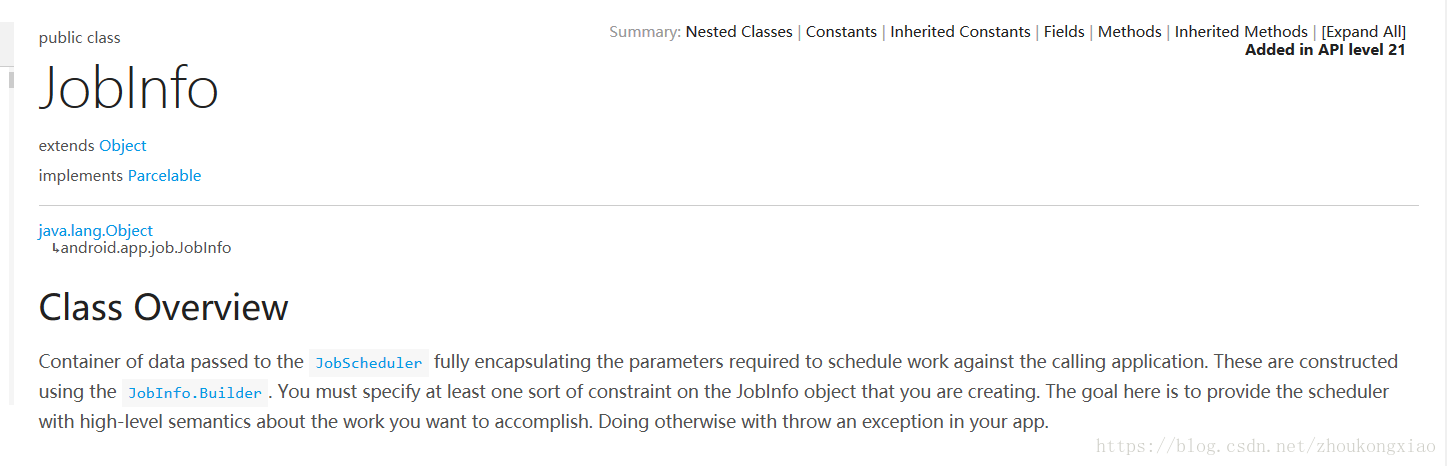
看起來好像很厲害的樣子,就是你要幹嘛資料封裝到這個物件中然後傳遞過去就好啦。哎呀這種解釋自己去翻文件就好了直接上程式碼了!
大體程式碼如下咯:
/**
 * Created by zkx on 2018/4/24.
 * 用於開啟程式的保活系列
 */

public class KeepLiveManager {

    public static final String MESSENGER_INTENT_KEY
            = BuildConfig.APPLICATION_ID + ".MESSENGER_INTENT_KEY";
    //訊息
    public static final int MSG_KEEP_LIVE_START = 0;
    public static final int MSG_KEEP_LIVE_STOP = 1;
    public static final int MSG_RELEASE_WAKE_LOCK = 2;
//    public static final int MSG_COLOR_STOP = 3;

//    public static final String MESSENGER_INTENT_KEY
//            = BuildConfig.APPLICATION_ID + ".MESSENGER_INTENT_KEY";
//    public static final String WORK_DURATION_KEY =
//            BuildConfig.APPLICATION_ID + ".WORK_DURATION_KEY";

    private int mJobId = 0;
    // Handler for incoming messages from the service.
    // 用於來自服務的傳入訊息的處理程式。
    private IncomingMessageHandler mHandler;

    private ComponentName mServiceComponent;

    private Context mContext;


    public KeepLiveManager(Context context){
        mHandler =new IncomingMessageHandler(this);
        mServiceComponent =new ComponentName(context,JobSchedulerService.class);
        this.mContext=context;
    }
    private PowerManager.WakeLock wakeLock = null;
    /**
     * 獲取電源鎖,保持該服務在螢幕熄滅時仍然獲取CPU時,保持執行
     */
    private void acquireWakeLock() {
        if (null == wakeLock) {
            PowerManager pm = (PowerManager) mContext.getSystemService(Context.POWER_SERVICE);
            wakeLock = pm.newWakeLock(PowerManager.PARTIAL_WAKE_LOCK
                    | PowerManager.ON_AFTER_RELEASE, getClass()
                    .getCanonicalName());
            if (null != wakeLock) {
                wakeLock.acquire();
            }
        }
    }

    // 釋放裝置電源鎖
    private void releaseWakeLock() {
        if (null != wakeLock && wakeLock.isHeld()) {
            wakeLock.release();
            wakeLock = null;
        }
    }


    /**
     * 提供呼叫停止工作服務
     */
    public void stopService(){
        mContext.stopService(new Intent(mContext, JobSchedulerService.class));
    }

    /**
     * 提供呼叫開始工作服務
     */
    public void startSetvice(){
        Intent startServiceIntent = new Intent(mContext, JobSchedulerService.class);
        Messenger messengerIncoming = new Messenger(mHandler);
        startServiceIntent.putExtra(MESSENGER_INTENT_KEY,messengerIncoming);
        mContext.startService(startServiceIntent);
    }

    @RequiresApi(api = Build.VERSION_CODES.LOLLIPOP)
    public void scheduleJob() {
        //開始配置JobInfo
        JobInfo.Builder builder = new JobInfo.Builder(mJobId++, mServiceComponent);
        builder.setRequiresCharging(false); //是否在充電時執行
        builder.setRequiresDeviceIdle(false); //是否在空閒時執行
        builder.setMinimumLatency(2000);//延遲執行
        builder.setOverrideDeadline(3000);
        builder.setPersisted(false);//是否在裝置重啟的時候執行任務

        JobScheduler tm = (JobScheduler) mContext.getSystemService(Context.JOB_SCHEDULER_SERVICE);
        tm.schedule(builder.build());
        //tm.schedule(builder.build())會返回一個int型別的資料
        //如果schedule方法失敗了,它會返回一個小於0的錯誤碼。否則它會返回我們在JobInfo.Builder中定義的標識id。
    }

    /**
     * Executed when user clicks on CANCEL ALL.
     *
     * 當用戶點選取消所有時執行
     */
    @RequiresApi(api = Build.VERSION_CODES.LOLLIPOP)
    public void cancelAllJobs() {
        JobScheduler tm = (JobScheduler) mContext.getSystemService(Context.JOB_SCHEDULER_SERVICE);
        tm.cancelAll();
//        Toast.makeText(m, R.string.all_jobs_cancelled, Toast.LENGTH_SHORT).show();
    }

    private static class IncomingMessageHandler extends Handler {
        private WeakReference<KeepLiveManager> mKeepLiveManager;
        private static final long RELEASE_WAKE_LOCK_DELY = 1000;

        public IncomingMessageHandler(KeepLiveManager keepLiveManager){
            mKeepLiveManager=new WeakReference<>(keepLiveManager);
        }
        @Override
        public void handleMessage(Message msg) {
            KeepLiveManager manager = mKeepLiveManager.get();
            if (manager == null) {
                return;
            }
            super.handleMessage(msg);
            if (manager==null){
                return;
            }
            switch (msg.what) {
                case MSG_KEEP_LIVE_START:
//                    ApplicationUtil.speak("任務執行了" + manager.mJobId + "次");
                    manager.acquireWakeLock();
//                    manager.finishJob();
//                    manager.sechedulerJob();
                    sendEmptyMessageDelayed(MSG_RELEASE_WAKE_LOCK, RELEASE_WAKE_LOCK_DELY);
                    break;
                case MSG_KEEP_LIVE_STOP:
//                    manager.finishJob();
                    break;
                case MSG_RELEASE_WAKE_LOCK:
                    manager.releaseWakeLock();
                    break;
            }
        }
    }


    }
這3個一起上可以存活率還是可以,但是目前沒有哪個APP可以做到百分百保活,當然除了白名單使用者比如QQ,微信這種爸爸特別有錢的
唉~ 但是在華為7.0的系統上雖然保活成功了但是任務執行還是延遲的非常厲害的,既然已經耍流氓了,那就一耍到底,我在我的前臺服務中開啟了soundPool然後間隔4S播放一個空音效,因為是一個任務型的APP在執行任務時候必須存活,所以耗電量還是勉強可以!!!!
哈哈哈哈!耍流氓成功!