
為php安裝imagick拓展與image magick影象處理庫
1 CentOS下安裝
1. # yum install gcc php-devel php-pear
2. # yum install ImageMagick ImageMagick-devel
3. # pecl install imagick
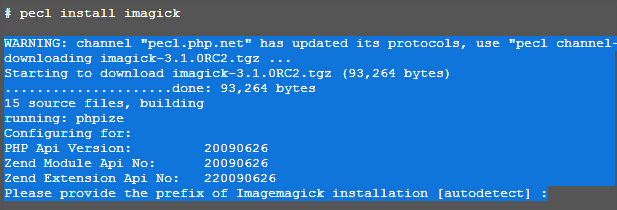
直接敲回車繼續。
4. # echo “extension=imagick.so” > /etc/php.d/imagick.ini
5. # service php-fpm restart
然後就可以在phpinfo()看到已經載入了imagick了。
2 Mac OS安裝
1. 使用homebrew安裝imagemagick(不知道homebrew?自己百度)
$brew install imagemagick
2. 安裝xcode的命令列工具(Command Line Tools)
$ xcode-select –-install
不裝這個後面安裝imagick會出錯
3. 安裝pecl、pear
會在當前目錄下載一個go-pear.phar的壓縮包,安裝完後即可刪除
$ php -d detect_unicode=0 go-pear.phar
提示安裝選項,直接回車,安裝全部
根據上面的壓縮包生成$HOME/pear/目錄
4. 安裝imagick
$cd $HOME/bin/pear
$sudo ./pecl install imagick
報錯,
Cannot find autoconf. Please check your autoconf installation and the
$PHP_AUTOCONF environment variable. Then, rerun this script
$brew install autoconfig
報錯pkg-config
$brew install pkg-config
安裝完成後會自動在php的拓展目錄下生成imagick.so檔案
5. 修改php.ini配置檔案,新增如下行
extension=imagick.so
6. 重啟php-fpm後,也可以直接重啟Apache,就能在phpinfo()頁面看到已經有imagick拓展了
